Hi dear readers! I always enjoy a good before & after, but our front entrance is a three-part story with a before, middle, and after. We have what is called an open floor plan on our main floor. This means there are no walls creating separate spaces between our front entrance, living room and dining room. They're all one, beautifully airy shared space. Open floor plans have become quite the trend in architectural and interior design, but figuring out how to work the shared spaces to create separate but cohesive ones takes a touch of strategy. I'd love to share a short series of posts discussing various arrangements with open floor plans, how to float furniture, and the spaces that inspired me, but today's is about a specific area in our open floor plan that I had some trouble with for a while: The front entrance.
I wanted to have a defined entry way for both guests and us to stop upon walking in and unload. We don't have a shoes-off policy, but I wanted a cozy spot, warm and welcoming, for folks to hang keys, purses, jackets, winter accessories, etc. The closest closet we've got to our front door is across the room, so not the most convenient, (especially for kids with dirty shoes).
What we had when we moved in was this nook behind our front door that has this weird, low arch cut into the wall - An arch that drops over 5 feet on the other side into our basement; not ideal for crawling and teetering little ones, (we had 10 month old twins and one on the way when we moved in so this was just not going to work for us). It was an awkward spot to me and my first priority was covering that toddler-kiss-of-death in our wall.
Move-in day in September 2010

Play #1: We immediately backed this big ol' bookcase up against the wall to cover the arch and protect the kids, (and then people voiced concern about the bookcase falling on the kids. New parents just can't catch a break!). It was kind of an eyesore in our light and airy open floor plan, and definitely an eye sore if you were sitting in the basement staring at the back of the bookcase, (not to mention it blocked natural light).
Christmas 2010. Photo skills are in the natal stage.

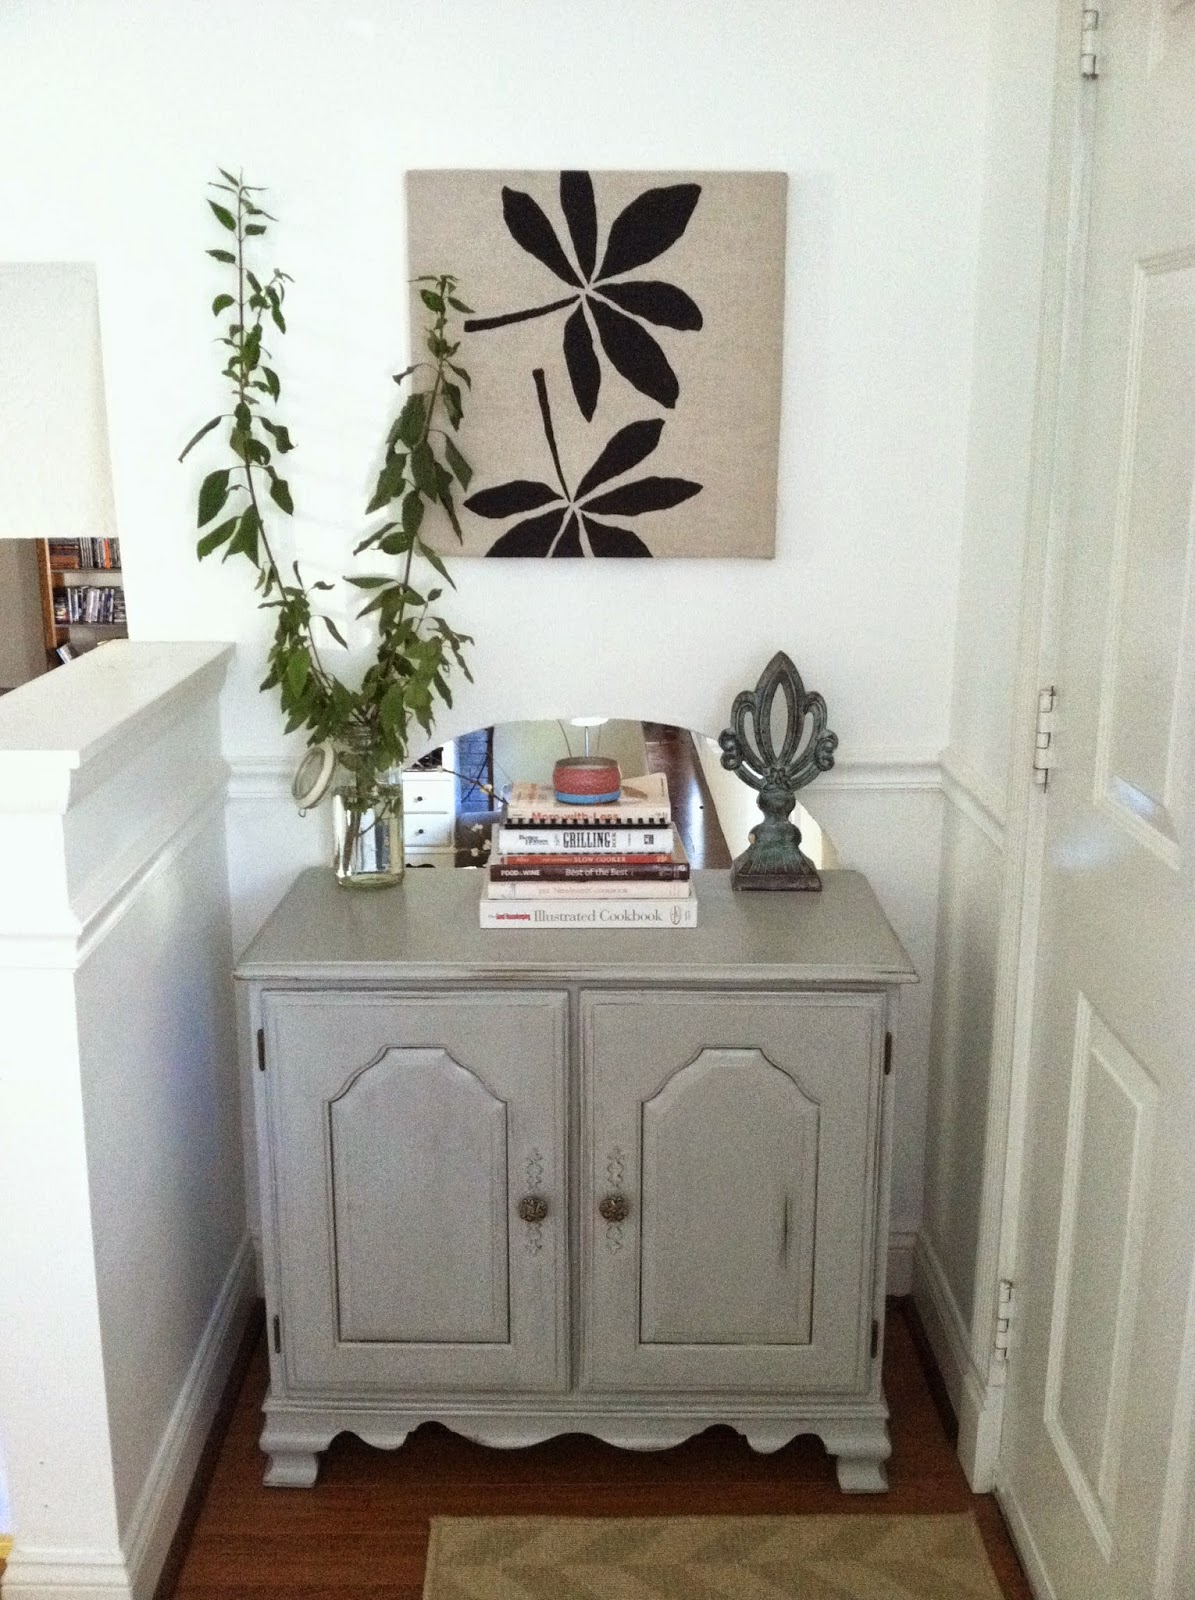
Play #2: Acquire this antique cabinet from a friend, paint it grey to go with our light and airy space, and cover 3/4 of the arch. We figure the kids won't think to crawl up onto the cabinet and climb through. Place a stack of books in front of peeking arch just in case, (because books are a great barrier between young children and danger).
Fall 2011

Play #3: I see an inspiring picture on Pinterest and a vision is forming. I grab some branches from outside to build upward interest, move my homemade paper wreath elsewhere, and replace it with this fabric-stapled-to-frame masterpiece... Books are successfully saving the childrens' lives so they stay.
Summer 2012
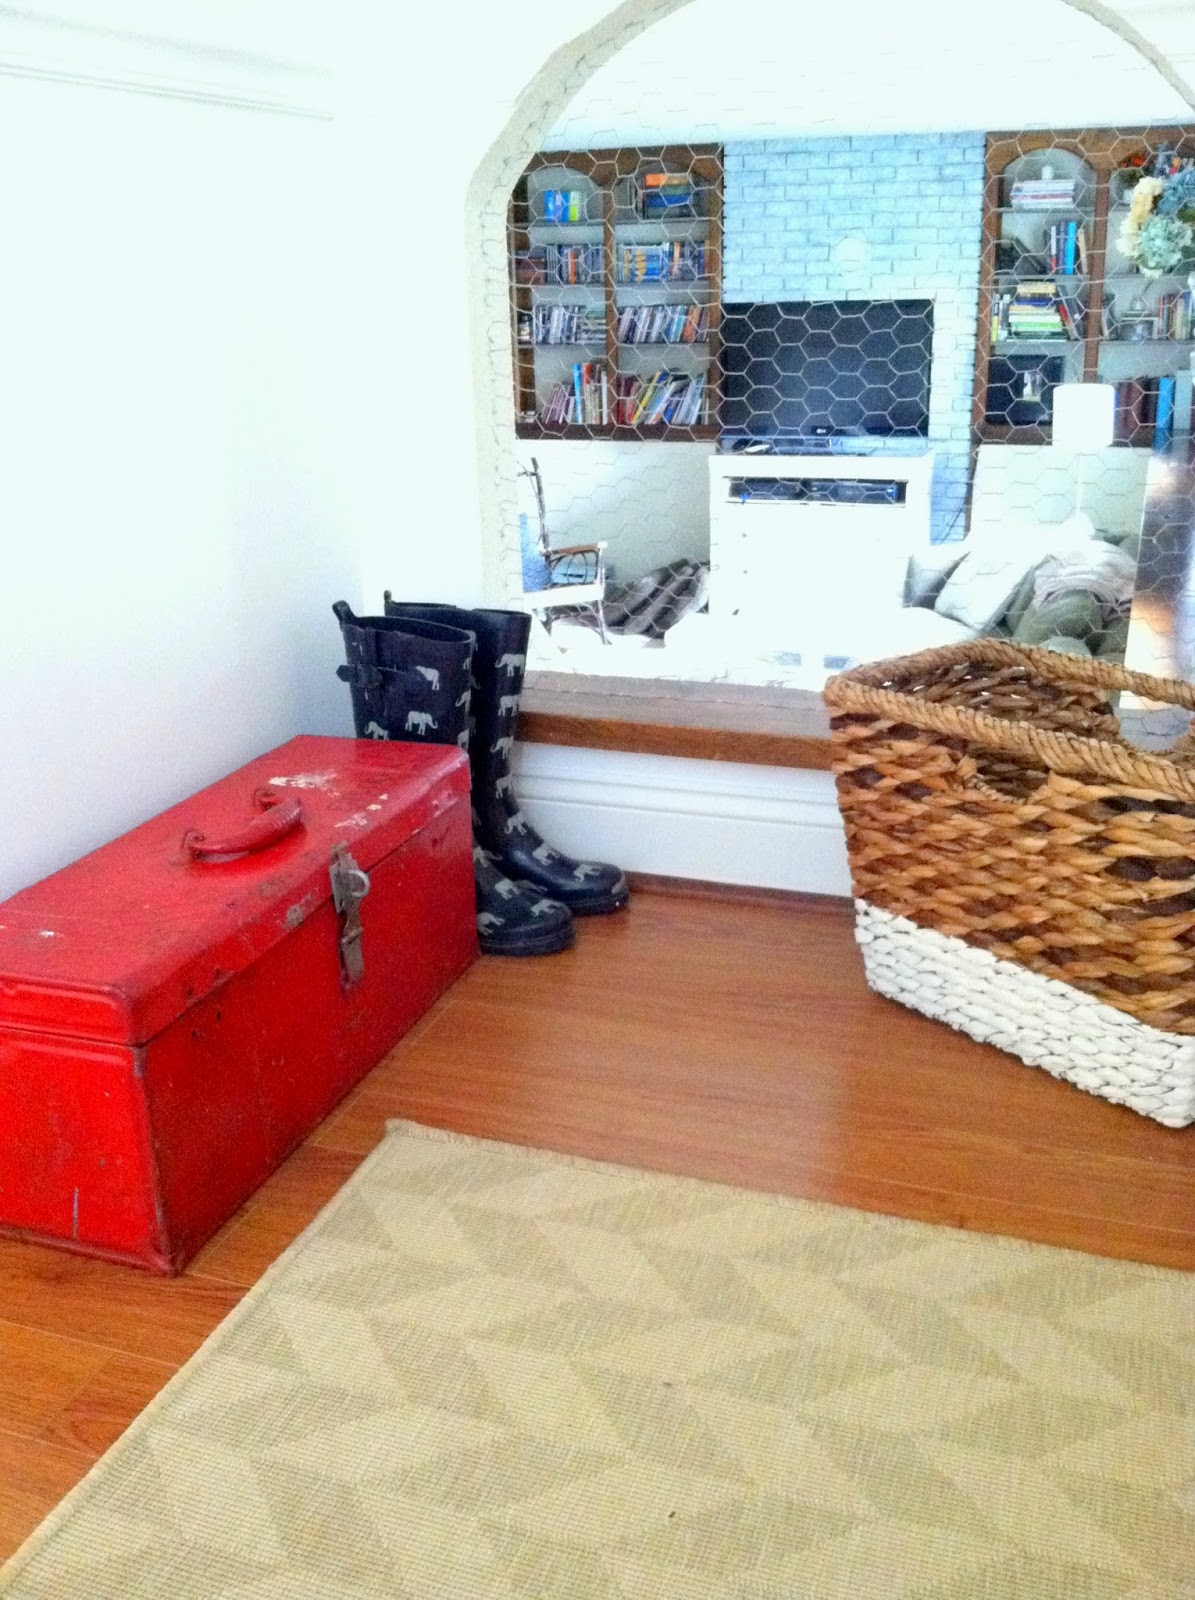
Play #4 - Checkmate: The vision is complete! Matt's a rockstar and helps me 'seal' the open arch with chicken wire. We move the coat rack, (made from thrift store spoons screwed to a floating shelf I had), above the arch to hang jackets and hats. I luck out by finding this vintage fire-engine-red toolbox sitting outside this dumpy antique shop for a few bucks, (it happens to be the perfect size for my little ones to use as a bench to pull shoes on and off). I create the funky yarn heart art, (how-to here), and arrange a few branches in a jar just for fun.
2014
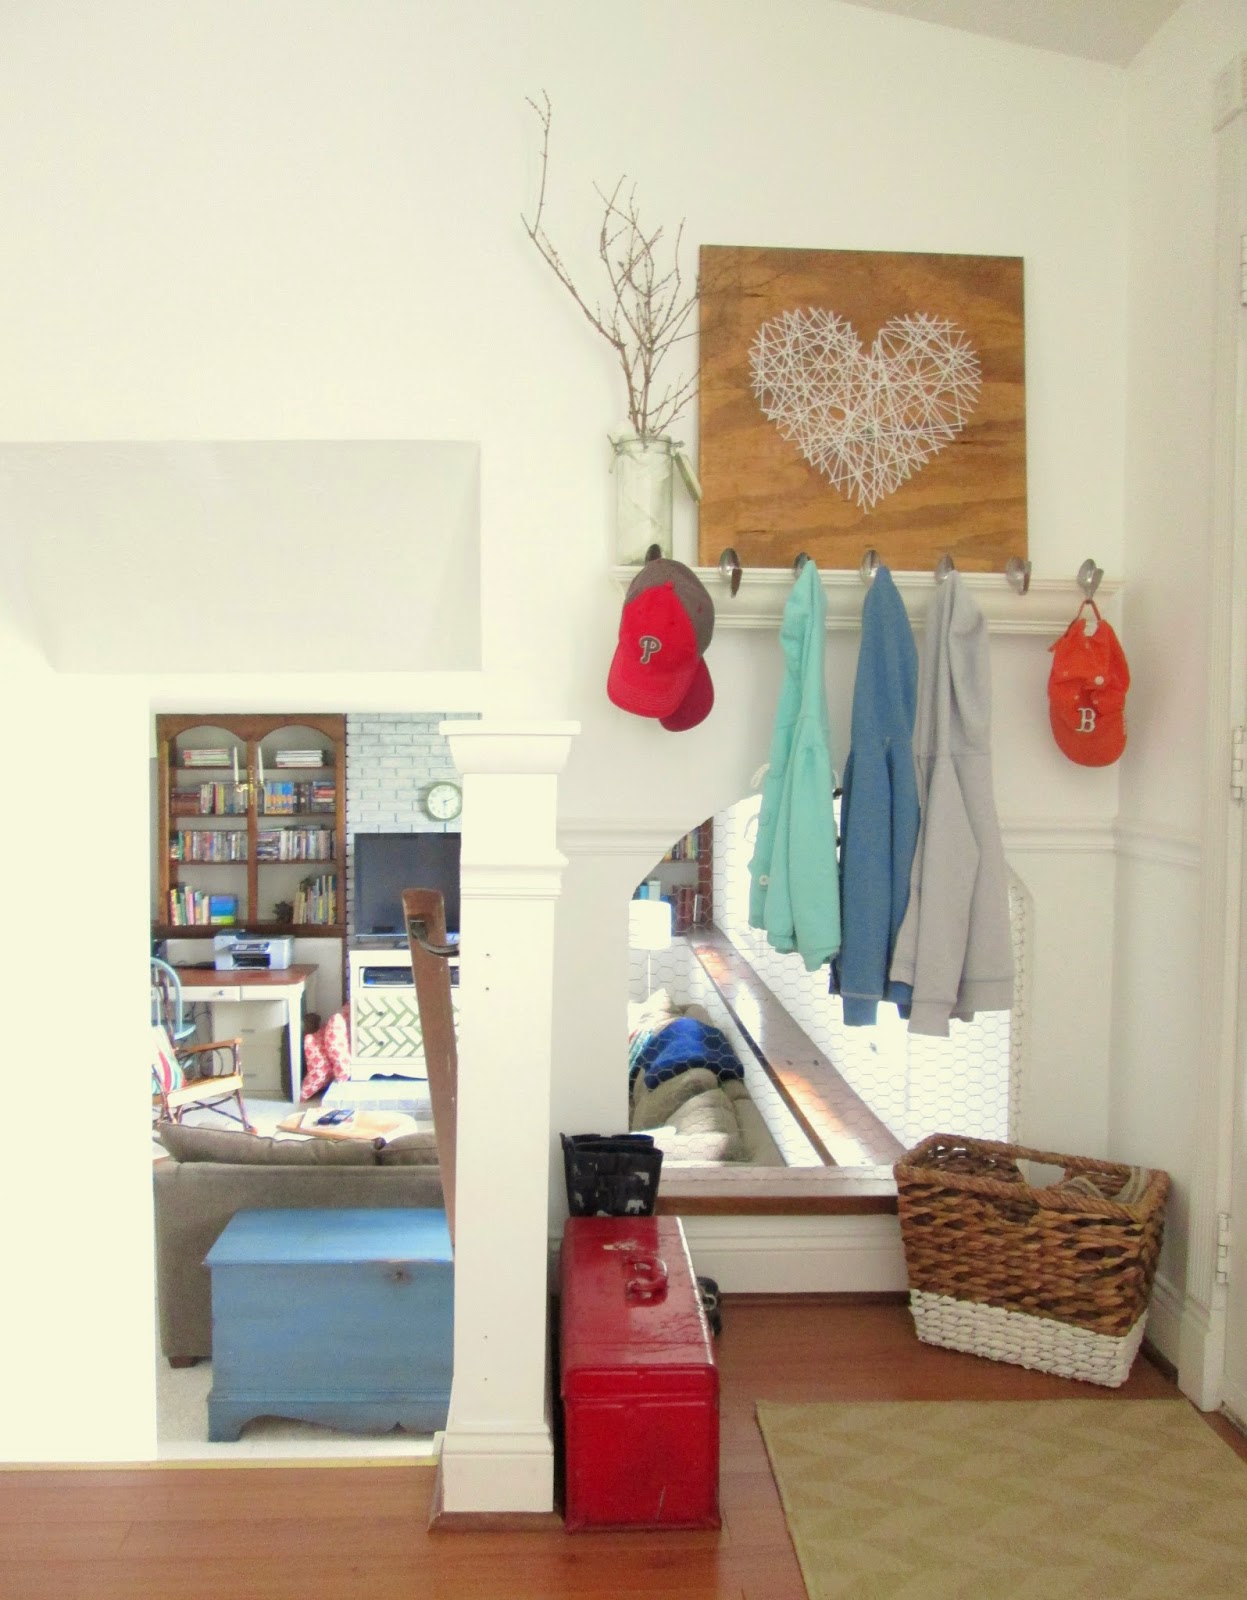

We used a staple gun and muscle to stretch the chicken wire tight against the sides of the arch and attach it to the wall.
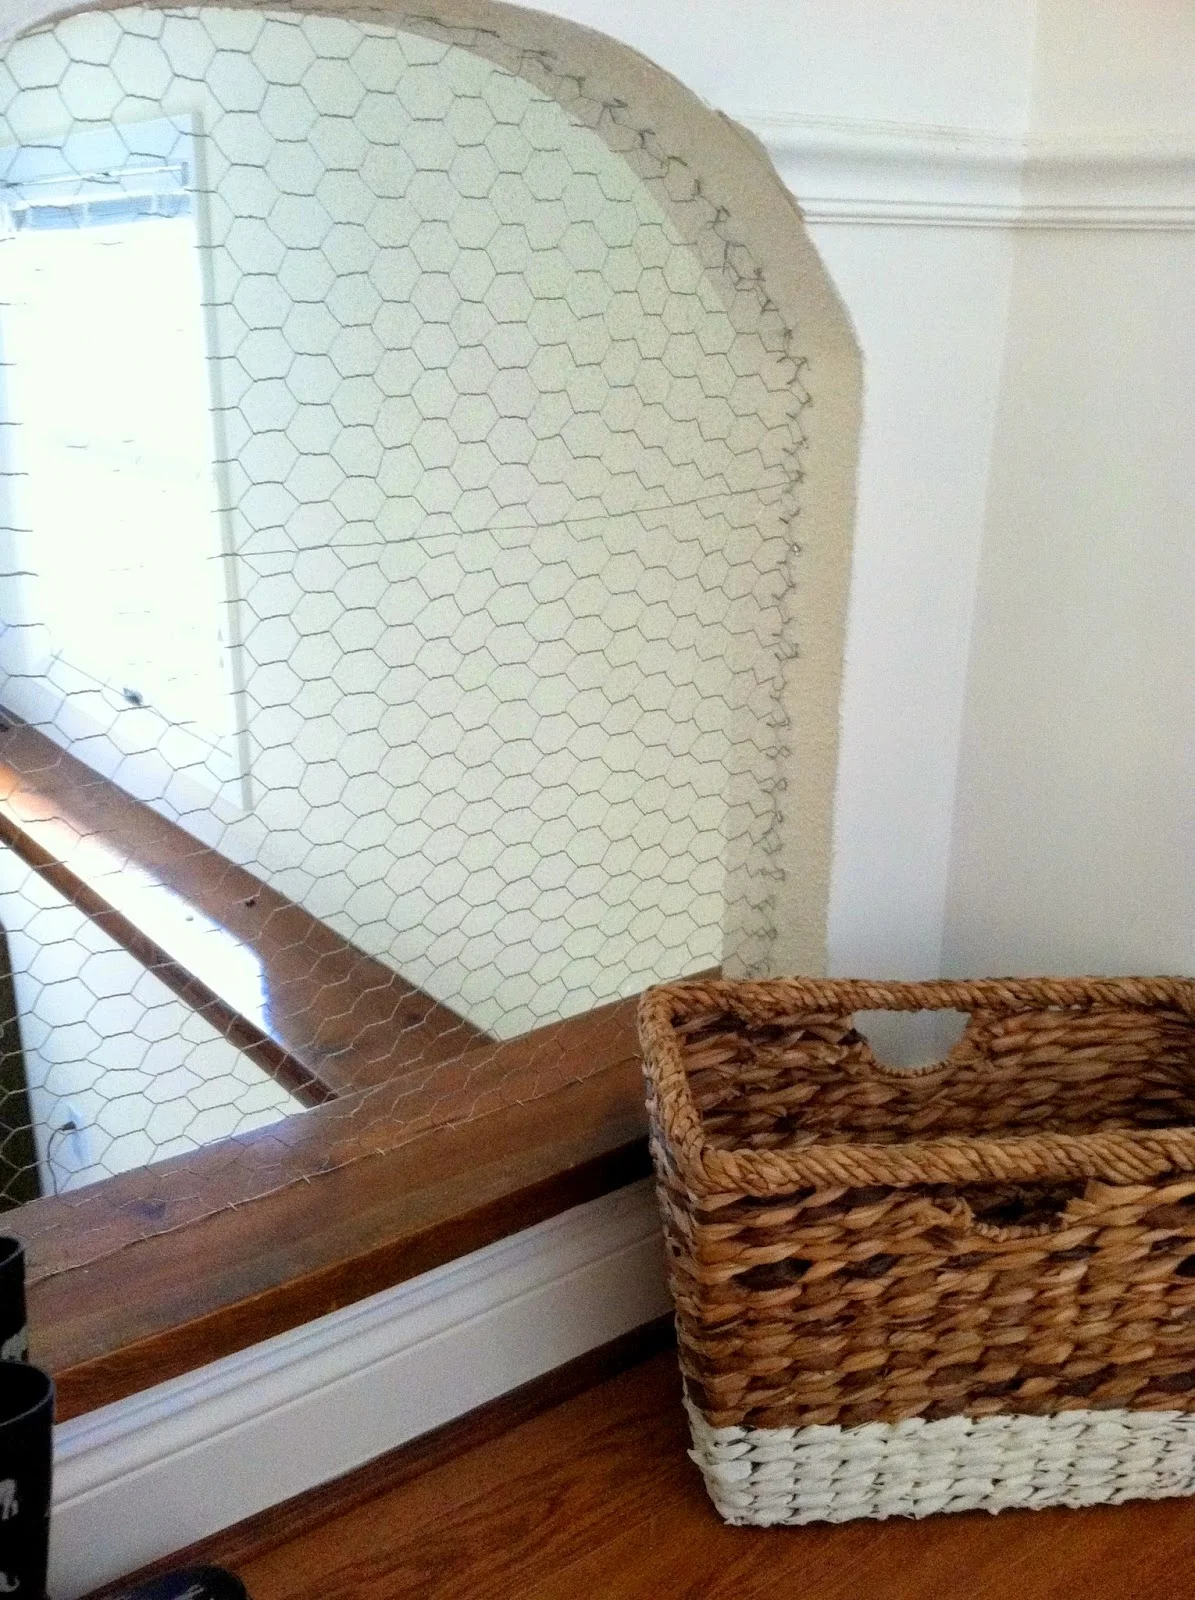
The basket I found on clearance at Target and painted the bottom white, (inspired by baskets I'd seen by Serena and Lily at the time).
It was quite the process finding something that we feel comfortable with, that's functional, and is in tune with the rest of our home. It's no longer an eyesore, but now a fun, breathable nook that I love seeing when we first walk into our home. And more natural light to our basement doesn't hurt either!
Have you had any challenging nooks or corners in your home? How did you tackle the issue? Share and link, (if you have one), in comments below or on Facebook!
Thanks for stopping by!
~Chelsea
This post was published under Chelsea's Garage, now affectionately known as StyleMutt.