Happy Friday, amen?! It looks like a lovely weekend up ahead - perfect timing for this last minute gift idea which you could take along to any barbecues or birthday parties on your weekend calendar!

A few weeks ago we had a friend's 4 year birthday party looming, and after a busy week, no gift to bring by the last day before the party. I gathered my brood and we went up the street to our local Safeway, (grocery store), where they have a surprisingly large and fresh floral department. Shire picked out the flowers, all three kids picked out a piece of candy, (a Friday tradition), and then we hopped across the street to the thrift store. There, I found the perfect sized pot for the flowers, (along with an epic piece of furniture which I'm waiting to share here until it's finished - catch photos of the progress on Instagram if you'd like)!

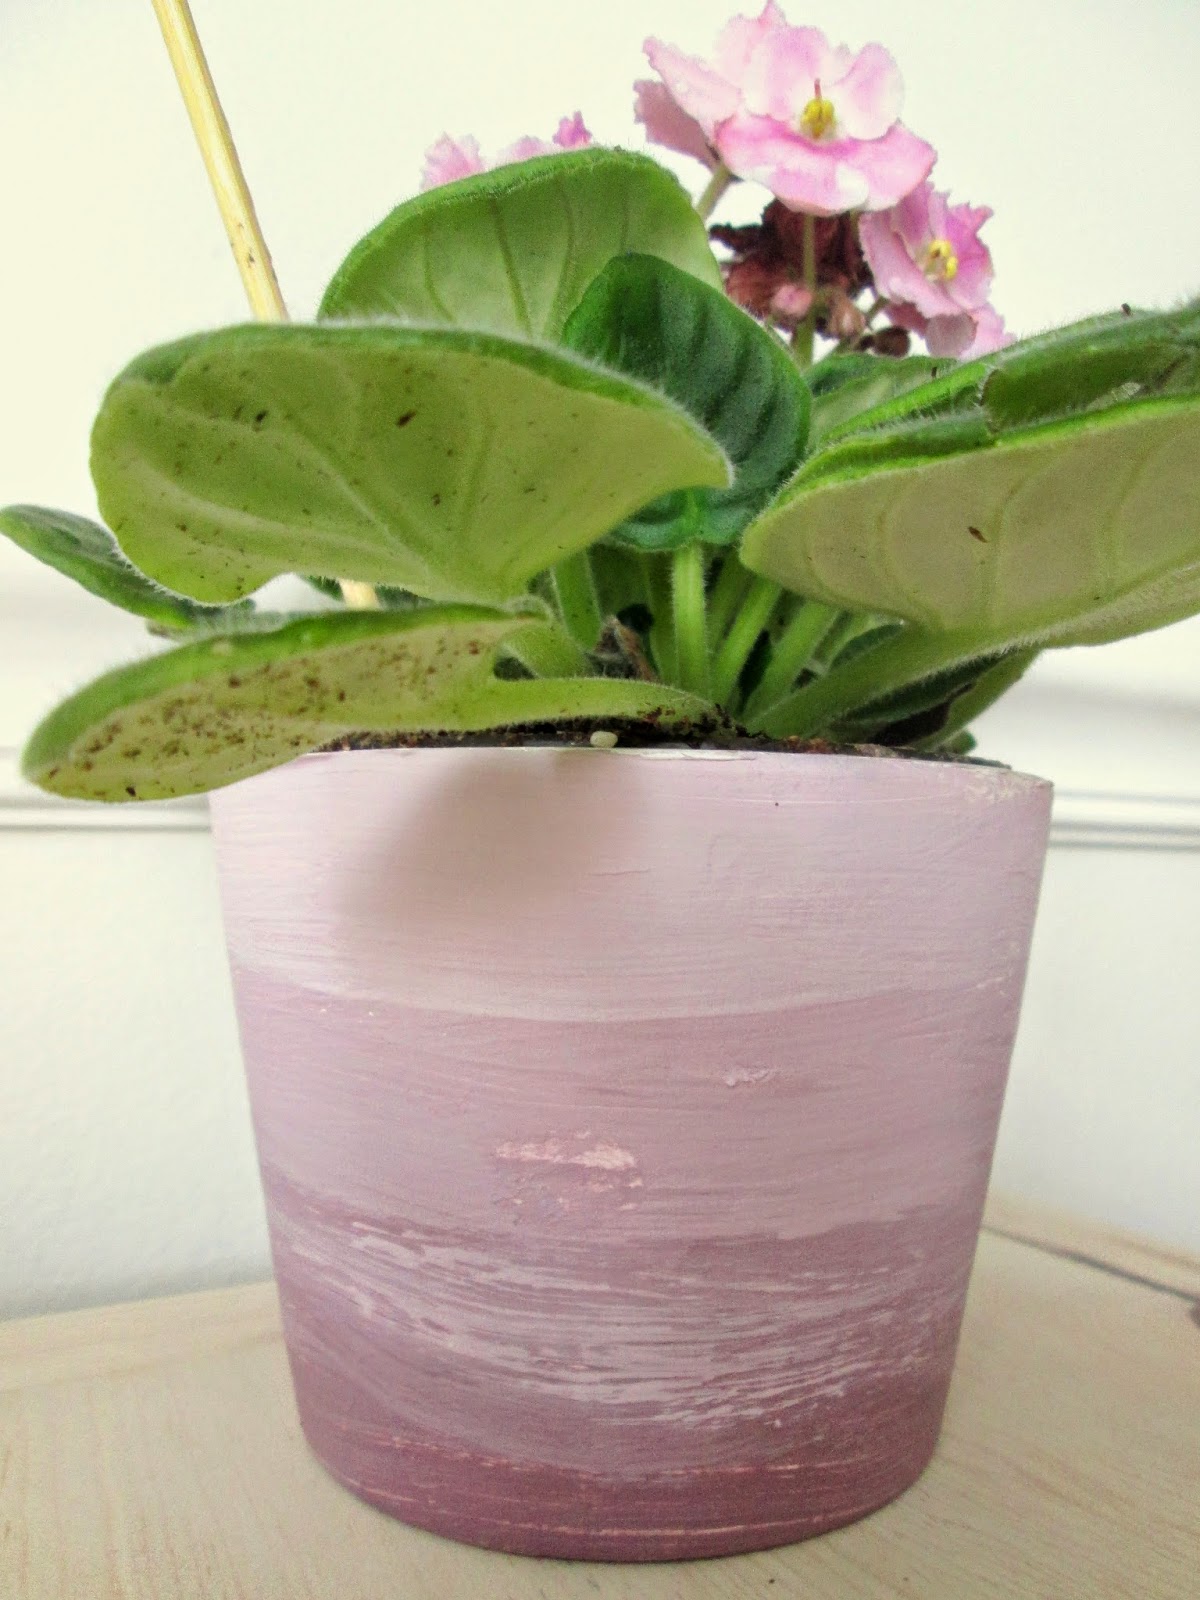
First, I painted the pot white to get one even color across the entire surface.

Like the pink trunk, I wanted to create a bit of texture to the finish, so I laid the paint on thick and in all different directions.

Then it was time for some ombre! If you aren't familiar with ombre, it's the art of shading, or graduating from one tone to another. I thought it would be cool to match the pot to the flowers, so I grabbed my Valspar sample of Plum Legacy, some white, a bowl to mix them, a couple spoons and a couple brushes. Shire helped both stir the paint and brush it on. It was really fun! We weren't aiming for perfection by any means, but I think we did a pretty decent job!

We had the pot flipped over so the bottom was facing up. We painted the darker, pure version of the purple on first, just around the edge. Then spooned in a dallop of white, mixed it up, and painted the lighter color right below the dark. We repeated this process, lightening the color with each next section of the pot.
Like I said, it's not perfect, (and I think I spot a couple finger smudges), but it's sweet nonetheless.
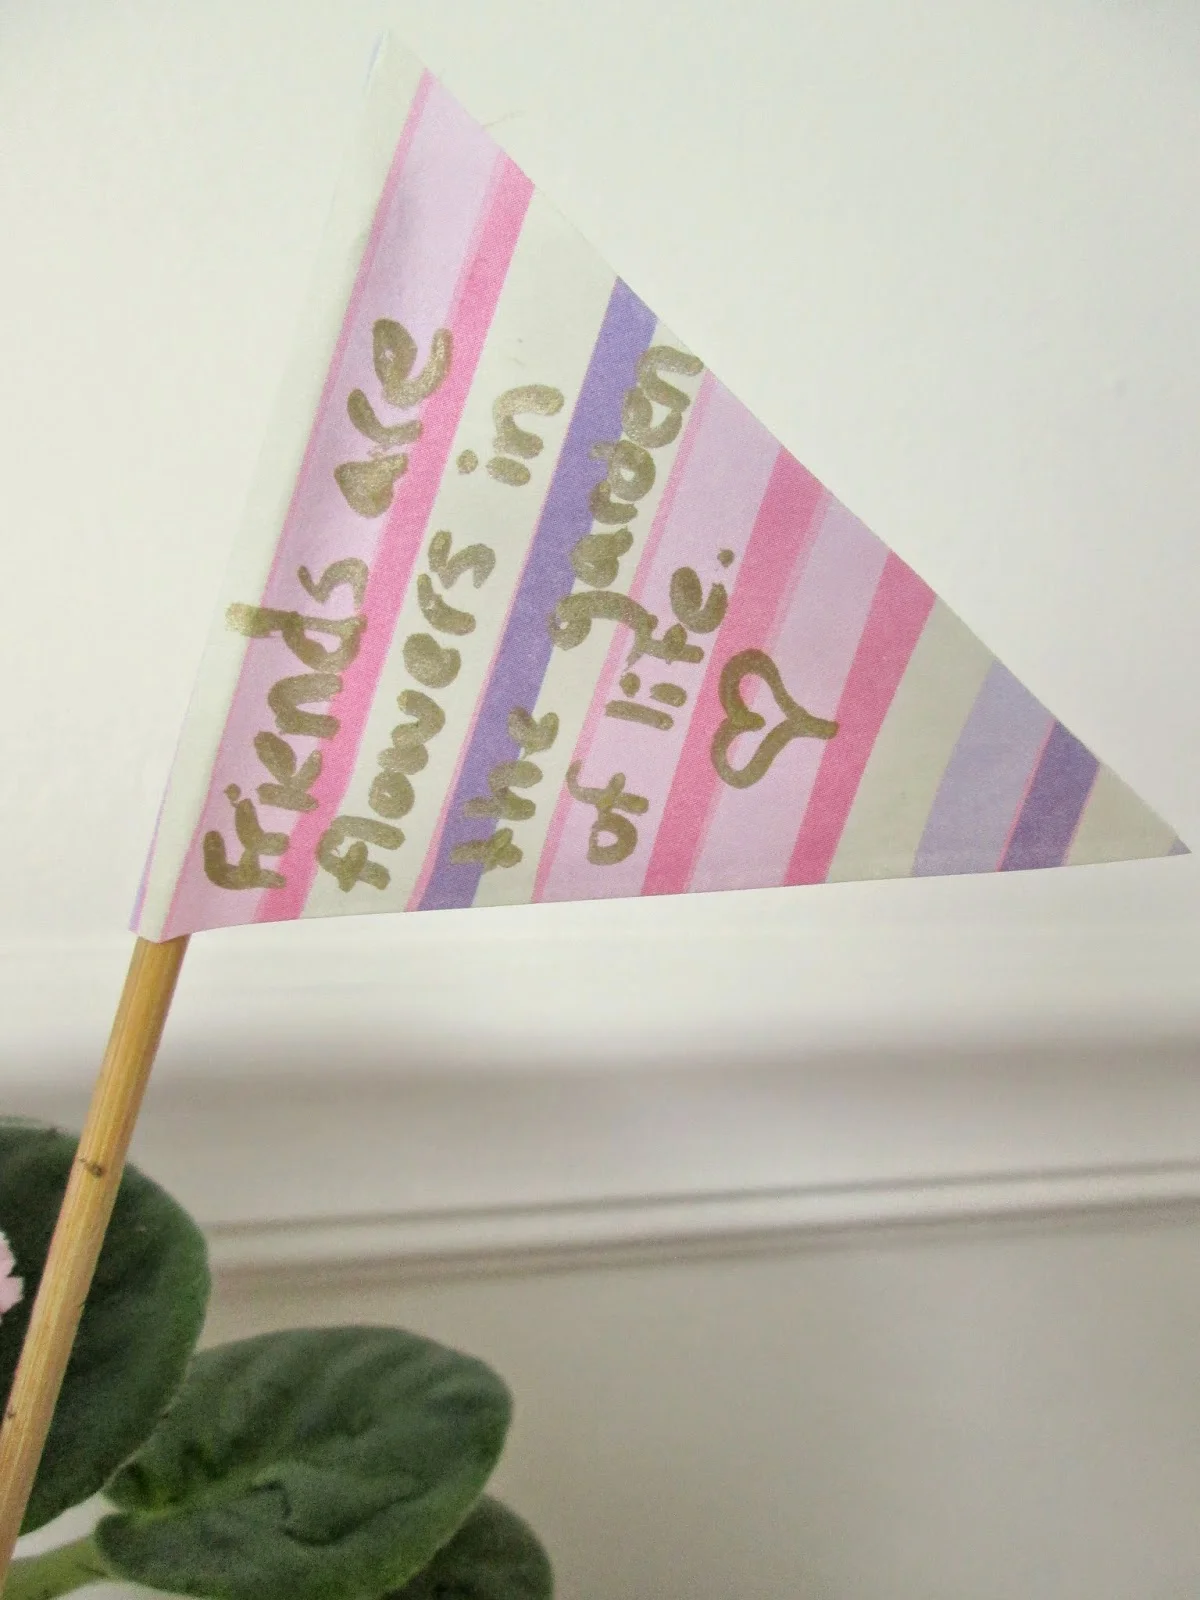
For a whimsical touch, Shire and I added this little flag using a wooden skewer broken in half, and some scrap paper. On it I wrote, "Friends are flowers in the garden of life".

Pool party ready!

Have yourselves a splendid weekend, friends! Thank you for stopping by.
~Chelsea
This post was published under Chelsea's Garage, now affectionately known as StyleMutt.