Creamy paint + Distressed leather {Fall inspired}

Hi guys! In case you missed it, please see yesterday's post and leave us some feedback to help us make StyleMutt simply amazing! There are 4 opportunities left to receive a special gift for commenting and we'd really, (reeeaaallllyyy), appreciate your input. 

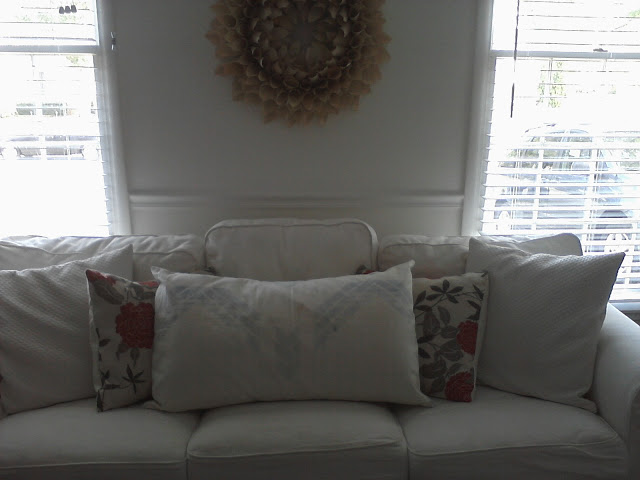
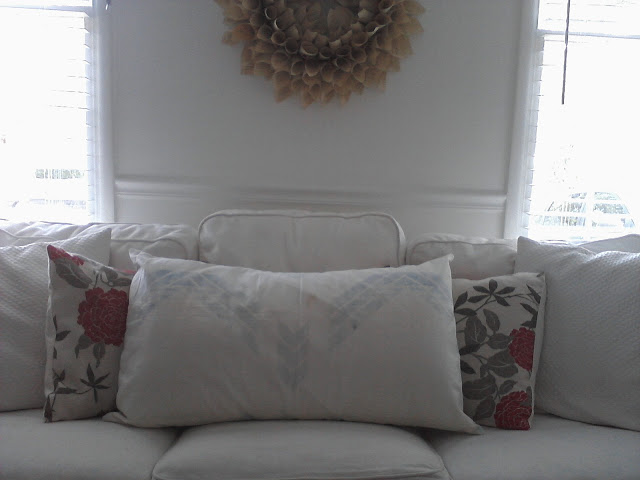
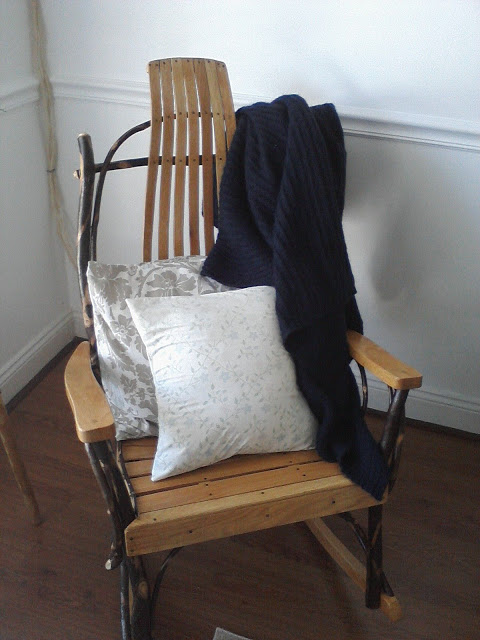
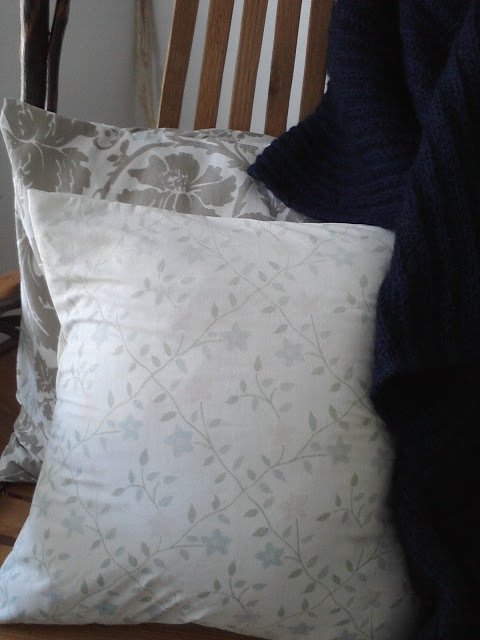
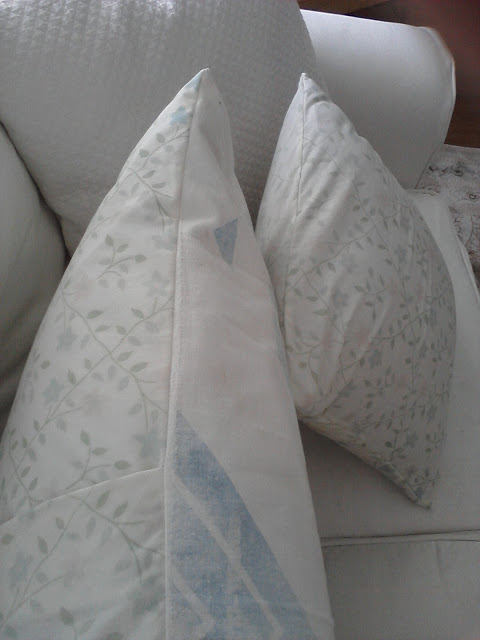
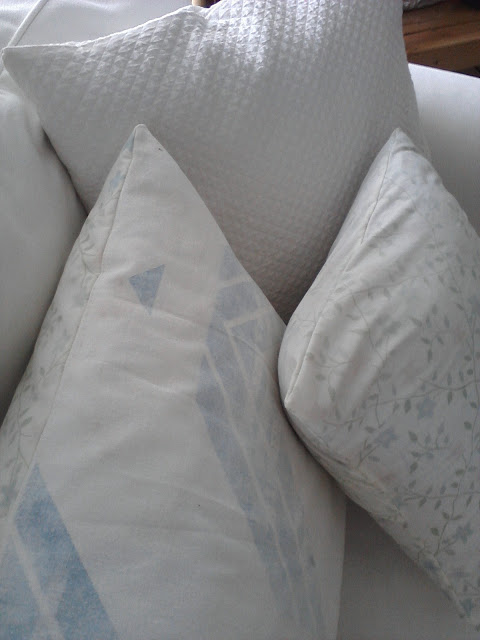
So sorry, (not really), to bring it up again, but I've got to talk about the undeniable spark of inspiration that Fall brings. All over social media, television, and magazines in the newsstands, the fashionistas are hitting hard with all the upcoming trends for this Fall. Predictions seem to be heavy in soft, creamy knits paired with various shades of leather. Inspiring? Indeed! But why limit these delicious pairings to fashion? 

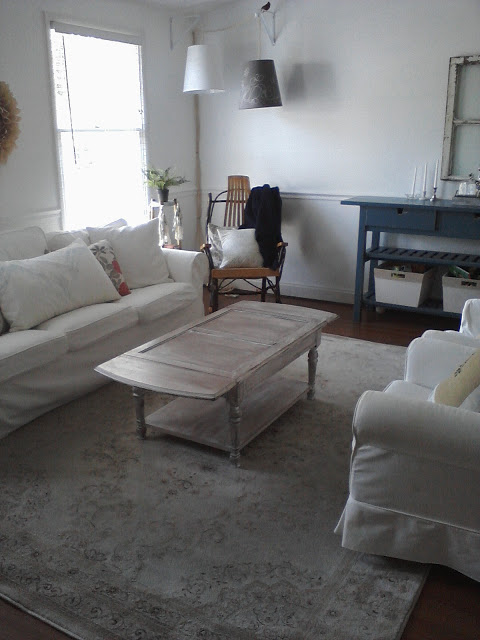
Such a cozy thought with an edgy twist must have a place in the home, too.

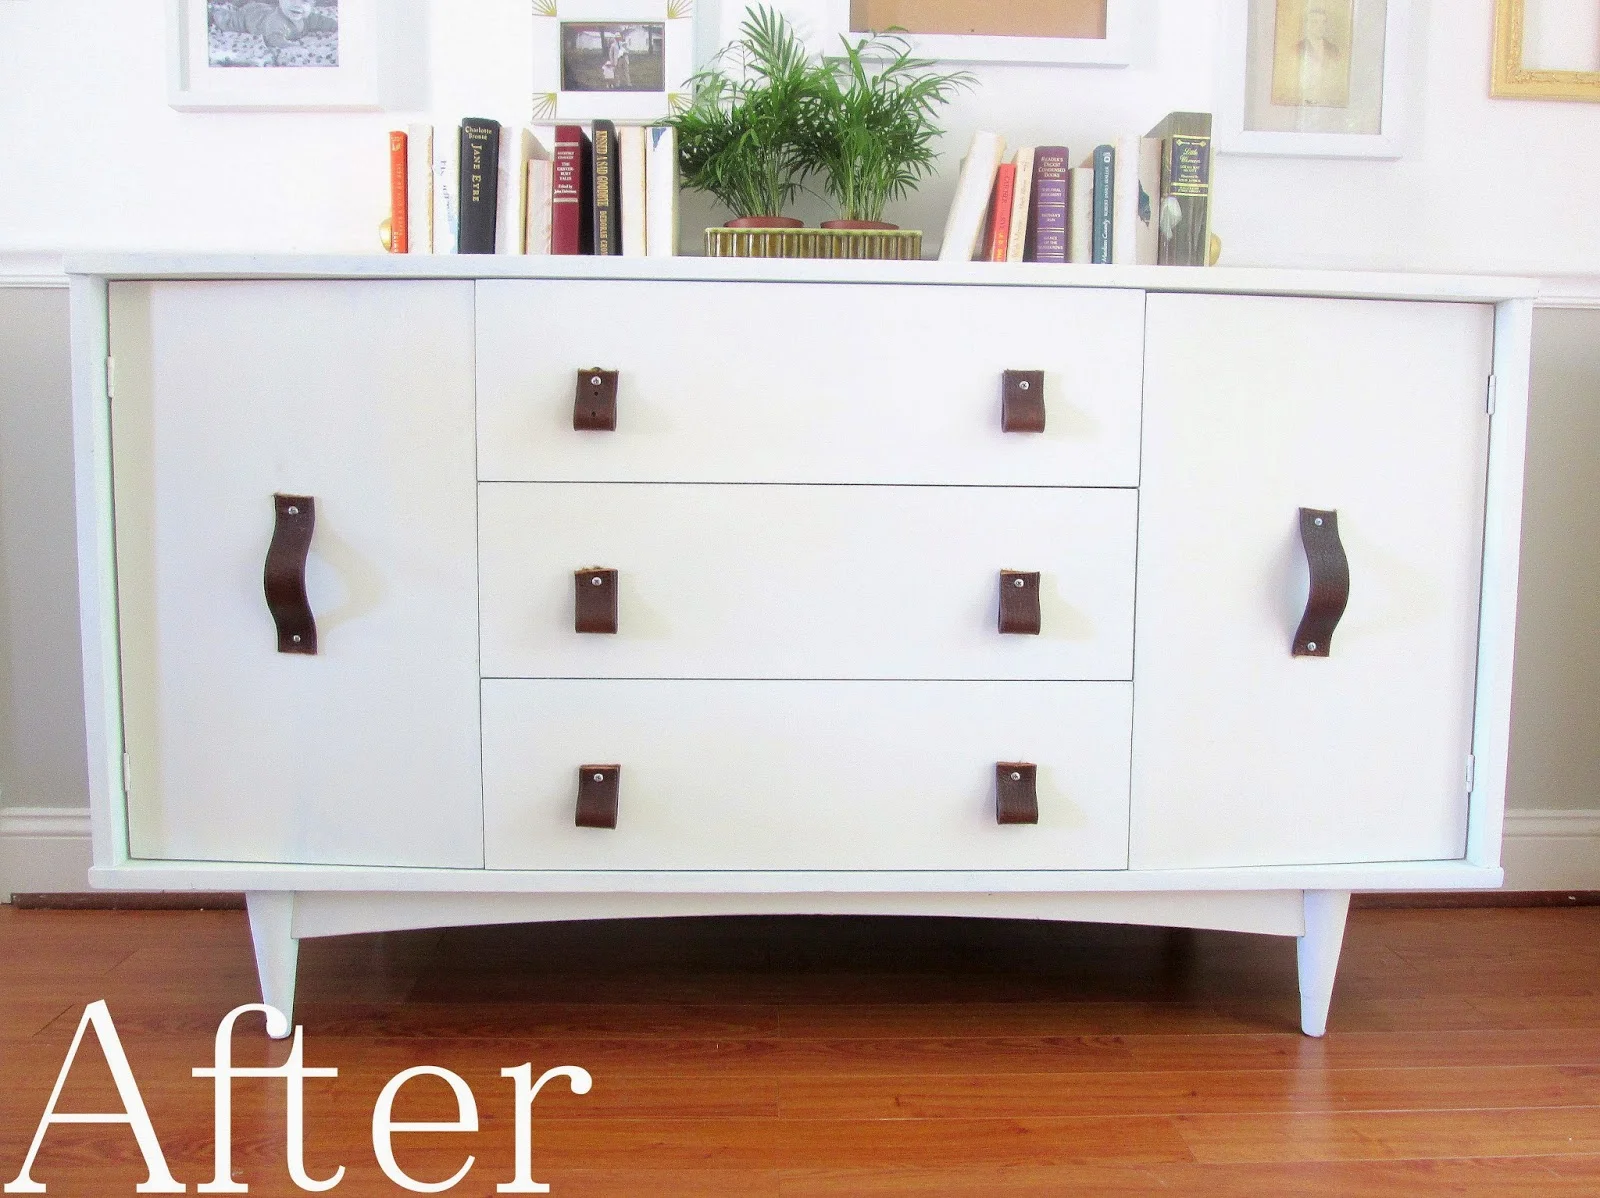
A piece like this works for almost any décor out there, and better yet, is an easy look to replicate!

This piece one start off so cozy but it sure was a tight ride bringing it home with the crew! (best crew around!)

Photo: This is the BEST thrifting crew in the biz, right here! One marvelous mid century piece is coming soon!

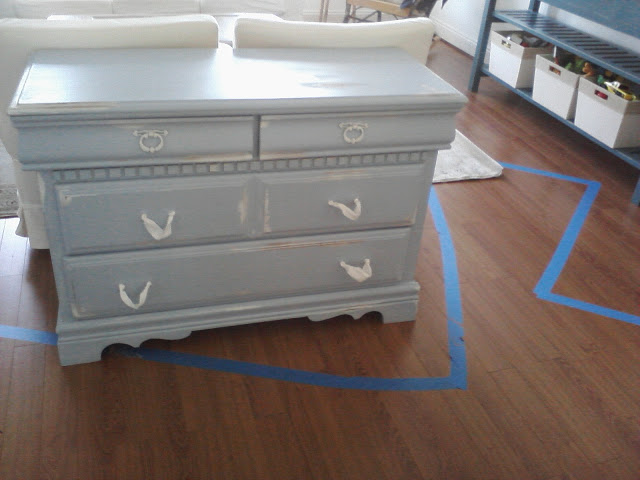
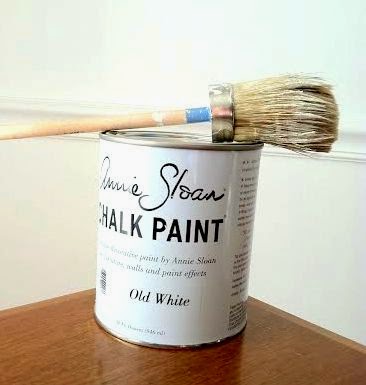
This transformation was relatively simple and required two supplies:

Old White Chalk Paint, (check here to find who stocks it closest to you or for ordering info), which I painted on in two solid coats, followed by a single layer of clear wax. I did not distress this piece, but rather left some areas along the sides and top surface a little thinner with the paint, (rather than full, complete coverage). This achieves a warm, weathered look without quite going all the way down to the wood. 

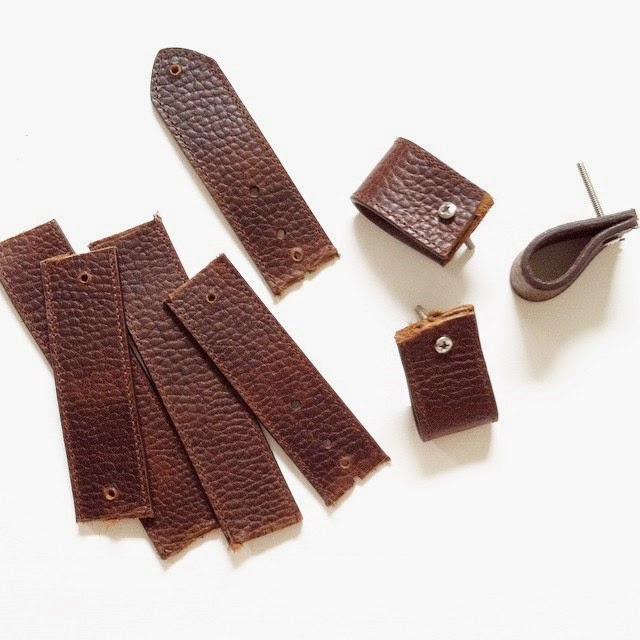
 And I used one leather belt to make drawer pulls.

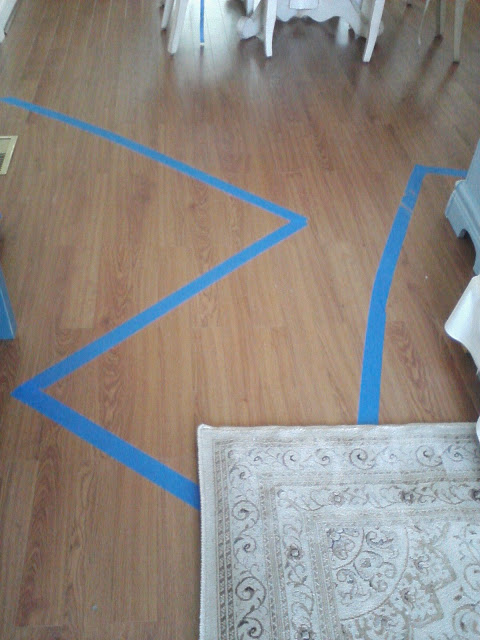
To make drawer pulls out of a leather belt, you first need to figure out how long each pull must be based on the distance between your pre-existing holes, (if you don't want to fill those and drill new ones). The last time I did this, I had all the pulls horizontal and screwed in like handles, (piece painted in Chateau Grey mixed equal parts with Old White):

With today's piece I wanted to try something a little different and make tab pulls on the middle drawers. 

Don’t ever be afraid to get creative and test new ideas. If you don’t end up liking something, you can (almost) always switch it out; that’s the beauty of DIY projects! For this piece, 

I cut 6 x 6" strips of the leather belt, folded them in half, (matching the ends together), and used a drill with a larger bit to screw a hole into the leather. Then I used screws just slightly larger than the hole size and screwed the leather pulls right into the original holes. Finally, I secured the screws from behind the drawer fronts with the appropriate size nuts.

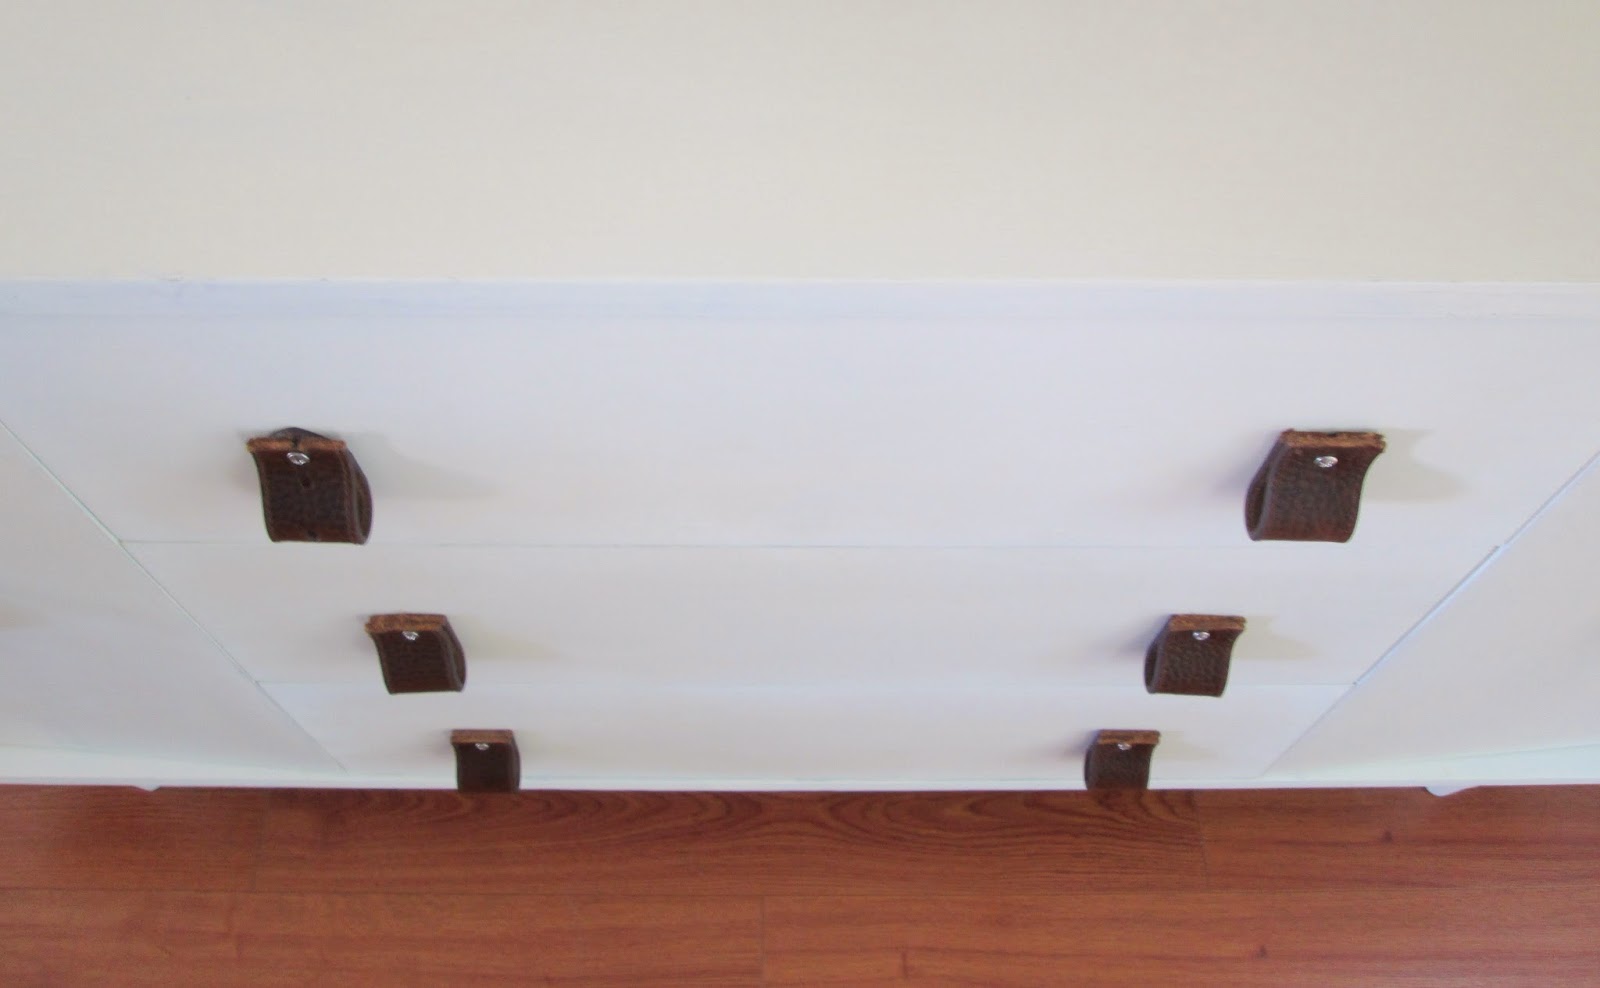
On the cabinet doors I used the pre-existing holes as well. I just measured what was left of the belt, cut it in half, and drilled the holes into the leather just like I did with the tab pulls. I wanted the leather straps to bow out a bit for easy gripping, so I made sure the length of the leather was a couple inches longer than the distance between the holes.

Piece now available for sale
58"L x 32.25"H x 19.25"D
$475

Please contact me if interested! chelseasgarage@gmail.com

I love transferring inspiration from all elements of design, (fashion, graphic, architectural, etc), into the home. It's completely possible to decorate how you dress, if you so desire! As I type this I'm looking down at my paint splattered leggings and baggy tank; it may be better for some not to decorate how they dress. ;) But on a serious note, if you’re not sure what your own style looks like yet, start looking around the web, in magazines, books, and even the world around you for home décor inspiration. Pinterest is a great starting point, and has lots of DIY inspiration for big and small projects. If you want to start small, photos are a great way to instantly freshen up your home. Resources like Shutterfly have fun options for printing and displaying a cute gallery wall, or just some simple wall art!

Tomorrow we get to hear from Cate and it's a good one, (as always)! Thank you so much for stopping by!

~Chelsea

This post was published under Chelsea's Garage, now affectionately known as StyleMutt.

GOURD-eous decorating

Well, I have gone out of my comfort zone this year with Fall decorating - but only a smidge. :) Every year when we get pumpkins, I like to get one or two to keep inside as decoration. I have never ever given those funny looking, bumpy, warty little gourds a second glance. I've never thought about how to arrange them, never thought they could be fun...until this year!

When we went to get pumpkins with our little ones this past weekend, my husband gave all the kids, (and me), a rule: only grab what you can carry. While poor Mason was hugging his chubby arms around pumpkins that I can only imagine were twice his weight, trying to lift them up, I was busy collecting smaller things. I wasn't completely sure how I would use them, but when we got home and I layed everything out, it came to me!

{Fancy gourds, sitting on (fake) crystal candle stick holders}

{A sideboard dressed in it's Fall best}

{I turned a couple of cheap, plastic planters, (from Walmart), upside down, wrapped a few times around in twine, and topped with my albino pumpkins with the curly-Q stems}

{Rod iron votive holders swapped their votives for these cuties}

It was so much fun thinking outside of the box to figure out how to display my gourds! I finally got over my fear of them and look forward to using them again next year :)

Have you added any Fall touches to your home? What's your favorite?!?

~Chelsea

This post was originally published on Chelsea's Garage, now affectionately known as StyleMutt!

Living room shuffle. Again.

An Autumn Greeting
"Come," said the Wind to the Leaves one day.
"Come over the meadow and we will play.
Put on your dresses of red and gold.
For summer is gone and the days grow cold."
author unknown              

This is my first official post in fall! For me fall has always brought a promise of new beginnings and a fresh start, more than any other time of year. And as we are pulling out our warmer clothes to dress more appropriately for the brisker days, our home, too, has been redressed.

The item that got the ball rolling was a large area rug that I have imagined in my dreams but didn't think I'd ever find at an affordable price. A few days ago I found a beautiful Kipling area rug at the Goodwill that is right up the street. This was a lucky find - I always take a peek at the rugs and before now there's been nothing even remotely appealing to me. It's roughly 6.5' x 9.5' and just the change I have been looking for to spruce up the living room. The $20 price tag sealed the deal and it took the place of our previous braided area rug, (smaller), just beautifully.
*To see pictures of our living room previously, please see the Our Home link to the left which will lead you to a photo album tour*
 
For giggles, I checked the price of Kipling area rugs in this size online, and they retail for roughly $750. $750!!!!! This gorgeous $20 thrift find is a wicked steal!
 
I love how the accents of olive green, dusty coral, navy blue and flecks of gold work to 'ground' my very light and neutral living room. The large allover pattern is also appealing as my slip covered sofa and chairs are solid white.

{I have an idea for rearranging the seating soon, but it requires large muscles, (Matt), to carry up a heavy chest I have down in the basement. I can't wait to see how it all comes together!)
 
Another fun little switcharoo was with my throw pillows! I feel like I read this all over the place, (and admittedly get tired of seeing it), but it's so true - changing out your decorative pillows is one of the easiest, cheapest, most satisfying updates you can make when you've got the 'itch' for something different.


 I am extremely lucky to have a super duper talented friend who was able to take some fun fabric finds and turn them into pillow covers! The king size pillow with the faded blue chevron pattern above was previously flour sac fabric that I found in Lititz, PA! The small allover floral 16x16 on the rocking chair below was a sheet I found at Goodwill. Cool, huh!?! I also replaced the thin light green throw blanket I had draped over the chair for a heavier navy wool. This is my morning spot and I definitely love wrapping up in my blanket while I read and drink my coffee. :)
 
*See the end of the post for the contact info of my handy friend, Megen!*


And last, but not least, I'm also a sucker for faux flowers. I have them on every floor of my home. Some faux flowers are more obvious than others so I look with a careful eye when I need something specific. I brought down these deep maroon flowers from our bedroom and switched them with the little white and cream ones we had in this spot by the mirror facing our front entrance.
 
I love the reflection of everyone's hoodies in the mirror. Hoodie weather is my favorite!
 
This is so fun for me - changing things out and getting ready for a new season, (literally and figuratively). I'm not so sure my kids will appreciate the new, larger rug which has swallowed up the cool painters tape car/train track I made for them last weekend.;)


Oopsie. When they wake up from their naps today we will be learning about rerouting.:)

My beautiful pillow cover maker, Megen, is as talented with her sewing machine as she is at putting together fabrics and patterns. She has an interior design degree from James Madison University and can help you decide on just the perfect fabrics to spruce up your space - then make you some gorgeous pillows that are as unique as they are affordable!

These are actually for Shire's room, but they'll hang out in the living room for now. Megen used the sheet fabric for the back of the king size pillow. Her work is amazing and the covers will surely endure the wear of active little ones :)

 
Megen Minter
 
Thank you for stopping by!
 
~Chelsea