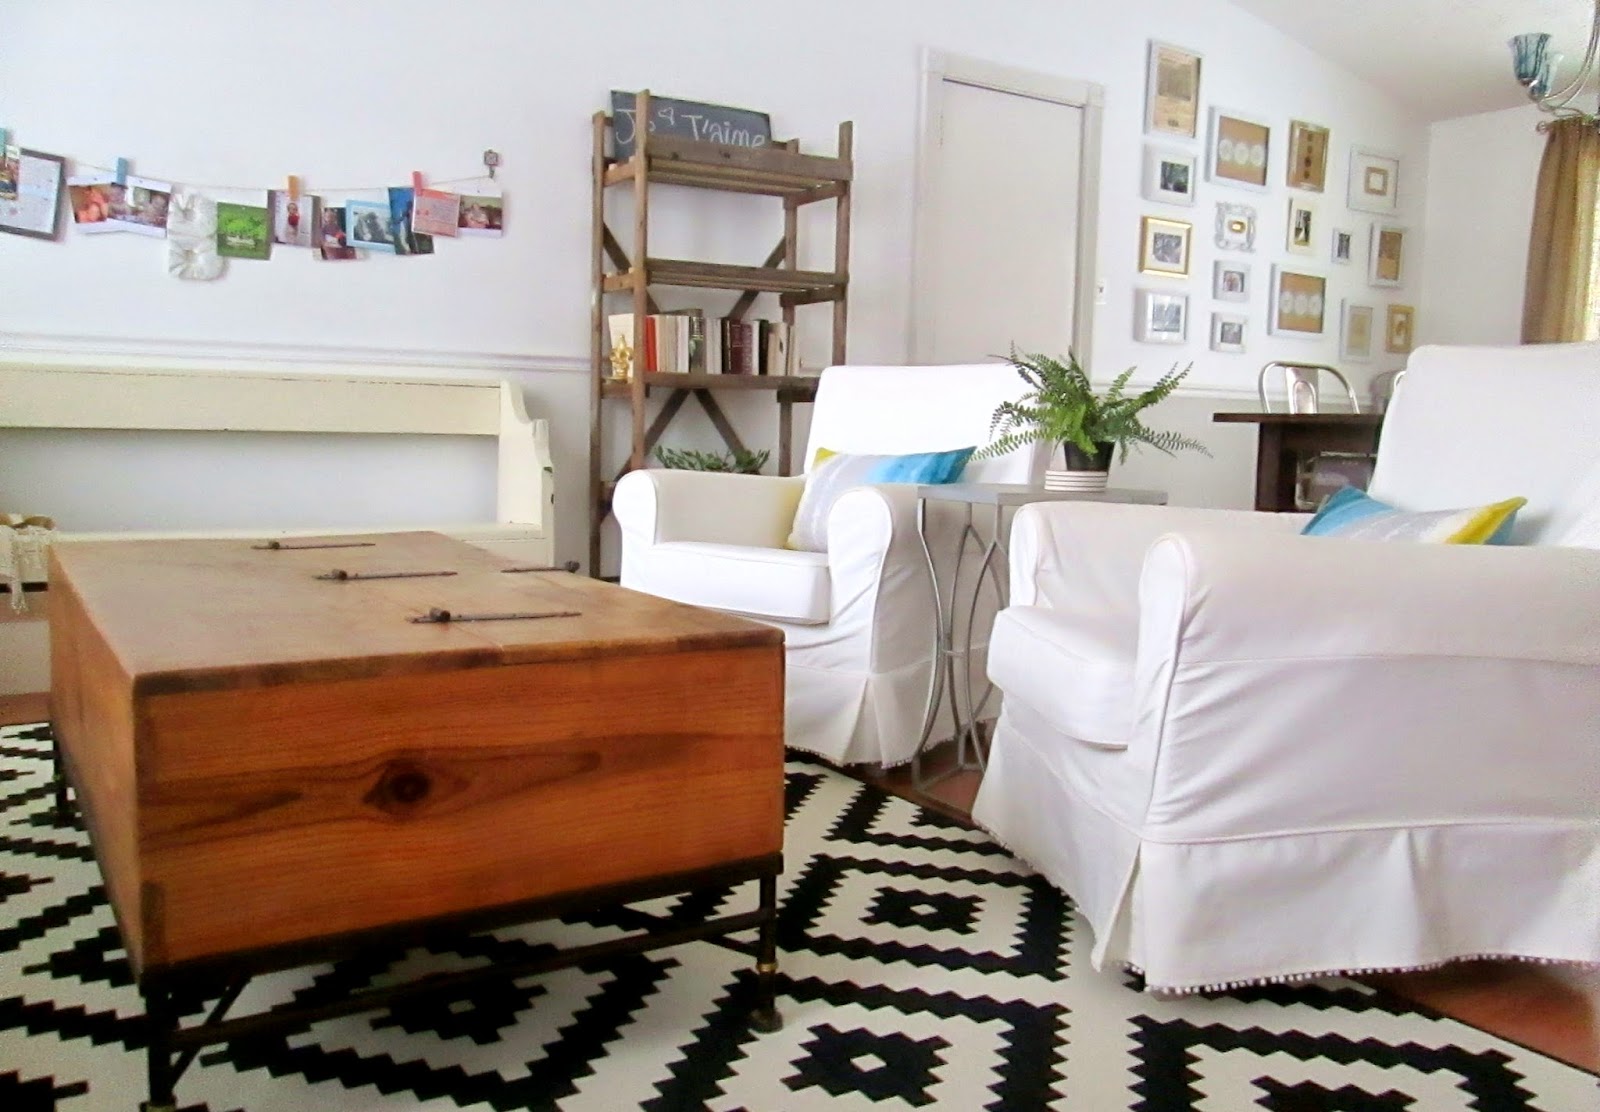
Happy Friday, guys! Kicking off what I hope is a beautiful, well spent weekend for all of you, I've got an exciting transformation to share today! Take a look at our original IKEA Jennylund armchairs, (after I added the pom-pom trim to the bottom)
And after some brainstorming, praying, and diving into DIY:


To be honest, this DIY was a last-ditch effort. I've been longing to add a bit of clean-lined mid-century modern flair to our living room, and over a year ago I began browsing Craigslist looking for MCM, (mid-century modern), armchairs. I wanted to replace our IKEA Jennylund chairs, (which we bought used off of Craigslist as soon as we moved into our home almost 4 years ago), with something cleaner lined. Love the Jennylund chairs, but the pair side by side, across from our IKEA Ektorp sofa, all looked a little slouchy to me. Slip-covered furniture is wonderful, especially when you've got a small army of toddlers, but after lots of cycles of heavy use and washing, the fit is just never the same. The slipcovers on all three pieces, (2 Jennylund chairs + 1 Ektorp sofa), were getting baggier and looser, resulting in an all around slouchy looking living room. I wanted to clean things up a bit.
So, back to my story- I had been searching on Craigslist for a pair of MCM armchairs and wasn't having any luck finding anything in my budget, (which, really, was non-existent. I think I was hoping I'd find TWO gems for around $25 each. HAH!) Then I started thinking about having the Jennylund chair frames upholstered. They weren't bad looking chairs underneath our slouchy slipcovers! So, after 3 or 4 calls to local upholsterers who quoted me between $600-$1500/chair, (what the what?!?), this little seedling of an idea to take matters into my own hands began to sprout. My plan: Use a grey slipcover, attach the skirt underneath the chair, and replace the legs.
At first, I wanted to order two slipcovers from Bemz in Silver Grey Panama Cotton. But the total for the two slipcovers plus shipping was still out of reach. So, I took my Silver Grey fabric swatch, (Bemz will send 5 fabric swatches for free), to JoAnn Fabrics and found the closest match with Rit fabric dye, (which appeared to be Pearl Grey).
The Pearl Grey fabric dye was a major disappointment. At this point I had two blue-ish, purple-ish slipcovers and I followed every instruction for dying in a front loader washer exactly.


I went back to JoAnns for round two, (and they graciously gave me two more boxes of dye free of charge), this time with a better plan. I mixed an entire packet of Rit Tan with 3/4 of a packet of Rit Pearl Grey for more of a 'greige' color.

Check it out! The two dyes mixed perfectly to match the Silver Grey fabric swatch from Bemz!

Like-new grey slipcovers! Hard part = OVER!

The rest of this DIY was pretty easy and straight forward. I turned the chairs on their backs and unscrewed their legs.

Pulled the fabric somewhat tight, (you don't want it too tight or too loose), and used a staple-gun to attach the 'skirt' of the slipcover underneath the bottom edge of the chair.

Trimmed off the excess fabric.


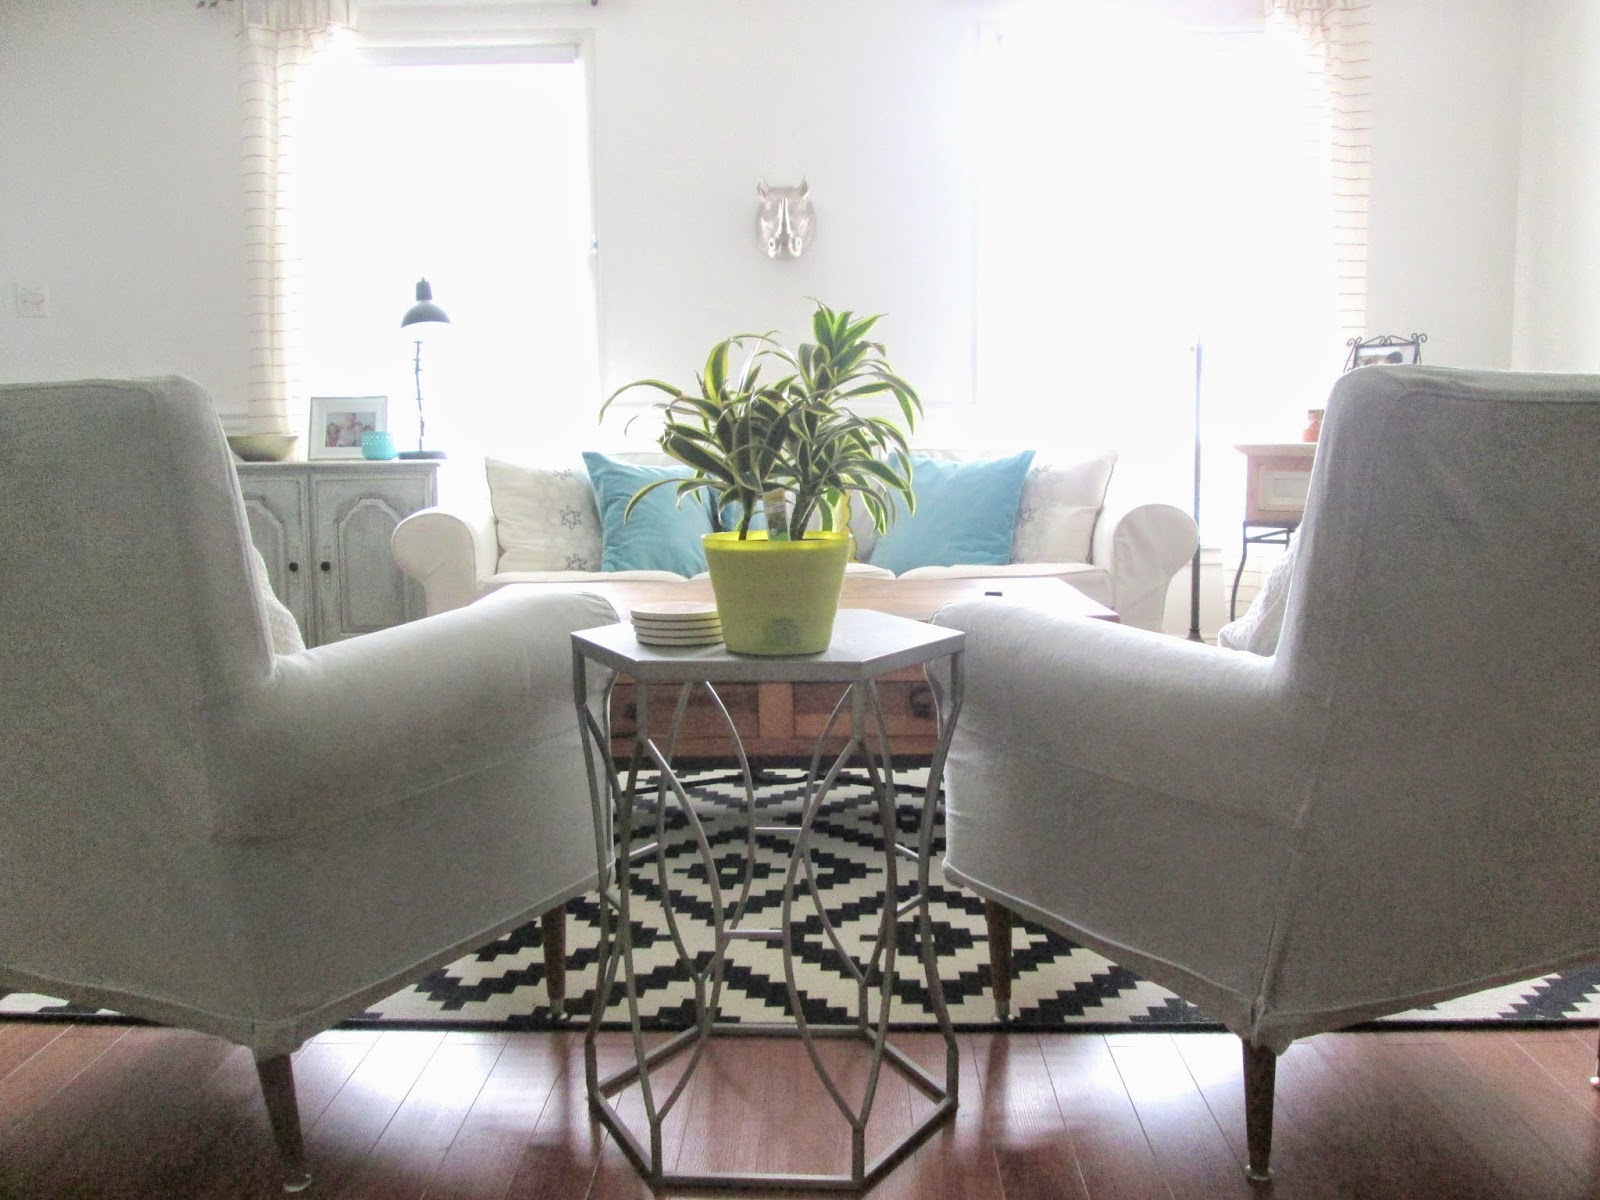
Finished product!
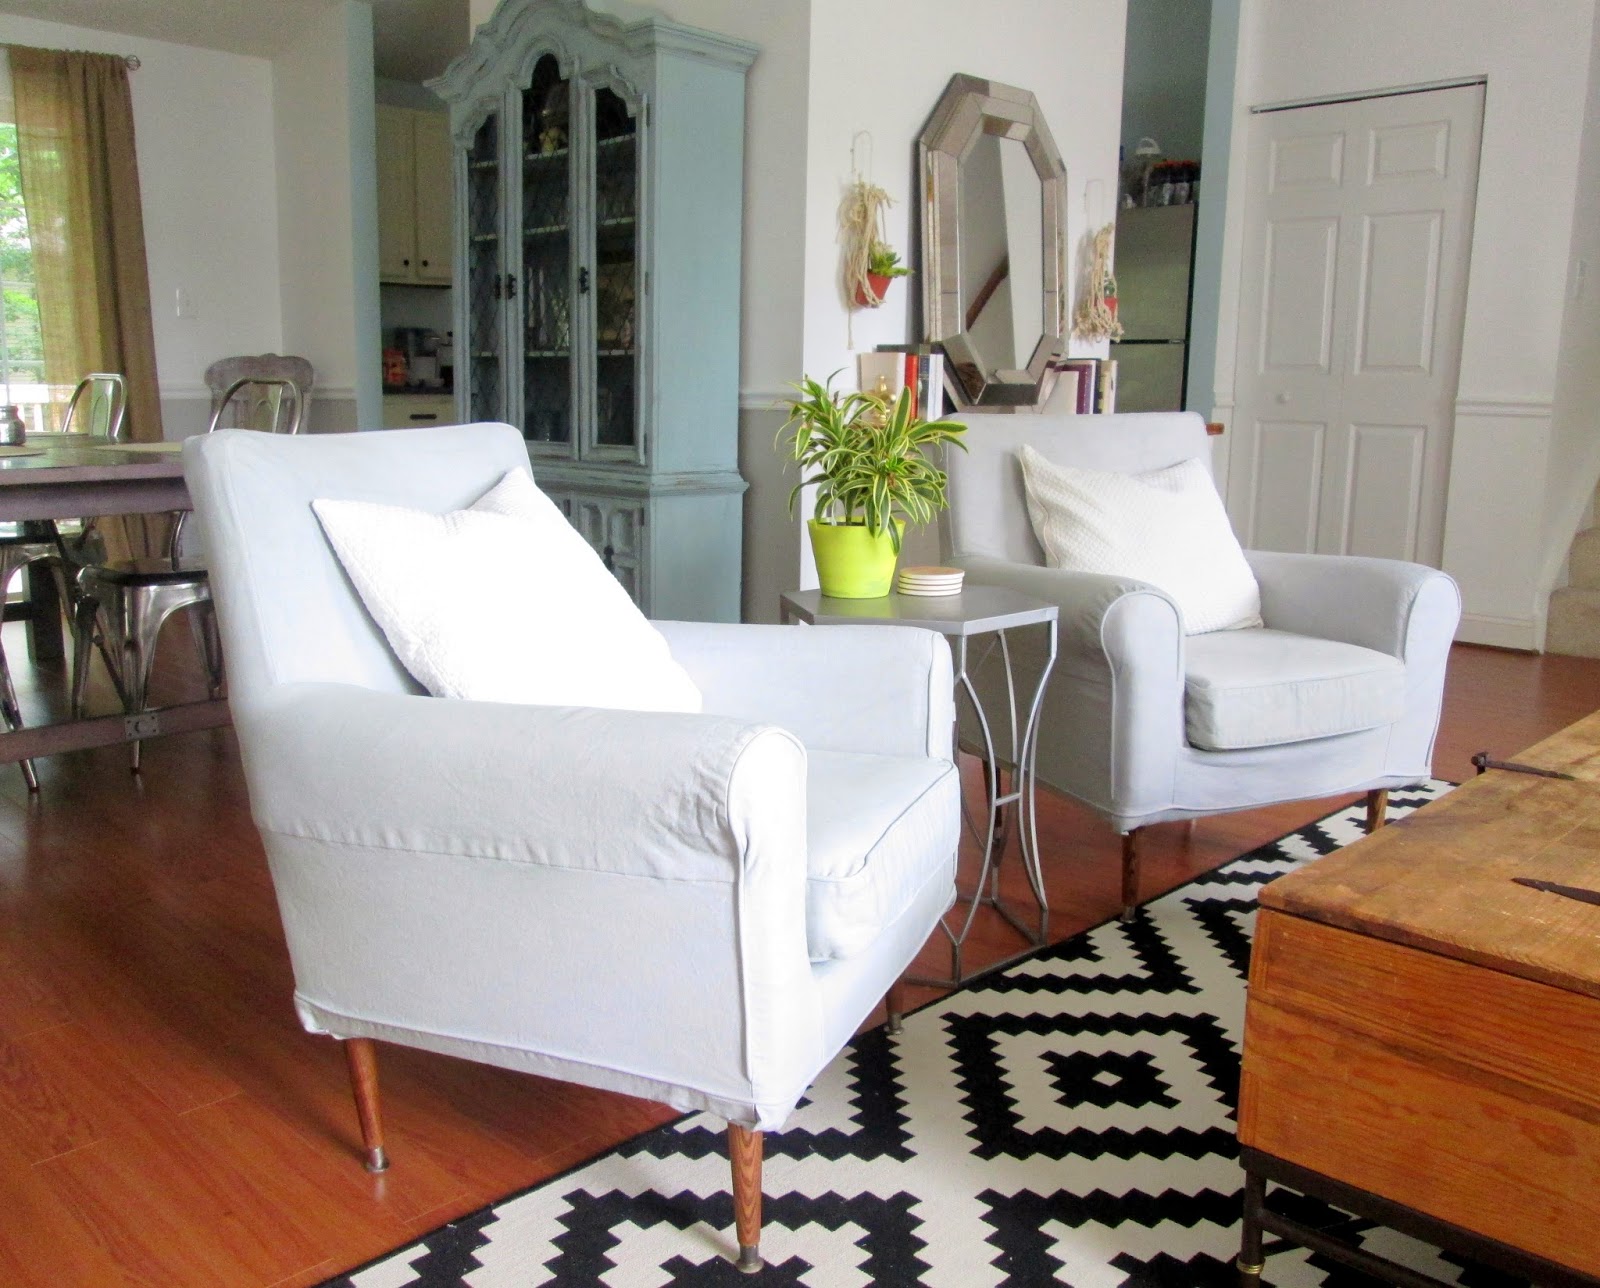
Obviously, these chairs are not perfect. With all the hot water dying and washing the slipcovers shrank just a wee bit. As you can see, the piping does not reach the bottom edge of the chair. But for me, personally, the slight imperfections are completely worth the money we saved. We have the chairs that I envisioned over a year ago, and for only $30/chair, (the expense came from the legs).


This DIY project sure challenged my fearless DIY limits! I definitely feel encouraged that all worked out in the end, especially after several bumps in the road. It's invigorating to try something brand new, even if it is just giving a couple of chairs a makeover...
Have yourselves a splendid weekend and thank you so much for stopping by!
~Chelsea
This post was published under Chelsea's Garage, now affectionately known as StyleMutt.


