Hi friends! Today I've got an awesome transformation of a really dull piece with lots of potential into something extraordinary. I took lots of pics along the way so you could really see what goes into a makeover and take notes for yourself if this is an interest of yours as well. To start, you need a piece of furniture.:) I look for things that are structurally sound, heavy, sturdy, but also just really interesting. Chunky pieces typically catch my eye and unique details that set a piece apart from others I've seen. (Things that don't matter to me: type of wood, color, hardware, scratches/nicks/chips)
This large buffet I found at Goodwill hit everything on my checklist for a piece to transform

Though seasonally appropriate at the moment, the iron leaf knobs were not lining up with my vision for this piece.

So I easily removed them with a screwdriver.

The new hardware I got required smaller holes, which meant I needed to fill in the existing holes.


I plugged the old holes up with Elmers Wood Filler.


While I waited for the wood filler to dry and harden I got to work sanding the edges of my piece just to smooth over all the rough spots. I used 120 grit sandpaper.

Once my wood filler hardened I could sand it down smooth. Sand in all directions; circular motion, left to right, up and down - you want to make sure it is a completely smooth surface.


After all the sanding was done I brushed on my first coat of paint. In this case my first coat was Duck Egg by Annie Sloan Chalk Paint. First coats of paint do not have to look good. You can paint like you did in third grade.:)


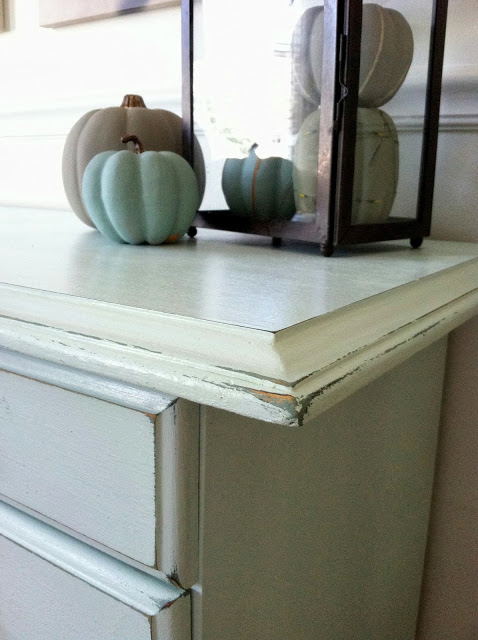
After my first coat dried I began my second coat - for this piece I layered two colors, so my second coat was Spring Mint by Behr. On large surfaces like the top, I like to brush in circular motion followed by an even back and forth motion.


Once the paint dried completely I distressed along the edges, corners, and areas of the larger surfaces using a medium grit sanding block. After wiping the dust off I used a clean rag to wipe on an even coat of Minwax Polyurethane clear semi-gloss.

After the sealer dried all that was left to do was replace the drawers and doors, attach the new hardware, (after careful measuring), and bring the finished piece inside for it's glamour photos!


{66"L x 29"H x 19"D}
Piece has sold. Please contact me if interested in something similar!
Thank you for stopping by!
~Chelsea
This post was originally featured under Chelsea's Garage, now affectionately known as StyleMutt.


