As Chelsea told you, we cannot be more TICKLED to launch our new blog and resource site: StyleMutt
As we prepare for some big changes we will be working hard to give you something we hope you will love as much {if not more} than this site that started it all. And don't shy away from telling us what you want to see on the new site! We want Style Mutt to be a home for all design aesthetics, budgets, and skill levels so your unique input is invaluable to us. {If you missed it, check out how your feedback can win you a special something from us in this post.} But in the meantime, it'll be CG business as usual and since it's Wednesday, I'm coming at you with another guest post.
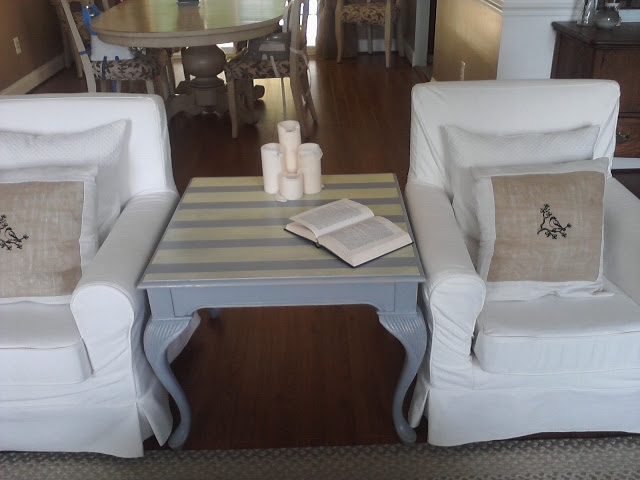
I'm so glad I showed you all the tour of my living room when I did because now it's buried under three new projects...

No.1: a handsome globe & stand
No.2: a bamboo-front dresser
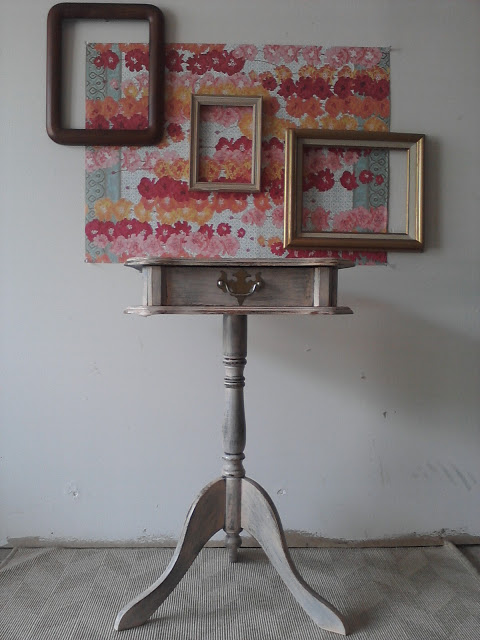
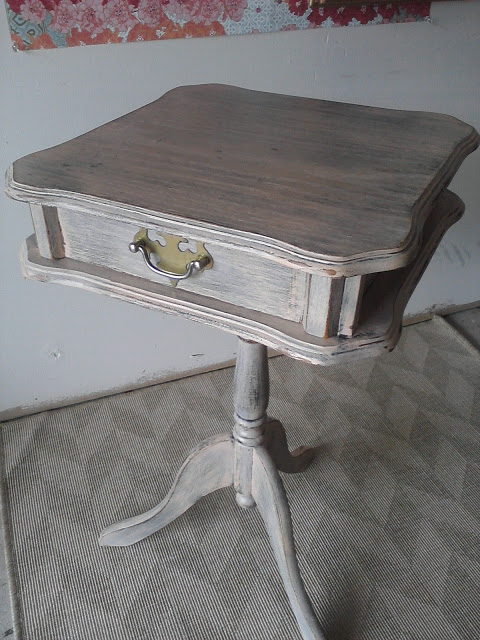
No.3: an old silver chest
This epic thrifting score means get ready for some transformational debuts!
So how 'bout I kick us off with item No.1:

For such a handsome devil, the globe was actually an impulse buy. In fact, he practically jumped into my cart at check out. I think he thought if he didn't act fast, no one would ever take him home. Lucky for him I scooped him up even though he had two obvious flaws that were dating his look.
The first was that shiny finish on the wood:

{See the Citristrip? No secrets what I plan to do with the wood finish there.}
And the second was that old geography circa 1991 - can you spot it?

It was no wonder why he was at the thrift store in the first place, poor guy. Ok. So here's the real question - what do you do with an outdated and outmoded globe...
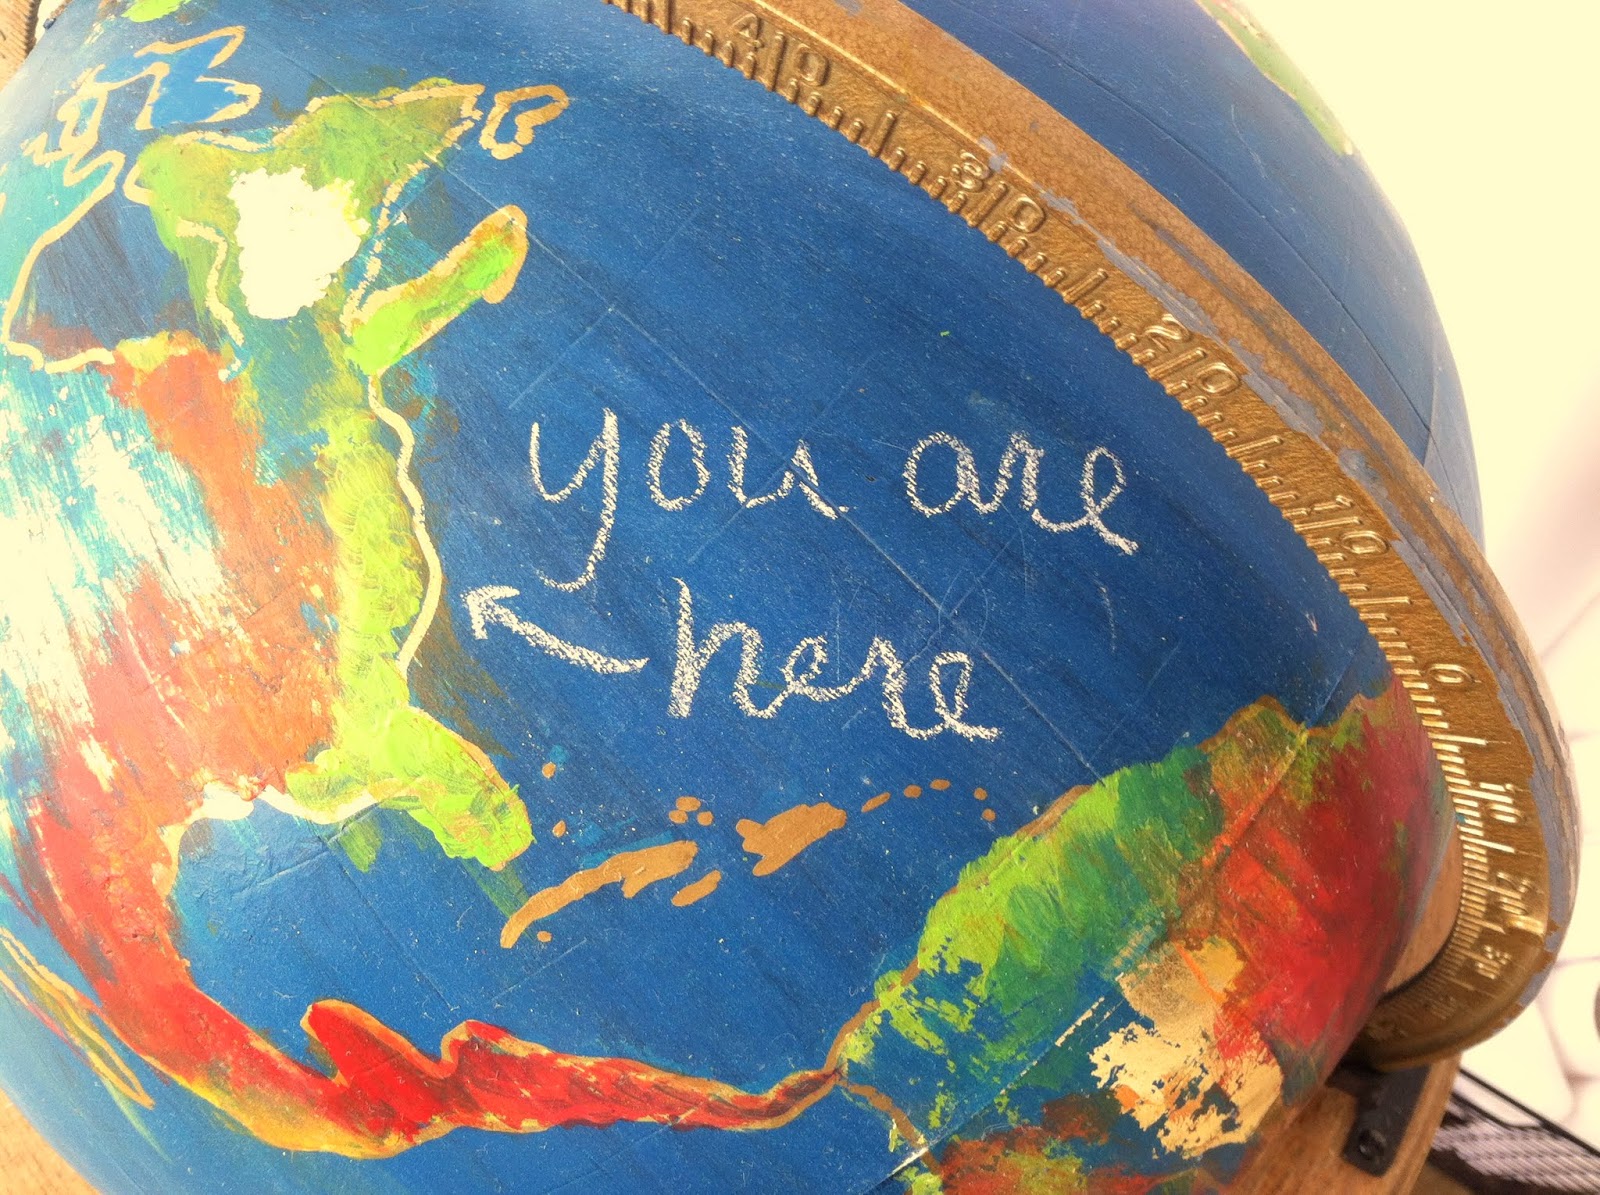
How bout turn it into a piece of art?
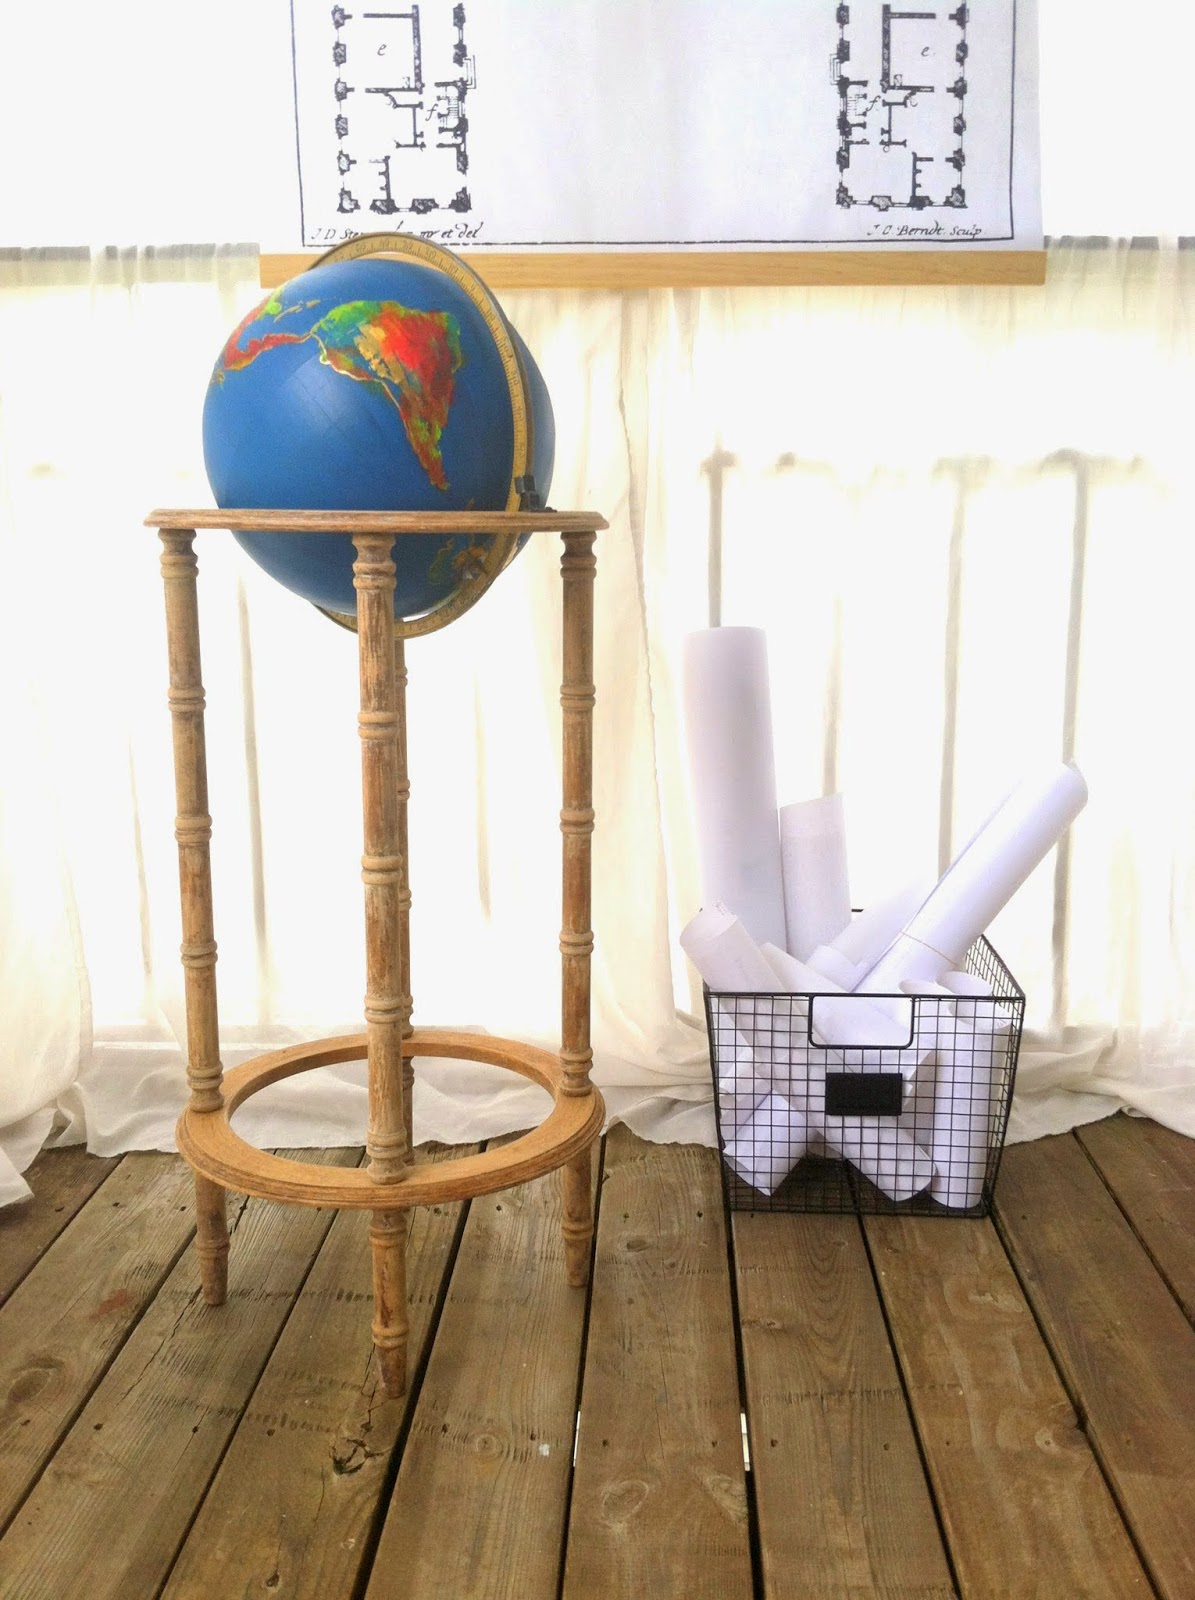

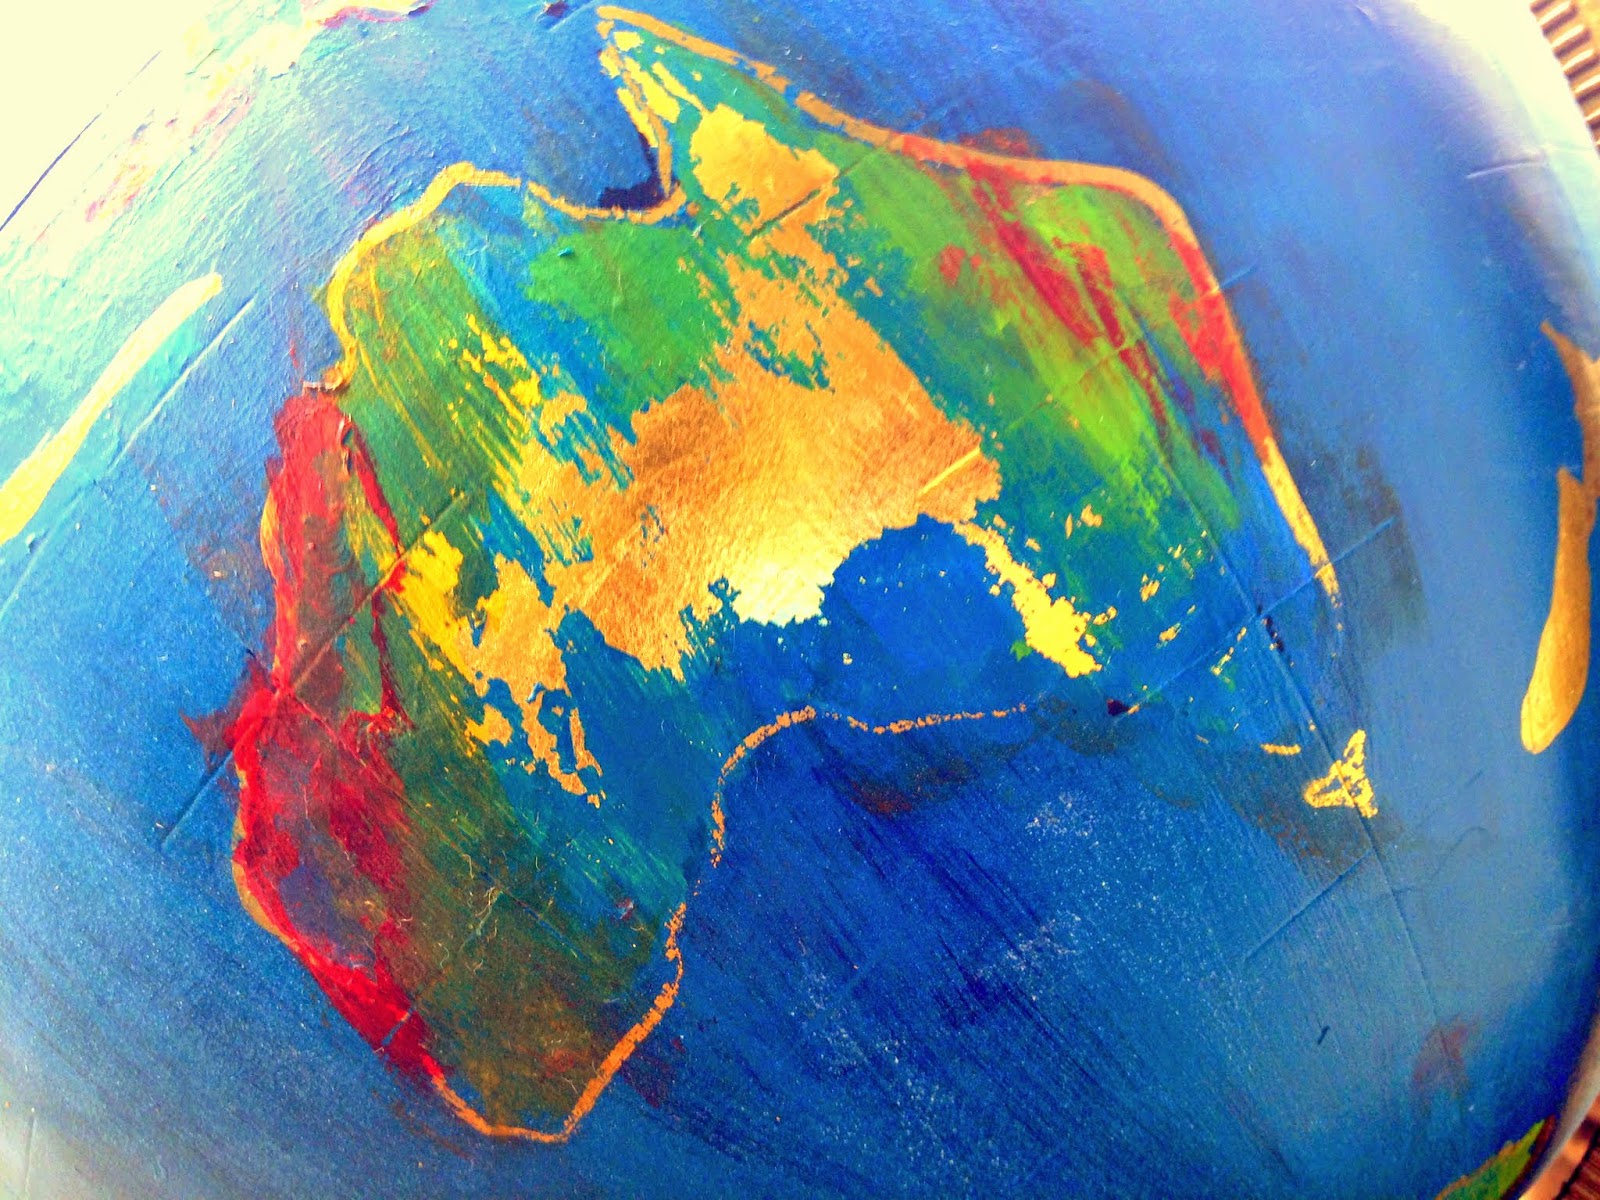
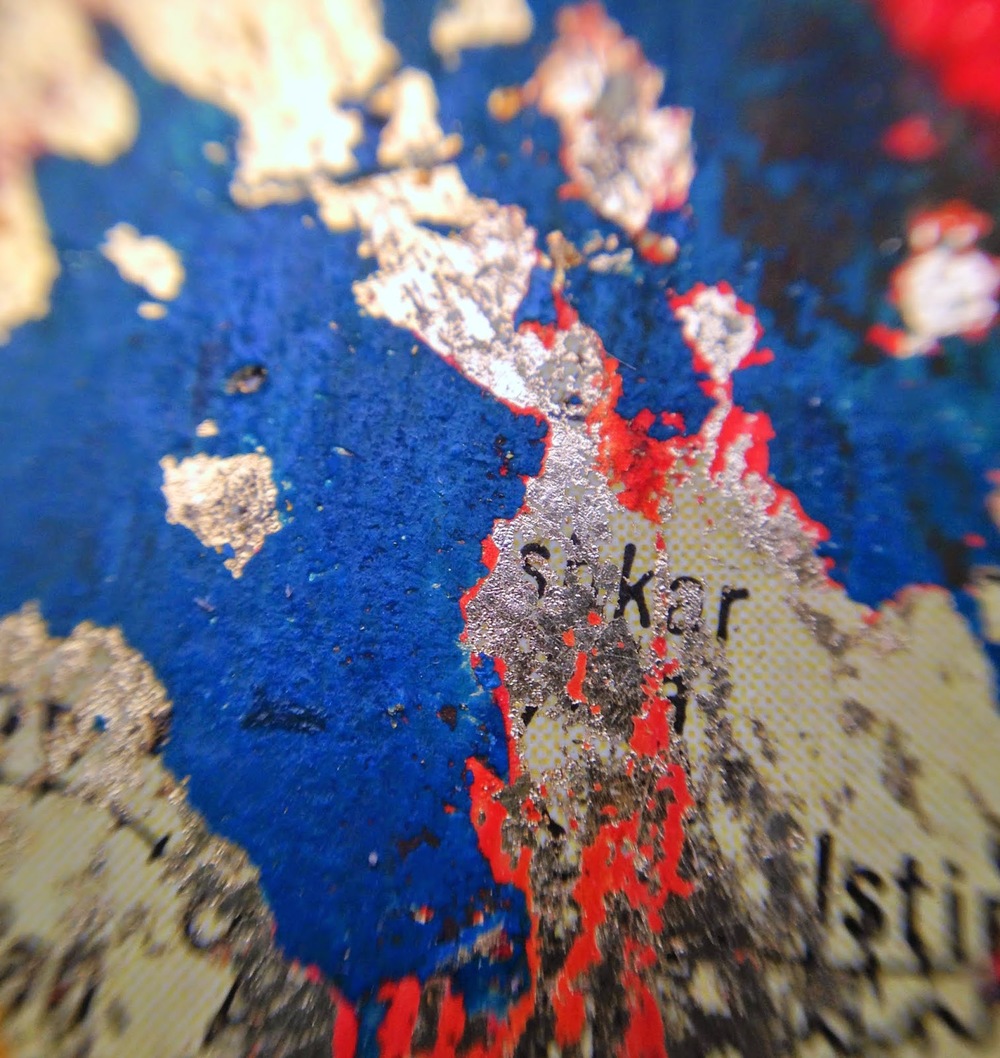
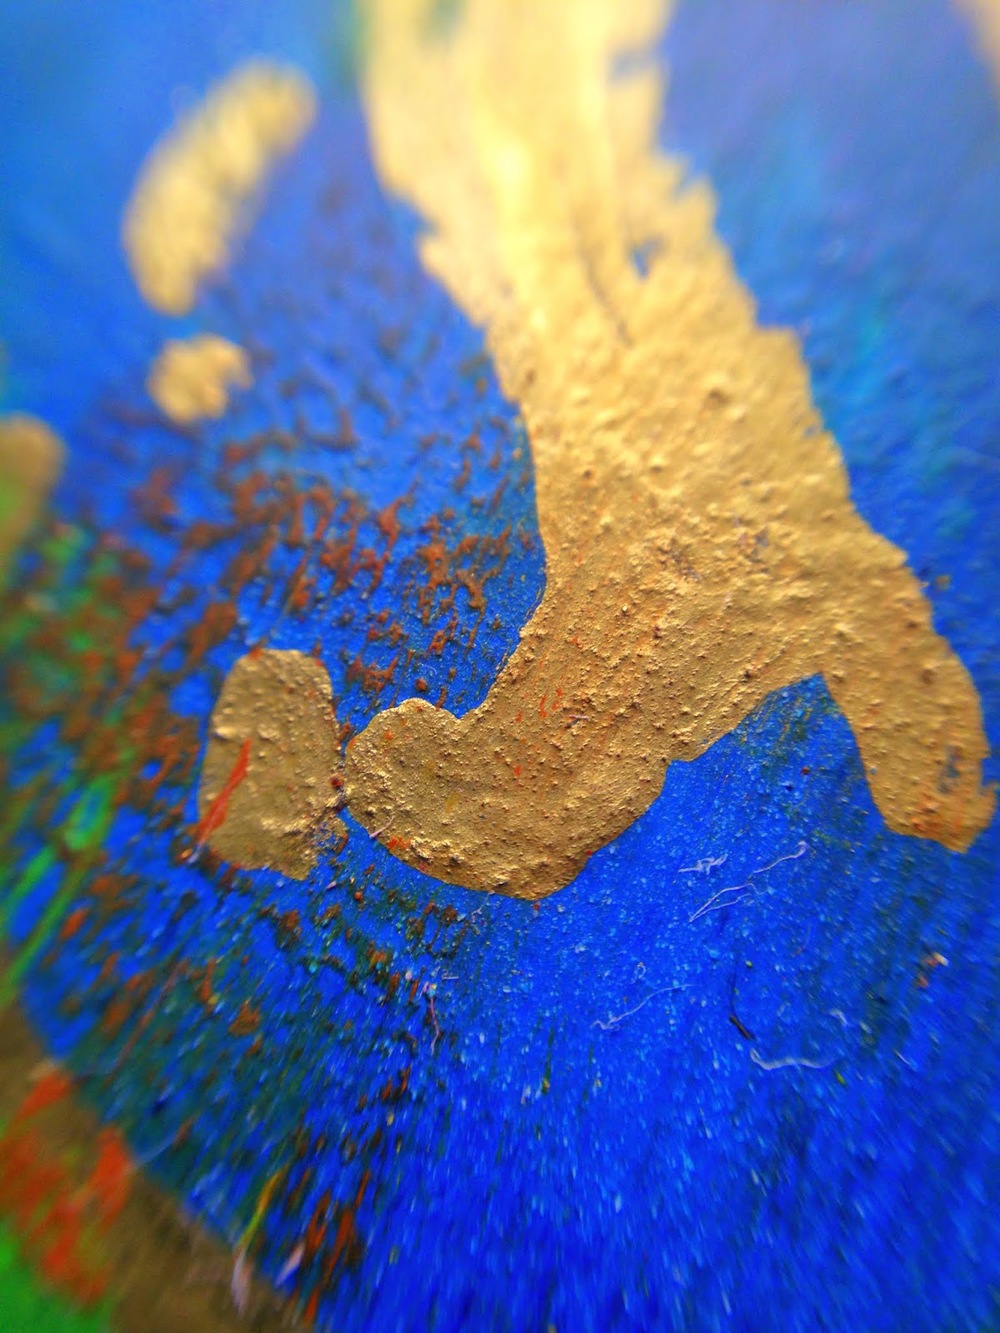
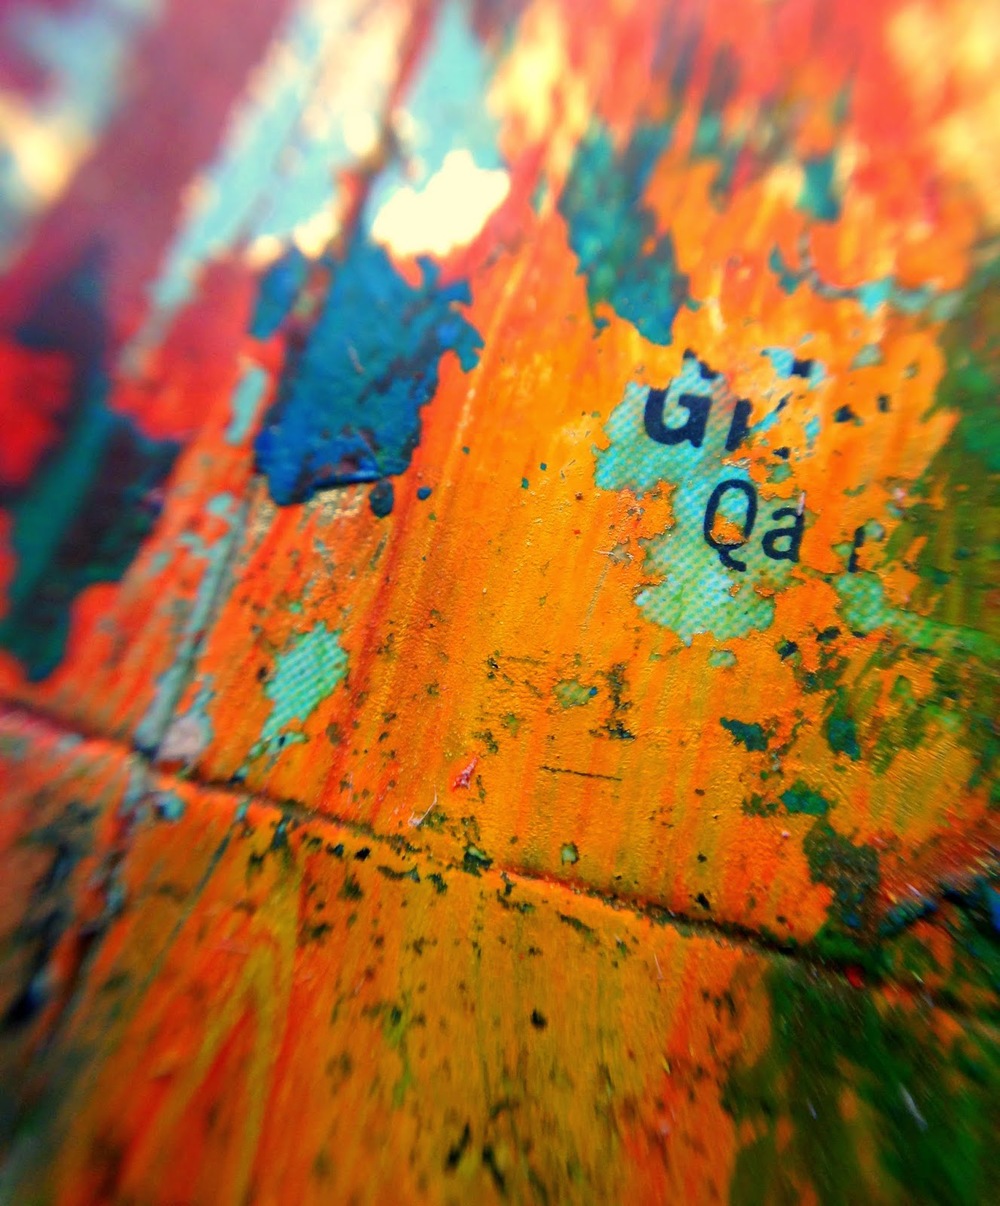
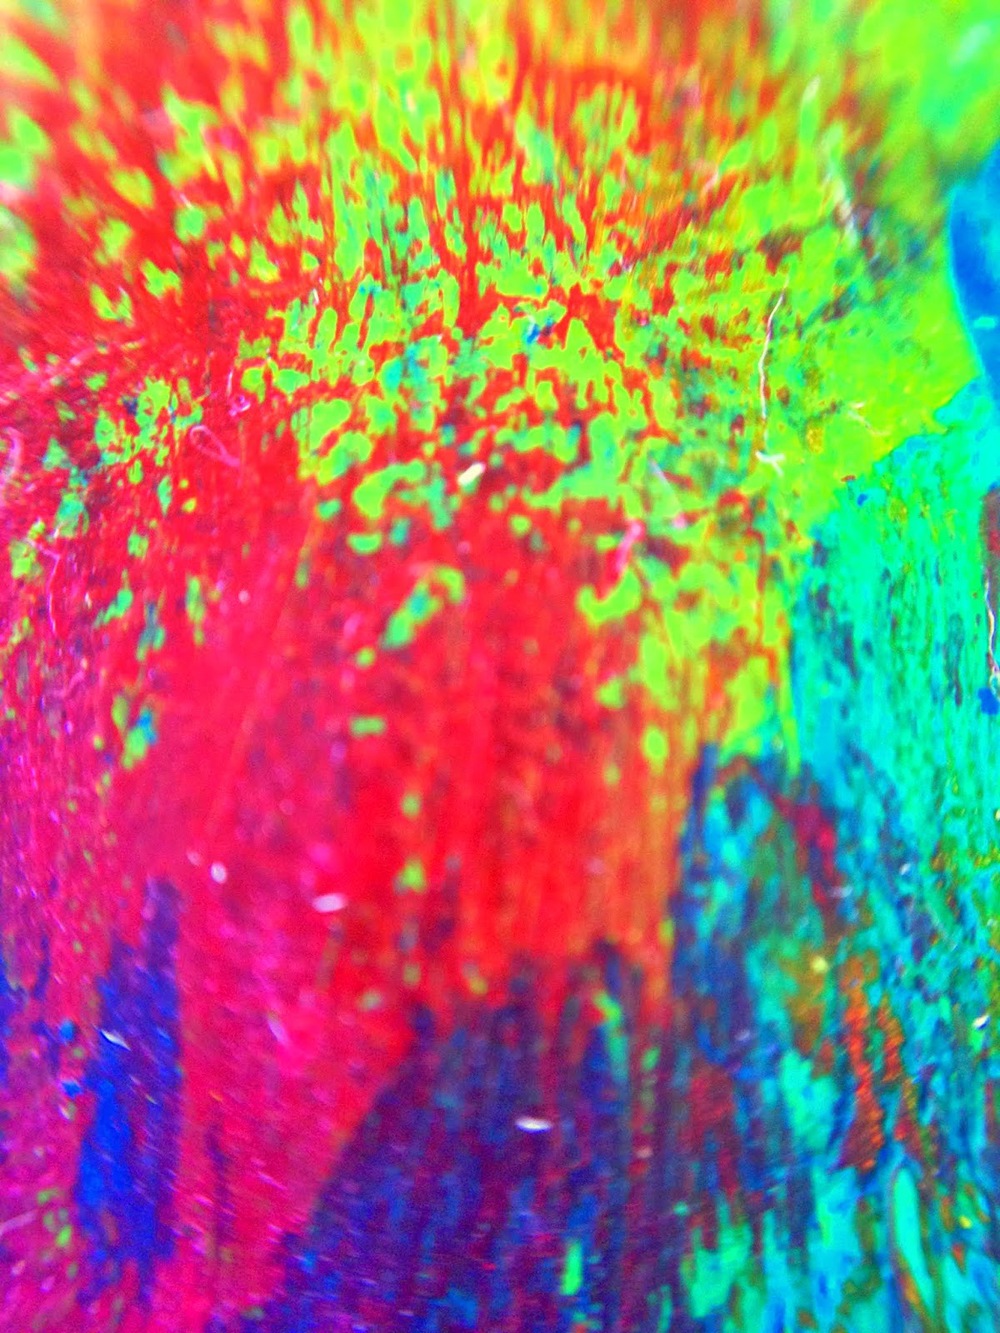
I gold leafed the continents and then hand painted over them in all sorts of colors. I kept applying paint and washing some off, applying paint and washing some off to reveal the gold glimmer underneath. I wanted each region to be an abstract blur like God's rainbowed creation: a beautiful mix of so much complicated individuality, ethnic diversity, and unique points of view.
Let's take it for a quick spin, shall we?
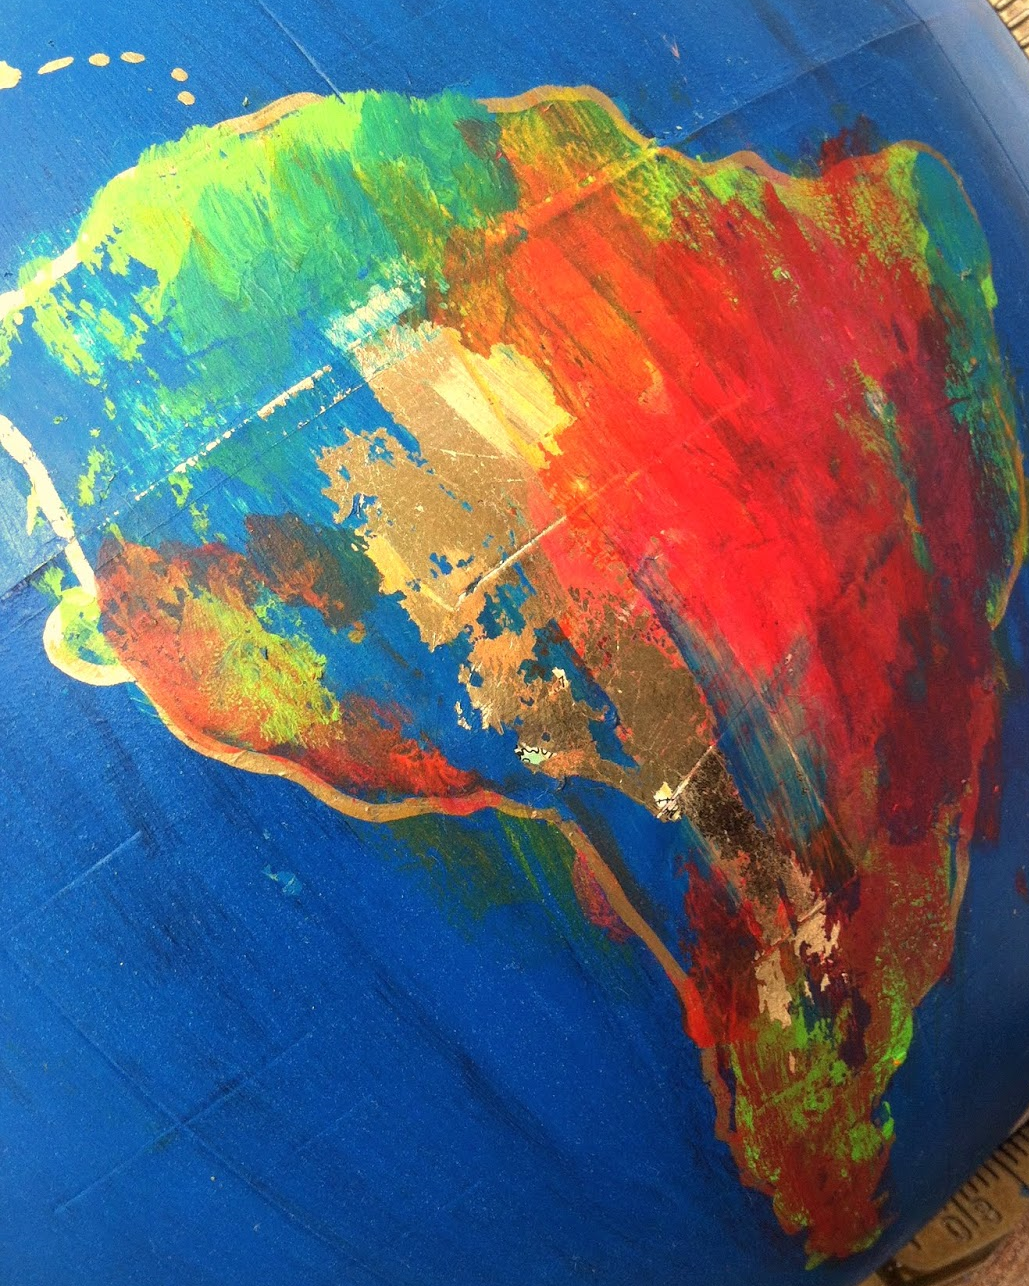
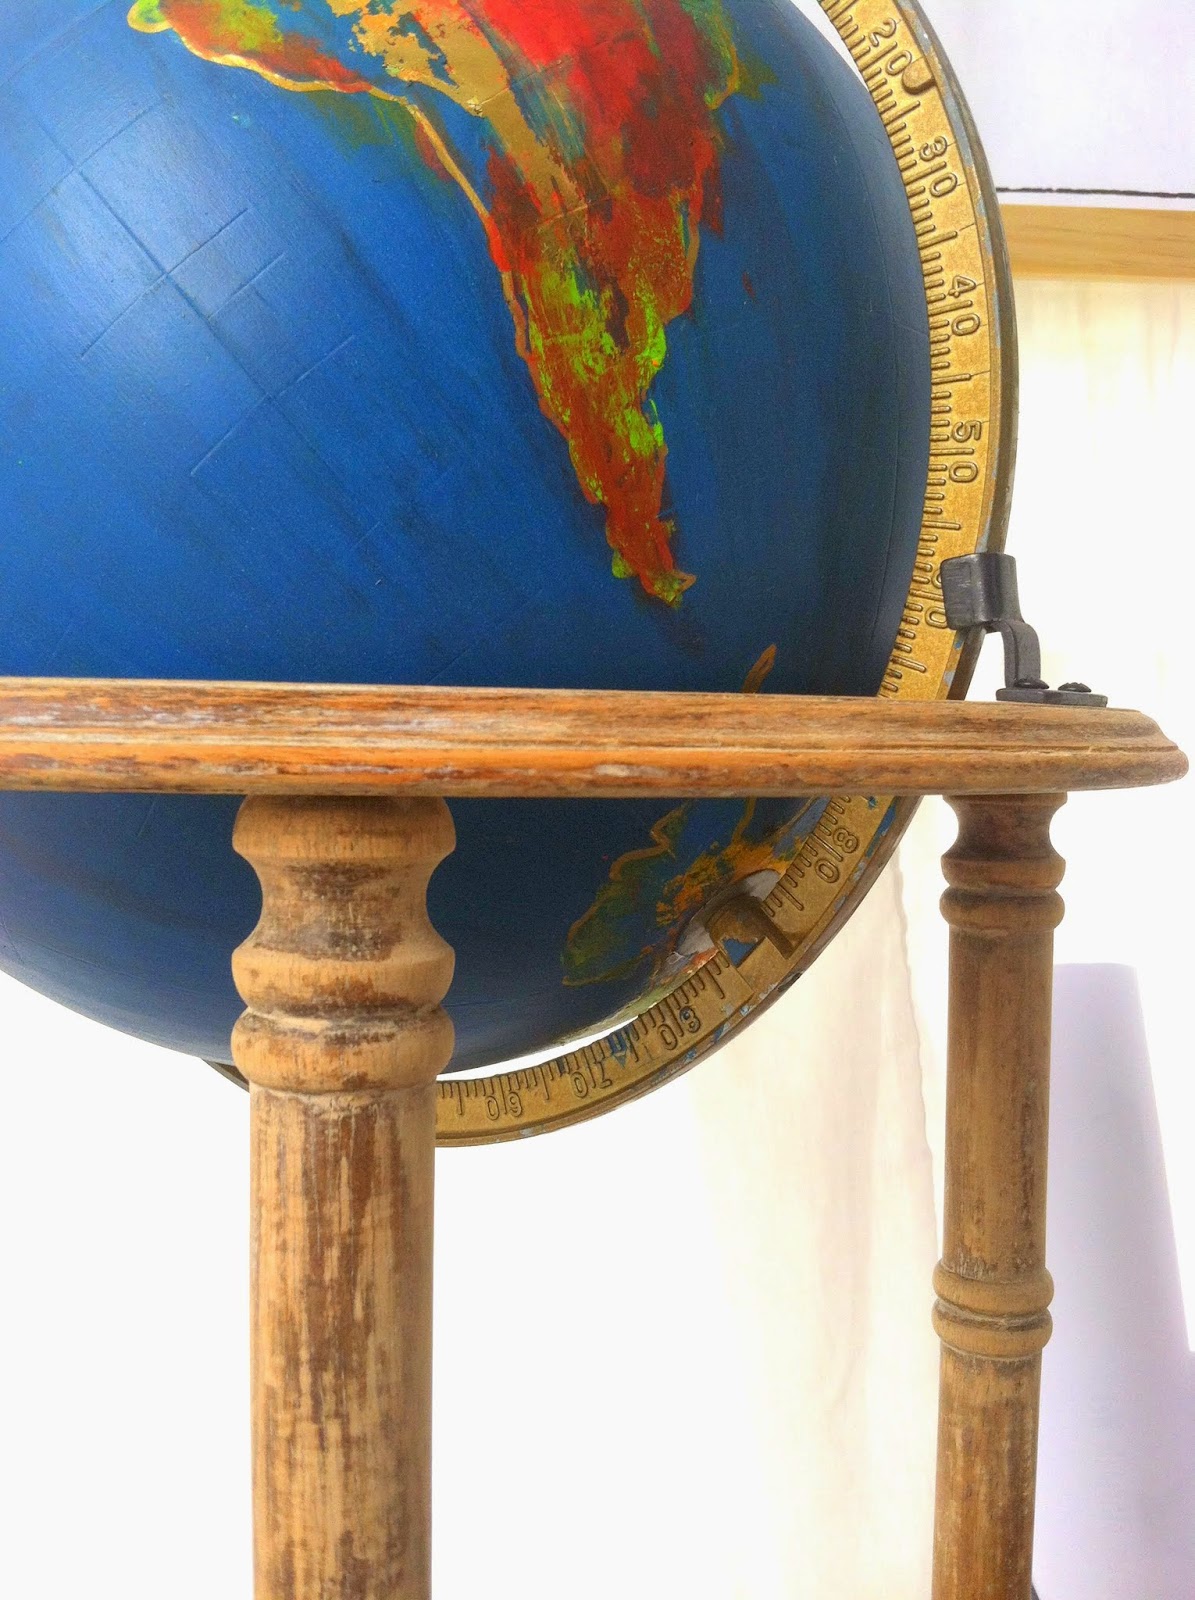
South America

Africa
Australia
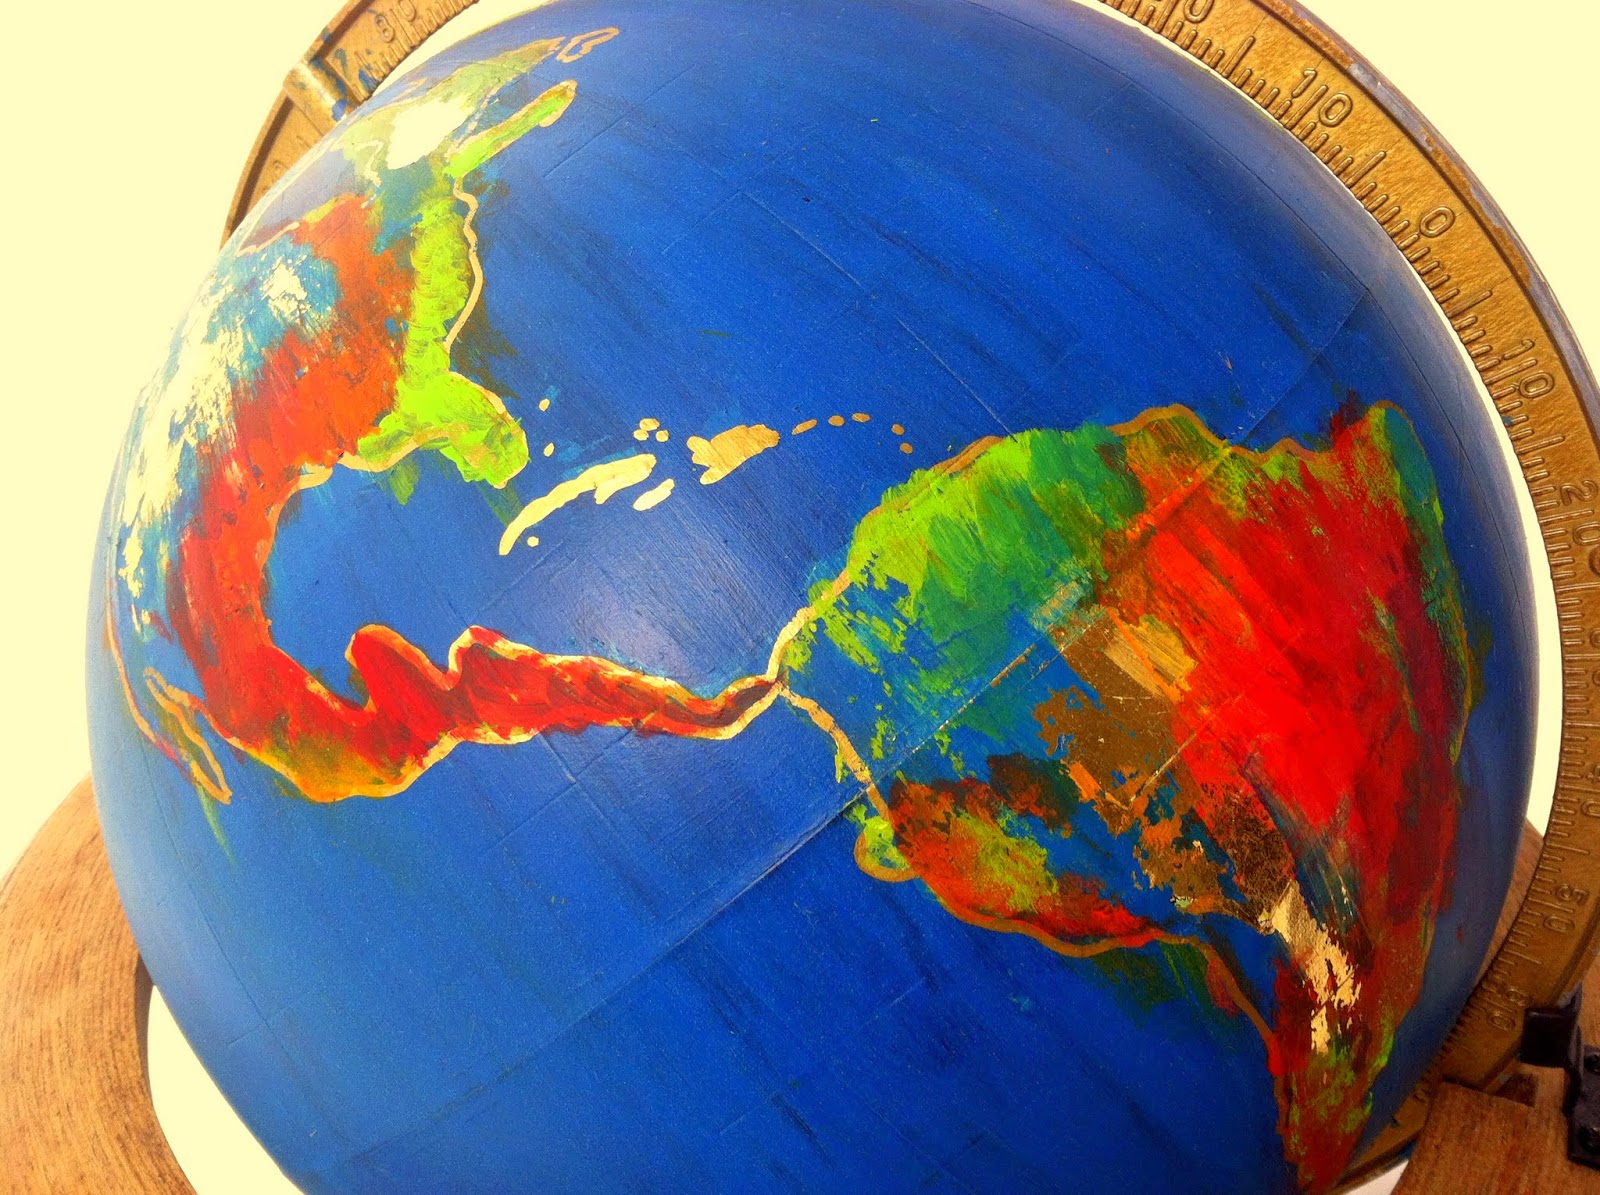
North & Central America

Europe

Asia

And the last but not least: Antarctica {and the final continent remaining on my travel checklist}
And using my new Olloclip for taking iphone photos {alas I don't have a real camera these days but hey, rock what you got right?} I was able to get some macro shots of the paint effects so you can appreciate the detail. Woot!
Shout-out to Caleb for surprising me with such a great gift #besthusbandever
Bonus alert: the ocean is a chalkboard paint!
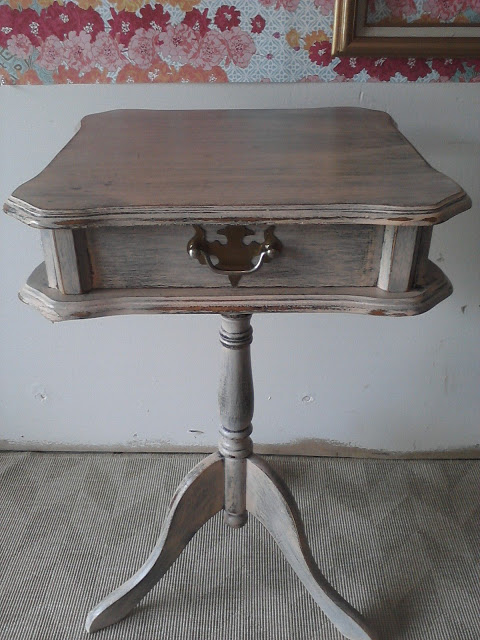
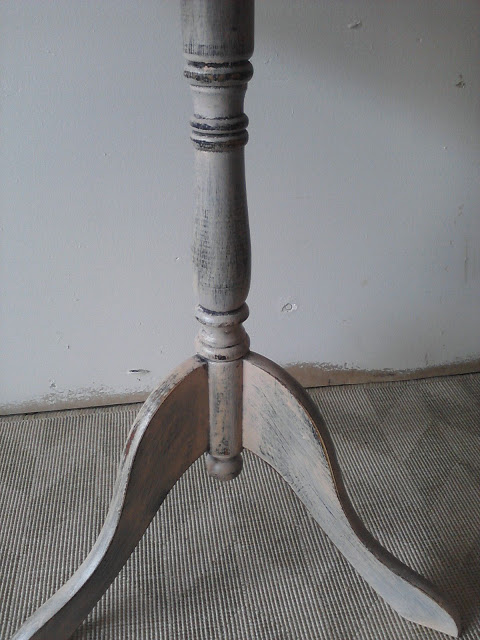
As for the wood, I wanted to strip it naked and sand it to give it an un-finish like Chelsea's post about this dresser. I wrestled with it for hours trying to get every spec of finish out of the nooks and crannies of the spindles. In the end, I surrendered gracefully to the stubborn finish and decided I liked the distressed effect.
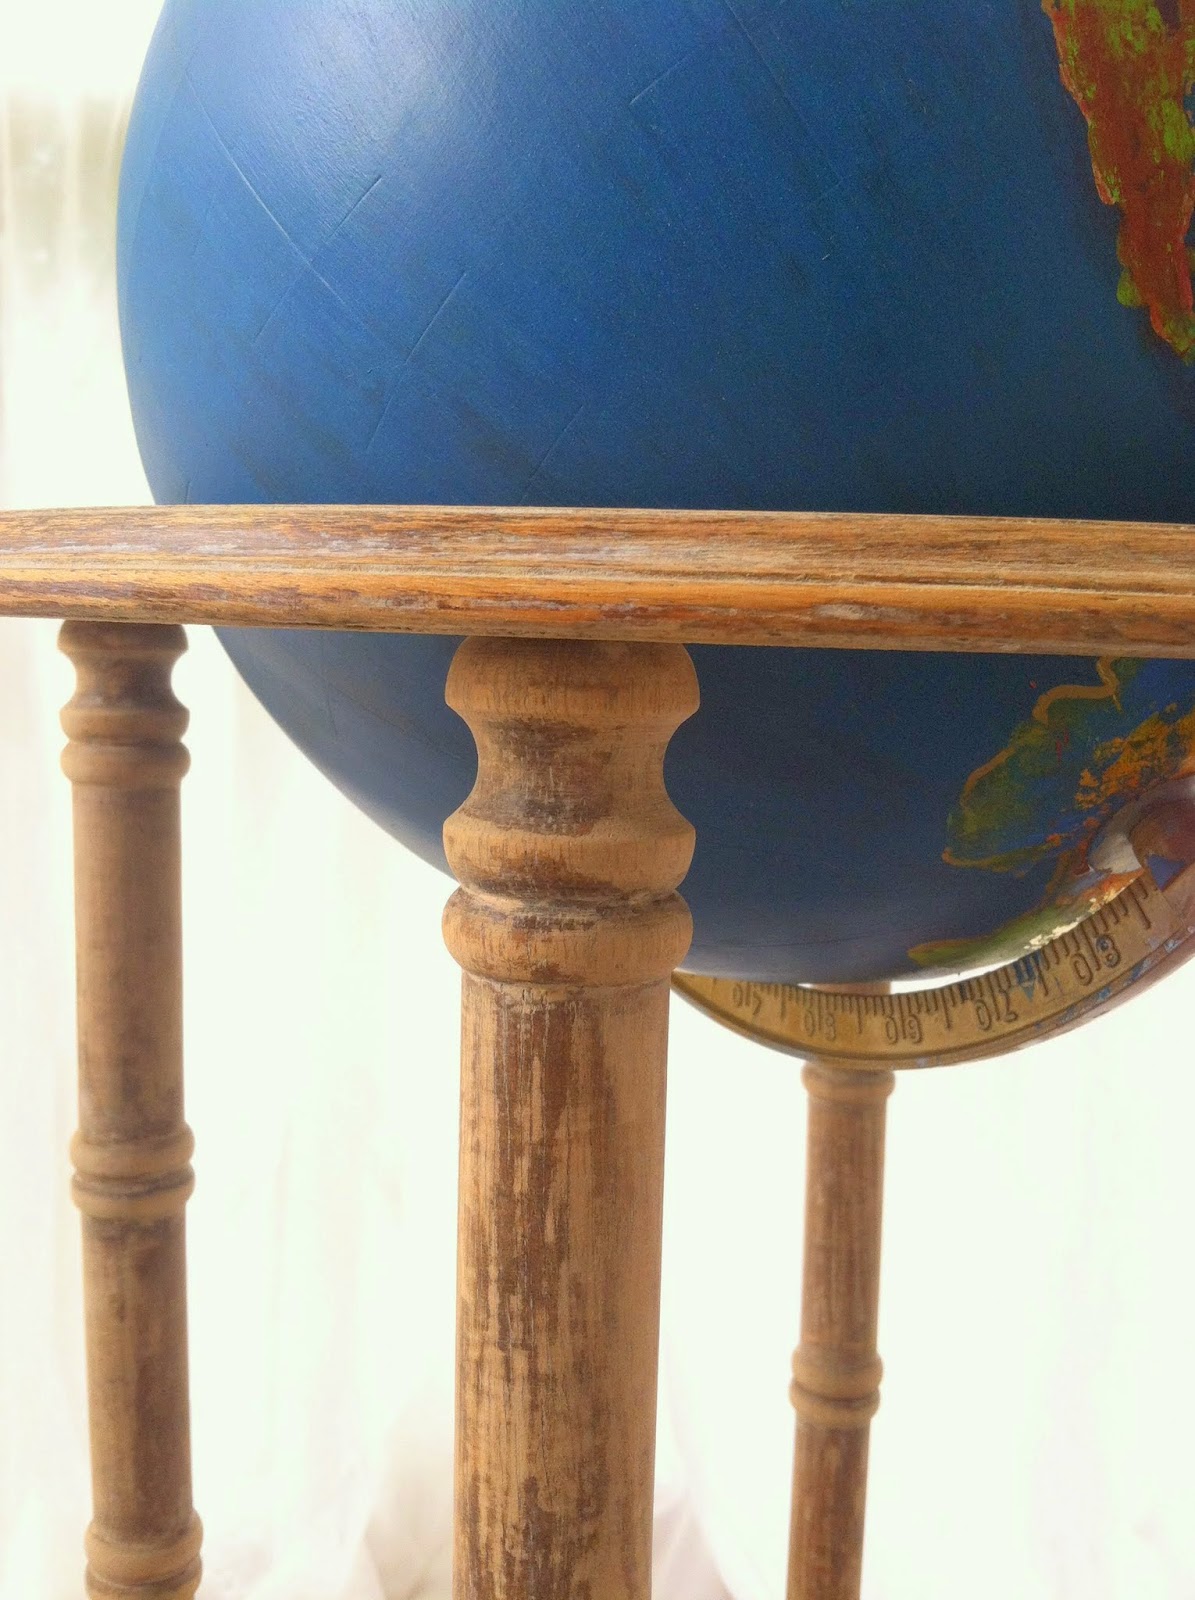
Call it laziness, but I call it a mutual agreement.

Well mister, your dated days are over - now you are a piece of art!


16"W x 16"D x 39"HSOLD
Happy Wednesday,

This post was published under Chelsea's Garage, now affectionately known as StyleMutt.