It's that time again!

As the hot days of summer are now numbered I am starting to collect pieces once again for a Chelsea's Garage on-site sale! If you check out my Etsy shop don't expect to find much in there as I will be holding onto newly refinished pieces for an upcoming autumn sale right out of our garage. If you haven't been able to attend or see photos of past sales, it is such a fun day!


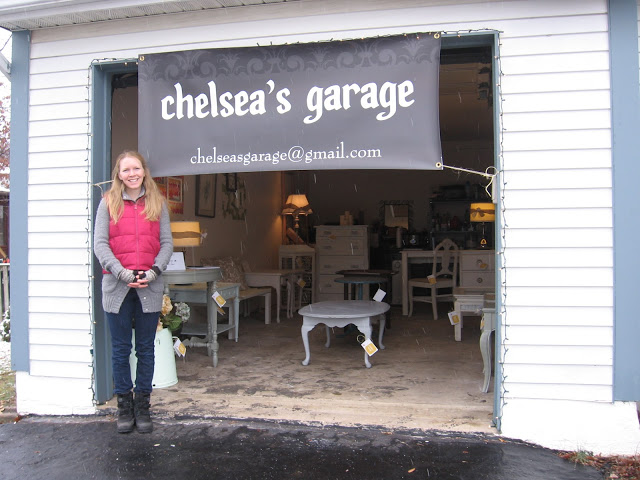
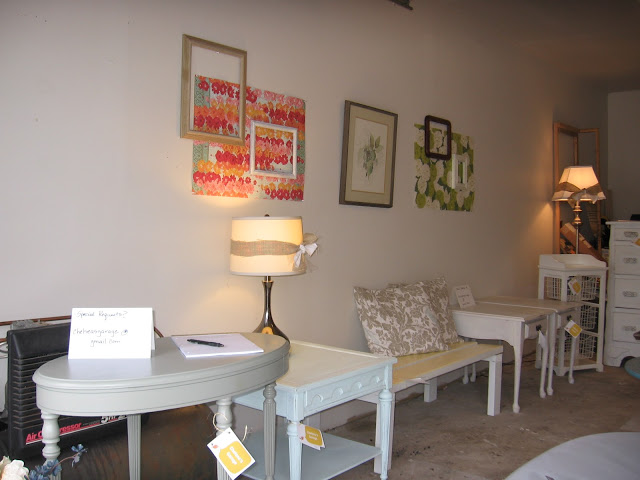
Transforming the garage, (with bikes, kids toys, lawn equipment and all), into a warm and inviting little showroom for a day is how this all began. In the past few months my focus has turned more from hunting for my own pieces to taking on client orders. While I absolutely LOVE working with clients and giving their vision for a piece it's own reality, I also still enjoy the thrill of finding interesting pieces and dreaming about what they could be...and working it out!

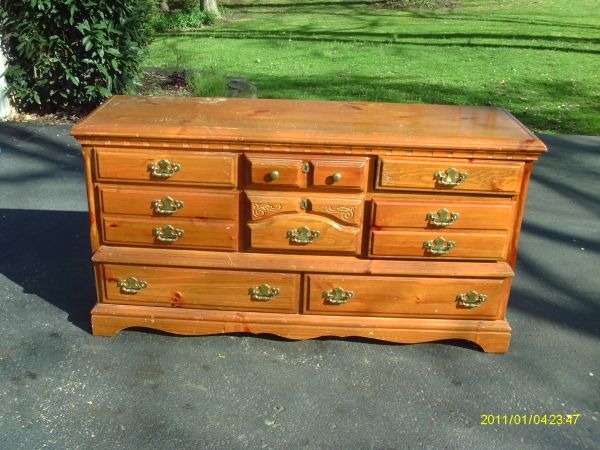
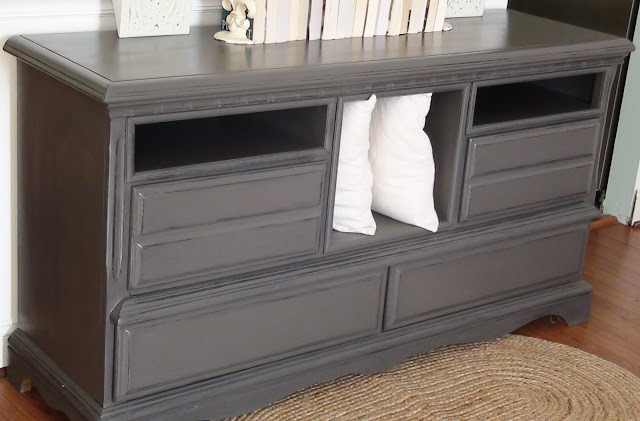
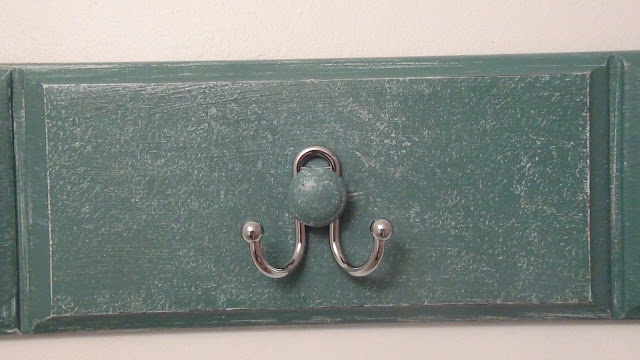
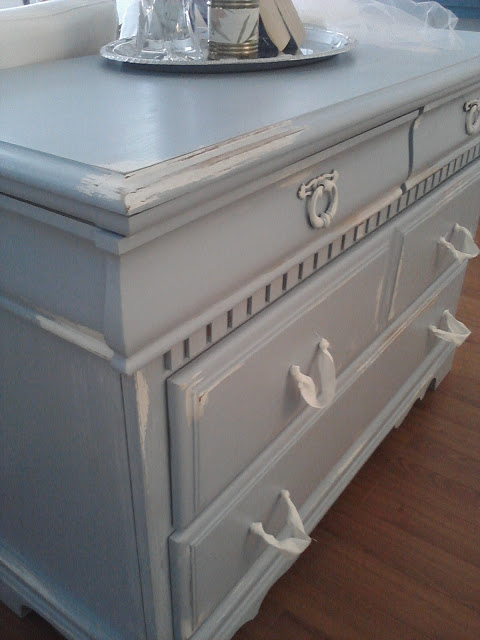
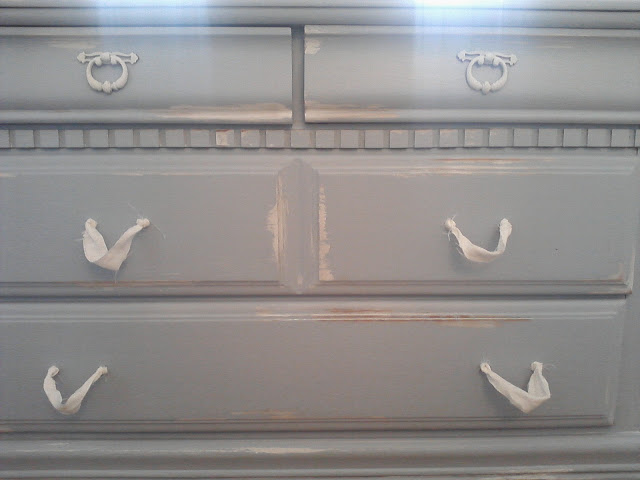
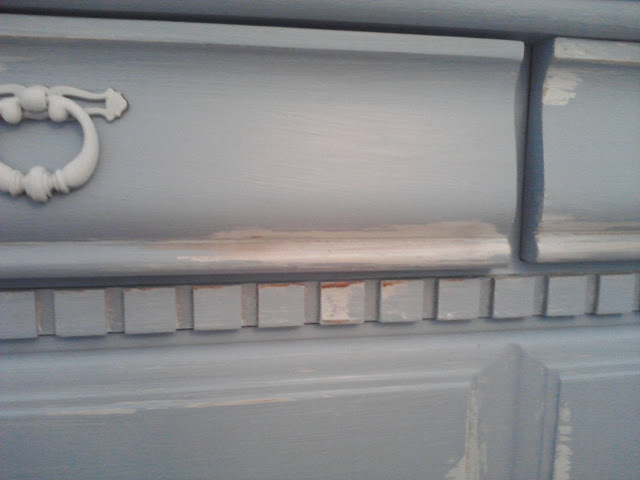
It's also a fun opportunity to test out different techniques since I don't have to worry about upsetting a client if it goes horribly wrong! In my previous post I had success using Vaseline as a distressing tool. I tried it again on a GORGEOUS dresser yesterday and I must say, I'm a big fan!
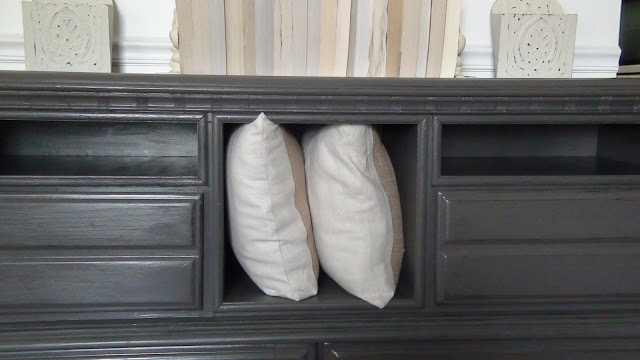
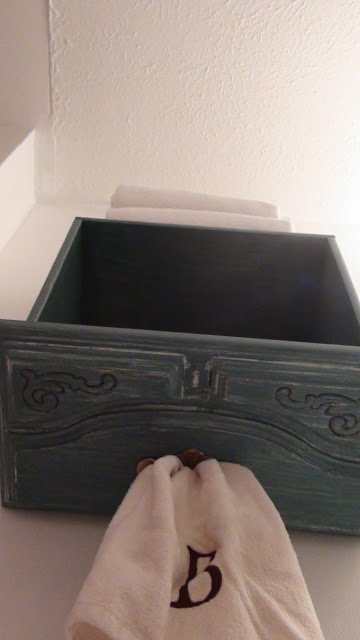
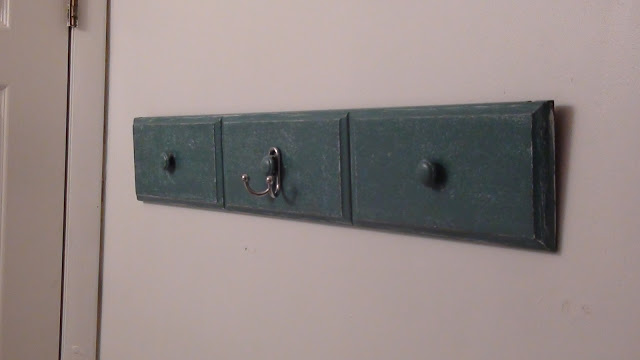
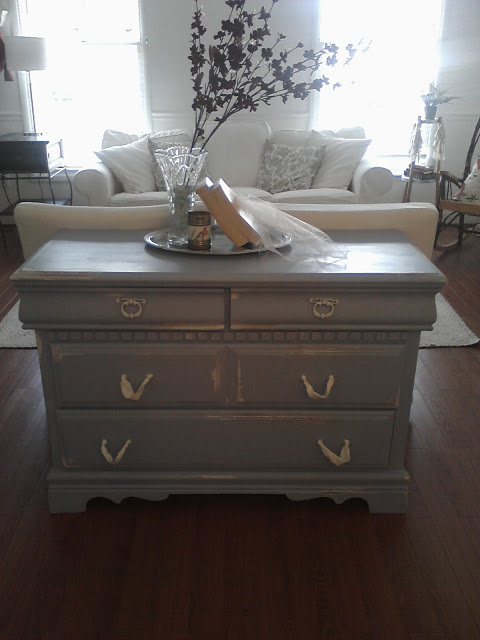
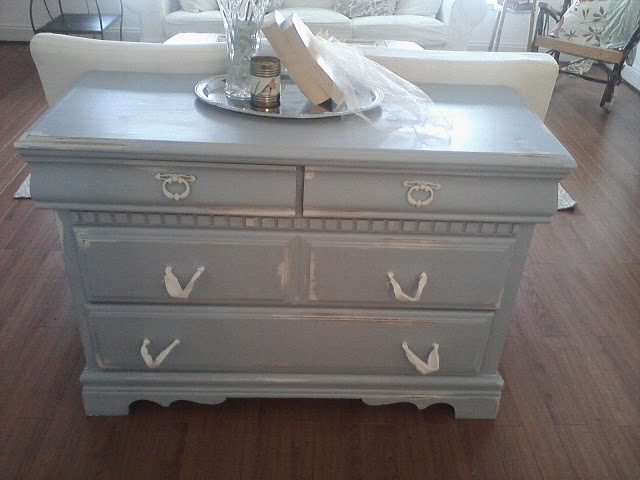
 {will be available at the next Chelsea's Garage sale}


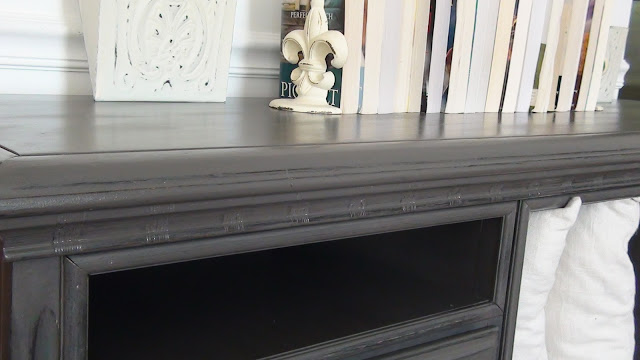
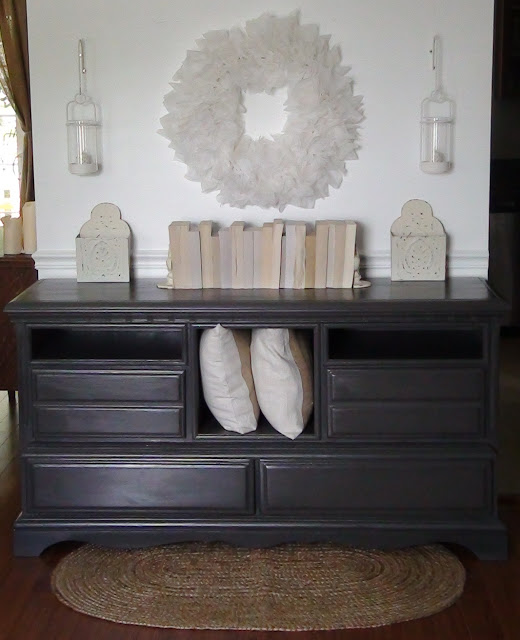
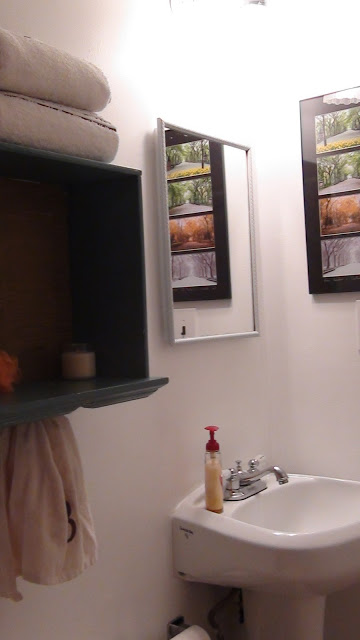
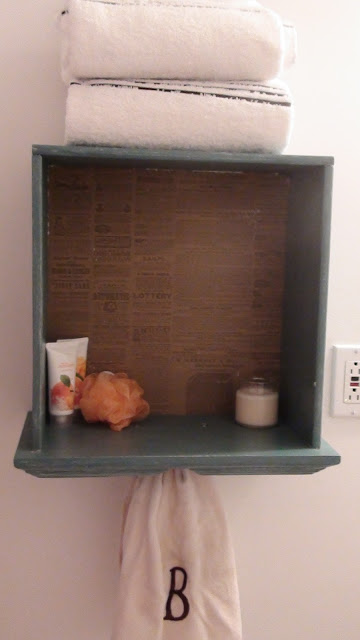
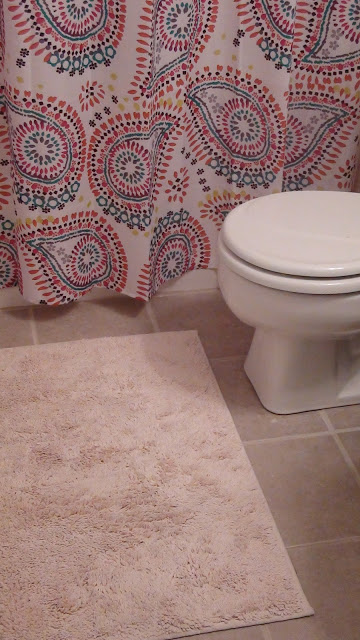
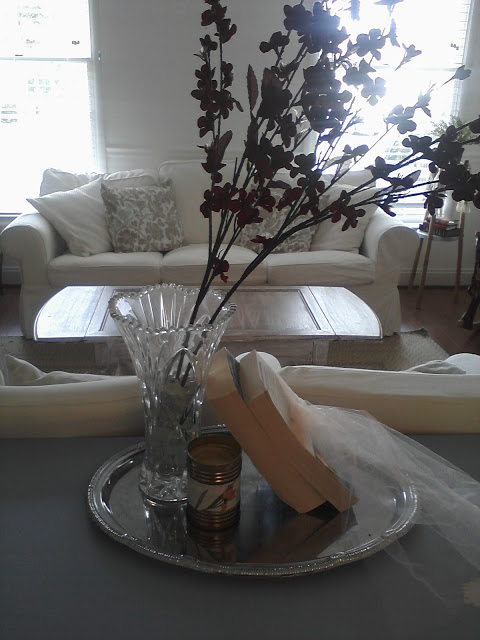
For me, a piece is not truly finished until it is in my home, staged, and photographed. That's just the icing on the cake for me...buttercream icing. The best kind.
 
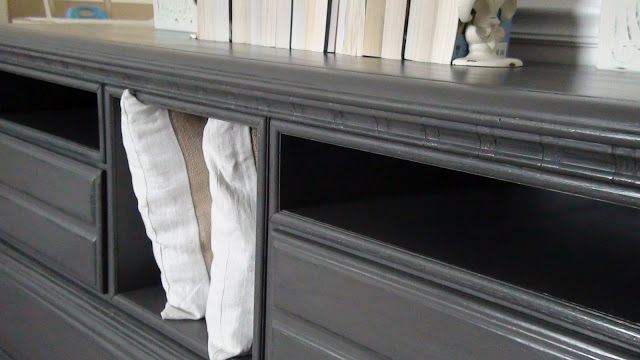
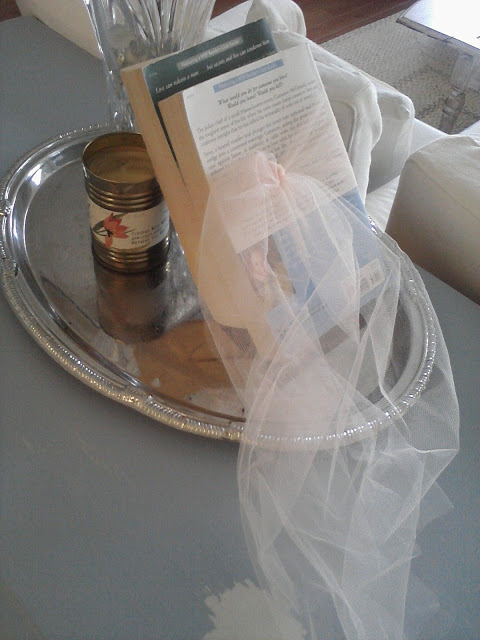
Tying these two fantastic reads by my one of my favorite authors, (Jodi Piccoult), in tulle seemed to tie in the Marie Antoinette look that this dresser seemed to have when I stepped back from the finished product. I'm not educated in Marie Antoinette's style, but am I right? From the tone of the blue to the two round pulls and the curves of the upper drawers - when I finished this piece I just had to google Marie Antoinette and check if my first impression was accurate.
It wasn't too far off. But, I'm no expert.:)
 
This piece was done in a lighter shade from the table that I posted on previously. Come back tomorrow to see an entirely different shade of the same blue! We're going ombre this week! Sorta.:)
 
~Chelsea


~Dresser no more~

Hi! Well, I am so excited to show you our most awesome transformation yet to come out of Chelsea's Garage, but first I must give credit where credit is due. A long time ago I came across this post from Sausha at Sweet Pickins Furniture. I kept coming back to this ridiculous transformation she did of an average 8 drawer dresser turned TV console. I had to try it! But, I also needed the right client to come along who wanted this. After nearly a year, finally one did:) I showed this sweet person the post of the TV console I had my eye on and they gave me two thumbs up, (four if you count her husbands)! So, I scored this perfect 8 drawer dresser on craigslist - almost identical to the dresser Sausha had redone.
~Before~

For the most part I followed every step-by-step instruction that Sausha explains in her post about the same transformation, so I'm going to refer to her instructions if you'd like to know exactly how this transformation was done. Thanks, Sausha!
~After~
 *Notice something missing? My clients have had a challenging time finding hardware that they like and is in stock, so this piece may be naked for a bit longer. I just couldn't wait to show you the almost finished product anyhow:) I'll update again with a couple pics once the hardware is on!

 *Shelves in the upper corners are the perfect size to store the media boxes, while the cubby in the middle is great for holding a basket of remotes/cords/controllers, blankets, pillows, or whatever else their heart desires!

 *I love the color combo this client chose! Charcoal gray, (Valspar Semi-Sweet in semi gloss) with black undertones, (sealed in Minwax Polyurethane Clear Semi Gloss). Not something I would have thought of trying myself but now that I see it in person I am in love!


*Of course, staging is always my favorite part. This is where I see refinished pieces come to life.:) {Creative tip} - turn your books with the binds facing in for a striking visual effect. The books are all different heights, widths, and best of all, different shades of white/off-white. Now the books look like a textural piece of art!

The best part of this transformation was having the opportunity to work in the Garage with my main man, Matt. I cannot thank him enough for the work he did with all the cutting and attaching of the shelves, trim, etc. Isn't he a stud?! His handiness has opened quite a few doors for more transformations like this - it's a whole new level beyond just slapping a coat of paint on a piece! Good thing he enjoyed this; I will definitely be hiring him again.:) Thank you, Matt!

If you have any questions that were not answered by Sausha or myself, please don't hesitate to contact me!

~Chelsea

P.S. To find out what happened to the deep drawer that was in the middle of this dresser, look here.:) Now it's a functional, (and adorable), storage shelf in our guest bathroom.

~Before/After~ Small Bathroom #1

You may remember this post a couple weeks ago about some cute ideas for revamping a couple of our itty bitty bathrooms. Well, I got to work last Friday on one of them and am so excited to show you a now finished product! This is our basement bathroom before:

Medicine cabinet mirror, pedestal sink, painters yellow on the walls, ill fitted switch covers - we are grateful for the full bath in our basement but it was pretty sad looking and had nowhere for overnight guests to settle in with their toiletries.


~After~


Project A: Drawer Shelf - see bottom for details


Project B: Framing the mirror - see bottom for details

Project C: Drawer face-turned towel rack - see bottom for details


Project D: Bleaching old rug - see bottom for details

So refreshing now, don't ya think? This may not be your particular taste, but here is how I approached each piece of this bathroom in case you want to try any out yourself!

First off, I purchased the shower curtain last week at Walmart just because of the colors! I had recently decided to paint the walls white and play with color elsewhere, so when I spotted this shower curtain it really started giving me ideas for what other colors I wanted to pull into the room. ($9.99)

Project A: Drawer shelf - I had saved this drawer from a large dresser that is currently getting remade into a TV console. The sheer depth of it and the fun news print floor gave me a feeling I'd be able to use it for something else. Turns out when I was brainstorming some different ideas for storage for this little bathroom, I knew I wanted to keep 'stuff' off the floor. There is hardly enough floor space for a waste basket, so a shelving unit on the floor or a basket was just out of the question. This drawer, hung on it's underside, works perfectly for holding fresh guest towels, extra tissue, toiletries, etc. I painted it a custom teal color and kept the original drawer pull to hang our monogrammed hand towel from.
(free since I already had the supplies)
Project B: Framing the mirror - I had envisioned removing this medicine cabinet mirror and hanging something oval with a scalloped frame....til I realized this cabinet was set inside the wall and I wasn't interested in any major demo for this room. So, I went to Home Depot and found some pretty 1" trim, painted it in a very soft gray, my Husband cut the proper angles, and then I used Liquid Nails to glue it to the edge of the mirror.
($5 for the trim - but you can find decent 1" trim for as little as 50cents, which I did, but this one really caught my eye and since I was saving so much money elsewhere I splurged)
Project C: Drawer face-turned towel rack - This piece is actually an old face of a drawer that belonged on another dresser turned TV console, (don't ever throw 'parts' of a piece away, they may come in handy!). Husband removed it from the drawer, I painted it the same custom teal to match the hanging shelf and then he attached a single double hook unit which straddles the middle knob.
($2 for the hook)
Project D: Bleaching old rug - This rug used to be a dusty blue, (if my memory serves me right - it's old!), and I bleached it a long time ago into a very creamy peach. I think I had it sitting in a sink full of bleach, stirring occasionally, for at least 3 or 4 hours. We didn't have any immediate use for it in this house right away so it's been in storage for over a year, but it's so soft I didn't want to throw it out. Glad I didn't! I really love how this soft color contrasts with the cool gray floor, the teal shelf and rack, the orange on the shower curtain - and it just feels good under the feet. Bonus :)

So, that's how I fixed up a once dingy bathroom into something functional, colorful, and inviting. Do you have any transformations or unique storage ideas to share?

~Chelsea