Hi, guys! In case you are just tuning in, we are in the midst of a mini series on staging refinished furniture for the purpose of selling! The furniture refinishing community is growing by the day and our desire here at StyleMutt is to bring folks together to share helpful information! We began last week with talking about why staging is so necessary, then we followed up with some specifics. Here are our techniques for staging smaller pieces, and tips for staging in limited space. Moving right along, we're tackling the bigger beasts today - your china cabinets, dressers, buffets, credenzas - the pieces you're going to put a higher price tag on.
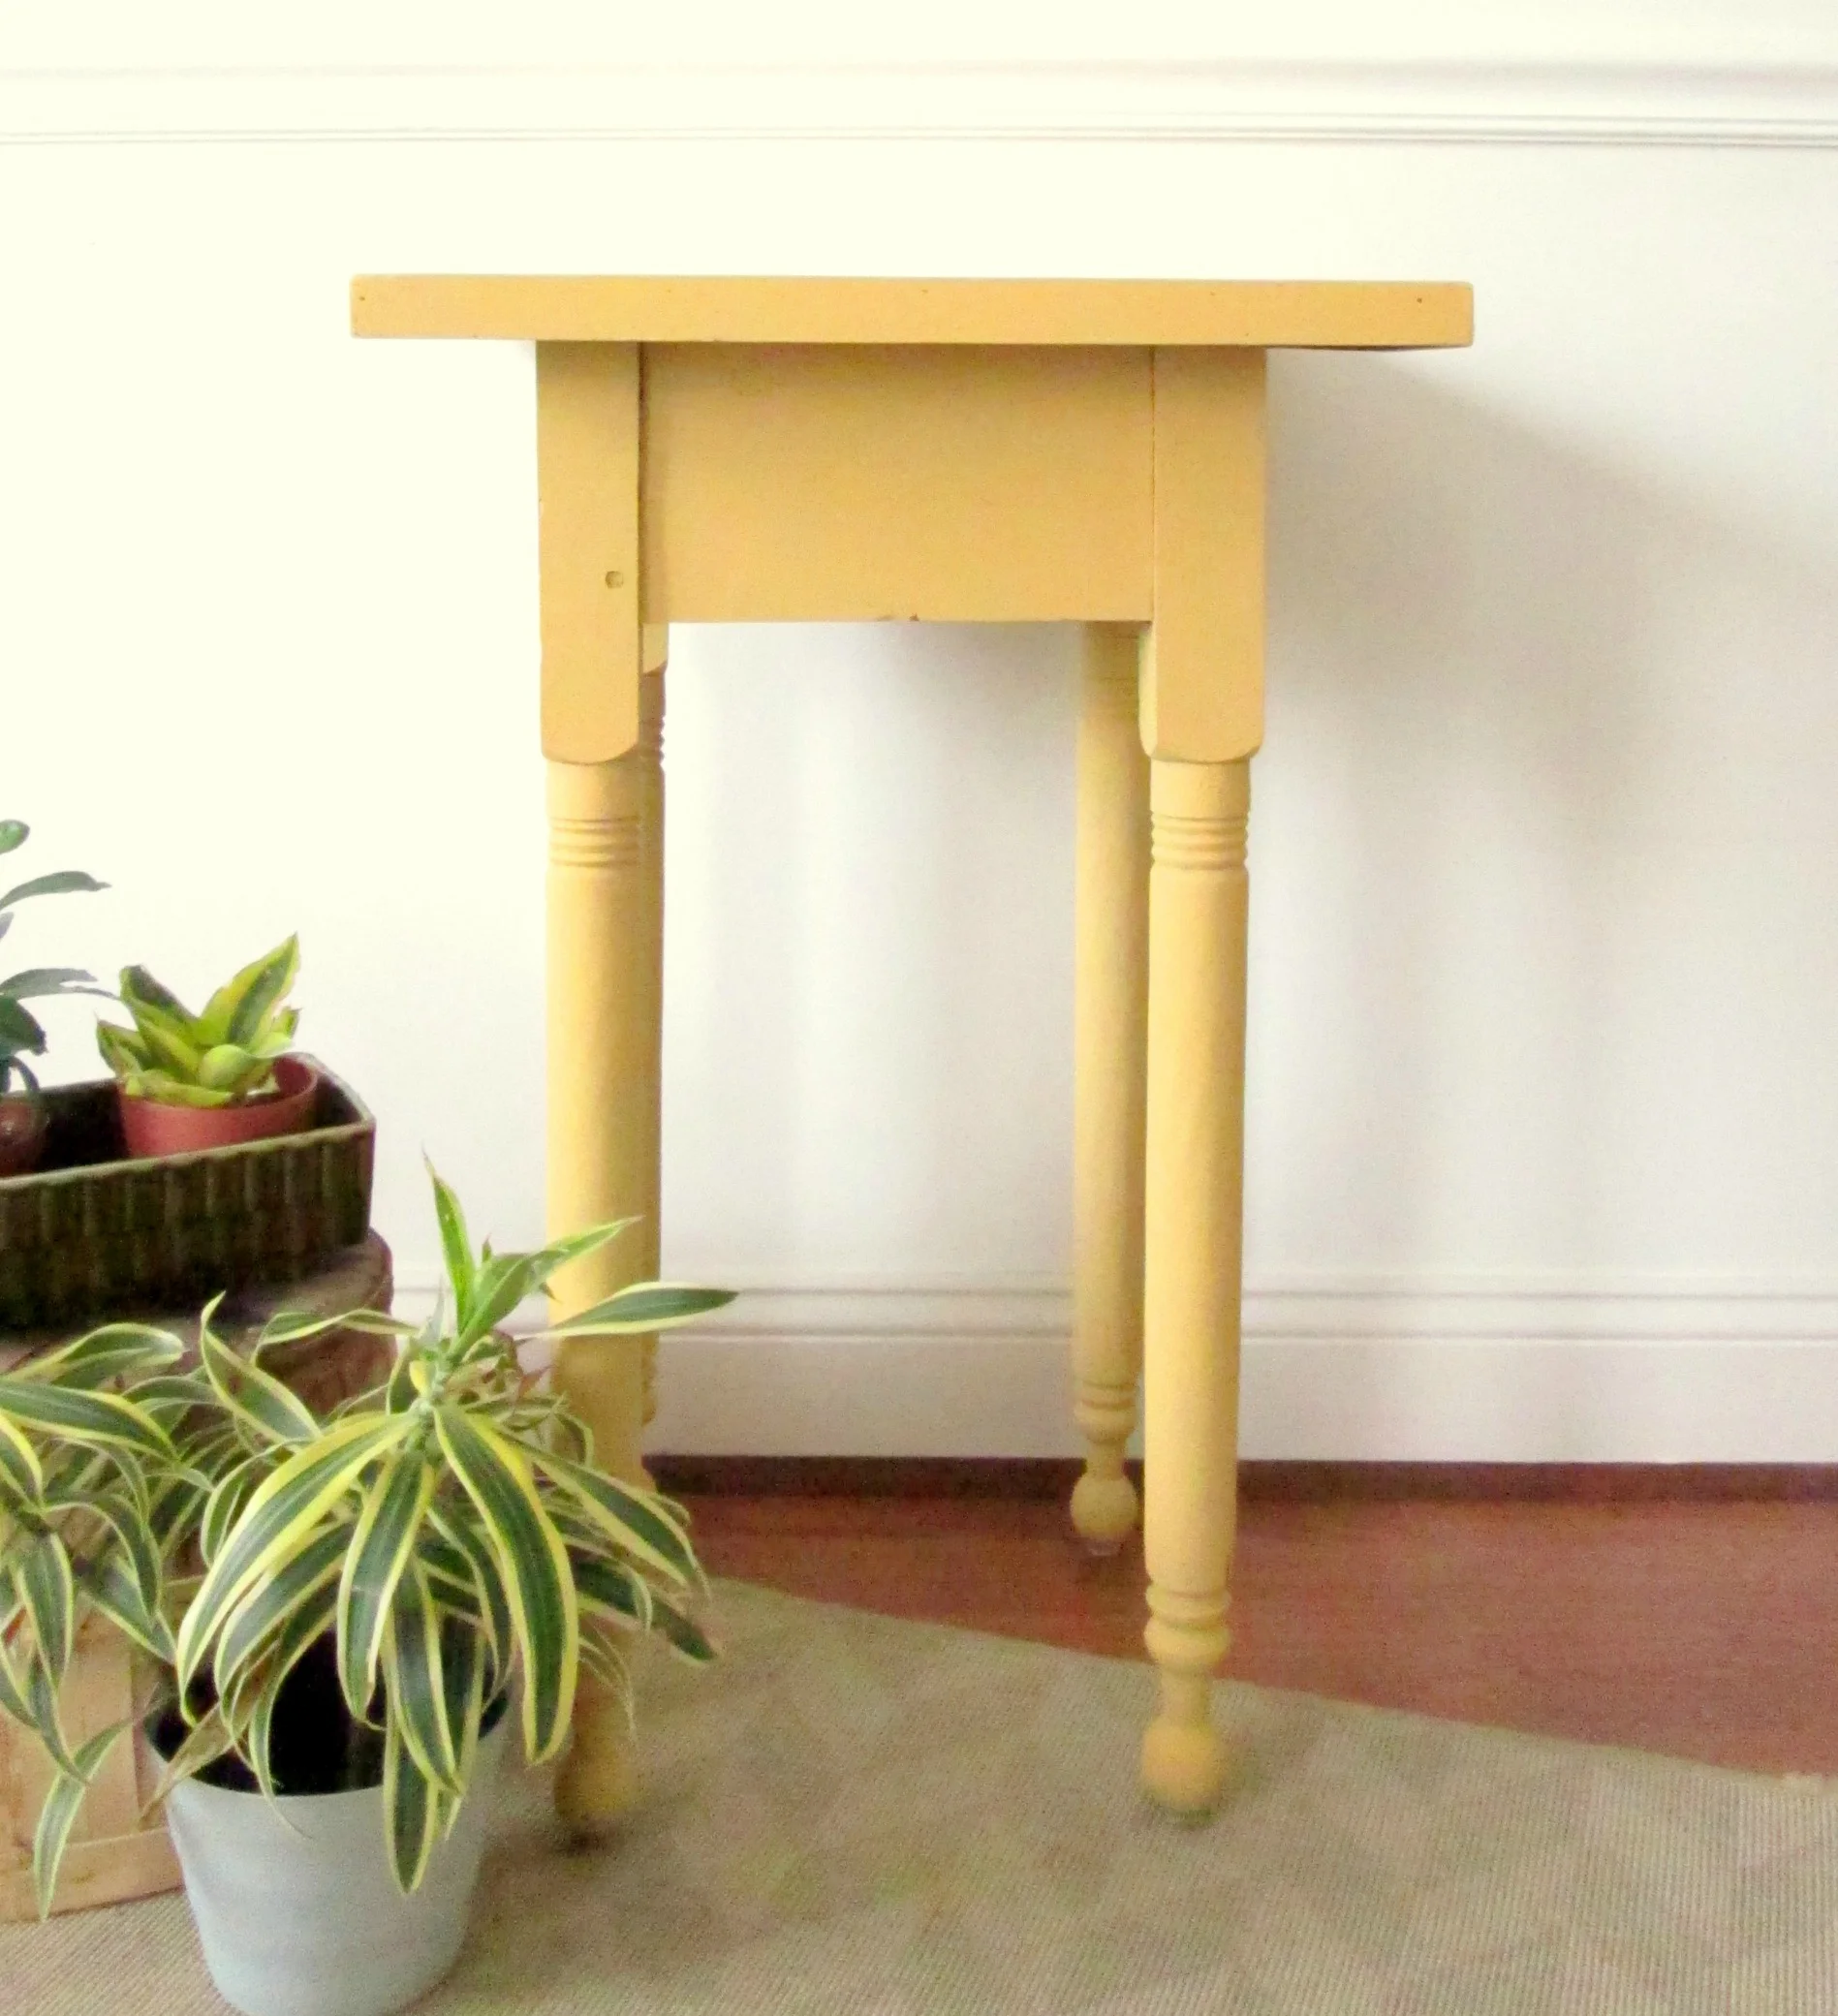
We actually LOVE to stage larger pieces! It's a lot of fun to settle big guys in and dress em' up. We'll use everything from plants, lamps, books and candles, to large over-sized pieces of art. While you don't want your piece to get lost in a mix of 'things', it's also okay to put your own twist on it! When you stage a piece with your own style and personality, that energy and enthusiasm translates. So try a few things, step back, and if you like it, snap away! If not, keep playing until you're satisfied.
Here are a few examples of our own pieces staged and as-seen in our ads on Craigslist:
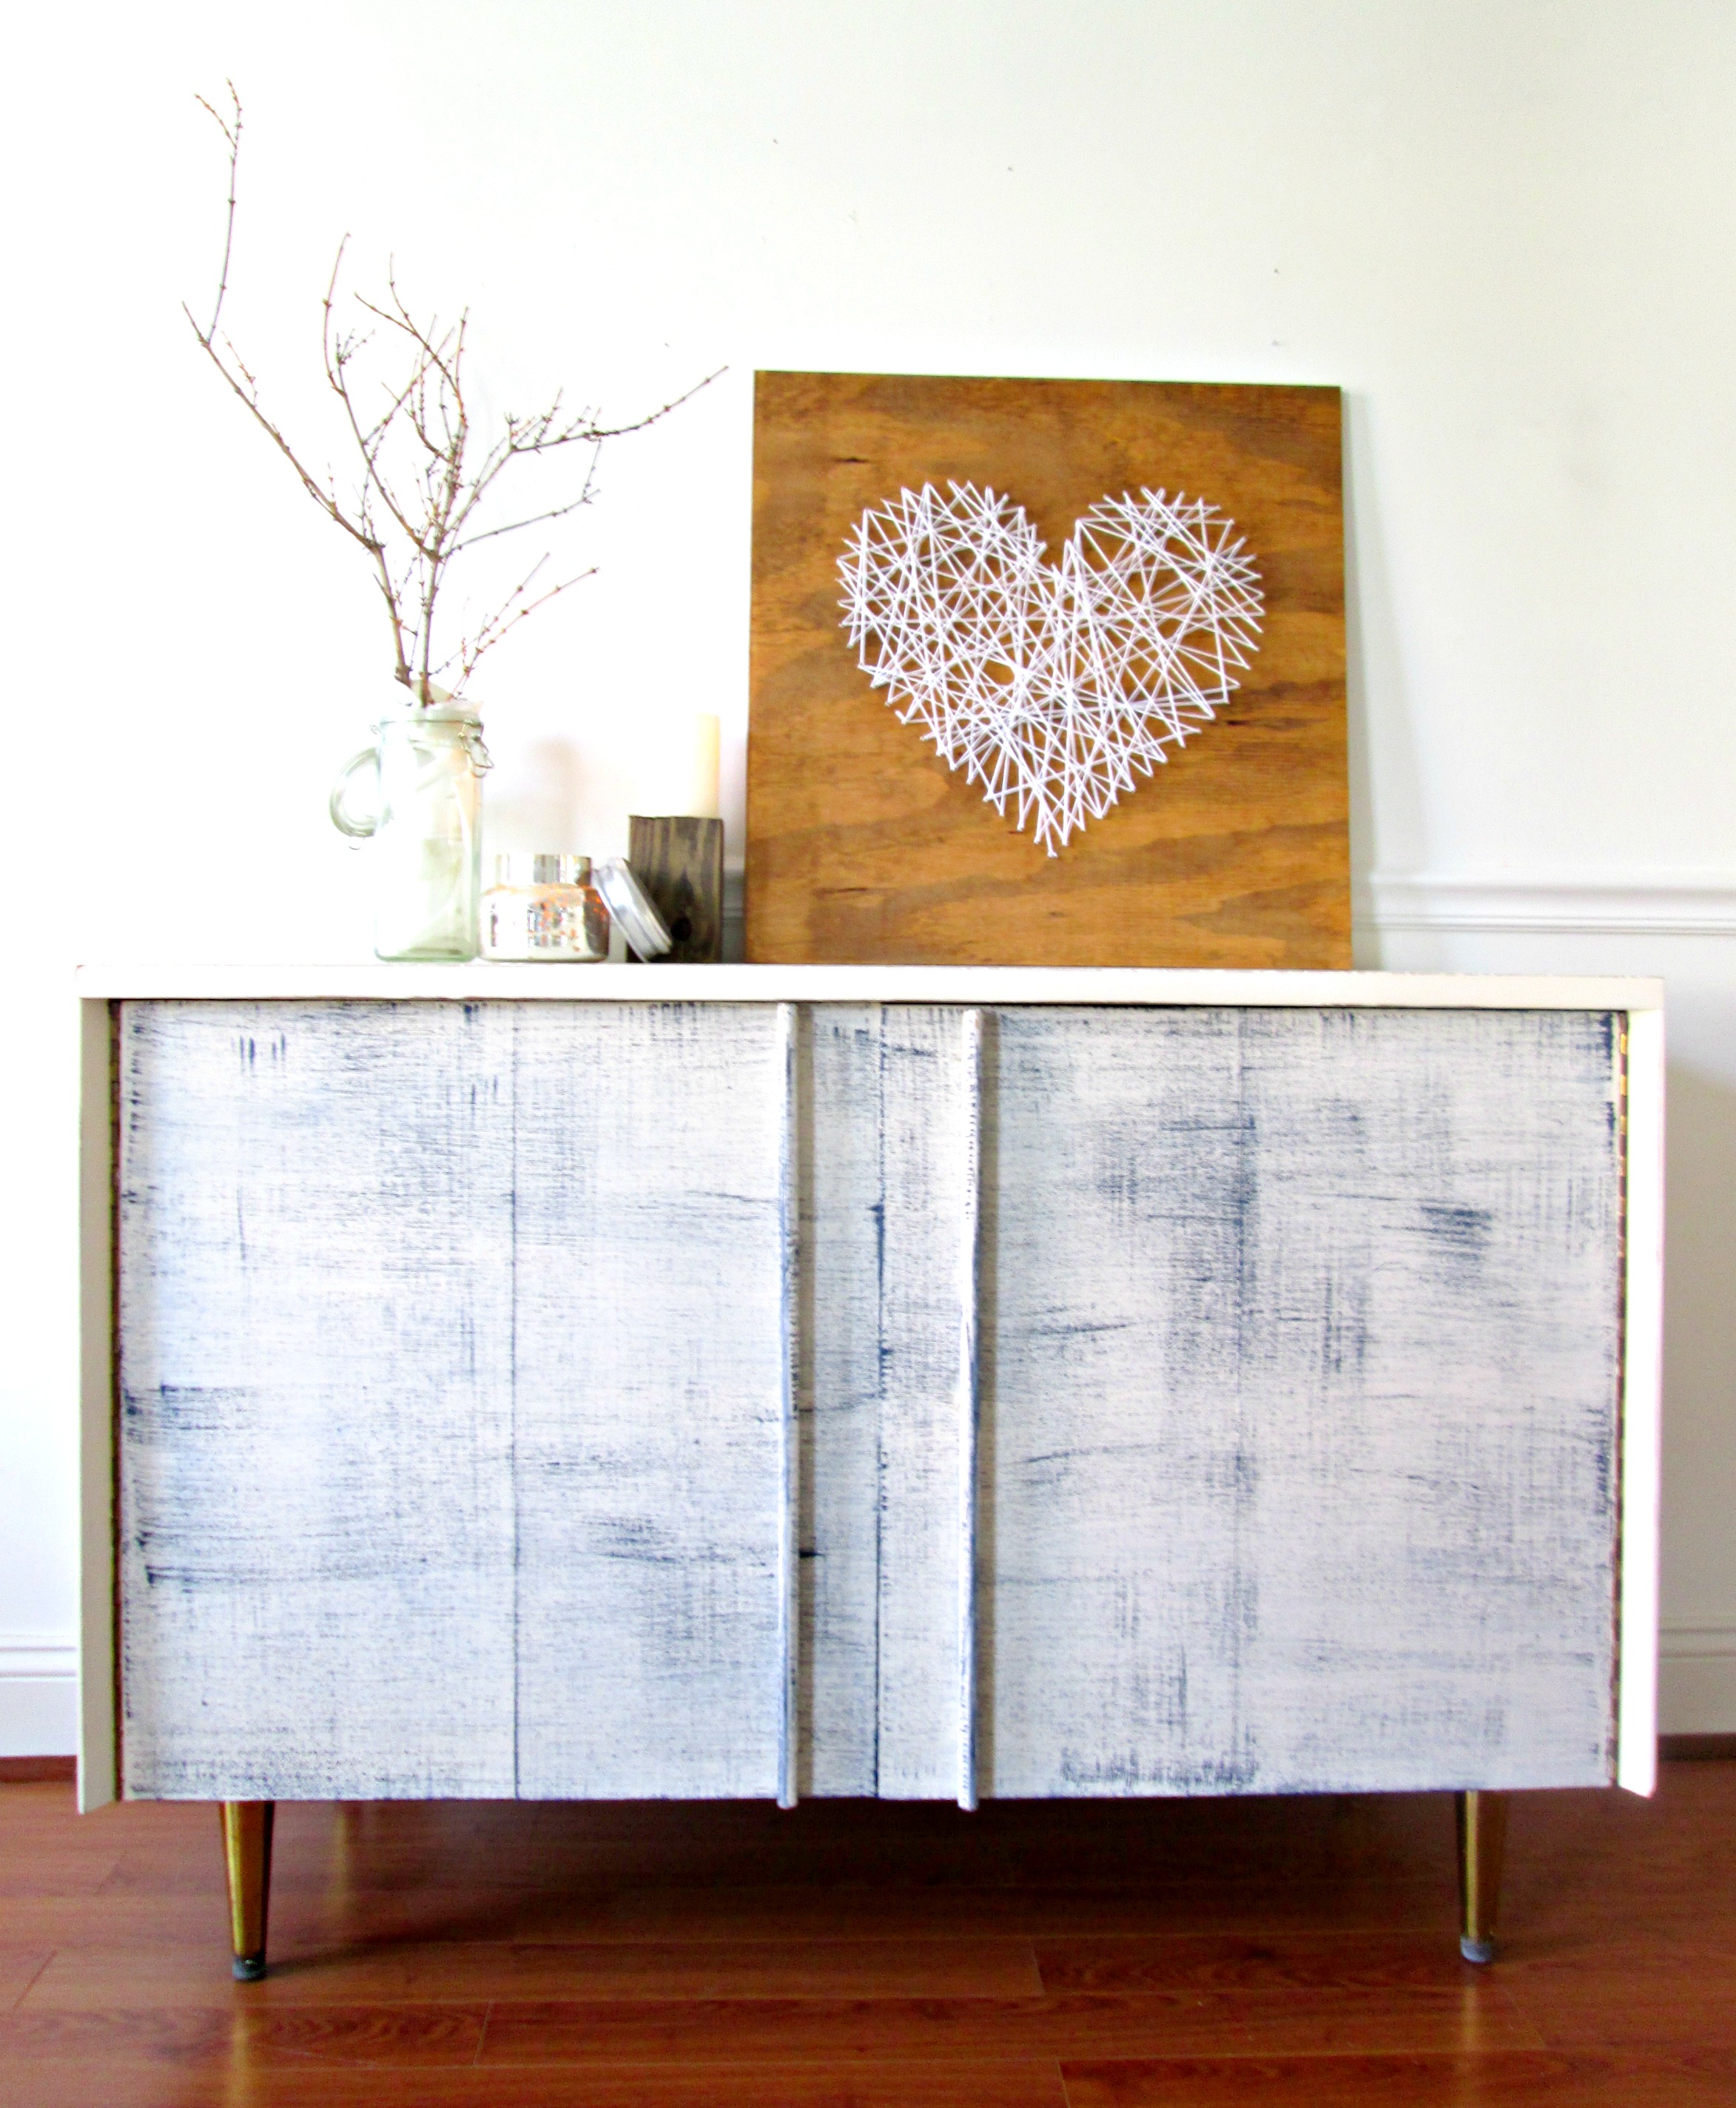
1. This mid-century modern cabinet was an experiment for me in a new painting technique - denim! While I was thrilled with the effect and end result, I thought it best to keep the staging relatively neutral. I didn't introduce any new colors or textures, but rather complimented the denim treatment with low-key, natural accents.

2. This hollywood regency style dresser which Cate refinished was the perfect piece to glam up, and Cate totally ran with it! A piece with a lot of punch needs to be styled appropriately. Neutral accents would have been confusing with this high-style piece. The bold hues were on point and reflected Cate's style and intention for this piece exactly.

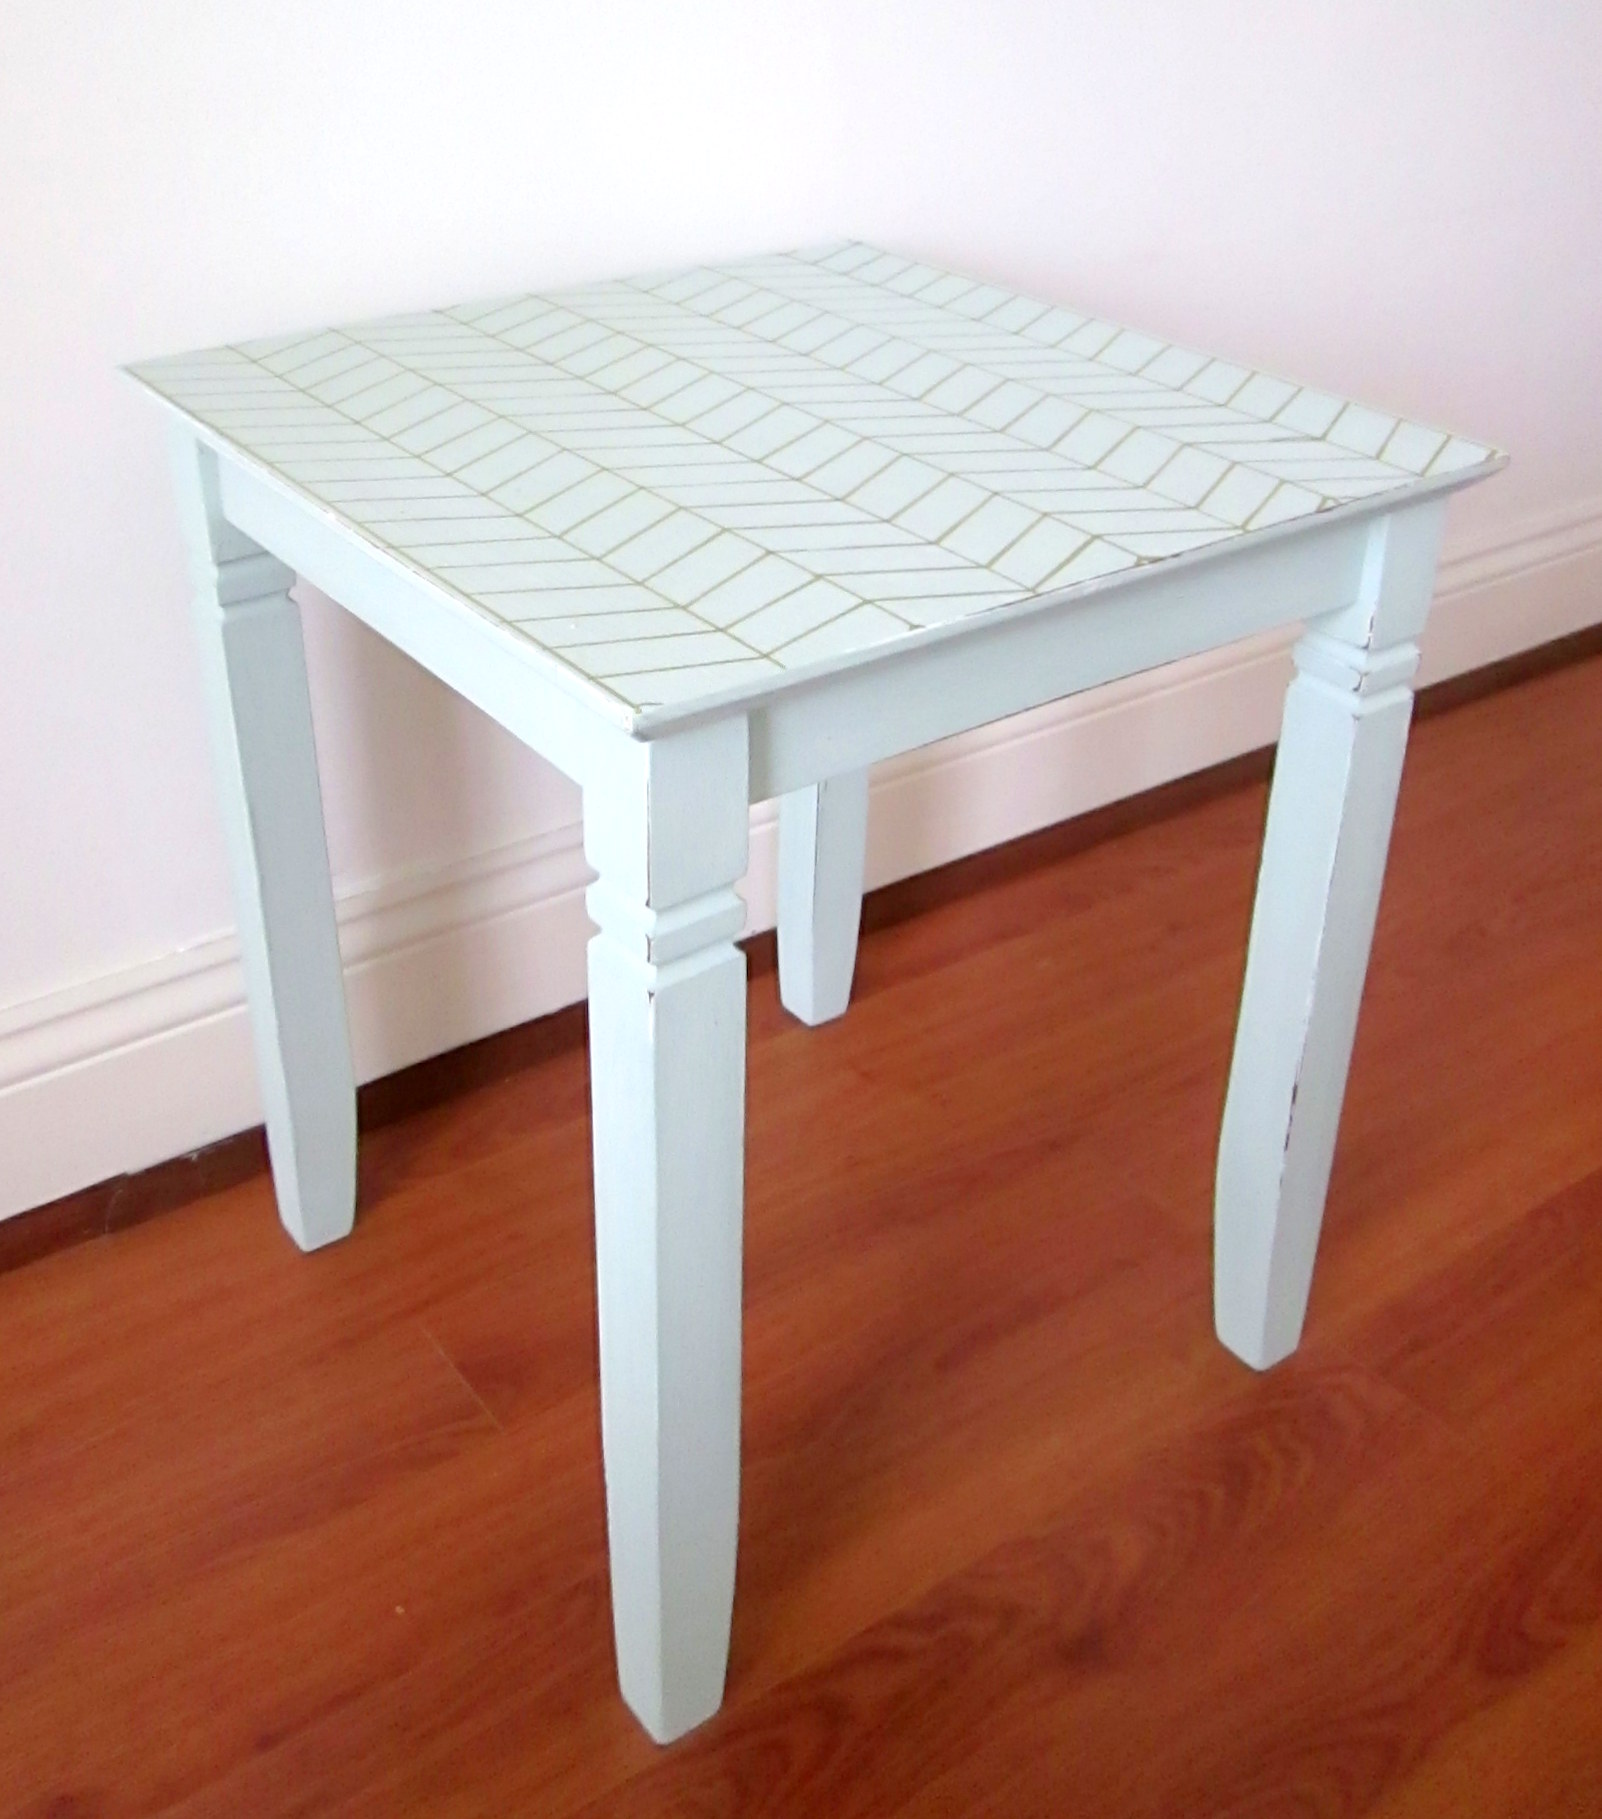
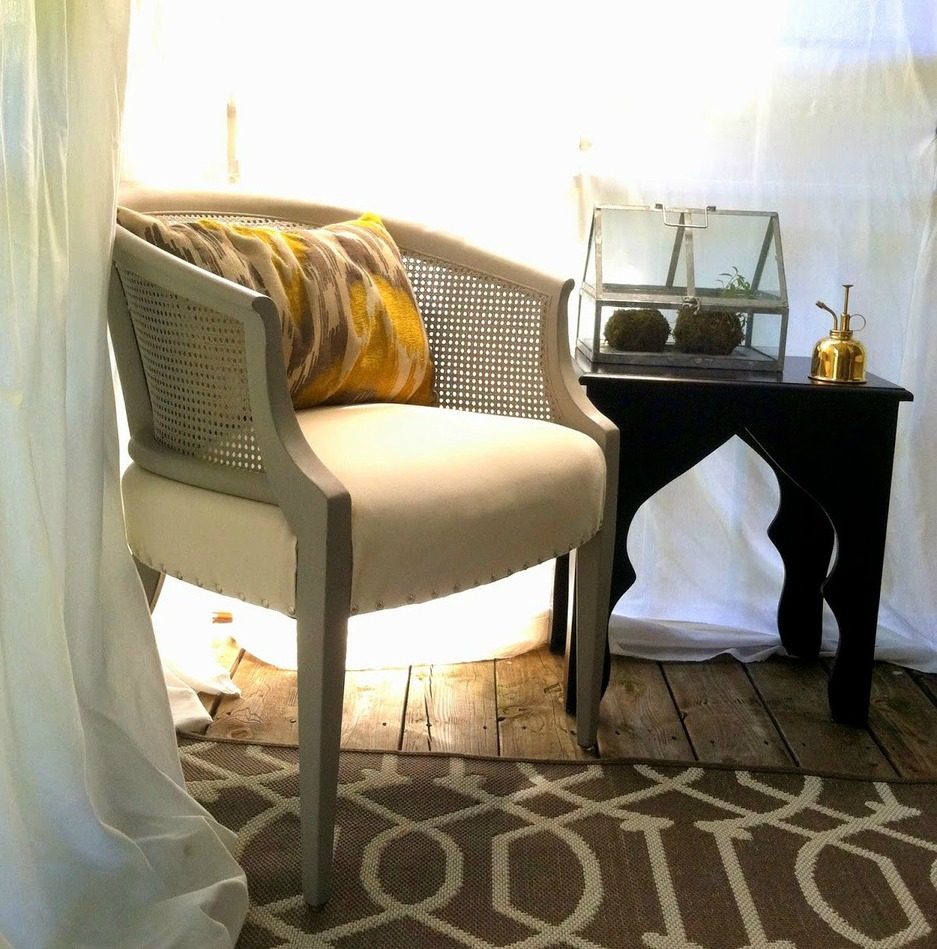
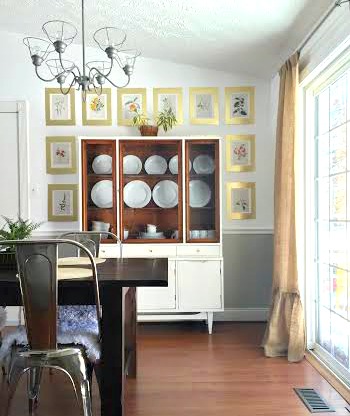
3. This herringbone dresser was well suited for my dining room accent wall. It's not always necessary to stage with a crisp white background, and I think neutral pieces allow for a bit of freedom with their surroundings.

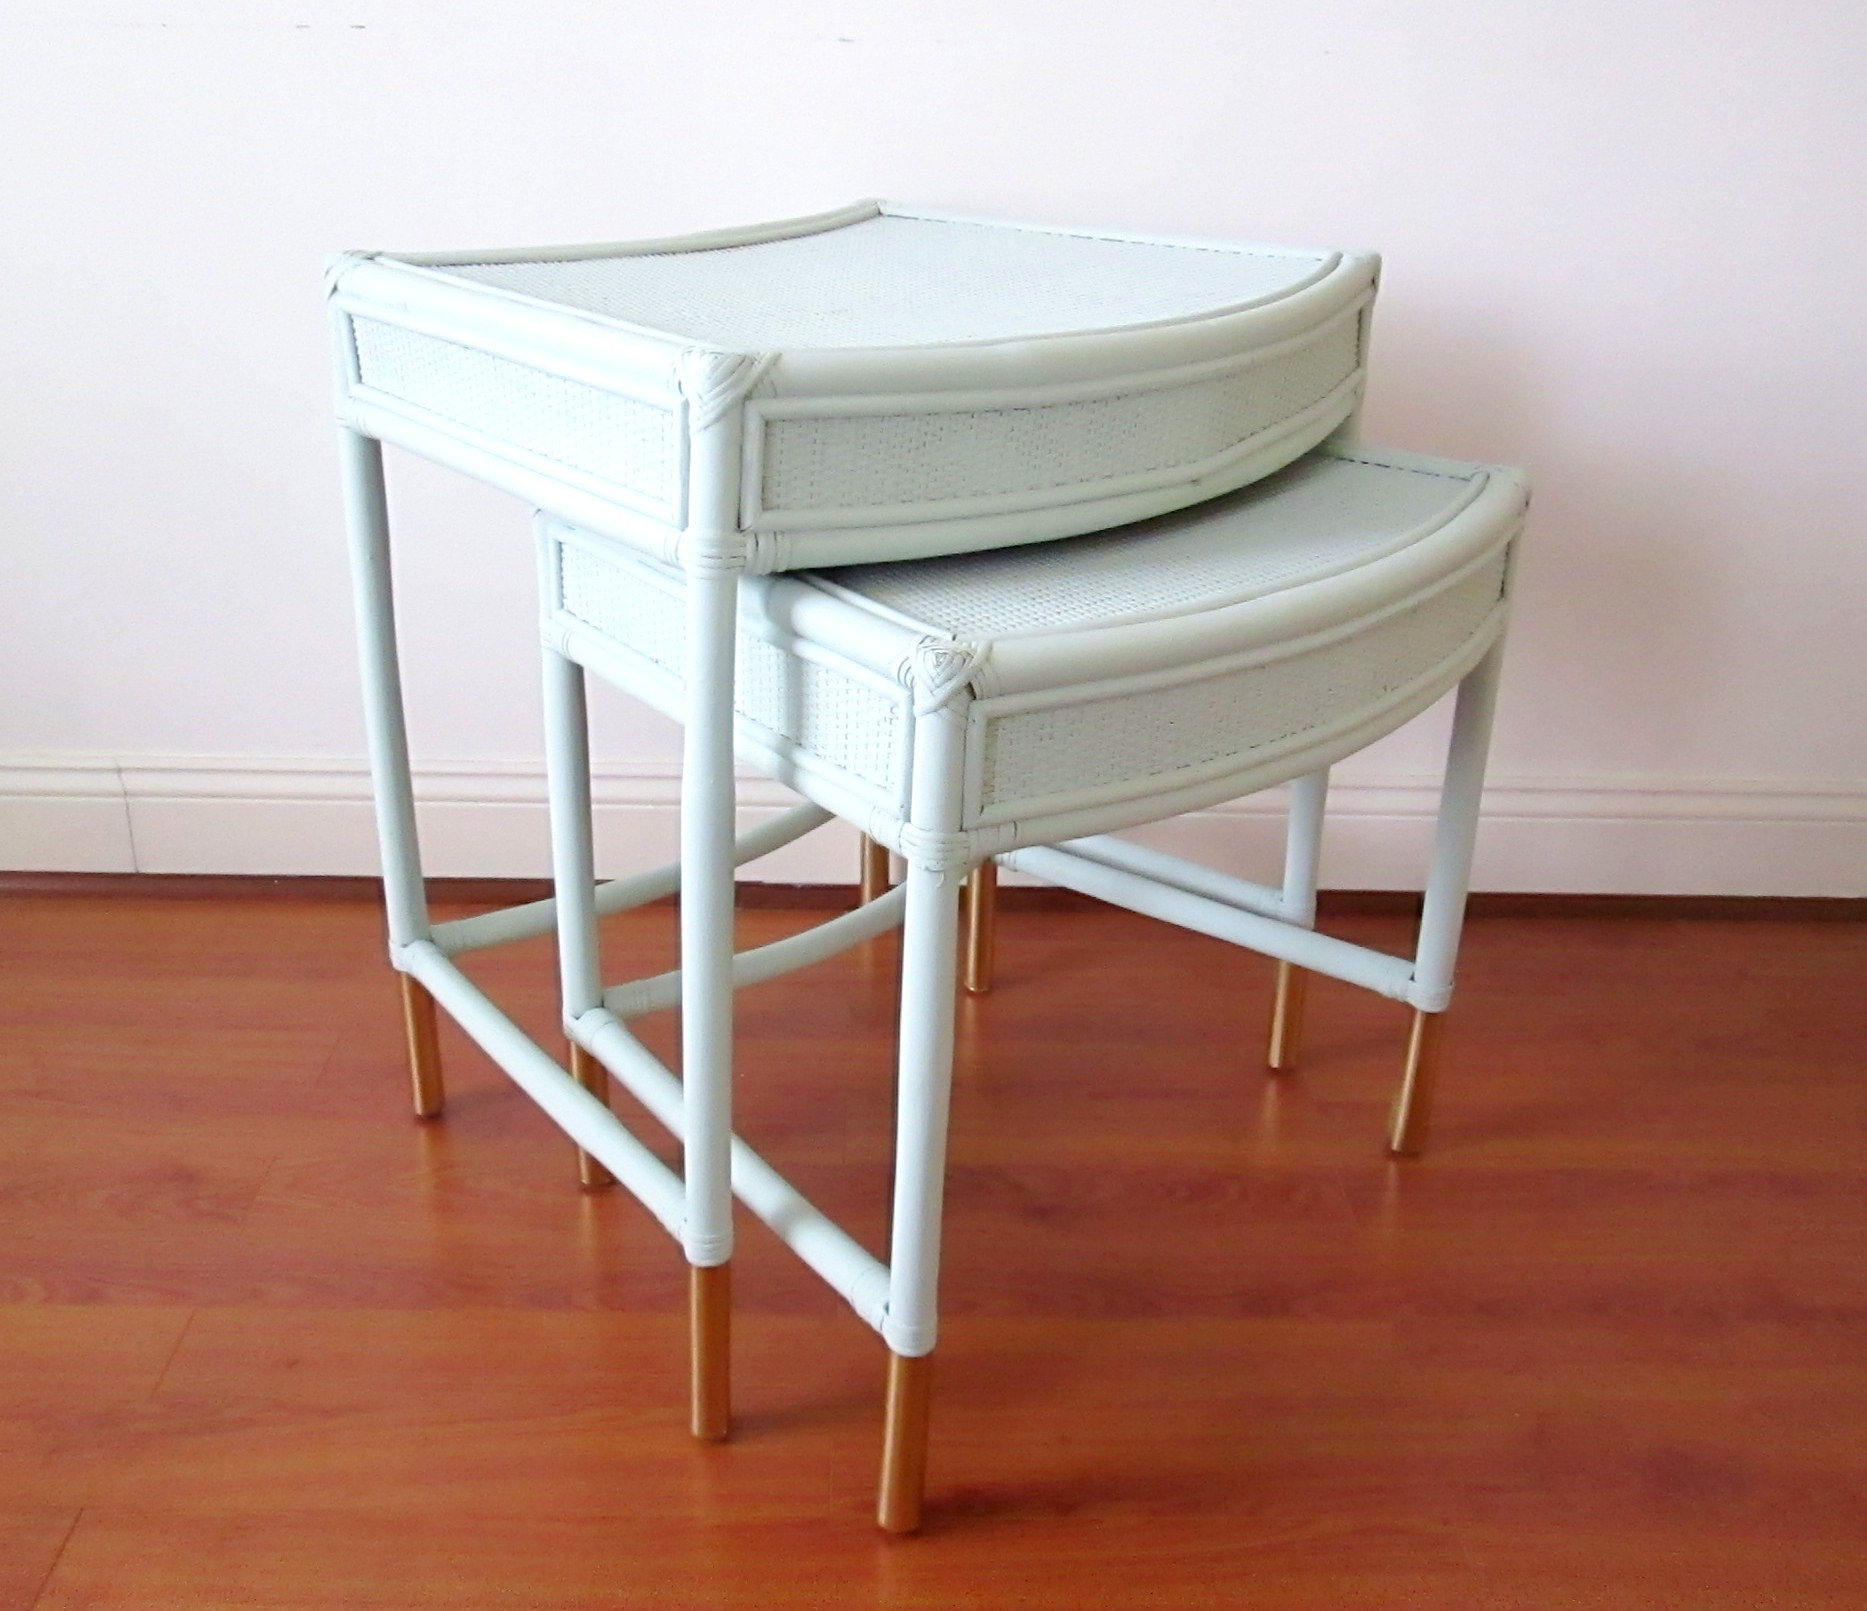
4. This completely transformed cabinet that Cate did was a great example of adding a little architectural interest to an otherwise simply shaped piece. The mix of metallics and overlapping heights across the top surface all worked to boost the character and appeal of this beautiful piece. If you have open interior storage, show it off as she did here with the basket of blankets.

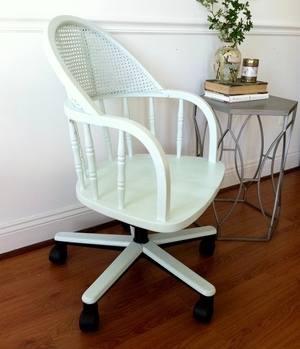
5. This mid-century modern china cabinet was a beautiful opportunity to show off the versatility of a piece. I staged it both as a traditional china cabinet, as well as a bookcase for a living room or study. China cabinets are hot commodities as they're being seen more and more outside of the formal dining room. They're showing up in bedrooms and hallways to store fresh linens, I've seen them converted to media cabinets with a TV stuck inside - there are so many more possibilities for these pieces now! Help potential buyers to see the versatility in a piece by staging it more than one way.
As you can see, there's a huge variety to how we style, but there is consistency in that all pieces are brought to life. Don't be afraid to add some real life and energy to your staged pictures; seeing a piece in context just gives it that much more character.
It definitely takes effort and sometimes even help to stage these larger pieces, but remember, if you think your piece is worth $X, it's crucial to make it look worth $X with decent pictures. So much of selling refinished furniture happens online, so pictures are the first glimpse a potential buyer will see of your piece. Make them count!
I hope this information has been helpful for you! Are there any other topics regarding furniture refinishing that you'd like us to discuss? Any questions? We're here to help and encourage, so let us know!
Thank you all for stopping by! Have a splendid weekend!