Hi guys! I recently made a big, life-changing step when I overcame a personal fear; the fear of gallery walls.

I've always been struck by large, organized, symmetrical gallery walls. I think they're stunning! However, it's always intimidated me to try to hang everything absolutely perfect. In the past this intimidation has lead to random, haphazard gallery walls which weren't supposed to be even or organized. Those were my safe zone where I felt comfortable. (Kind of like when I get home from church on Sundays and change into despicably ill-fitting sweatpants.)
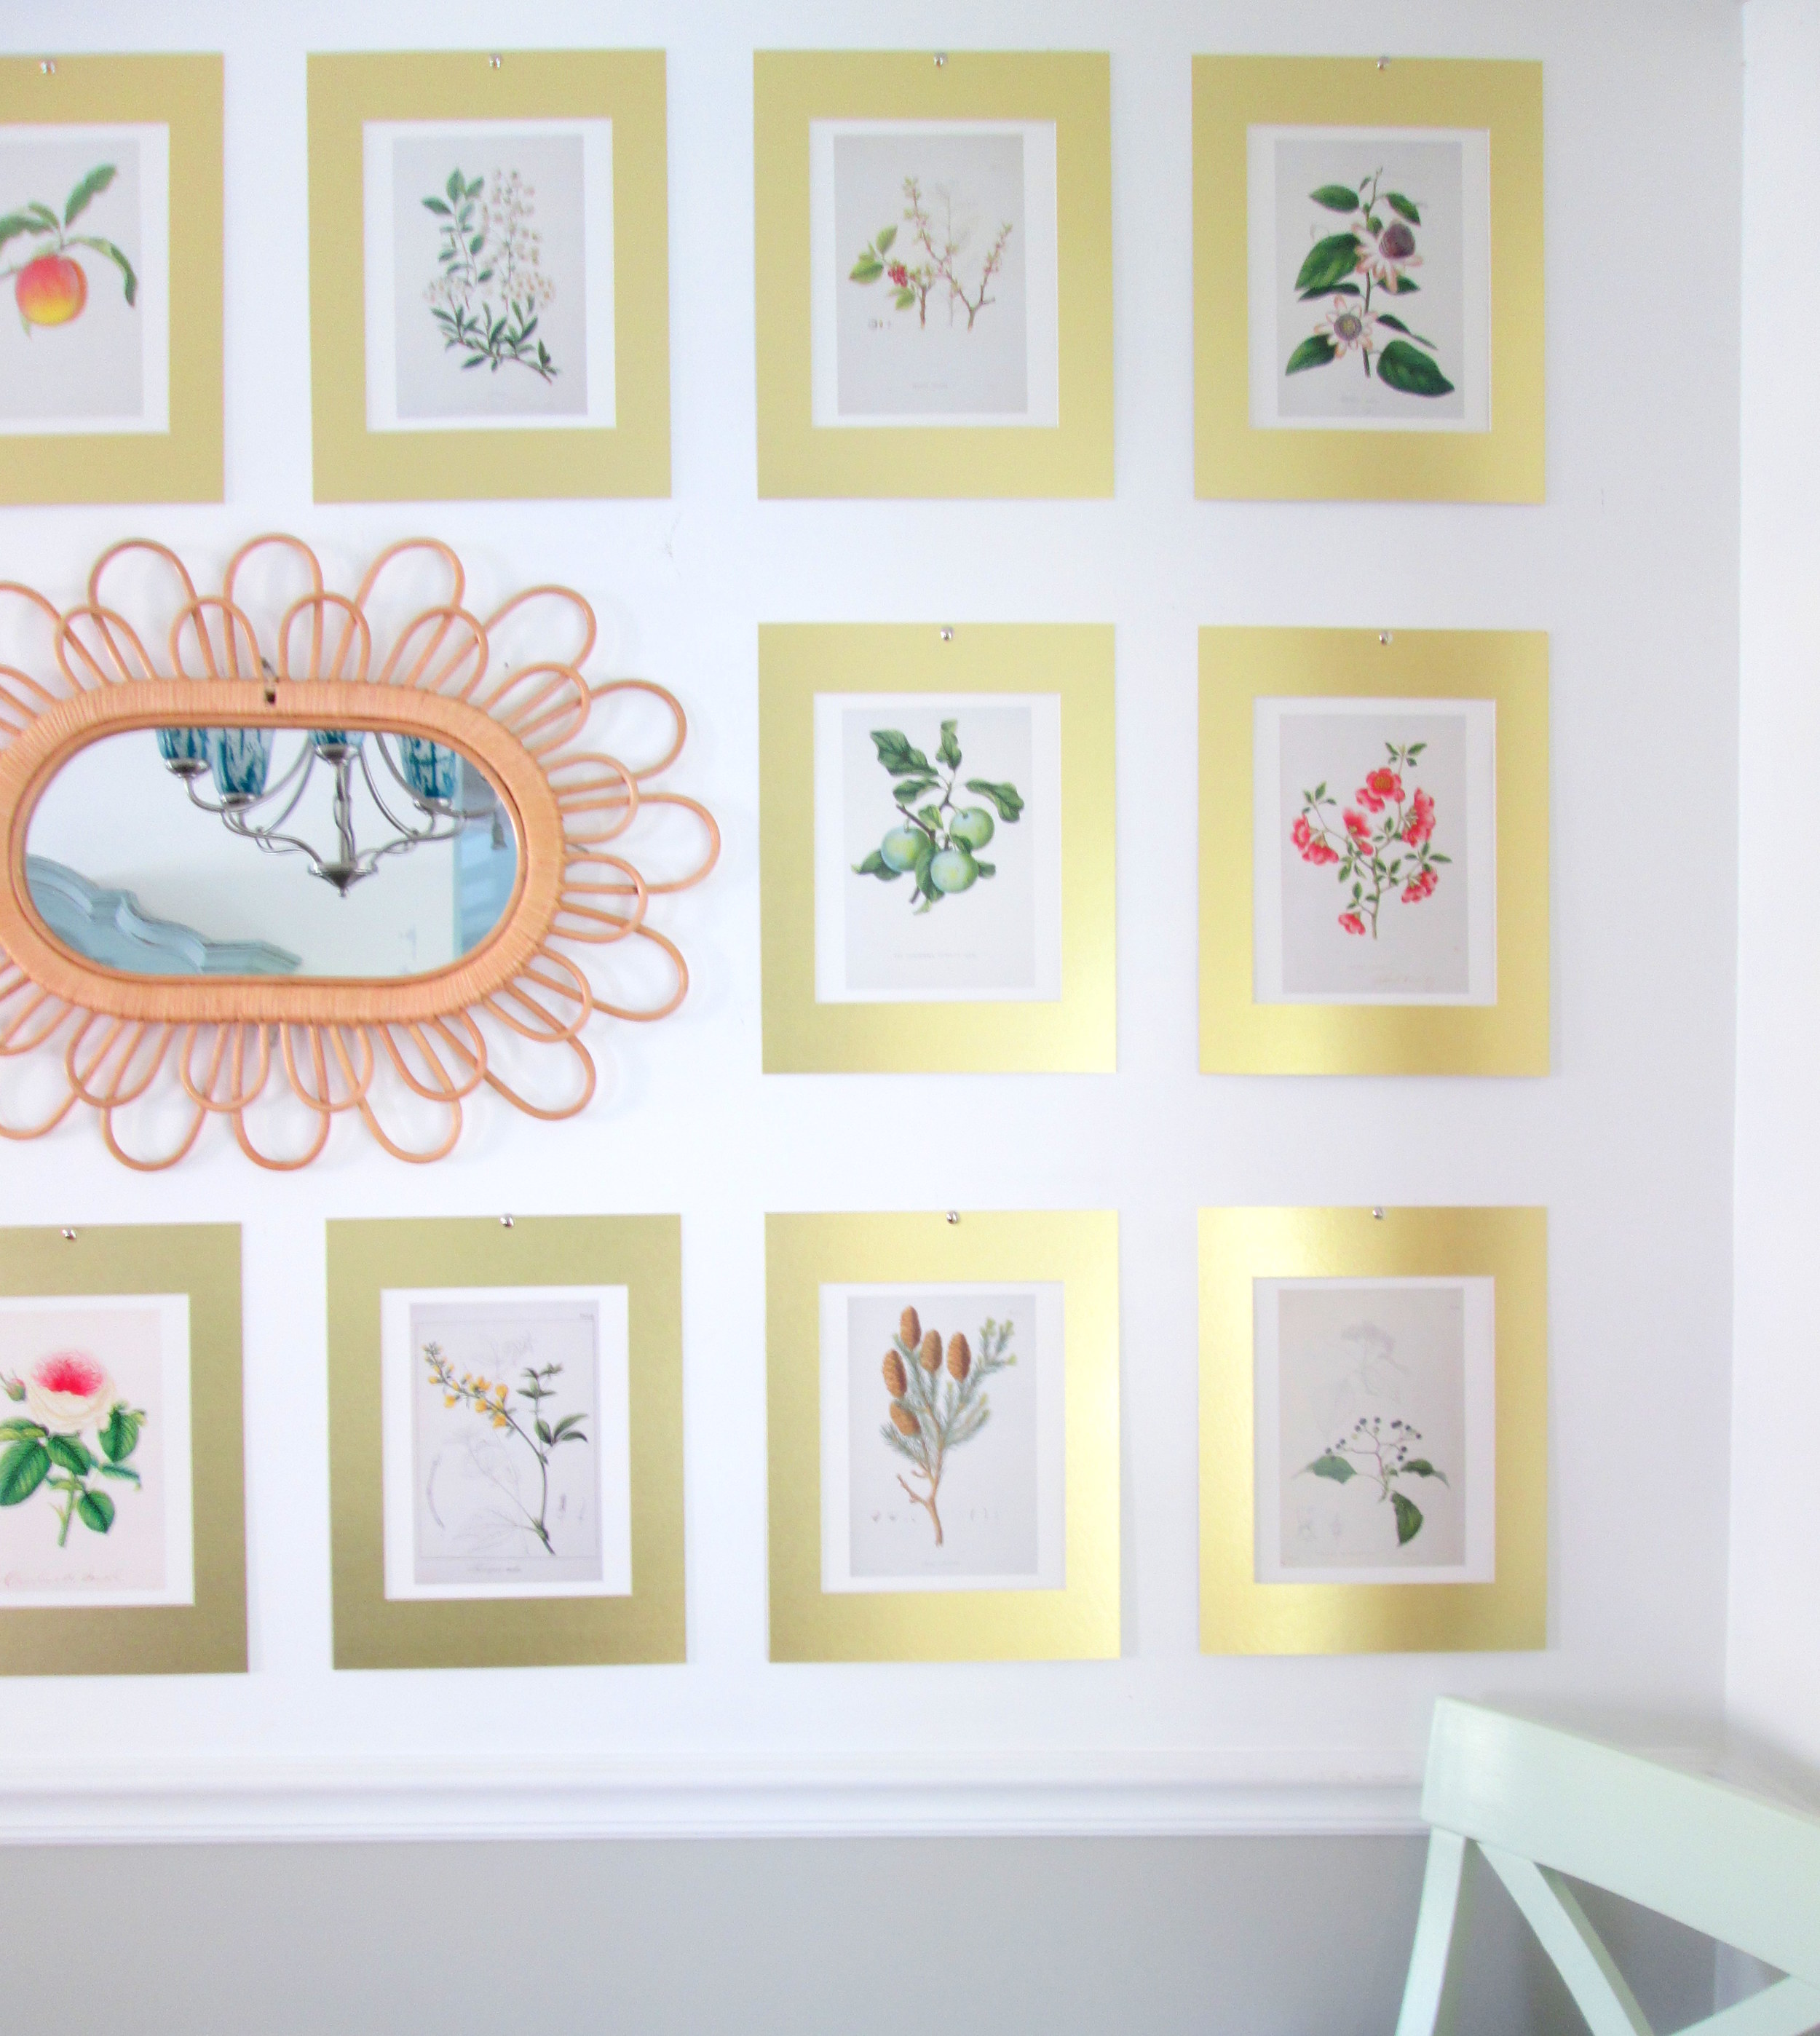
After finding an entire book of botanical prints on Ebay for $4, I took a leap out of my comfort zone to create a big, structured gallery wall in our dining room! Since these prints were already large, (11 x 13), and I wanted to use a lot of them, (16), I decided to just mount them using mattes to keep the expense of this project low. I used painters tape to attach the prints to the mattes, which will peel off easily without ripping the prints should I ever decide to use them another way.
Drawn From Nature + Antiqued Gold Mattes from Matboardplus.com

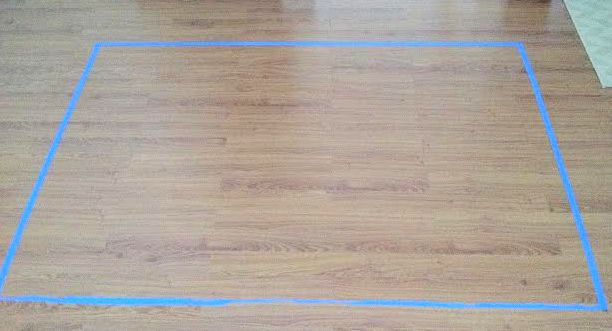
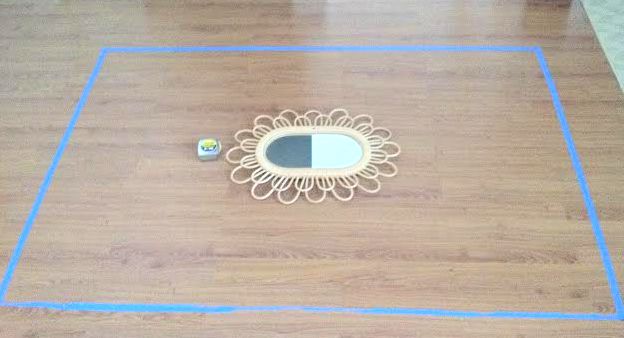
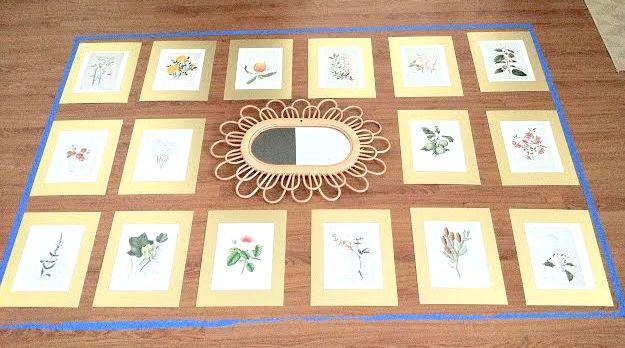
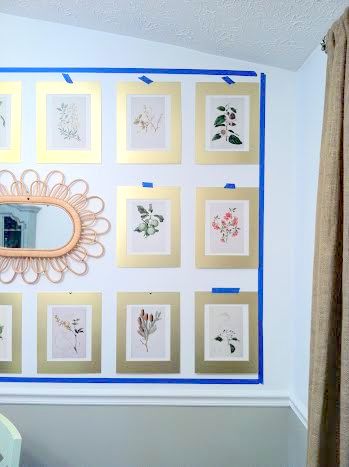
To begin, I measured the space I wanted to use on the wall and then taped those measurements onto the floor using painters tape. Then I added the mirror, ($12.95 on sale at Anthropologie), in the middle, measuring all four sides to be sure it was centered. Once the mirror was in place I filled in the rest of the space with the prints! Taking a picture of the finished product on the floor really helped when I went to hang everything on the wall. I liked the arrangement I had on the floor and didn't want to forget where they all went!
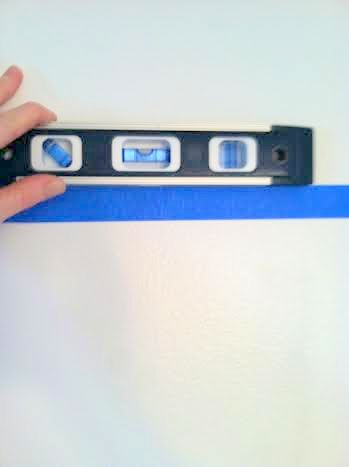
To get the gallery up on the wall, I basically followed the same steps as I used for the floor triall! I pulled the tape up off the floor and used those same strips to create my rectangle on the wall, (definitely grab a level to make sure your tape is...level). Second, I hung the mirror, measuring all four sides to be sure it was in the center. Then I filled in with the prints! I hung these with simple metallic tacks, which is way easier than measuring where to hang a nail for a frame. Baby steps.

All finished!


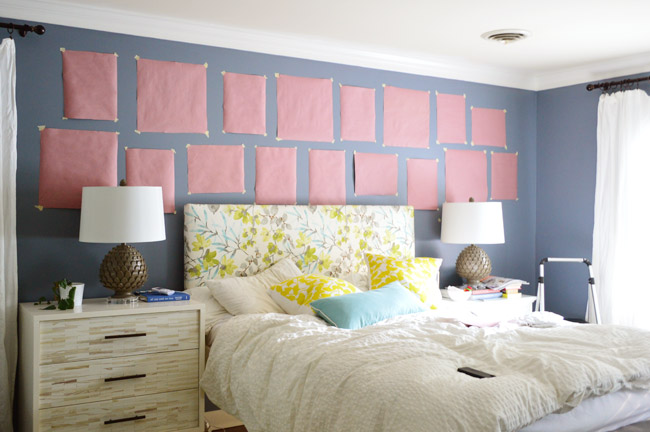
Another tip I've seen for hanging a precise gallery wall is to trace all the frames onto brown packaging paper and cut them out. Then tape each 'paper frame' onto the wall, moving them around until you're satisfied, (idea seen below from Young House Love).
Have you hung a gallery wall in your home, (symmetrical OR random)? We'd love to see it and/or hear your tips! Just share right to our Facebook page or tag #stylemuttprojects on Instagram!
Thank you for stopping by!
