Hello! I finally bit the bullet and tried my hand at block printing!

It's a craft I have been admiring for several months now and have seen some amazing projects transformed through this unique skill. There are several more block printing projects on my list, (including recovering some dining chairs for the next Chelsea's Garage sale!), but I thought I would break the ice with our bedroom lamps!
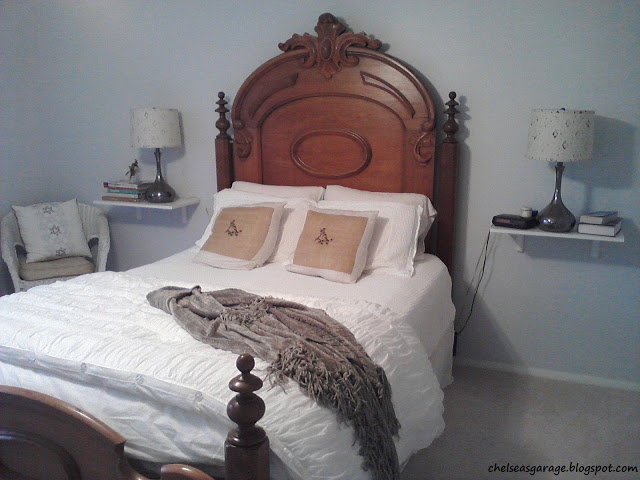
Our lamps have looked like this for about 2 years and I have really enjoyed them!

After seeing a lamp decorated like this at Lucketts Antiques in Leesburg, VA, I couldn't wait to try it on our bedroom shades. I just tied a strip of burlap around the entire shade and knotted it with a strip of white linen and silvery tulle. It's been a nice little 'Country Living' touch in our bedroom....but I've been over it for a little while and ready for a change.

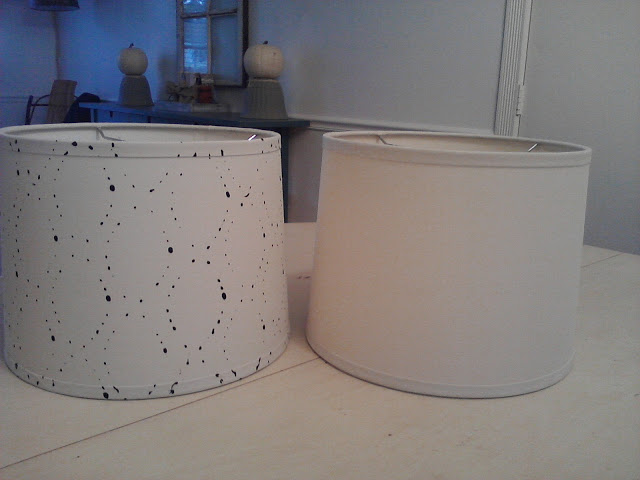
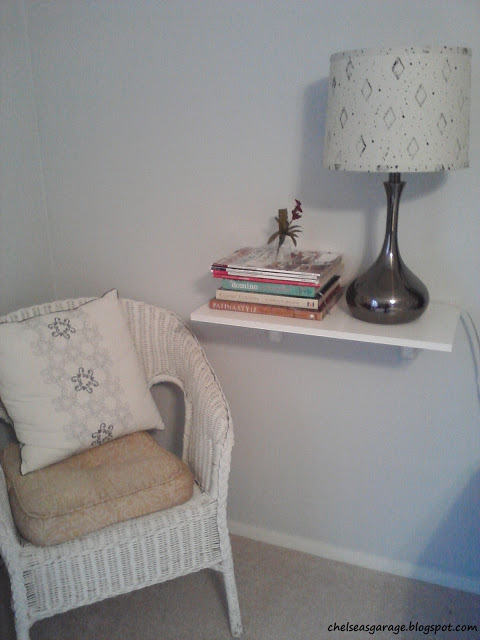
Our shades, stripped of their burlap band, ready for their makeover. As you can see our room is very light and airy....and also full of solids. While our bed does have lots of different fabrics and textures, it is still solid white. Our walls are solid, lamp shades are solid - we need some print!

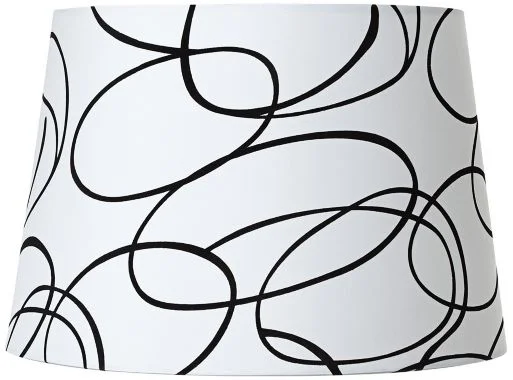
I definitely have wanted to add a punch of black in our bedroom and this seemed like a good opportunity to do so. I love seeing little black accents in even the lightest of rooms. I found these shades online to be inspiring!
Euro Style Lighting

Kaboodle

Euro Style Lighting
Target, Room Essentials

Lamps Plus

Mysoti

After looking around I realized I was not drawn as much to the precise prints. I don't like perfection in my home. I like things just a little 'off'. Clean, precise lines are not for me. I really like the faded look, as in the last shade by Mysoti.
Our bedroom is soft and calming to me and I didn't want to have anything too harsh by my head at night :) Just something different, interesting, and a little imperfect. I started this project with no exact idea in my head of what I wanted our shades to look like. It was one of those moments where I just threw caution to the wind and started applying paint on our lamp shades without a care in the world. And boy, was it fun!
Supplies:
-Lamp shades
-Black paint, (I used Craftsman acrylic paint from Michaels that I had on hand)
-Paper plate to make a puddle of paint for dipping your object in
-Any cool designed object you want! I have a pile of tin cookie cutters and used the inside and outside of the diamond shape one. You can use regular ink stamps, stencils, whatever your heart desires

Step 1:
Pour a 'glop' of paint on your plate and then swirl it around so it makes a good size 'puddle', (you don't want it too thick and you want the paint evenly spread out). Then evenly coat your design object, (in my case, the diamond cookie cutter)

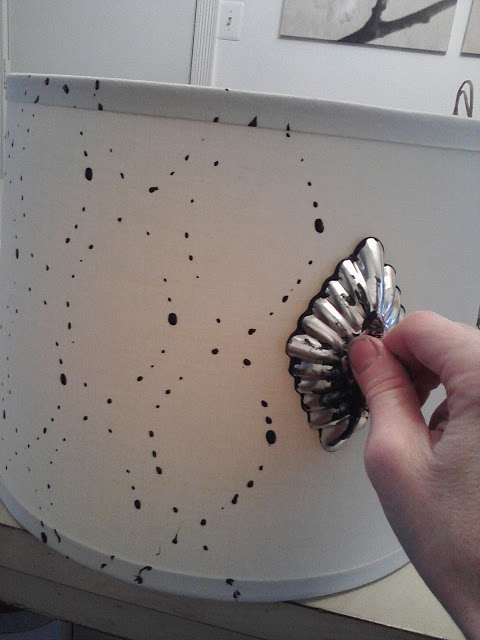
Step 2:
Firmly press your design onto your project. Reapply paint after each press...If you are using an object with more surface area than, say, a cookie cutter, make sure you remove a bit of paint before applying to your project so it's not too thick, runny or clumpy.
After finishing this overall diamond design on one shade, I stood back and looked at it, even stuck it back on in our bedroom. After just a couple minutes I decided it needed more...
So I went back over with the inside of the diamond cookie cutter, which is a smaller diamond shape.
...Ah, yes. Much better :)
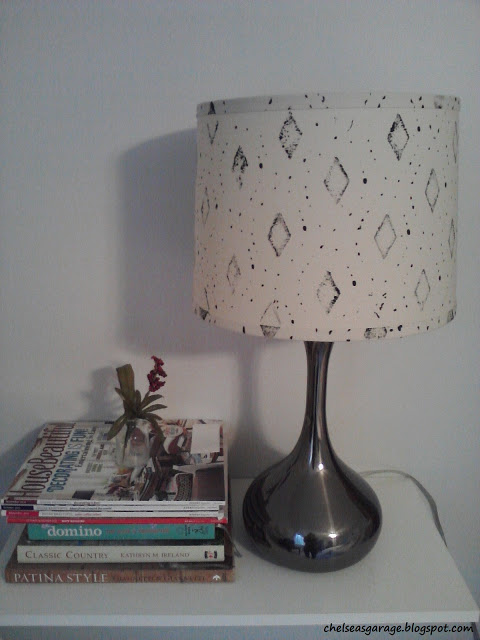


Definitely not over the top or bold in any way. But the overall pattern is just the touch I was looking for in our bedroom. It was the easiest project ever and one I am excited to try again soon on some other things!
Thank you for reading! Stay tuned for a super fun giveaway coming up soon :) I can't wait!
~Chelsea
This post was originally published on Chelsea's Garage, now affectionately known as StyleMutt!