To be perfectly clear, MATT has the green thumb. He comes from a long line of green thumbs, in fact! We’ve discussed growing our own veggie and herb garden for years but like many of you with your home projects, hadn’t gotten around to it until this quarantine! A silver lining to what’s going on, indeed. So in a matter of a week Matt was struck with instant motivation and after 13 trips to Home Depot, we were ready to build!
He knew he wanted to make a 8’x4’ raised garden, meaning above ground. Meaning no digging. (hooray!) Matt, our kids, my sister who is staying with us, and I all pitched in and we finished the whole thing in a weekend. To be honest with you, I had no intention of turning this project into a blog post, let alone covering how we did it. But after sharing an image of our garden in an Instagram story, I had several interested peeps ask if we were going to share how we did it. SO, without further adieu, StyleMutt Homes first how-to video tutorial! Thank you, Matt!
So there’s our process in a nutshell.And here’s our list of supplies linked for your reference:
Raised Garden Supplies:
-Weedblocker Fabric
-Hardware Mesh
-3” PVC Pipe, 10 x 12” pieces, (so we bought 5 x 24” sizes and cut in half)
-2x6x8 lumber, (need 6: 4 you will keep whole, 2 you will cut in half)
-1x2x8 lumber, (need 6: 4 you will keep whole, 2 you will cut in half)
-2x2x8 lumber, (need 6, which you will cut down to 36”)
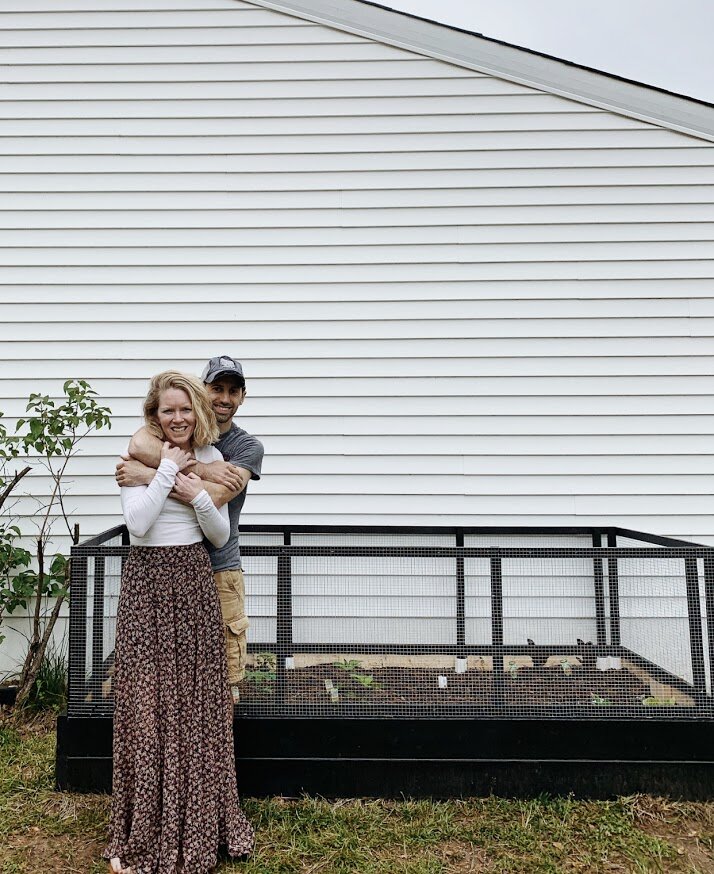
Now for my very small contribution. The black! Turns out the best spot for our garden is the side of our house near the front, which is perfectly seen from the road and as you enter our neighborhood. Because it’s so easily seen I wanted it to look sleek, modern, and like an extension of our home, (which is white with black shutters). I knew after a year that the raw wood would start to look gray-ed out and old, which wouldn’t bother me if it wasn’t in such a prime and visual place! So I chose exterior black paint to give the outside of the box and surrounding fence an upgrade.

Here is where we started, for reference, and some images of our process:


I had to include this just for Matt’s beard - one week before caving in to a trim! Thank you, Lord!


As Matt indicated in the video all 4 surrounding wall panels are removable, so our access to the garden from any side is easy-peasy! We will store these panels in our garage during the off season.


And one more itty bitty detail of our garden is our homemade garden stakes.
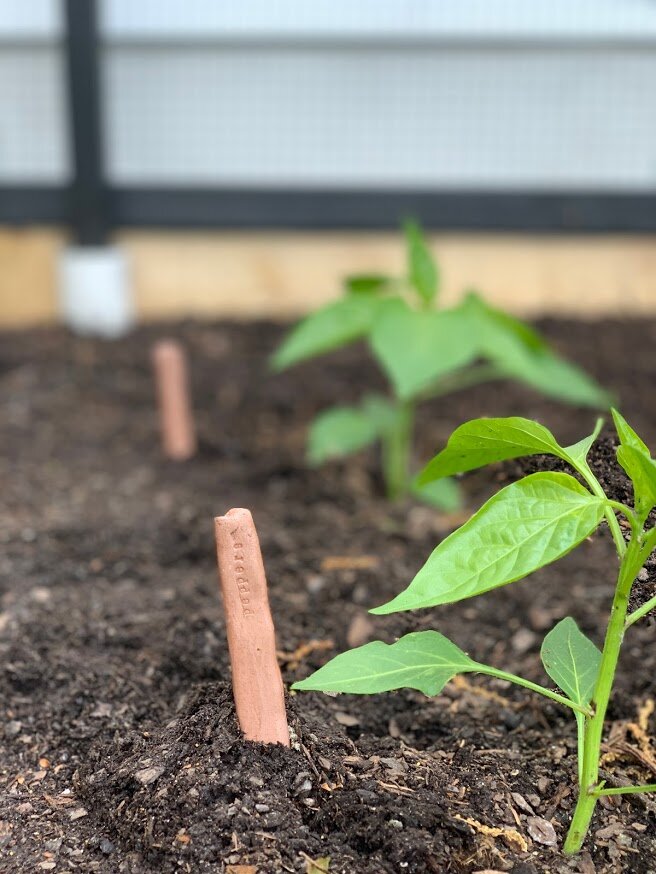
I used air dry clay, (found here from Michaels), and formed the stakes. Then I used tiny metal letter stamps, (borrowed from a neighbor - thanks, Beth! I’ll return soon, I promise!), and printed the name of each plant. While I love the typed look of these, the letters are incredibly small. We made some of these for my Mom for Mothers Day, and Shire carved the name of the plants in with a toothpick, which also looked sweet.


I can’t wait to add some landscaping here and make it a happy and pleasant place to be, but we are already having so much fun with this garden. There’s something about gardening that feels like such an act of hope and trust. Our house feels too small most of the time and there is so much uncertainty with our future that feels dependent on Matt’s job. But we’re continuing to sow roots anyways. And why not? When it’s time to go, we will obediently go. But in the mean time we will continue investing in this home that has served us for the past decade.
Thank you so much for stopping by today!


