Hi All, well it just seems like I can't get myself on here more than once a week lately! But, if I'm scarce it's because I'm working hard on some fantastic transformations to show you soon! In the past couple weeks, since the March 31 sale, there have been a handful of custom orders coming in as well as dozens of appointments with people interested in the pieces left over from the last event. I'm very happy to say we have almost sold out of all the refinished pieces from 2 weeks ago. If you would like to see what remains please click on the photobucket link under 'Shop'. I'm in the process of creating a portfolio album of all the pieces I have done in the past. In my head that seems like a good idea so potential clients can see the range of work we are capable of here...it's just a matter of sitting down and doing it!
So, this little business is not just about being in the garage painting away all day every day. In fact, the last couple weeks have been my busiest yet and I have not painted a single piece! With the custom orders we have going on at the moment I have driven an hour and a half round trip just for a couple cans of ASCP, (Annie Sloan Chalk Paint), spent several days hunting for a set of dining chairs for my lovely, (and patient!), client L, and took a successful disastrous trip to Home Depot for some heavy duty supplies, (including our first power saw!). Free tip, from me to you: 3 little ones under 3yrs, a 4x8 sheet of MDF board, 2 8ft pieces of trim, extremely loud machines, and a handful of supplies to fit around your kids in the shopping cart DO NOT MIX! Leave the kids at home. Also, make sure your vehicle can fit a 4x8 piece of MDF board before you come. We are learning.
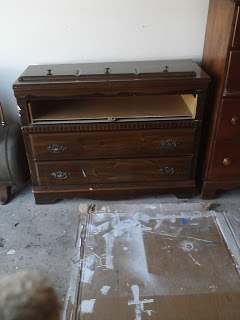
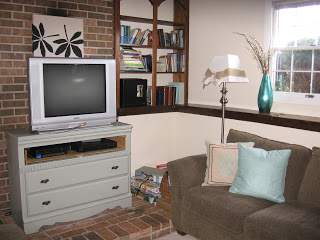
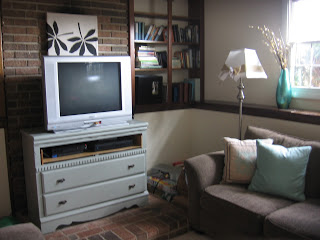
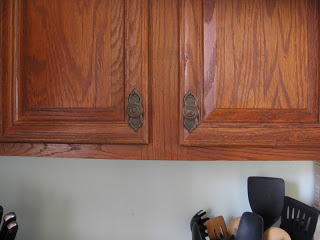
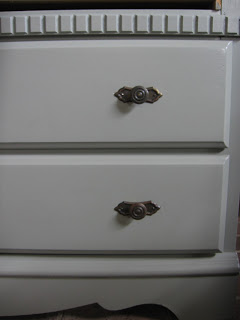
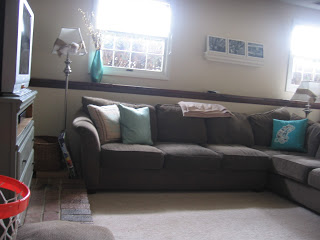
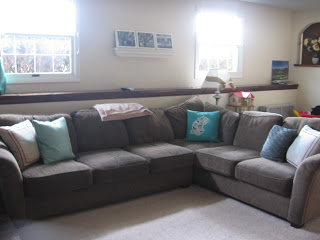
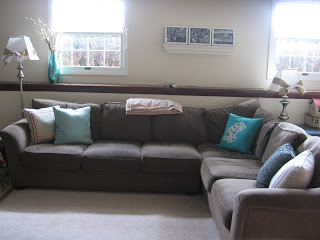
Anyway, I wanted to show you a very hard decision one of my clients, K, is having to make for her new TV console. She checked out the ASCP website to look at paint colors, and probably like most people who have seen the site, concluded that the tiny swatch of color they show online just isn't enough!!! She wanted to be able to hold a paint sample up to other pieces in her room and see which would go the best. Who can blame her! Since the store I buy my paint from doesn't have color swatches which you can take home, (and mail), I made my own! I was planning on using index cards but since I didn't have any I used the next best thing I had: the stationary my husband and I wrote our thank-you notes on from our wedding! Now they're in an envelope and en route to K!
So, this little business is not just about being in the garage painting away all day every day. In fact, the last couple weeks have been my busiest yet and I have not painted a single piece! With the custom orders we have going on at the moment I have driven an hour and a half round trip just for a couple cans of ASCP, (Annie Sloan Chalk Paint), spent several days hunting for a set of dining chairs for my lovely, (and patient!), client L, and took a successful disastrous trip to Home Depot for some heavy duty supplies, (including our first power saw!). Free tip, from me to you: 3 little ones under 3yrs, a 4x8 sheet of MDF board, 2 8ft pieces of trim, extremely loud machines, and a handful of supplies to fit around your kids in the shopping cart DO NOT MIX! Leave the kids at home. Also, make sure your vehicle can fit a 4x8 piece of MDF board before you come. We are learning.
Anyway, I wanted to show you a very hard decision one of my clients, K, is having to make for her new TV console. She checked out the ASCP website to look at paint colors, and probably like most people who have seen the site, concluded that the tiny swatch of color they show online just isn't enough!!! She wanted to be able to hold a paint sample up to other pieces in her room and see which would go the best. Who can blame her! Since the store I buy my paint from doesn't have color swatches which you can take home, (and mail), I made my own! I was planning on using index cards but since I didn't have any I used the next best thing I had: the stationary my husband and I wrote our thank-you notes on from our wedding! Now they're in an envelope and en route to K!
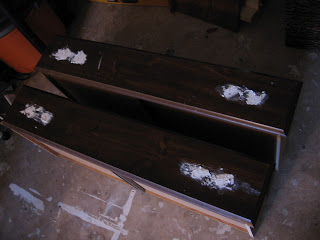
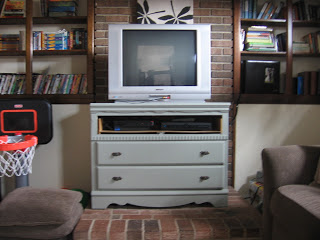
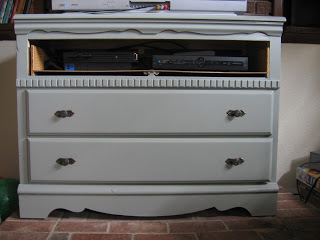
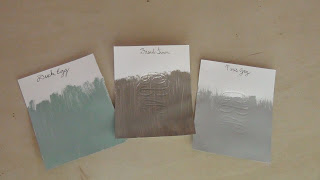
Here are the colors K is deciding between:
Duck Egg, French Linen, and Paris Gray
Don't these three colors look scrumptious?! Good luck deciding, K!
Now, I am off to the Garage to work on a bench and set of chairs which I hope to show you at the end of the week! Thank you for stopping by and have a wonderful day!
~Chelsea