The Beginning of the year means it’s goal-setting time. And around here, that mean’s it’s time for my annual Furniture Flip Bucket List. This is the time of year where many of us reflect on what we’ve done (did you see Chelsea’s 2019 eDesign round-up?) and set our sights on what we want to achieve.
Each year, I like to publicly declare what I’d like to tackle over the coming months. Now I should mention that we’re not afraid of failure (see years 2016 and 2018, and for a laugh - the post script in this post from 2017…) so we release this annual list with a caveat. Yes, this list is meant to be a means of holding myself accountable to my aspirations. But it also comes with preemptive grace when I fall short (and I do). This list allows me to take bigger risks in my creative field and gives me the chance to surprise myself (like the year I built a chandelier from scrap parts)!
In an effort to set myself up for success again, the 2020 Flip List is a short and sweet:

DIY a Sling Chair

I have long been fascinated with the idea of making my own sling chair. I’ve been tinkering with the frame of an old thrifted chair and a rug remnant I scored from Chelsea to see if I can make something cool and sittable… stay tuned!
Use These Metal Legs on Something

My typical creative process is to find a raw piece I want to flip before I start sourcing it’s bells and whistles. But every now-and-again I find some hardware or accessory I would love to see in play and I purchase it on a whim. These legs here were an impulse buy from Amazon for a good deal I didn’t want to go to waste. Now I just need to find the right body for these gams…
Rehab this Dresser

Ok this is an inspiration pic but I did find this exact dresser body on my Facebook Marketplace. He’s been sitting in my garage workshop with some unfortunate damage and sans his original legs (who in their right mind would amputate such a fine specimen?!?!). So now I need to figure out how to best bring him back to life.
Share my Home More

So I have this notion that I can’t share my home on social media unless I have deep cleaned the place from top to bottom and shoved 67% of our stuff into closets and behind closed doors. I honestly love our little rental and feel compelled to share it more in all it’s glory. This flip list item is really a twofer because it means I will also have to work on taking better indoor pictures on the fly (Chelsea is so good at this - have you seen her Insta?). I can easily snap a pic of a piece in the workshop because I know the angles and my lighting like the back of my hand. But when I try that in our house all I see is dog hair, or baby toys, or an infestation of paperwork. And frankly, when I do share something, social media punishes me for being “off-brand.” Well I’ve decided that that’s just a stupid reason to withhold a piece of myself so get ready to be upset Instagram!
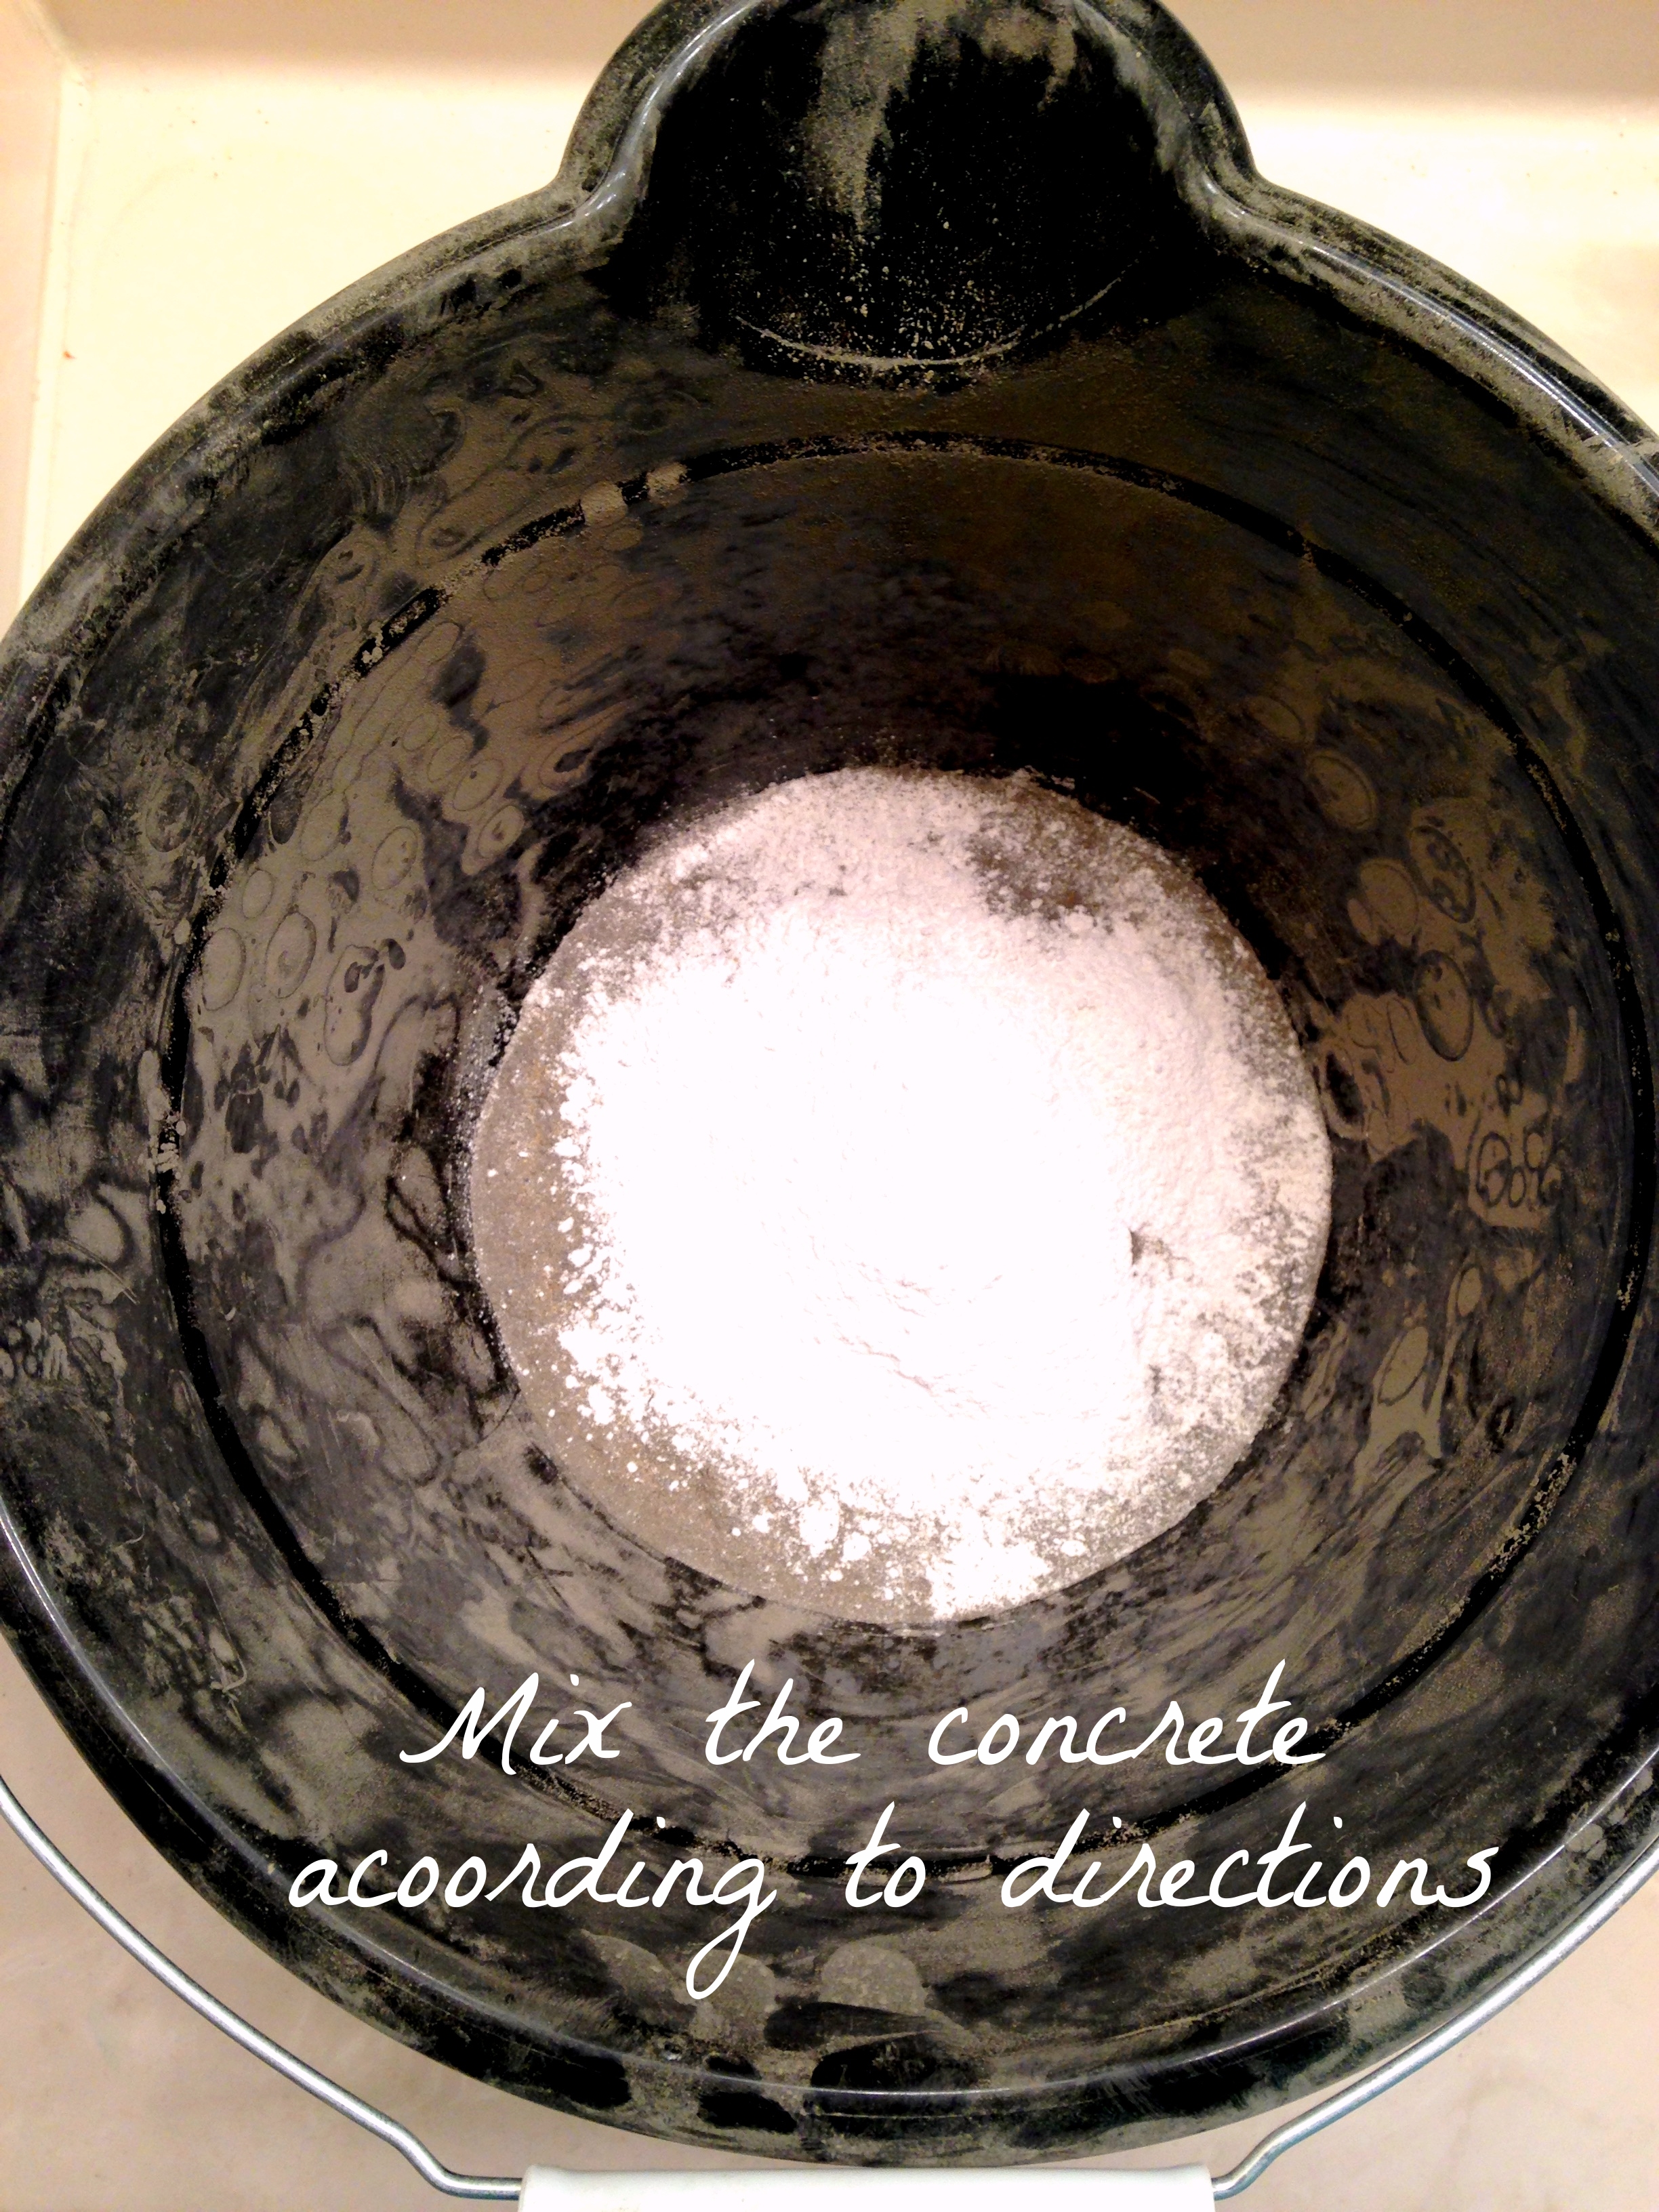
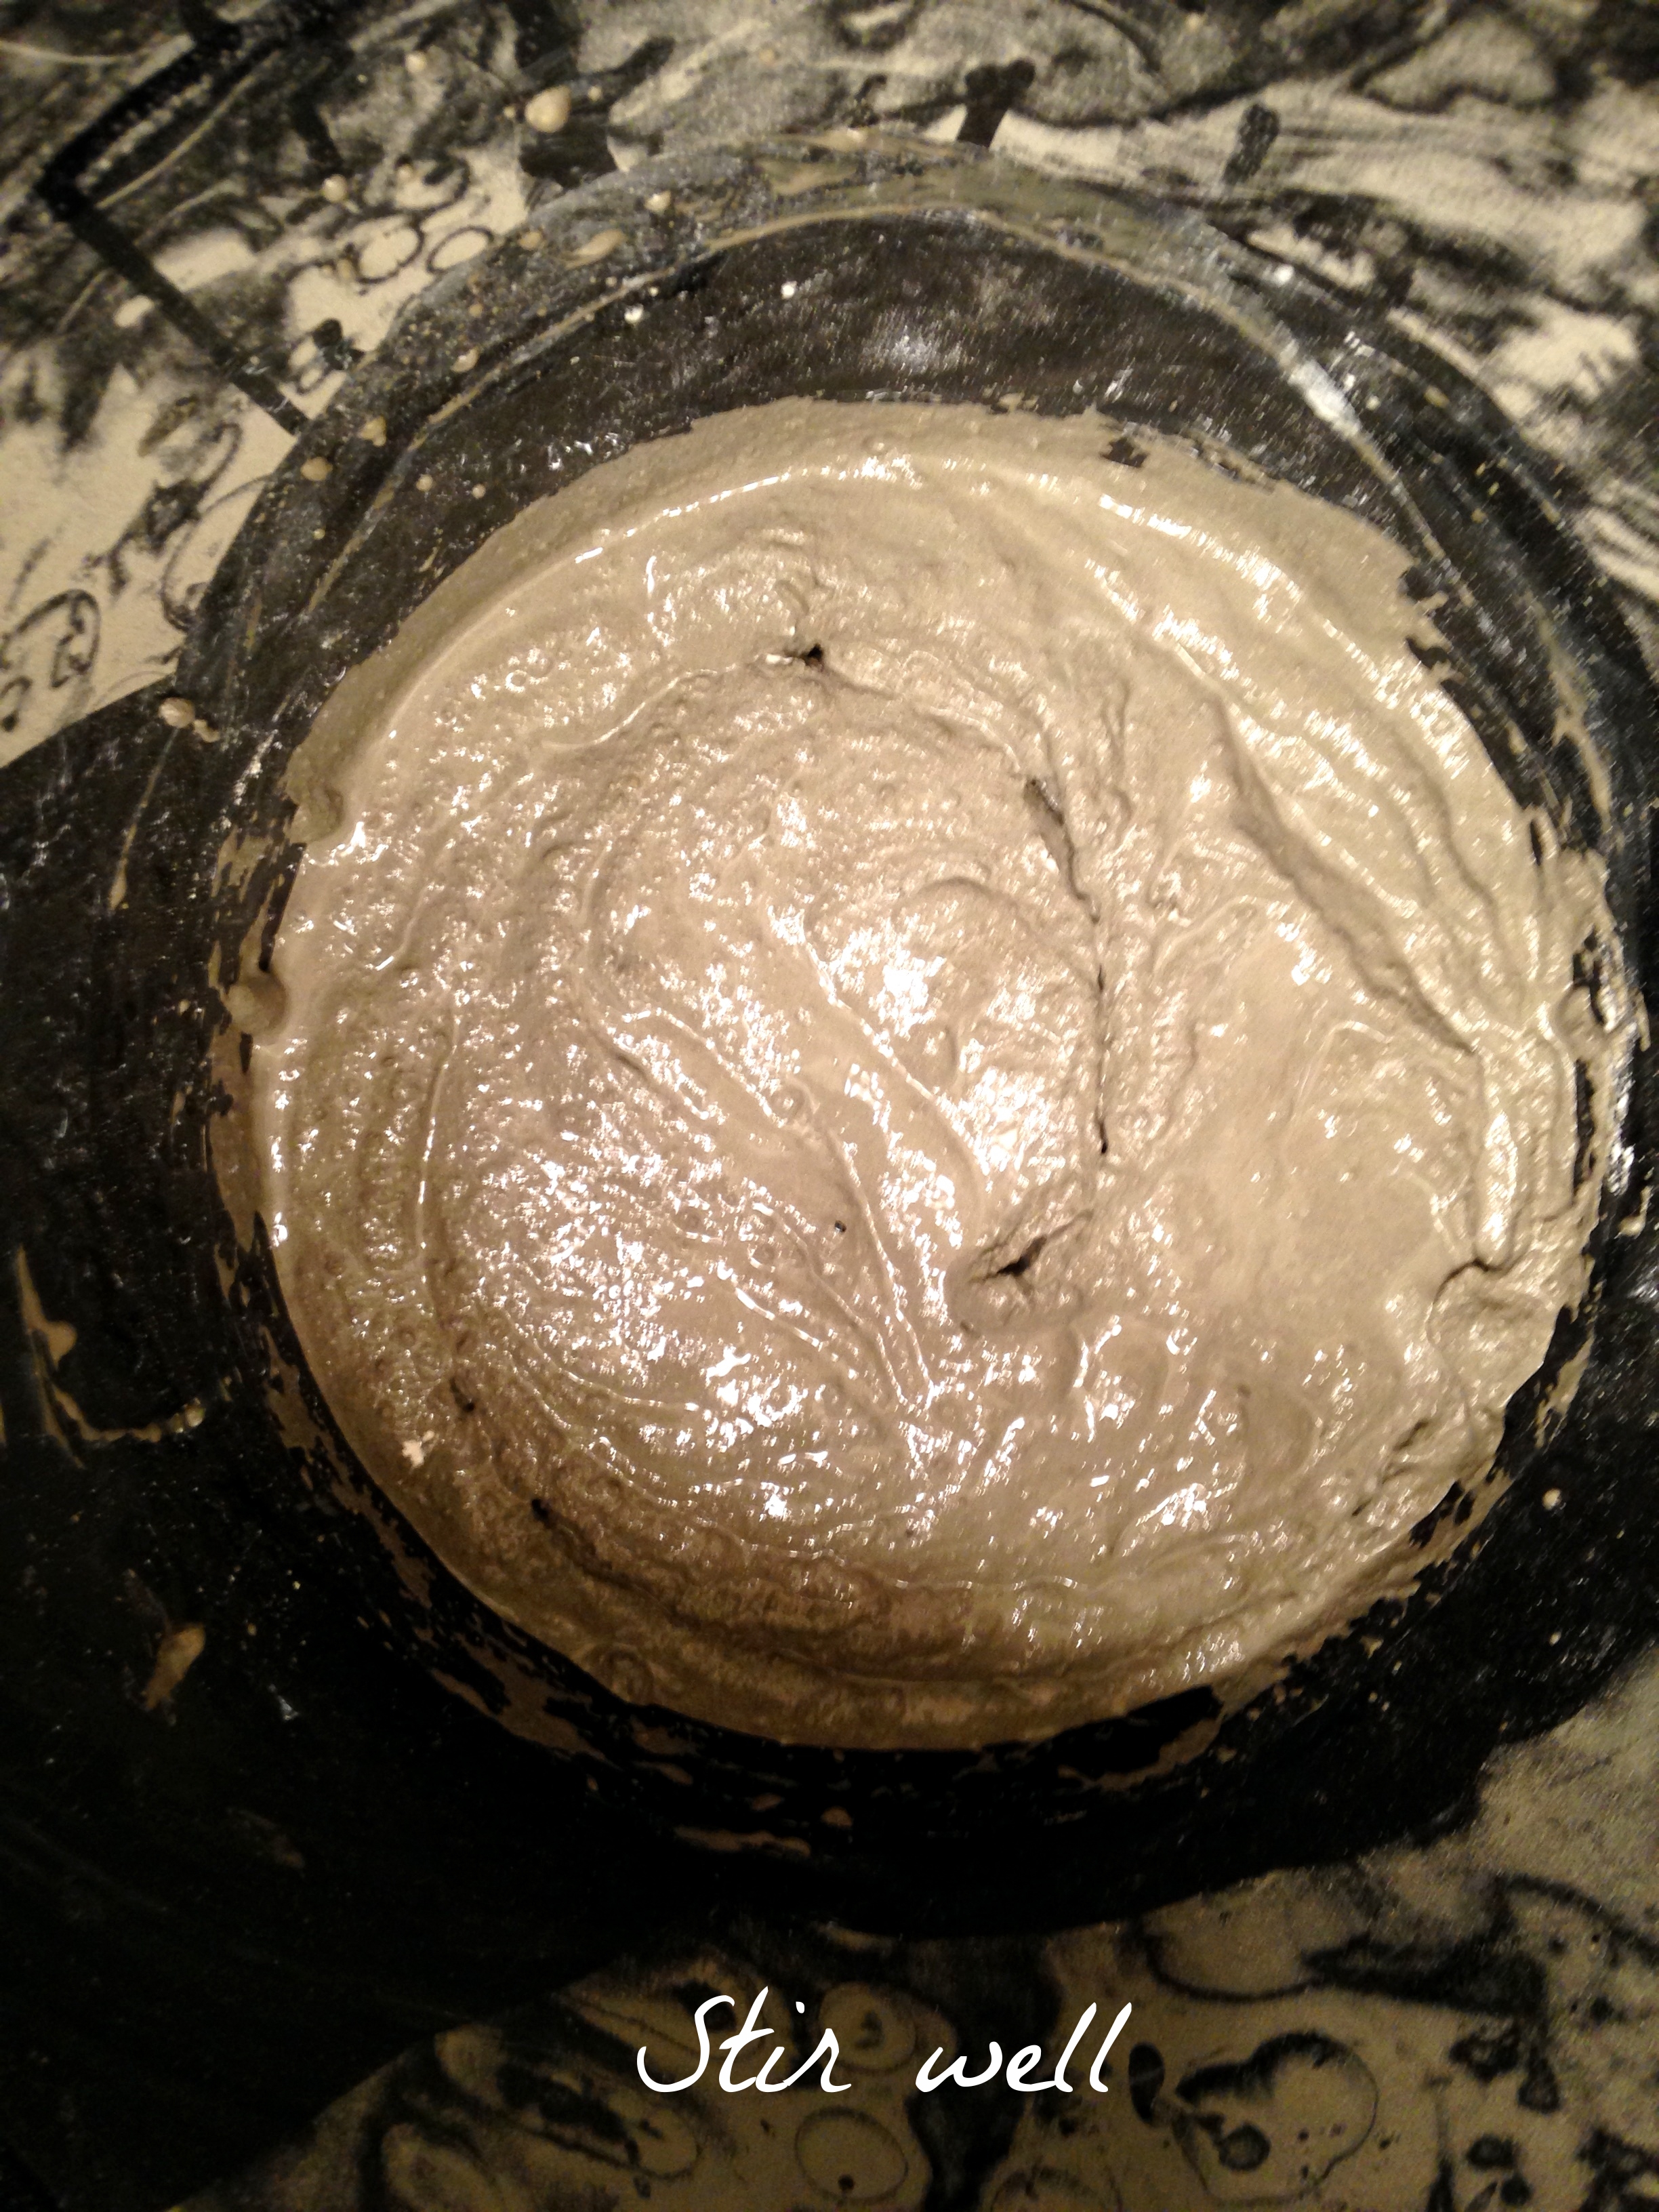
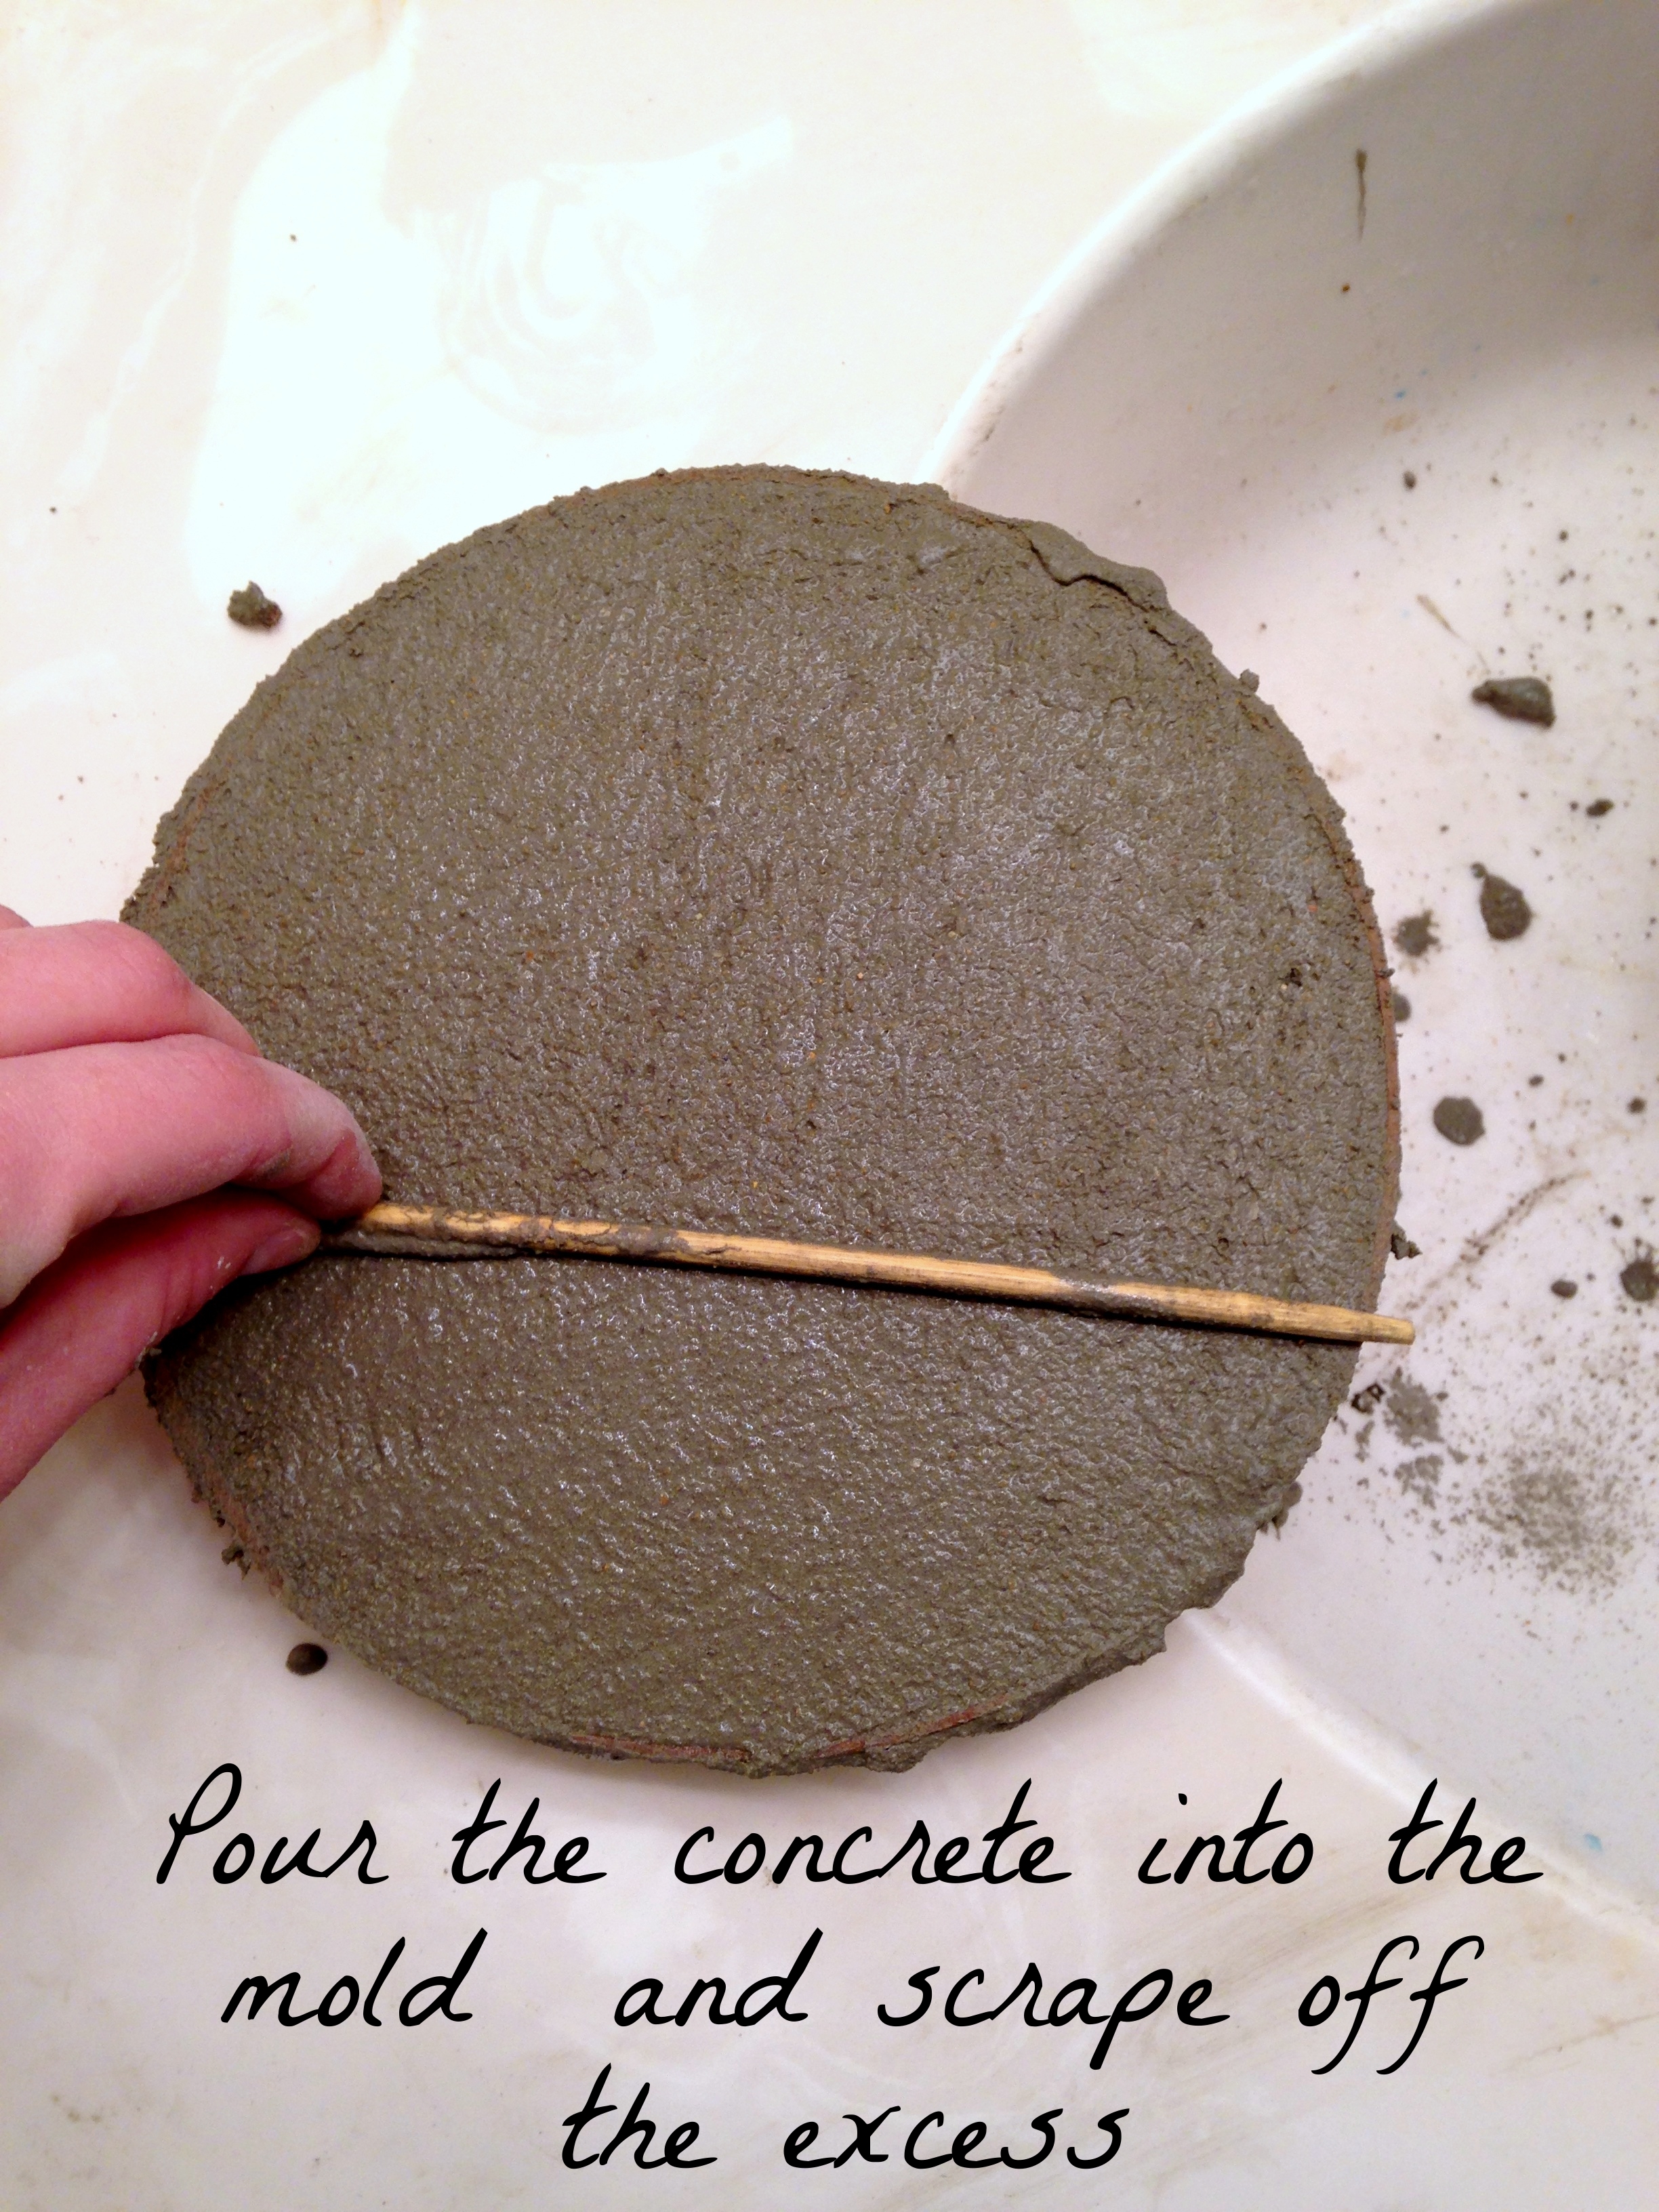
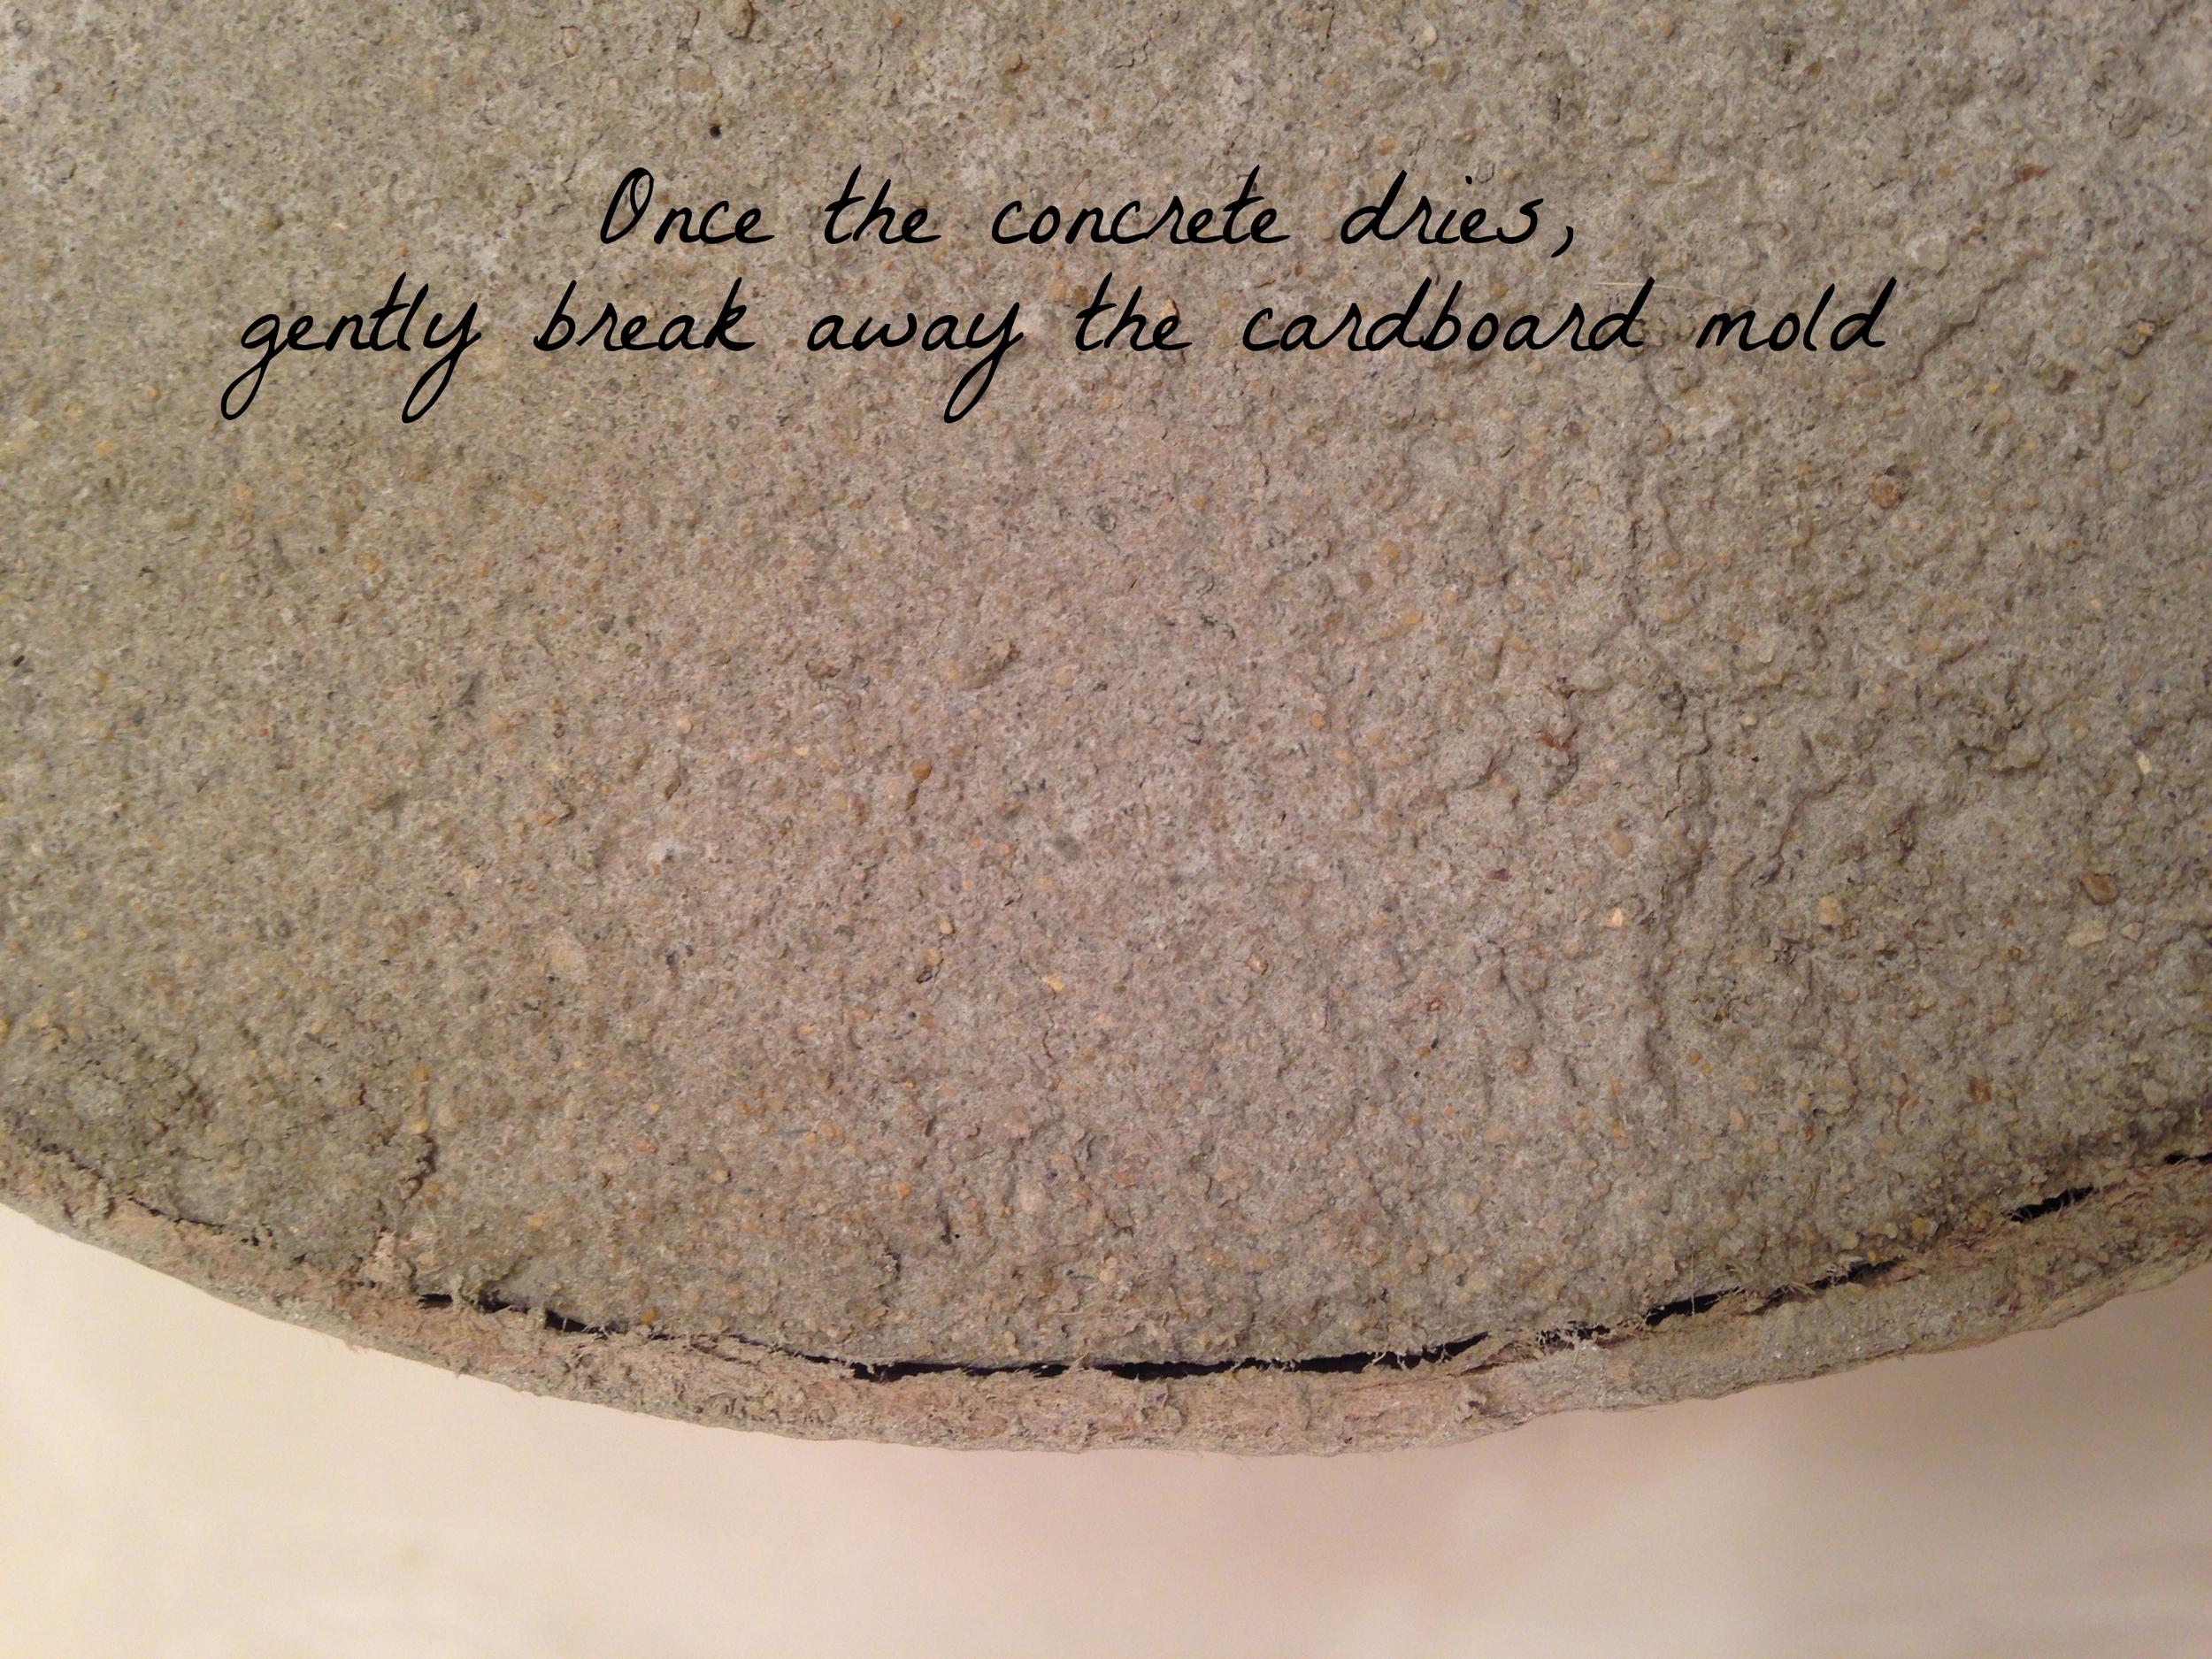
Apply a Concrete Finish to Something (Anything)

Ever since Leanne Ford started shmearing everything with Roman Clay, I’ve been itching to try this. This year, I’m on the hunt for something that I can apply this concrete finish too to get the look of stone (but without the substantial weight!).
There you have it friends! Here’s to another year of risks and (hopefully) rewards!