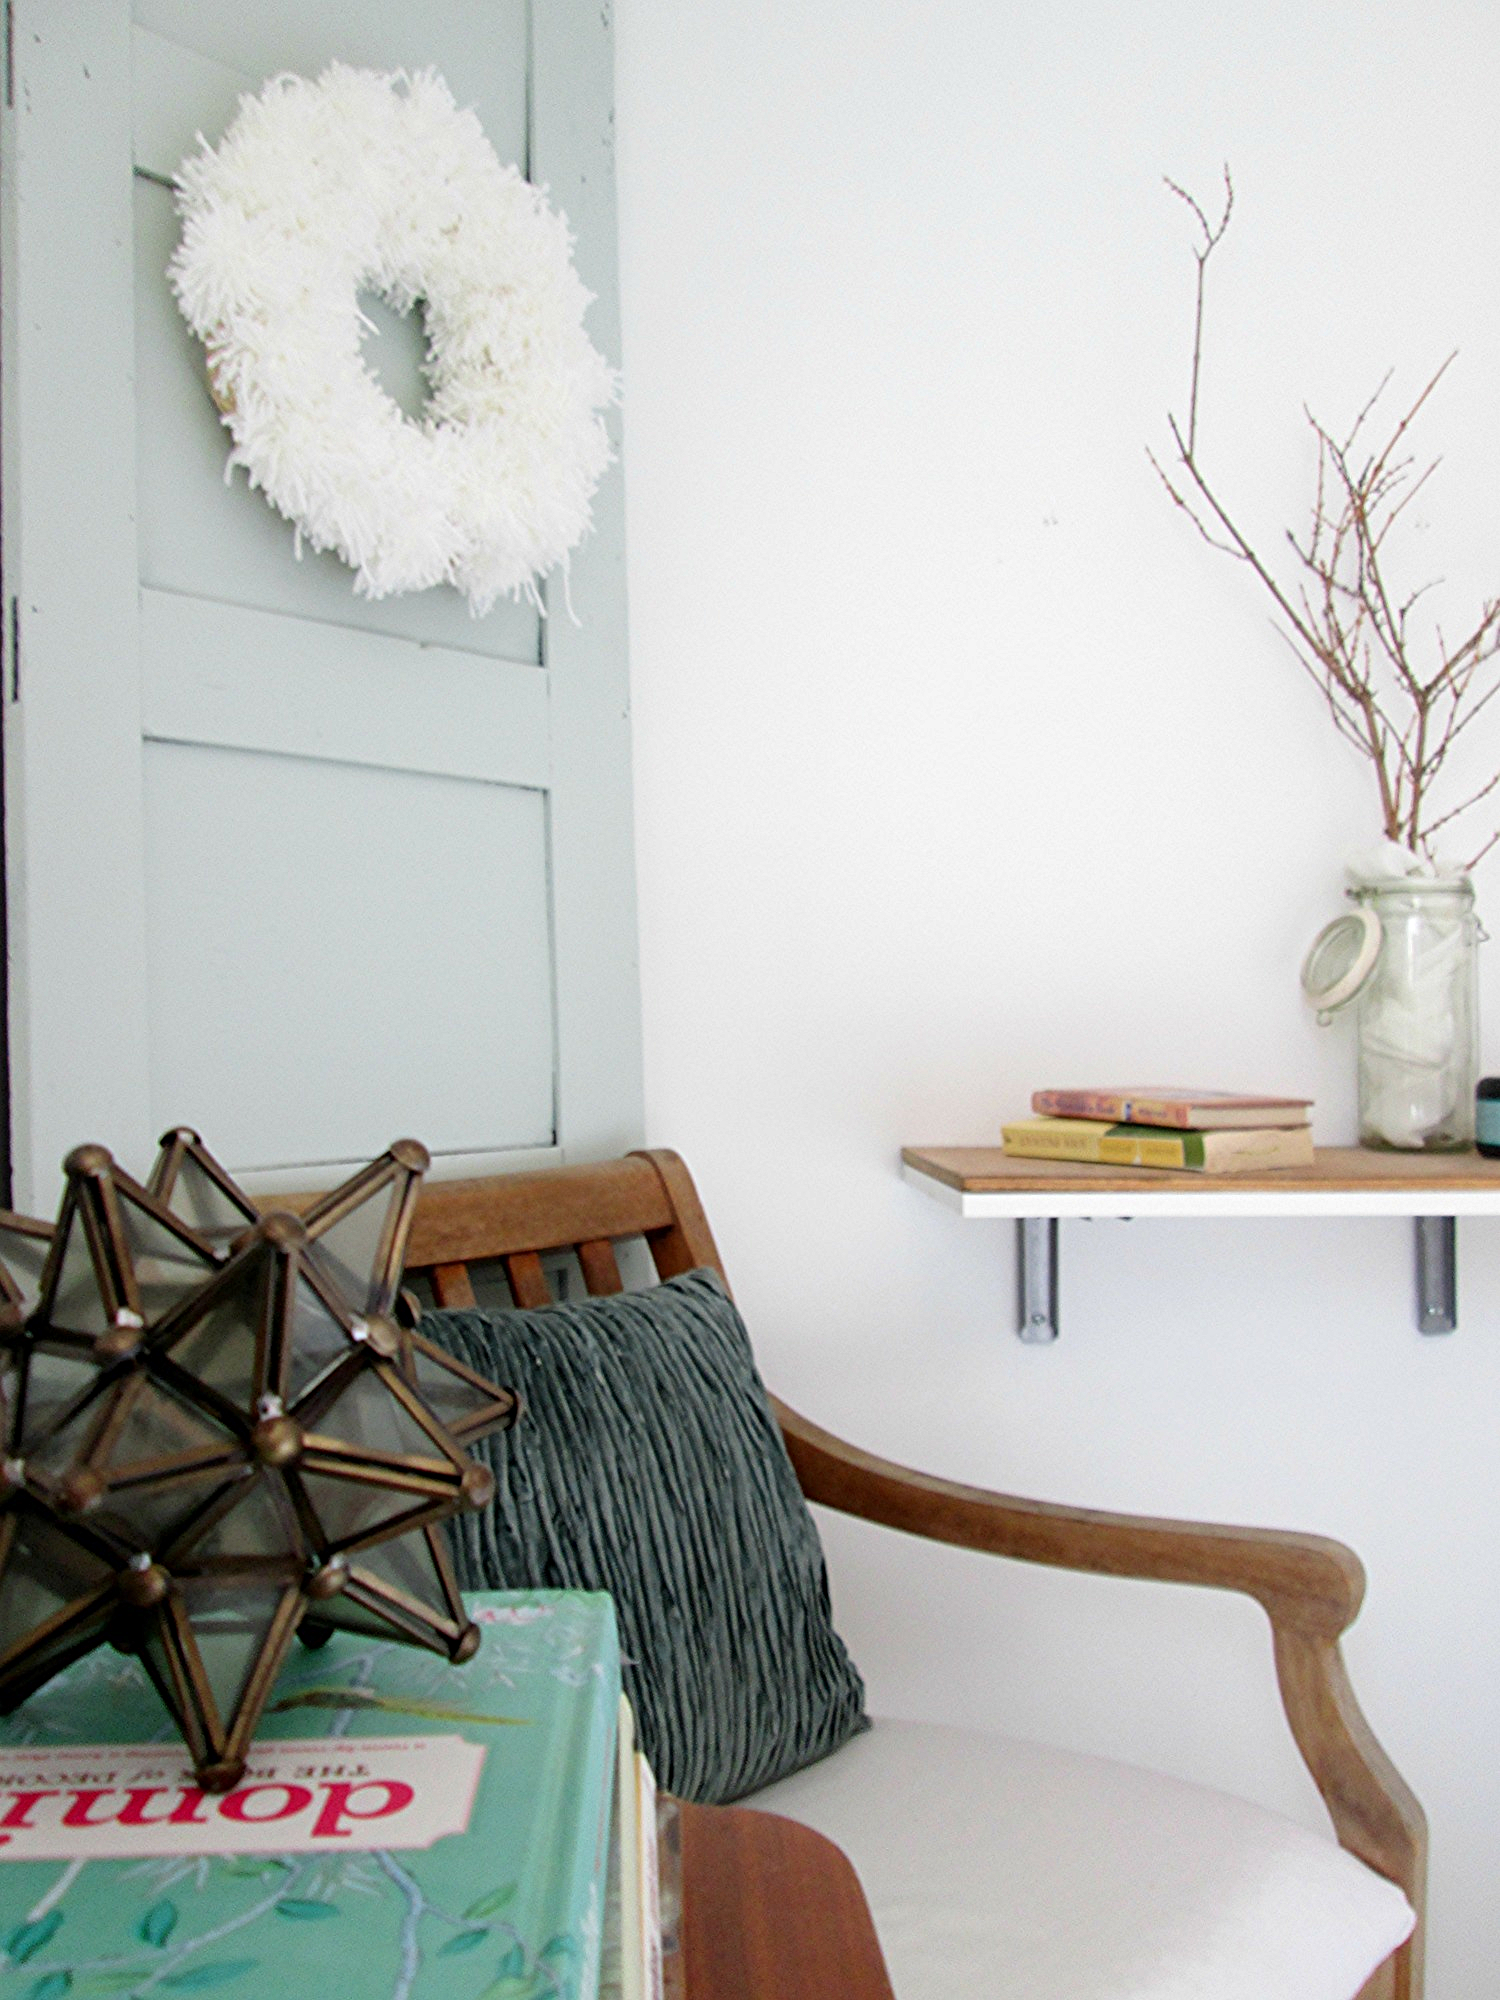
Hi All! I almost forgot to share this old bookpage wreath tutorial from long ago! I shared it on Chelsea's Garage, (my old blogger stomping grounds), a couple of years ago and its been one of the most popular projects spit out of this small production line. This is a wreath I keep up year round, but I always like to share the tutorial again near the holidays, in case anyone's interested in a fabulous wreath project.

For this project, you need just a few fairly common supplies:
-A book or two, (I used two with slightly different color pages for contrast)
-Stapler
-All purpose glue
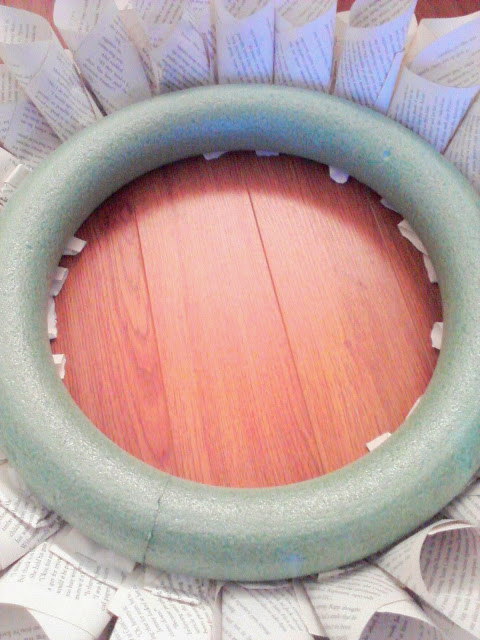
-Foam wreath frame
-Black craft paint, (optional)
-Small artists brush, (only if you're using the black paint)

Step 1: With the books closed, take the brush and paint the outside of the pages with the black craft paint. Giving them a darker edge will create some visual contrast between each page in your wreath.

Step 2: Tear out a page, form it into a cone
Step 3: Fold the bottom of the cone up about an inch, and staple
Step 4: Glue the bottom edge of your cone
Step 5: Place your hand gently in the cone, and attach the cone to the foam wreath frame, working your way from the outside, in.

Not too complicated, right?! As you work your way inside the foam frame with the cones, it's helpful to add glue to both sides of the cones so they attach both to the frame, and the previous row of cones. Just tuck em' right in there.


I hope you're having a wonderful week and are enjoying this special time of year. It goes by so fast, I know. I have no tips on slowing down time, but I think pace is one thing in our control that we should handle with care. Don't overload your plate. Be realistic with your time and commitments. Be honest about your priorities. These DIYs are a dime a dozen and are absolutely unnecessary to enjoying the holiday season. They're simply meant to give you ideas and ways to add a bit of festive spark, if time allows, to your home.
Thank you all so much for stopping by!