Best Laid Plans || 2018 Flip List Recap

Oh hey there January. When did you get here?

I came so close. Close but no cigar as they say. It’s not the first time I’ve neglected the final item on my annual Furniture Flip Bucket List (see what happened in 2016 for example) but I really did come close.

 
IMG_0014.JPG
 

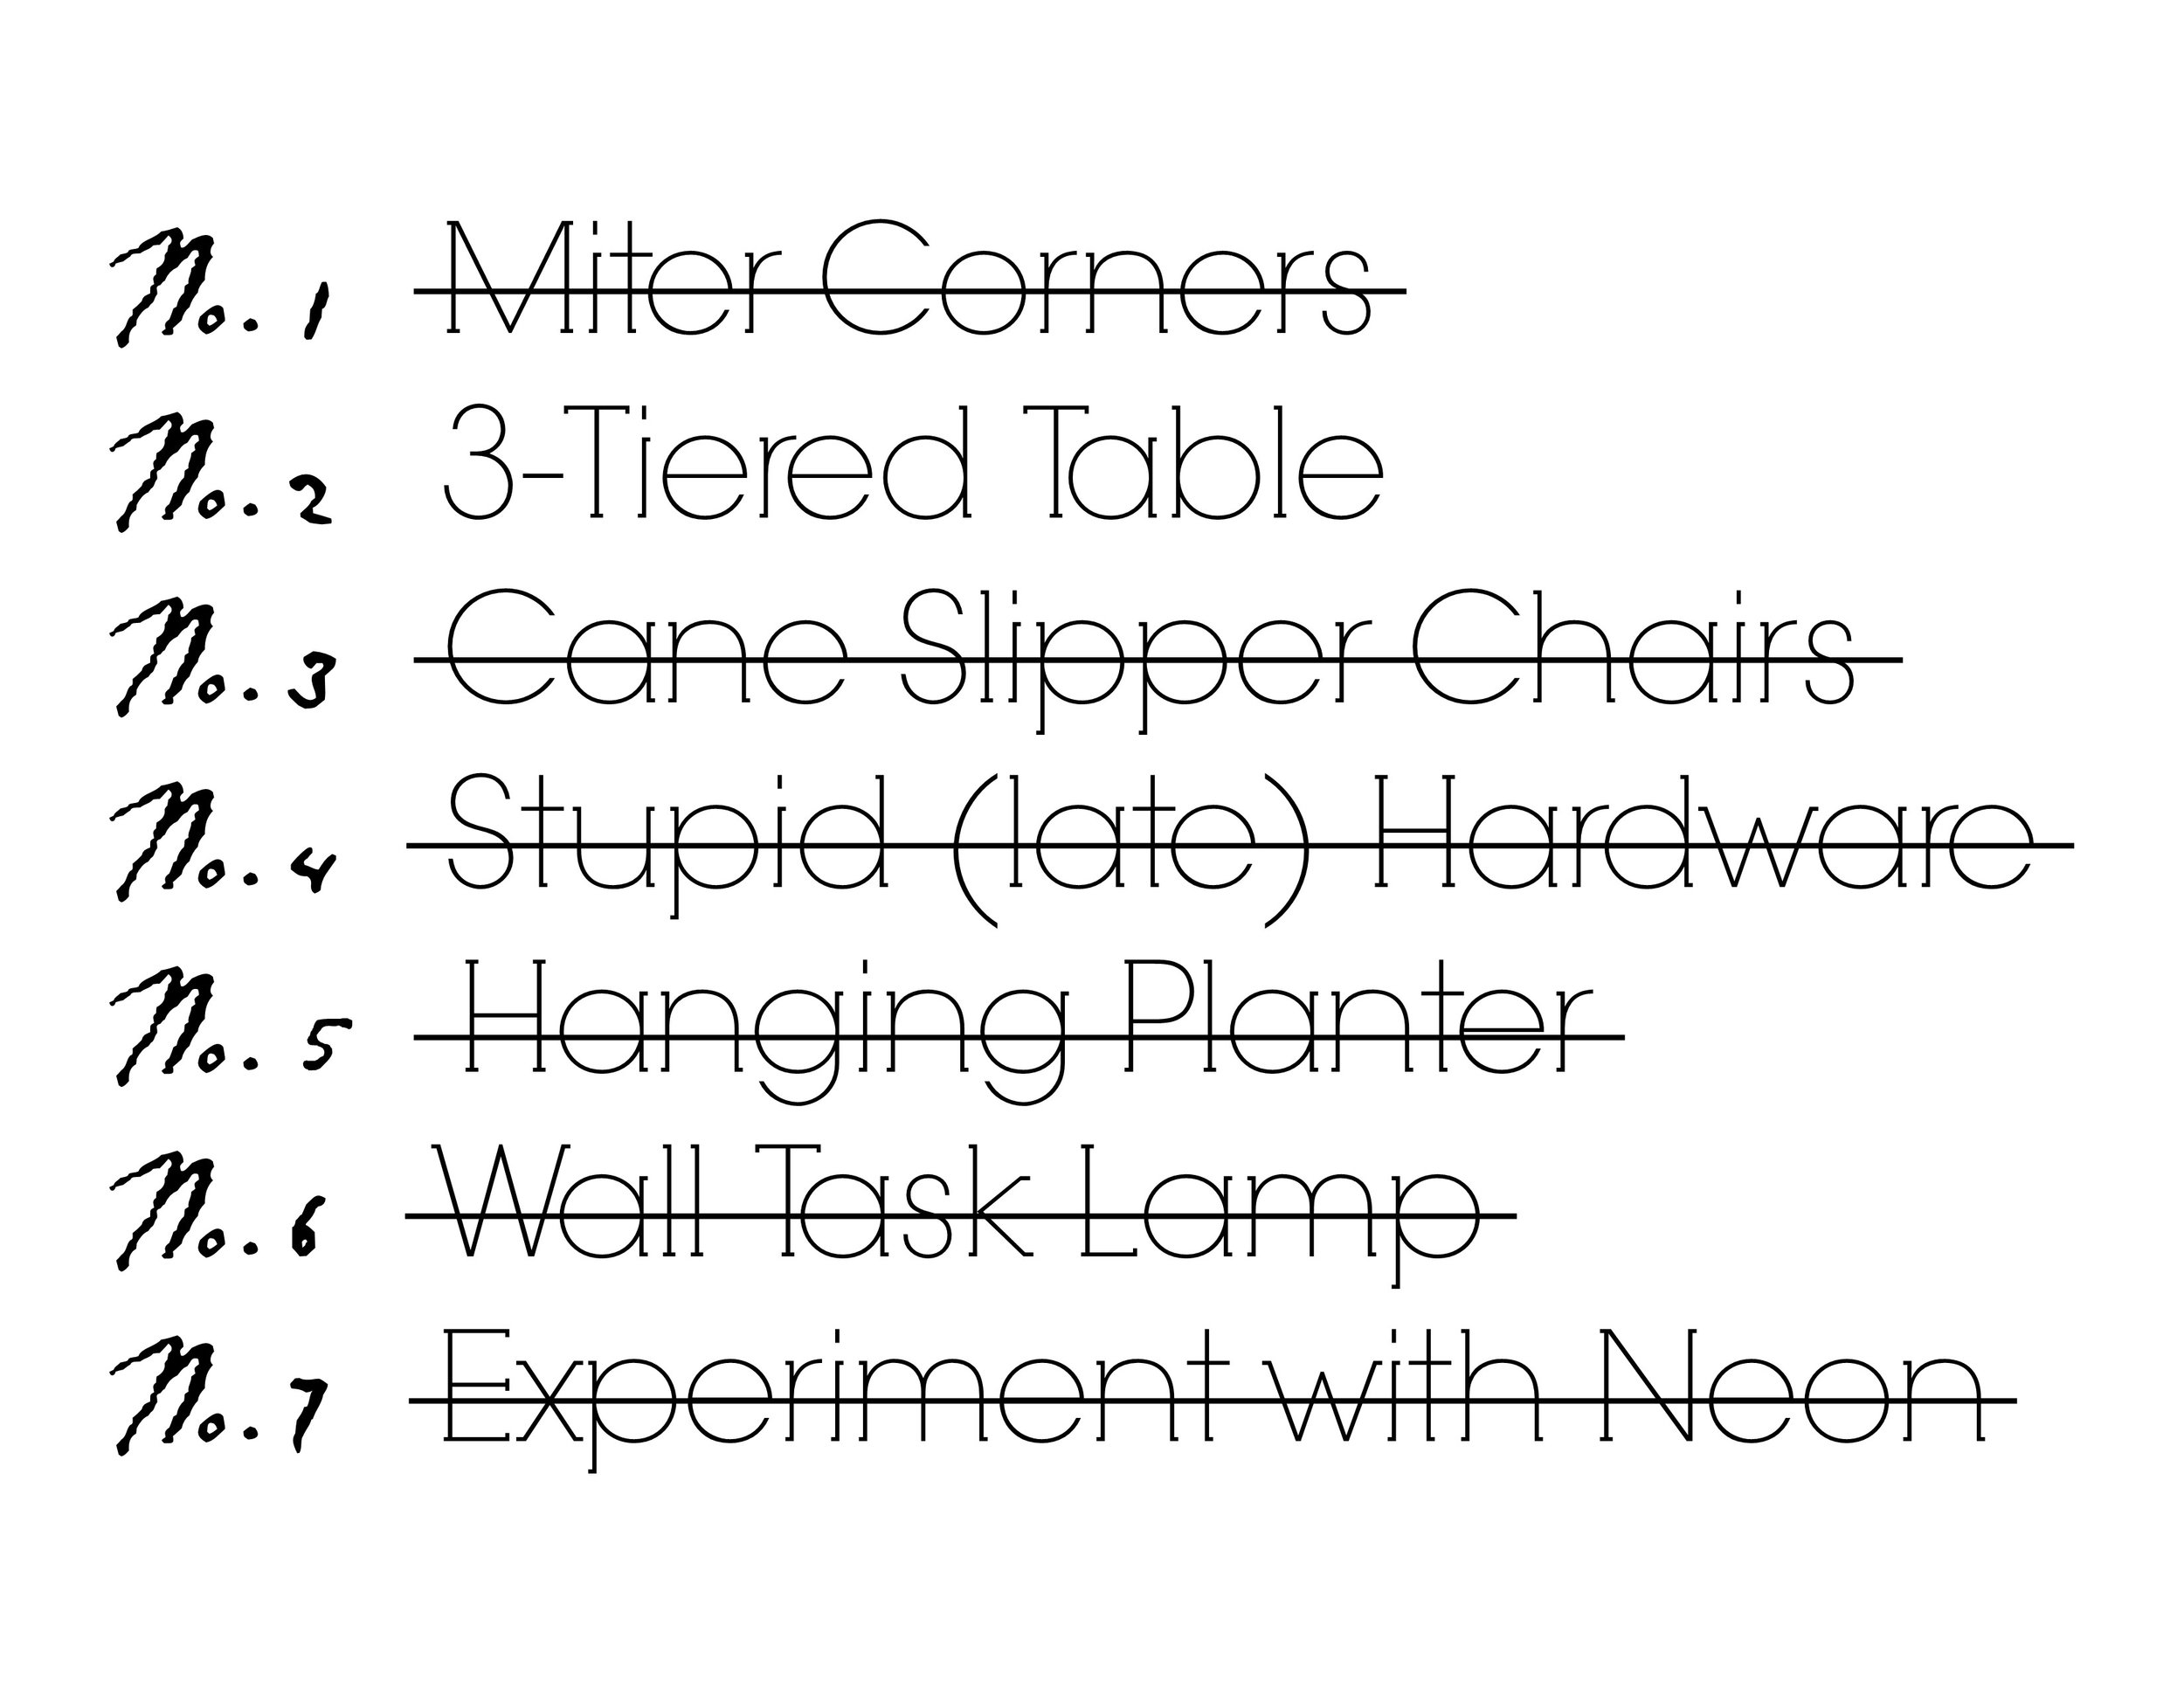
Every January, I publically declare my resolutions for the year with a list of projects or challenges I’d like to see myself complete. And sometimes the year gets the best of my despite my most noble intentions.

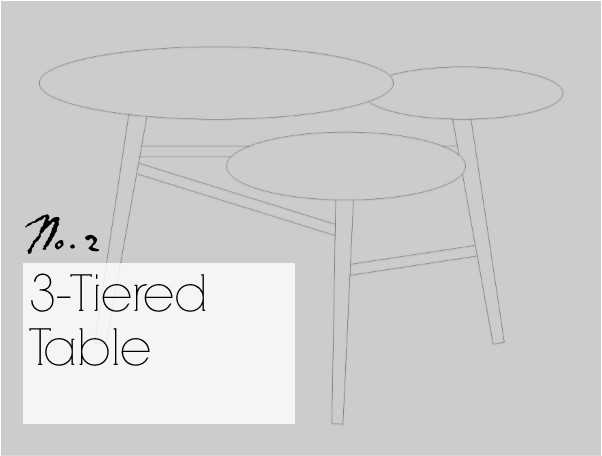
I may have left completing Item No.2 undone but I at least have something to offer the New Years Resolution Police:

My Plans

Tri Table Cropped.jpg

So what happened? Why didn’t I crank this last project out? I mean - I have the plans and measurements right here don’t I…? Did I run out of time? DId I get a little lazy? Did I change my mind?

Tri Table Components.jpg

Yes.

I admit it. I ran out of time and gusto to make this project happen in 2018. This happens sometimes when I hit a creative wall - when I sat down at my metaphorical drawing board, this project began to accrue a long list of challenges that I just couldn’t ignore:

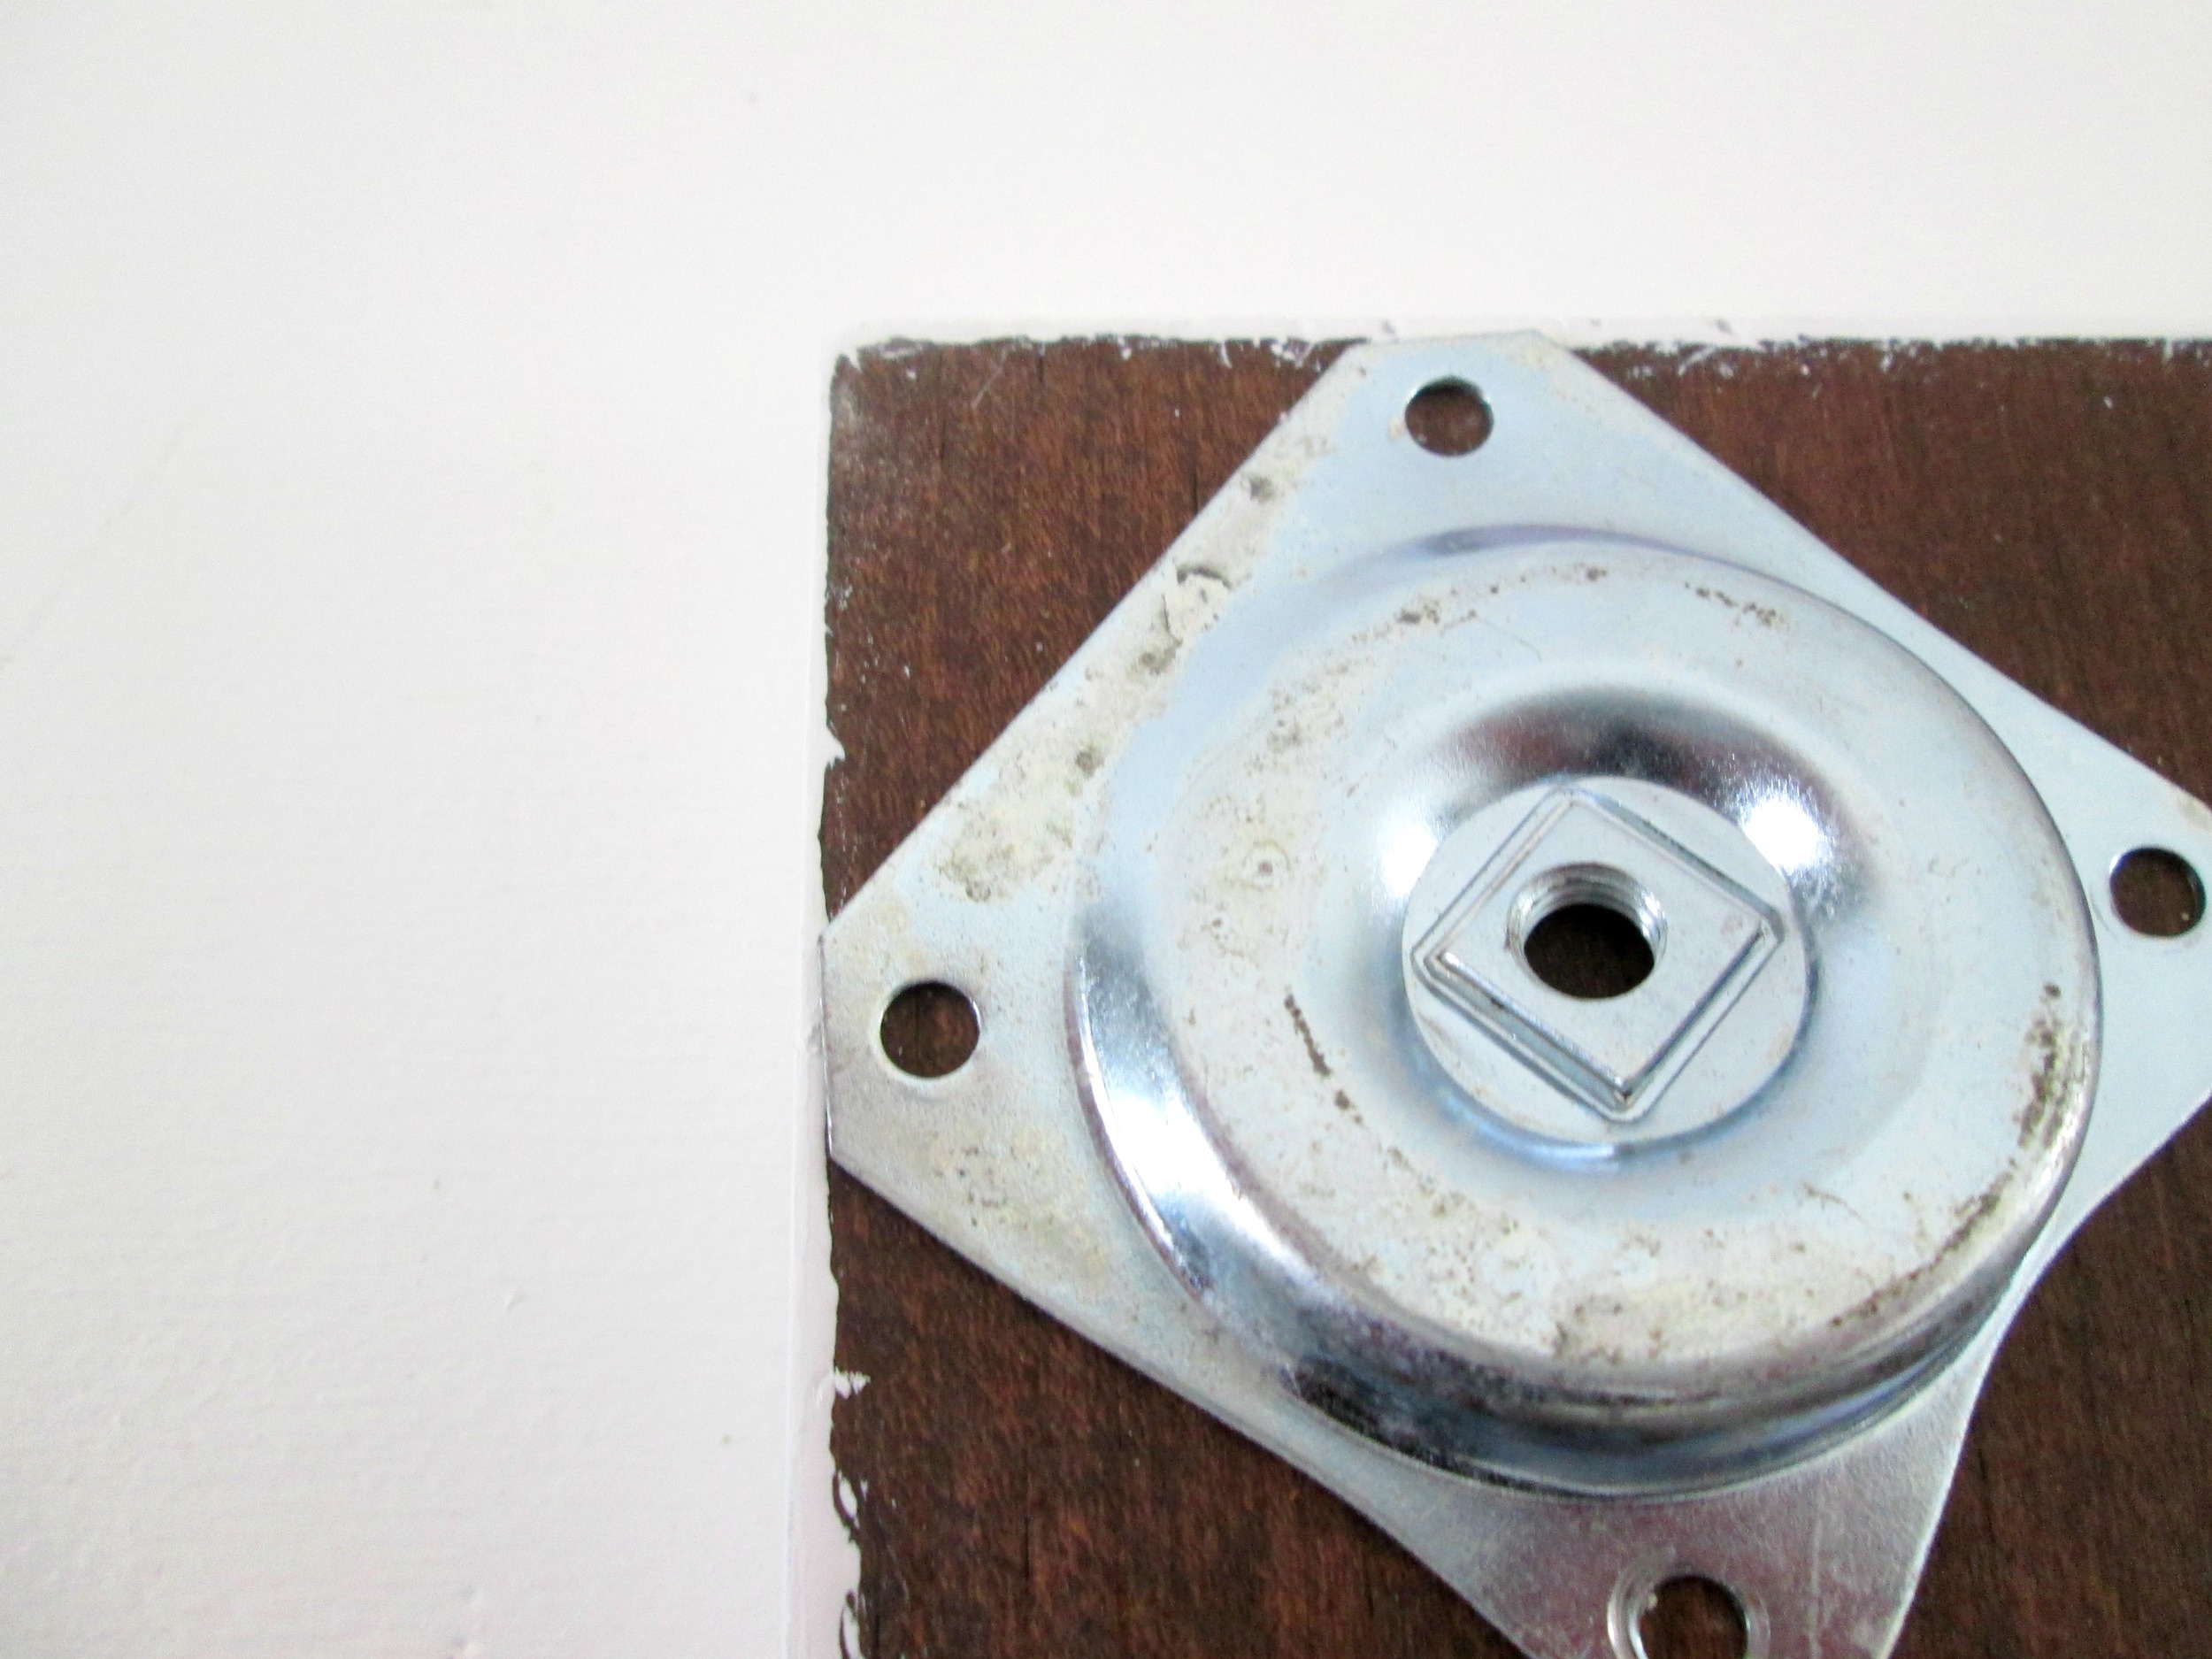
  • How to connect each table top + leg to each other with dowels

  • How to stain tapered legs to match table tops

  • Will the table tops be large enough to feel proportionate to leg length?

  • Am I spending too much on the components to still make a profit

Maybe with some more time in the year I could have solved this puzzle, but the main reason it ended up on the cutting room floor was moolah. Without the connecting dowels or stain, I’m already running a tab close to $80 just for legs, table tops and mounding hardware.

Source: West Elm

Source: West Elm

Consider this: West Elm’s Clover Coffee Table (now discontinued) is the polished/ mass-produced version of my plans. Although no longer available, they were able to market their tables somewhere around $250. Even f I were able to assemble a table that looks as polished and try to list it for a similar price in the shop, this still means my profit margin would below my comfortable threshold.

It just wasn’t a practical project to take on. Maybe if I were in the market for a piece like this in my own home, I would give it a go. But the unknown risks far out weigh the potential for reward so I had to pass. For now.

So my 2018 list is incomplete. Alas. But exciting things are coming this year so stay tuned for the 2019 Furniture Flip Bucket List!

Cate.jpg

DIY Mid-Century Table ||In 60 minutes or less!||

Hi friends! I know this time change kicks a lot of butts who are trying to get up and out the door in the morning, but as a stay at home Mom with no kids in school yet, it's glooorrriiouusss. Before we Sprang forward, my kids were waking up about 5 minutes after we put them to bed at night. But once we jump those clocks ahead an hour, they naively 'sleep in' until the sun rises. It feels like a cruel joke. But, oh, how I've missed starting my days with my bible and journal. I love the sweet moments I spend looking out the window, praying for my family and learning a little bit more about the Lord. I know the littles will adjust to the time change and I'll be chasing after what seconds I can find throughout the day again, but for now, it's a beautiful gift.

Speaking of beautiful gifts, want to learn how you can whip out a cute mid-century table in less than an hour? Check it out!

Isn't it sweet? You could put a table like this behind a sofa, at an entry way, or use it as a desk as I've styled it here.

Supplies:
-4 x 27.5" tapered wooden legs from Lowes, (buy them here)
-4 x 2.43" angled top plates from Lowes, (buy them here, they come with the screws)
-48" x 16" x 1" board, (mine was a scrap piece in the garage, but you could find a 16" wide board and have it cut to whatever size you need at the hardware store)
-white paint, (optional)

If you want the top surface of your table and the tapered legs to be white, paint them first and prop up to dry for about 35-40 minutes. I used blue painters tape on the legs where I wanted to protect the bottom caps and up the leg about 12" where I wanted the paint to stop. This is entirely up to you whether you want to paint at all or not. If not, then this project will take you about 12 minutes!

Assembling the table

Step 1:
-Line your top plates up where you want the legs to be underneath the table top. I love the straight corners on these plates that make it so easy to line each top plate up!

Step 2:
-Attach your top plate by drilling the screws provided into the holes at the corners of the plate.

Step 3:
-Screw your legs into the angled center piece

Step 4:
-Pat yourself on the back because you just made a table!

A quick and easy build that you can use throughout your home for years to come - not a bad way to spend an hour!

Mid-Century Accent Table / Desk, now available for sale:
48"L x 28.5"H x 16"D
$65

Thank you all for stopping by!