Confession o’clock. I’ve been creatively spent during this pandemic.
This time last year I was desperately clamoring for a “new normal” while transitioning back to my day job after maternity leave. I had no idea how to do things with a baby in tow and certainly didn’t have the emotional bandwidth to absorb the larger problems of the world. Admittedly, this is when my StyleMutt projects started to take a back seat to juggling family and work. I sought fewer and fewer outlets to create and found myself too creatively spent to be inspired by many new projects anyways.
I was just beginning to chip away and new work again (see my goals for 2020 here) when COVID-19 enters stage right. Suddenly, my husband has turned half my workshop into a home gym and we are splitting up who gets what “me time” between working from home and engaging the baby without daycare.
For some, stay-at-home orders and the lack of access to the rest of the world seemed to fuel many to alternative creative outlets (did you see this post about Chelsea’s home garden project?) but I actually found it to be quite draining. The unique challenges of this upside down world have been eating up all my creative bandwidth: how can I safely buy used project pieces now? How can I safely interact with clients in my in-home garage workshop? How can I maintain proper social distancing when helping someone load up a piece? I admit, these questions halted my already limited motivation. COVID-19, I would very much appreciate if you could exit stage left now pleaseandthankyou.
I can’t be the only one who’s yearning for “normal” out there can I? I want you to know that I feel you friend and I do believe it’s going to be ok. I may be mourning what used to be, but I don’t believe this will be forever. And it’s ok to acknowledge that. I have to acknowledge that if I’m ever going to find a way to a new normal. I have to call it what it is and try to move on - even if it took me 8 months to share my first flip of 2020 (let’s be real… that’s like 19 in Coronayears.)
So I clumsily got back in the saddle, trolled facebook marketplace for a new project, put on my facemask, and bought myself a big fat box from a nearby horse farm:

Don’t let the listing pic fool you. I could probably quarantine in this thing if I needed to - it’s that big. The original owners said it was handmade by grandpa and basically used for garage storage, but it was in great shape and it had that warm wood stain I like so much so I thought why not? It would make for good project to flex my atrophying creative muscles.
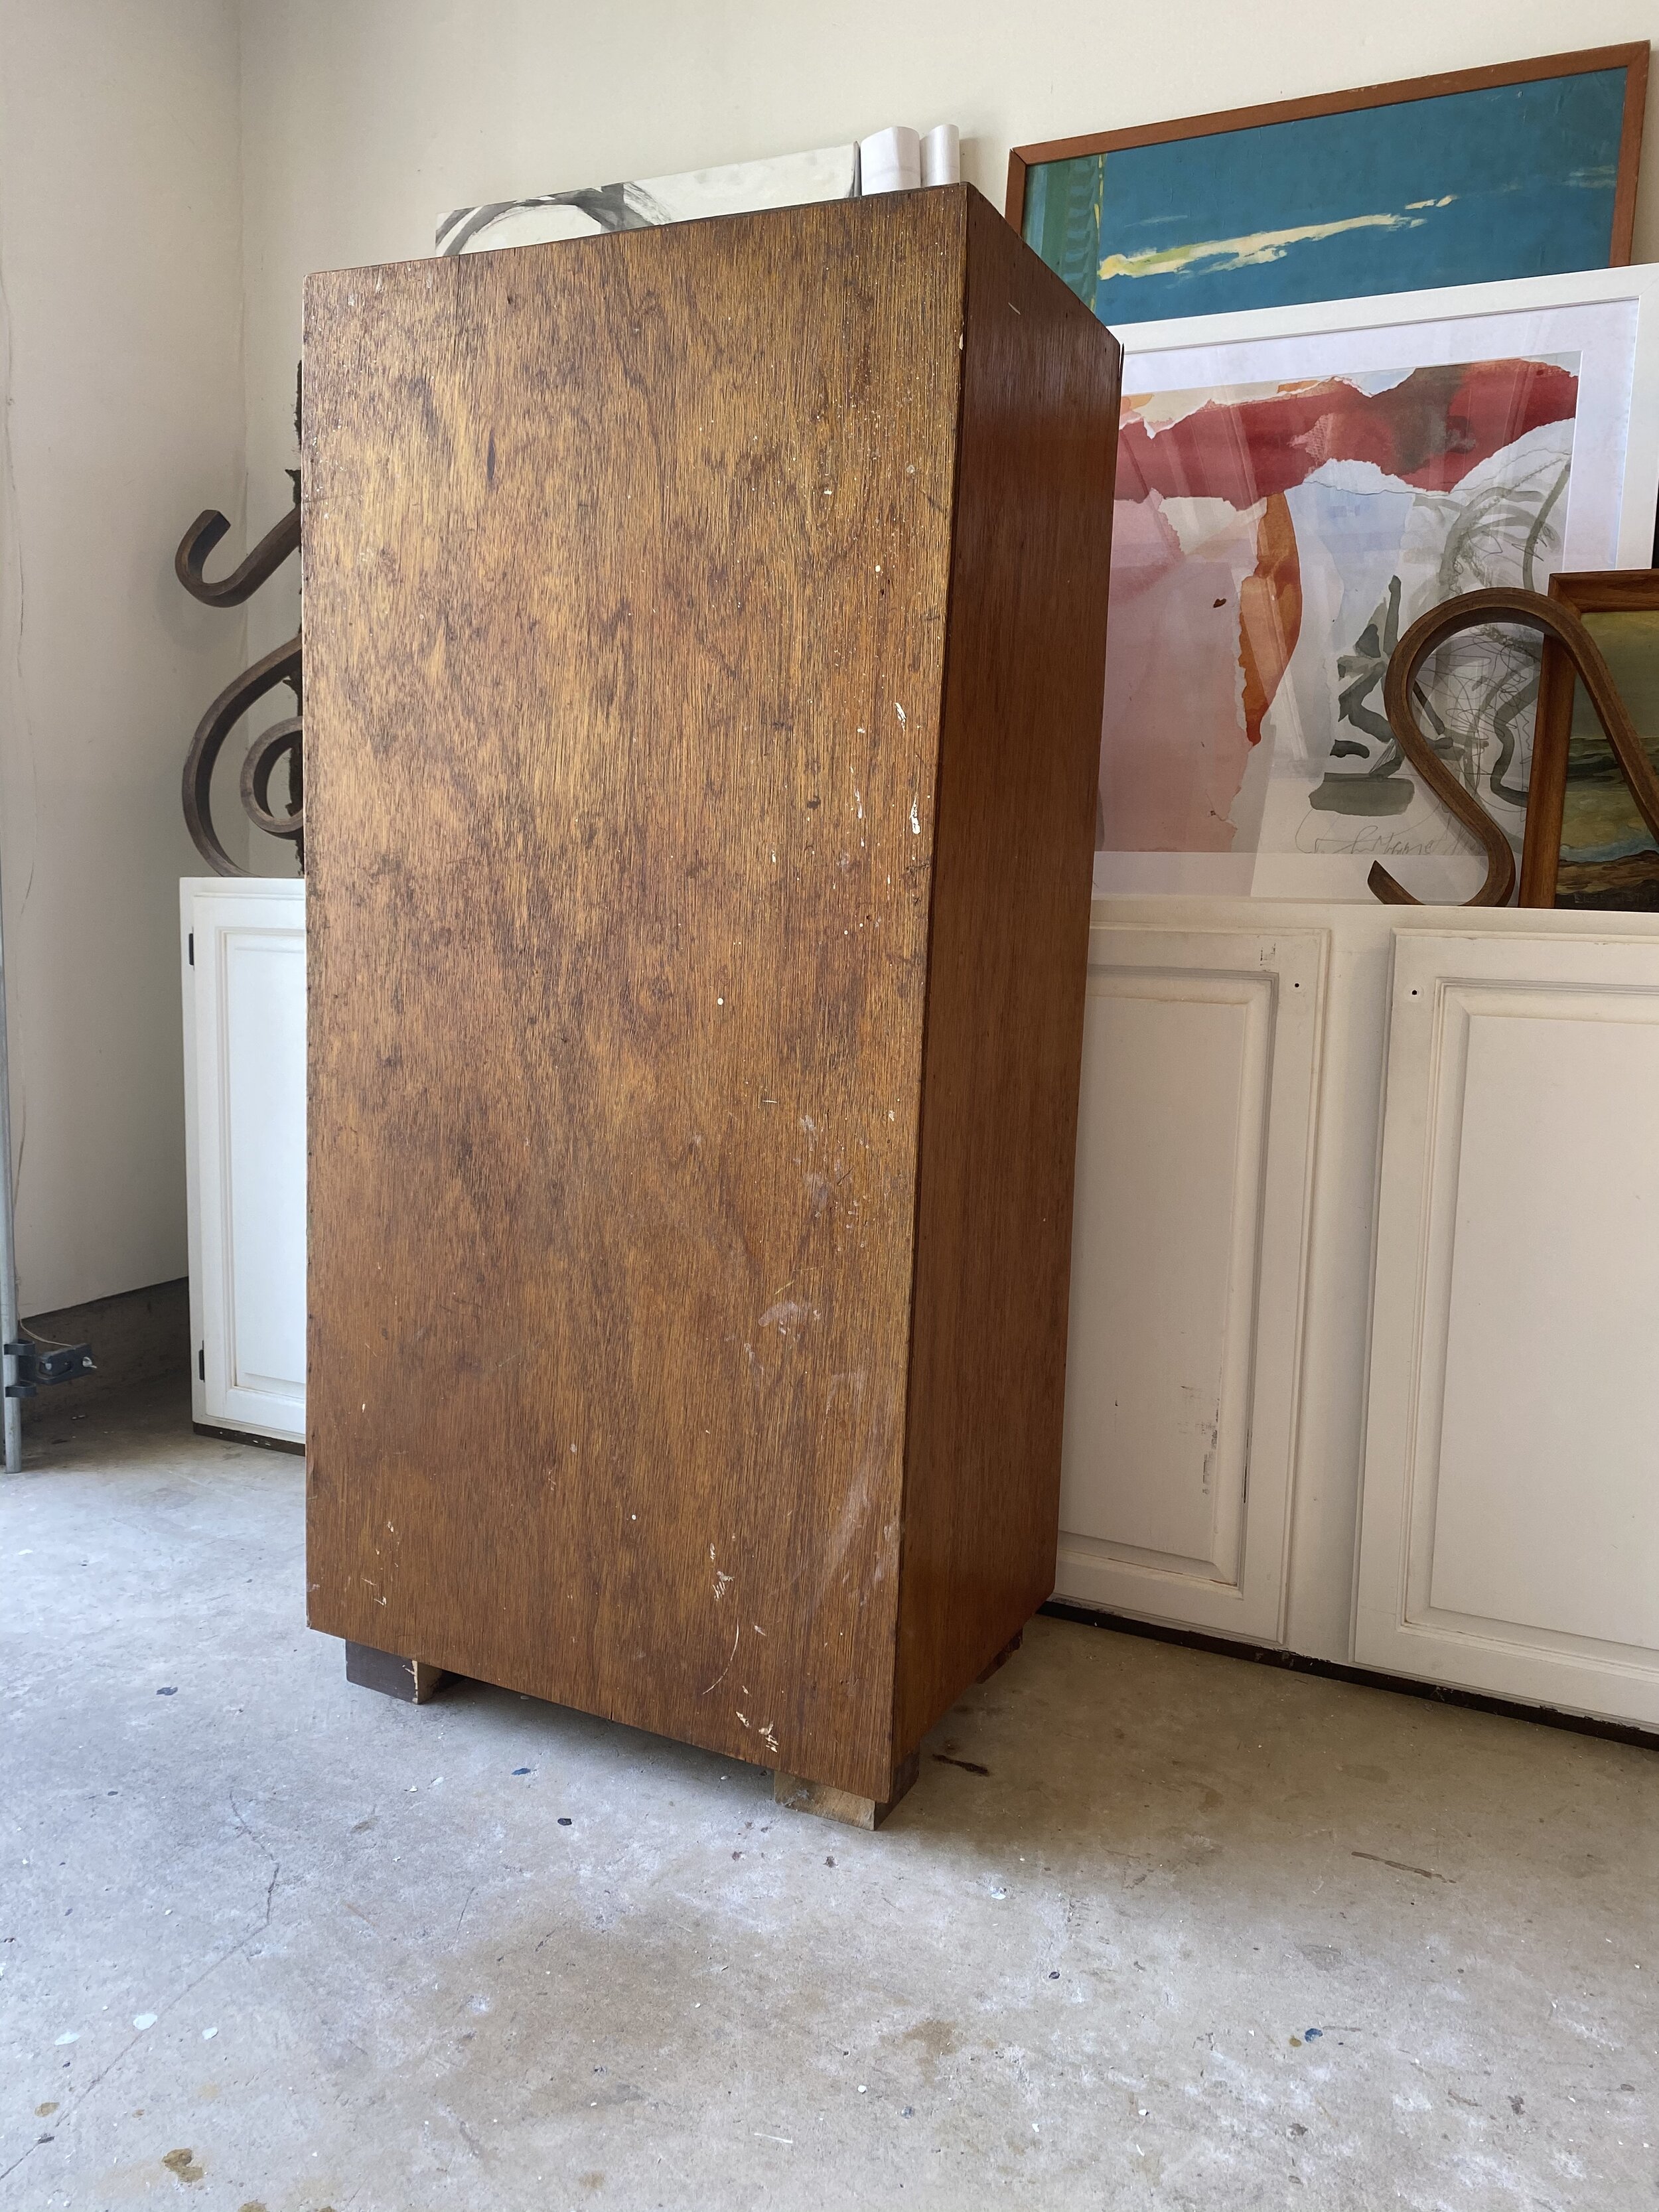

At first I thought I would add legs and make it a bar cabinet but I felt like it needed a shelf or two. I was looking for a simple project to get my sea-legs back so in the end, I opted for some small embellishments to make a simple storage coffee table.


I’m calling it a horse tack box to pay homage to the farm I bought it from although it’s in such good condition that I doubt it was ever near a horse.

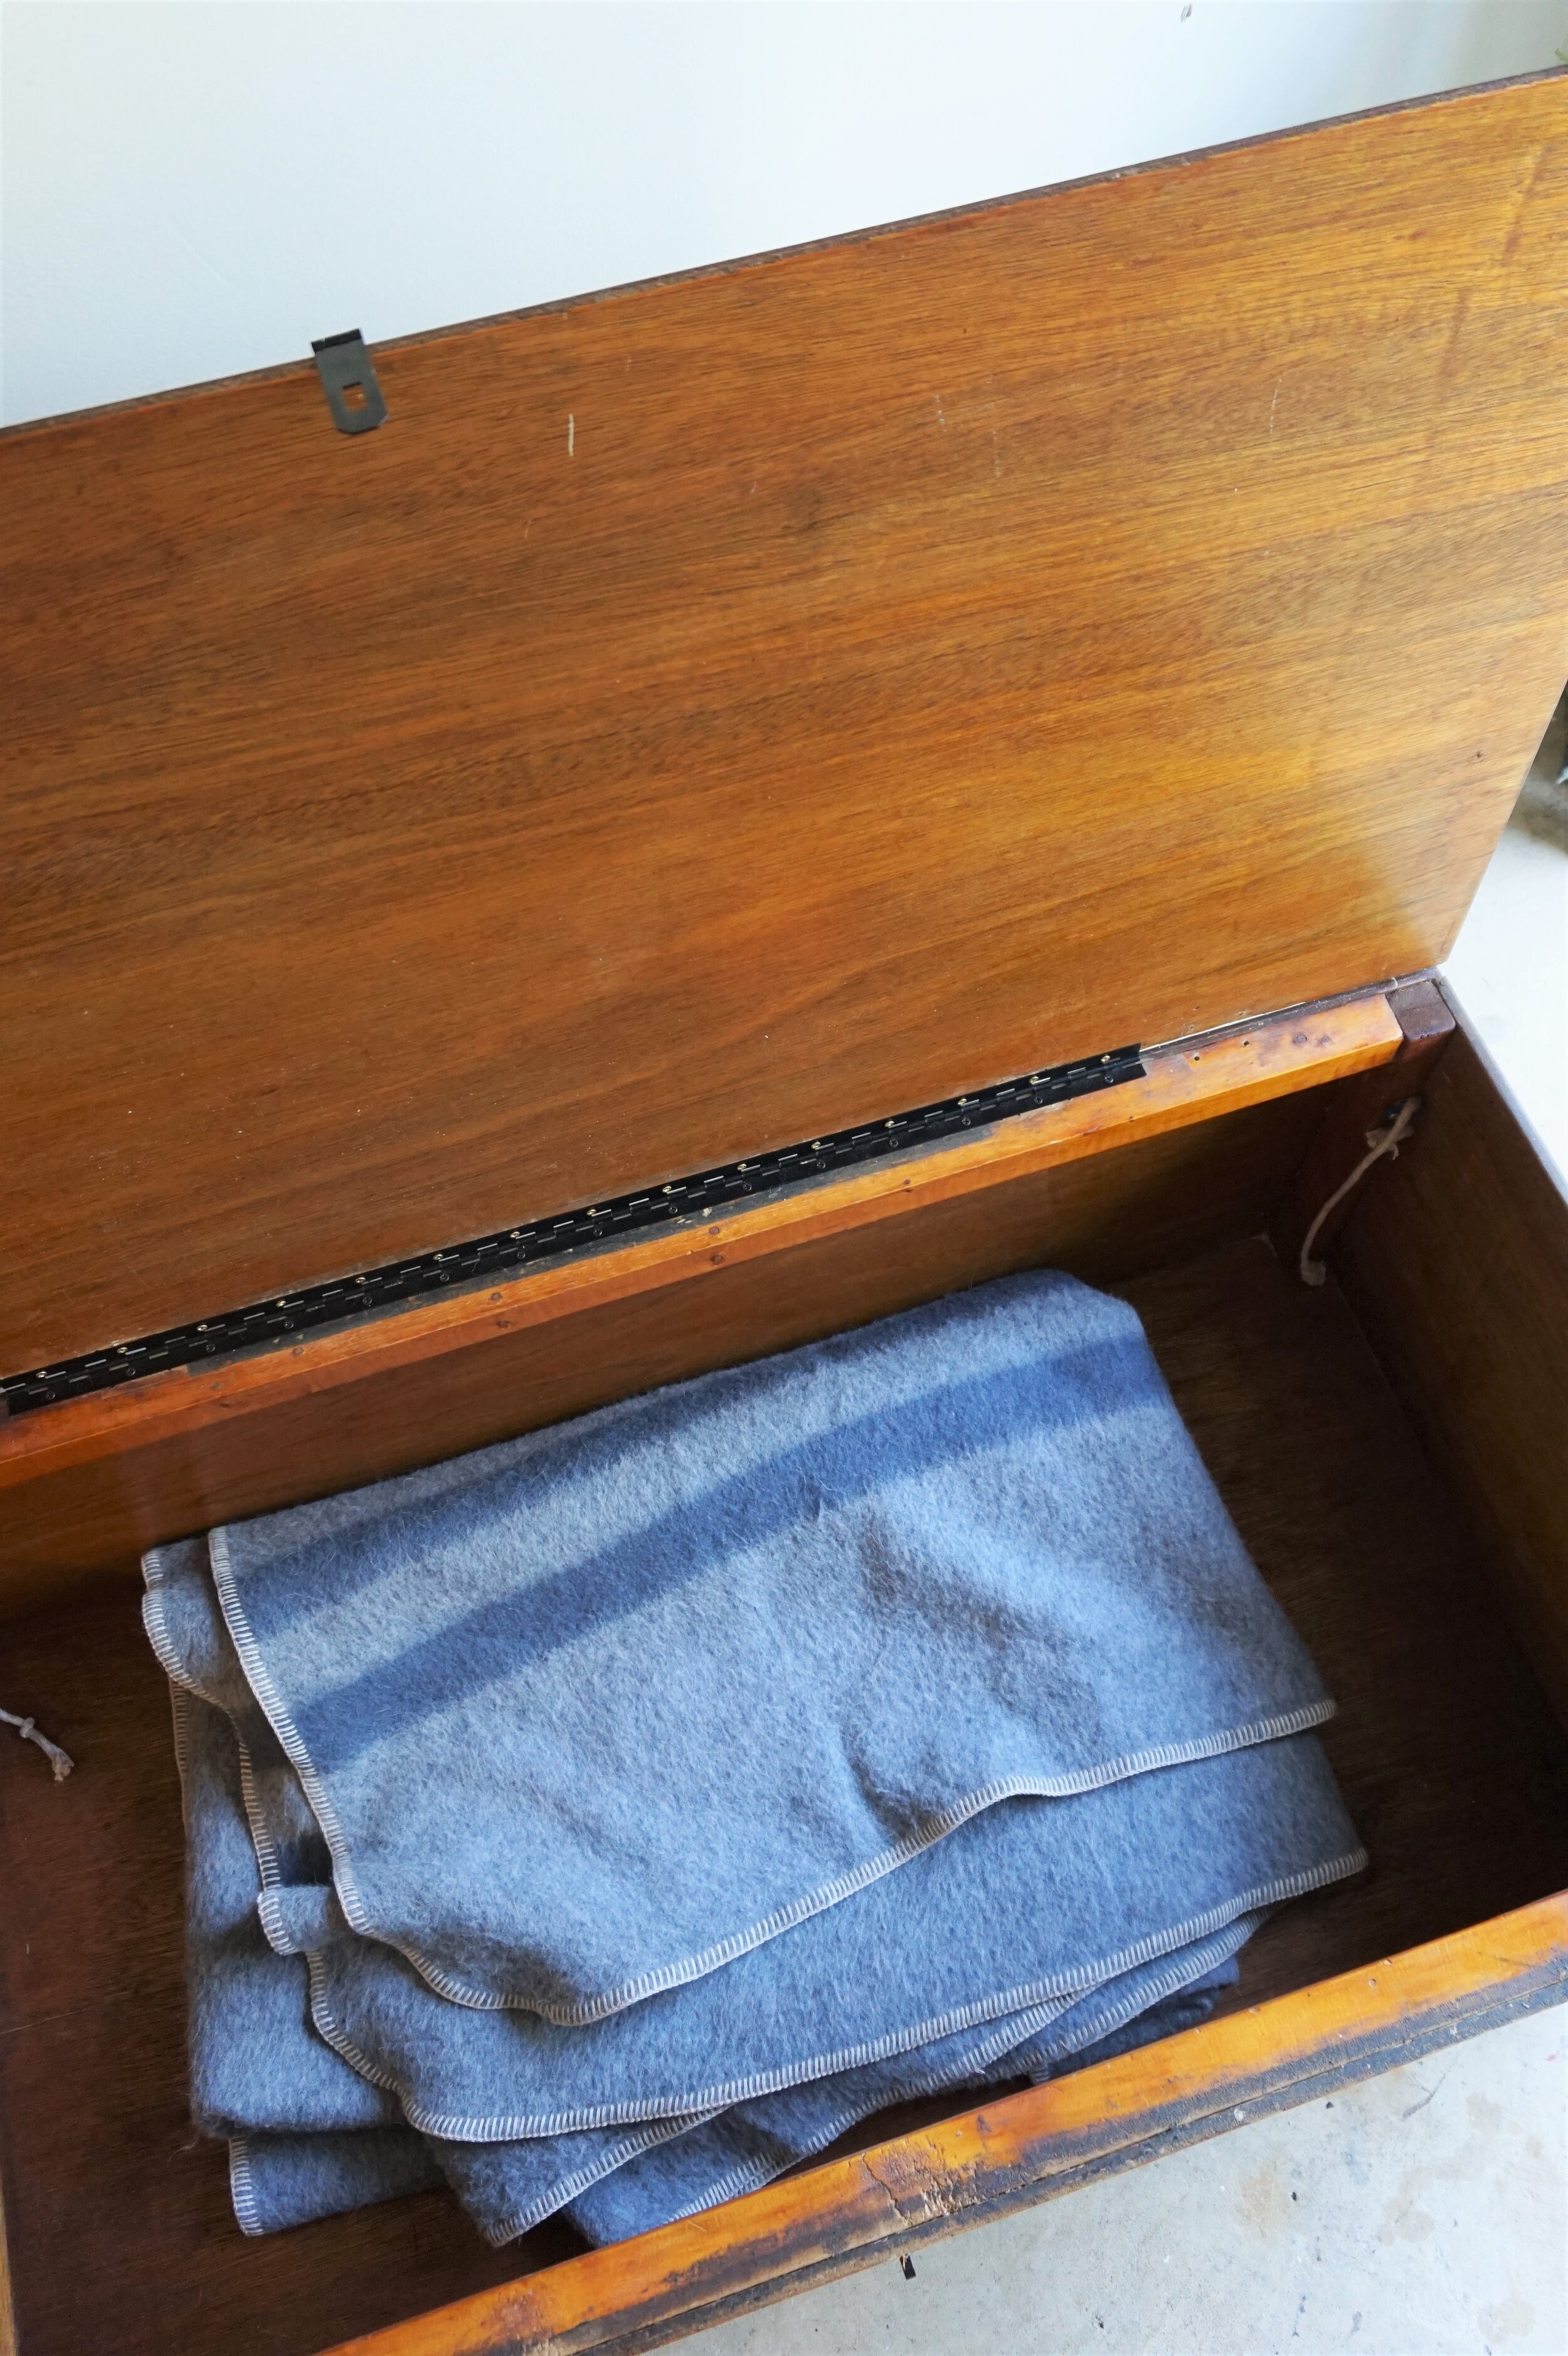
All I did was add a few black accents: black casters so it can roll away if needed

Some black corner braces for character

And a black hasp (aka a latch) for the lid

And this guy has loooooooads of storage. We’re talking blankets, or board games, or bodies - whatever you’re into these days. (Oh come on - don’t tell me you don’t need your own secret hidey-hole just to get away from your family during quarantine?). Huh - must just be me ;)

Large coffee tables are fun to style - there’s such a large surface area to play with.

I went with several stacks of coffee table books, some backyard branches, and a few figurines.


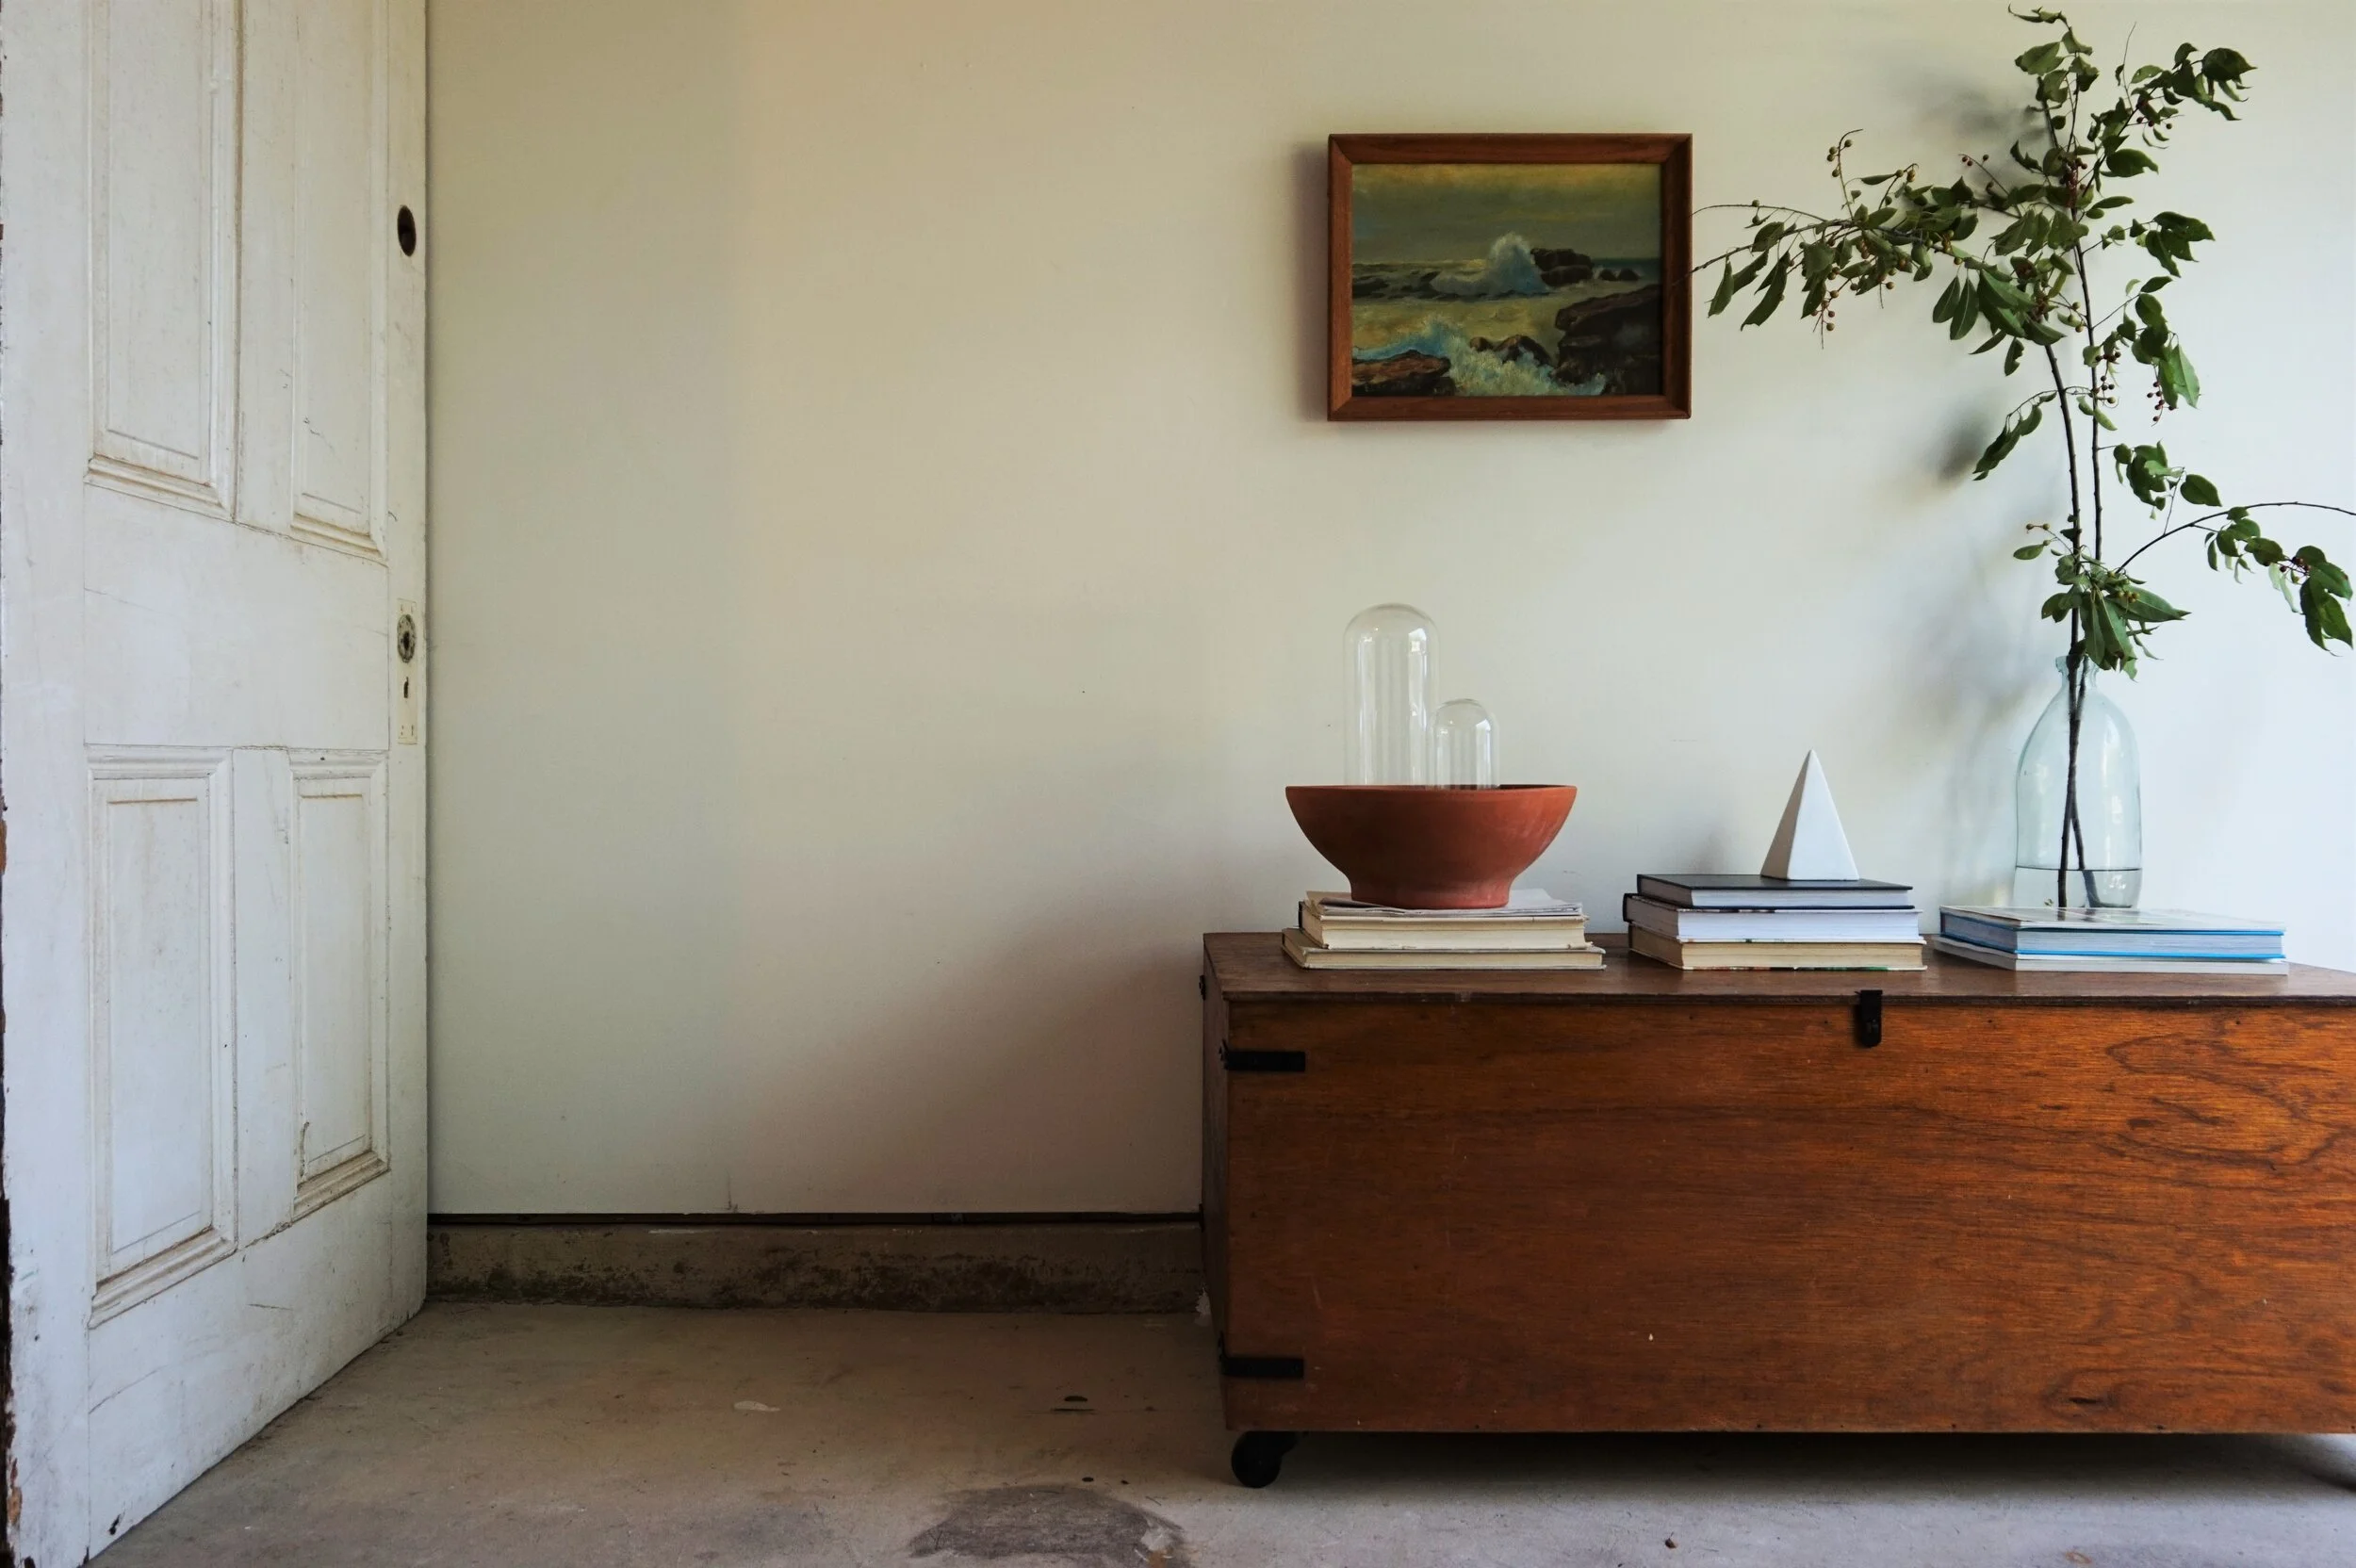
Horse Tack Coffee Table
Now Available for Sale
48”L x 24”D x 19”H
$295
If you are interested in this piece or a custom order like it, email me at cate@stylemutthome.com