I would like to introduce to you my new little friend, Vaseline. Yes, Vaseline. We actually go way, way back. As an unfortunate victim of very sensitive skin, I've been using the ointment since I was young for chapped lips, cracked knuckles...you get the point. As a Momma I've used it to rescue many a rashy little hiney. But, I never thought the oily substance would be one of my regular tools for refinishing furniture!
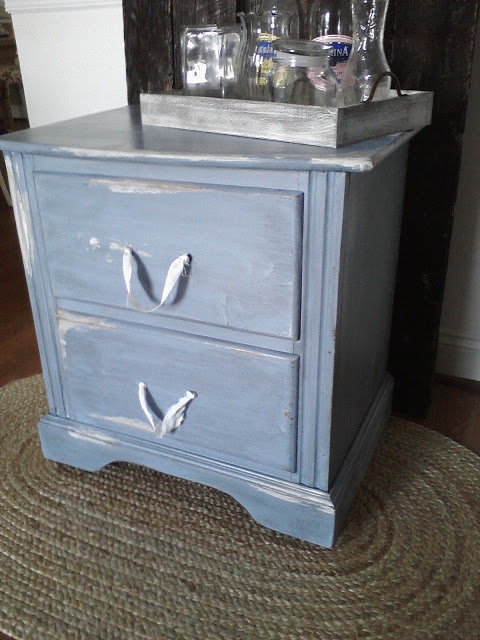
But, it's the truth. I've learned an awesomely fun new distressing technique and I couldn't wait to share it with you: Just rub Vaseline, (use your fingers, a brush, rag, whatever), over spots where you want to easily remove your top coat of paint. I like to focus on edges and corners in particular, and sometimes an unexpected spot or two along a side and on the top. Then paint over the piece like normal. Once your paint is dry, take a medium grit sanding block and rub over the entire piece. The paint will rub off quite easily in the spots where the Vaseline is.
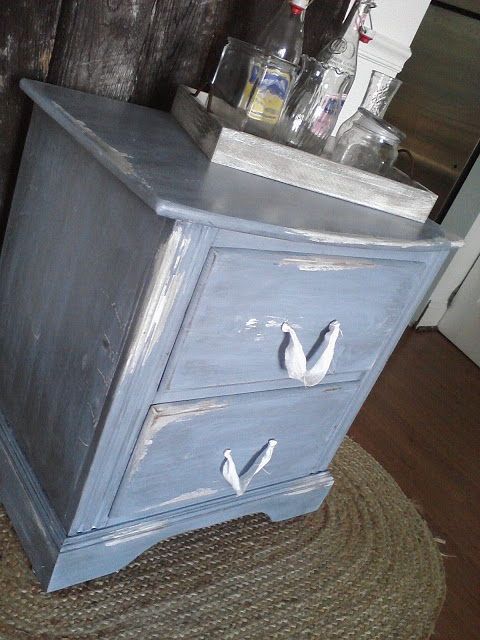
I especially like this technique when I want to layer two colors. It makes it easier to distress letting the bottom color show through without worrying about rubbing through the bottom color to the wood. Does that make sense? I paint the base color on first, then rub the Vaseline on over a few spots, then paint on the second color. When I go back over with the sanding block I can reveal a few peeks of the base color without going all the way through to the wood.
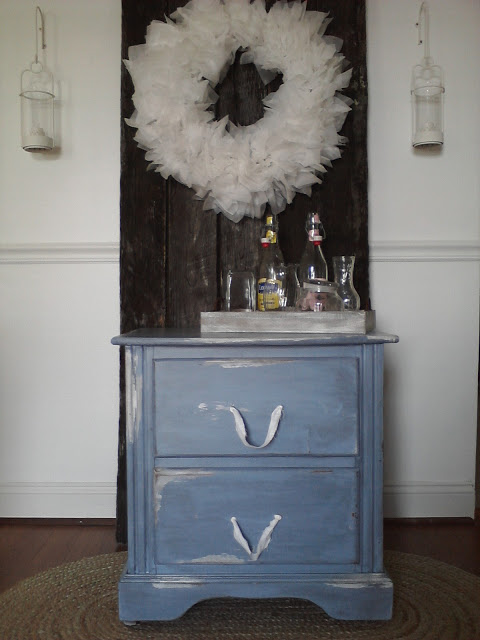
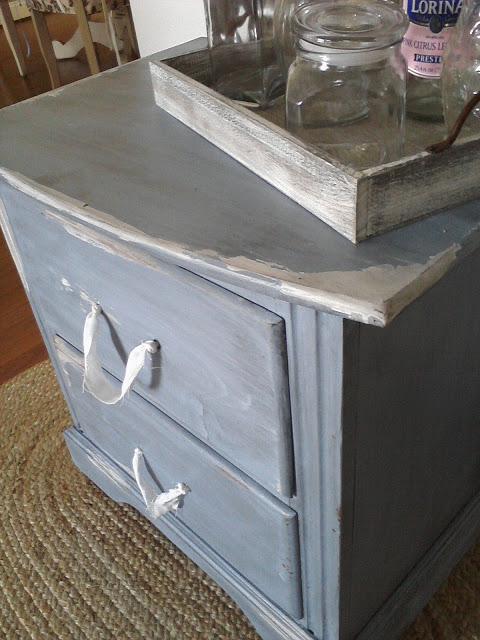
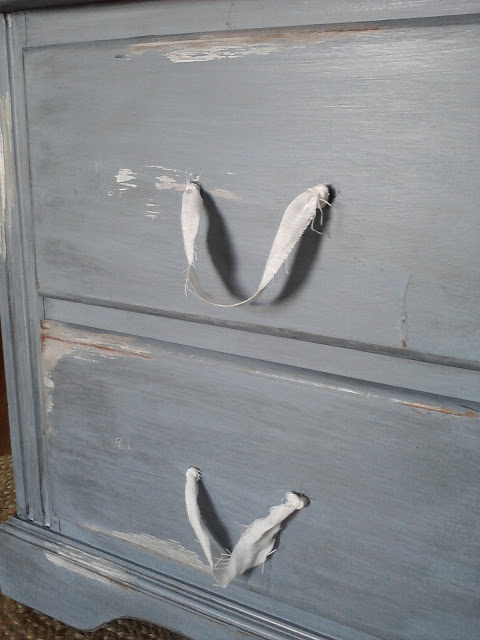
For this piece I made drawer pulls from strips of linen,
which I knotted on both sides of the screw holes.
{will be available at the next Chelsea's Garage sale}
This week I am trying out 3 different shades of one color. Hoping to have all 3 photographed for a fun 3 in 1 post on Friday.:) (This table is one of the shades!)
Thanks for stopping by!
~Chelsea