Shop Talk: Qs and As on Chalk Paint + A Fresh Finished Pair

Hi Friends! Goodness me has summer sizzled and fizzled already?! I spent the end of last week and this past weekend getting all back to school shopping done! Our twins start kindergarten in a month so this was our first time in the back to school chaos. My. Word. No need to exercise after THAT task! I didn't realize it's like a contact sport!

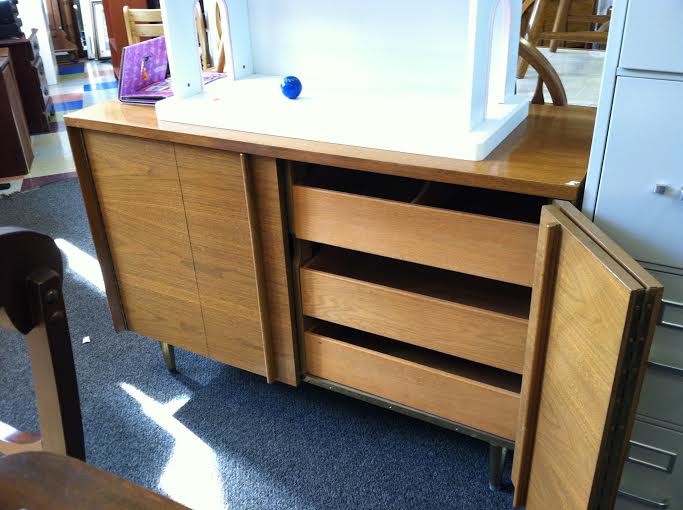
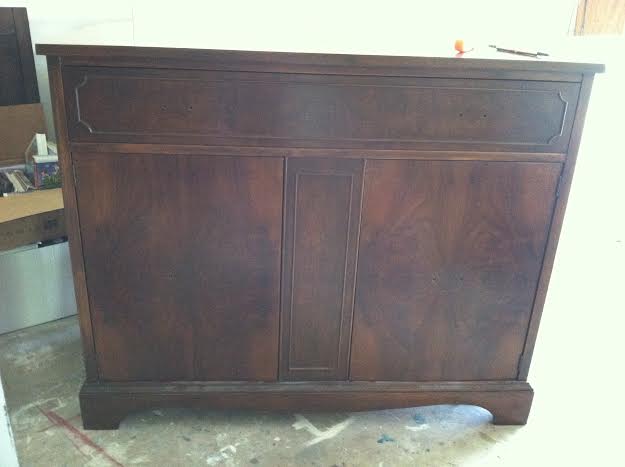
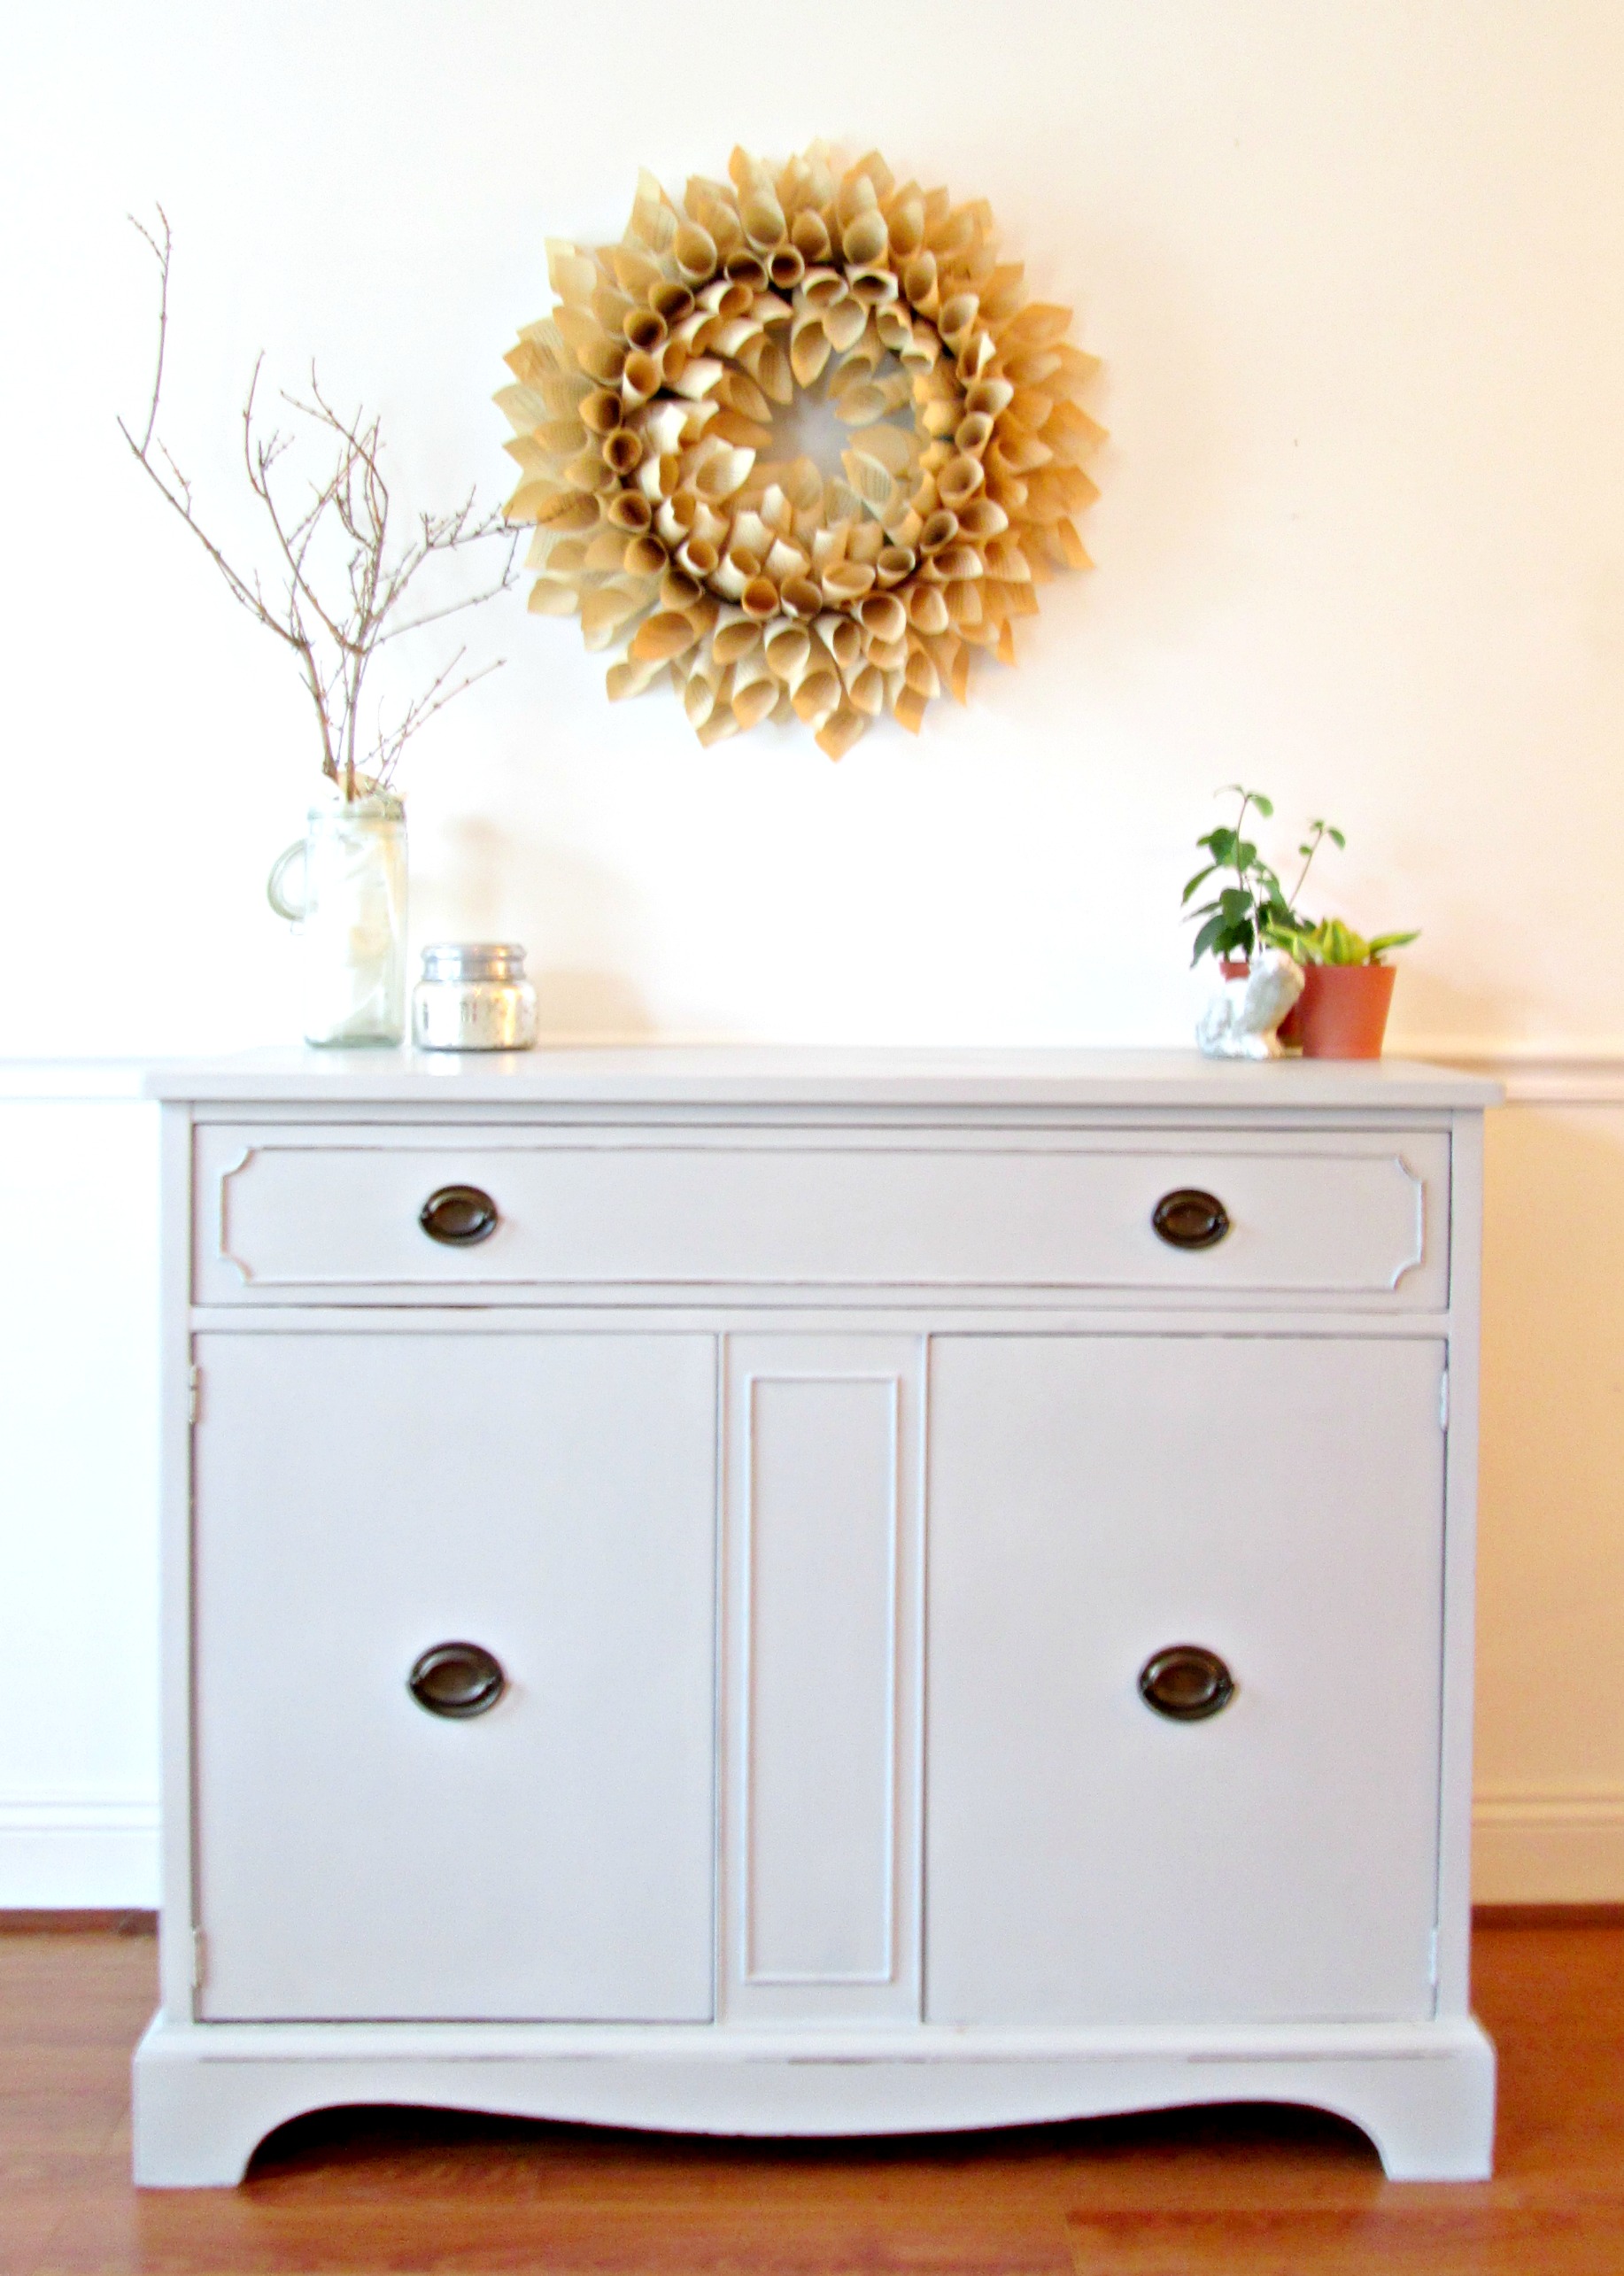
On a brighter note, I got a sweet little pair refinished and ready for the Sweet Clover Barn sale that we're hoppin' in on August 21-23!

mcm graphite 4.jpg

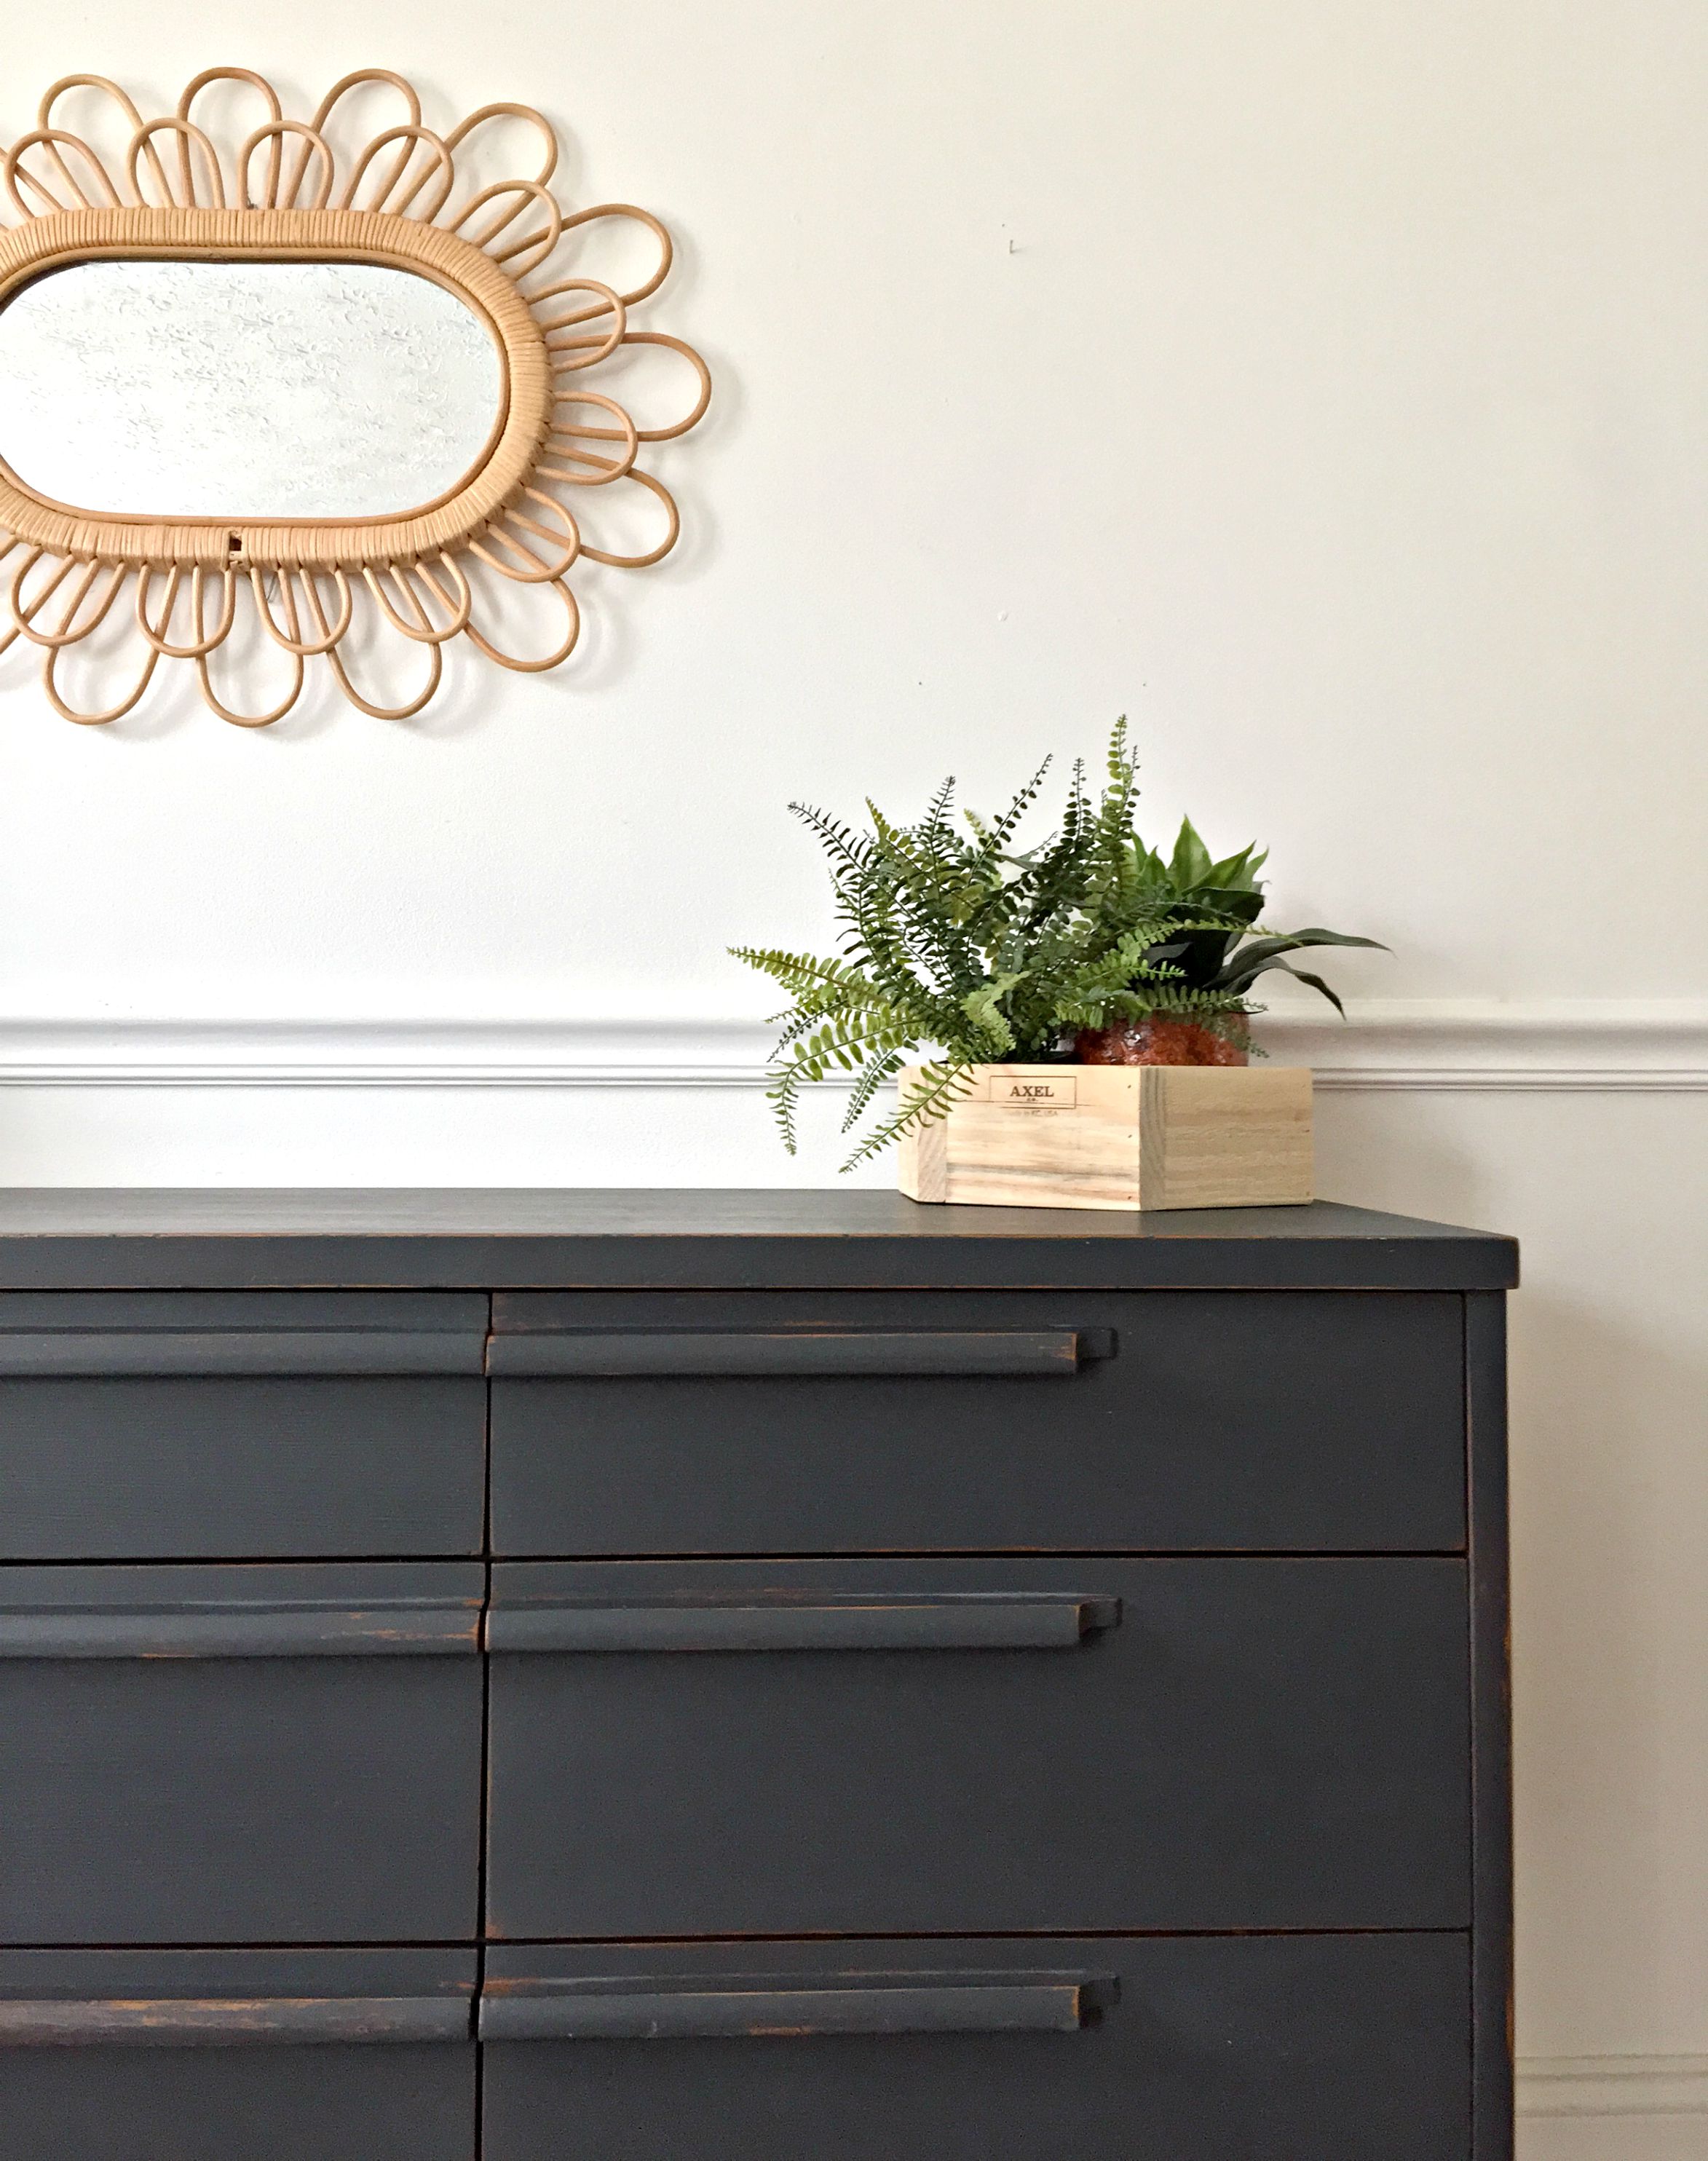
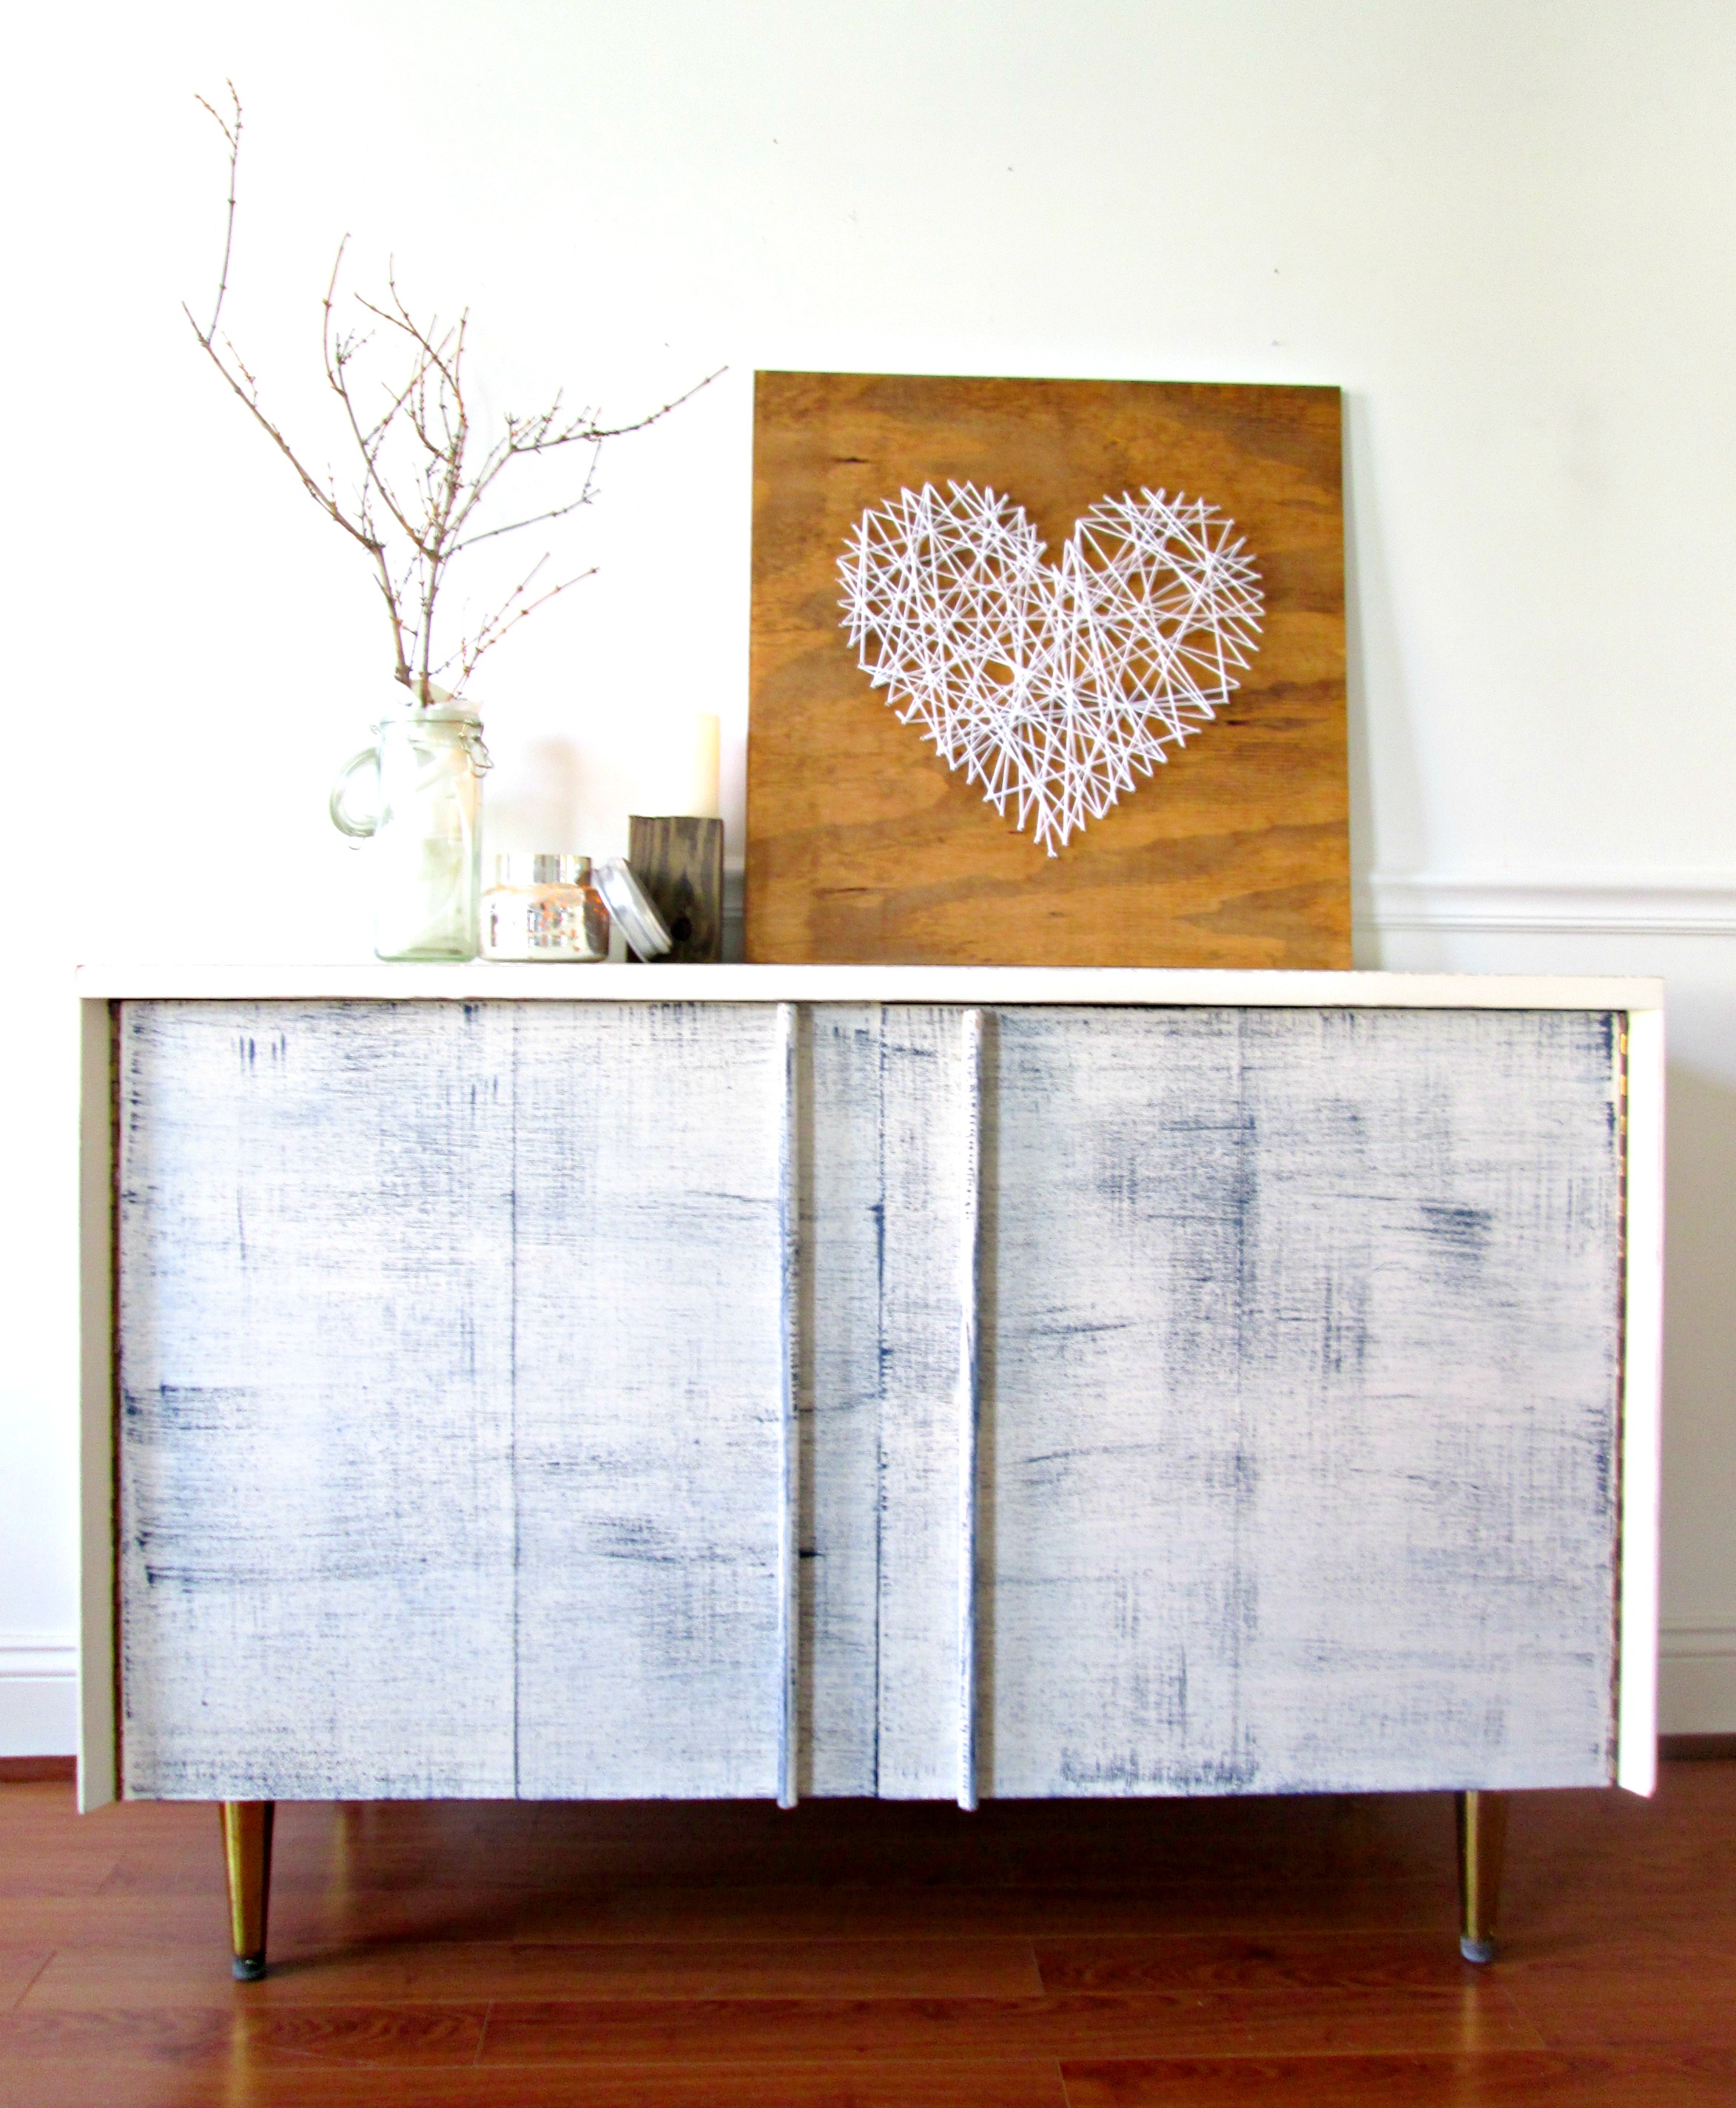
The warm wood peeking through is the real diva here, isn't it!? SUCH a stunning contrast.

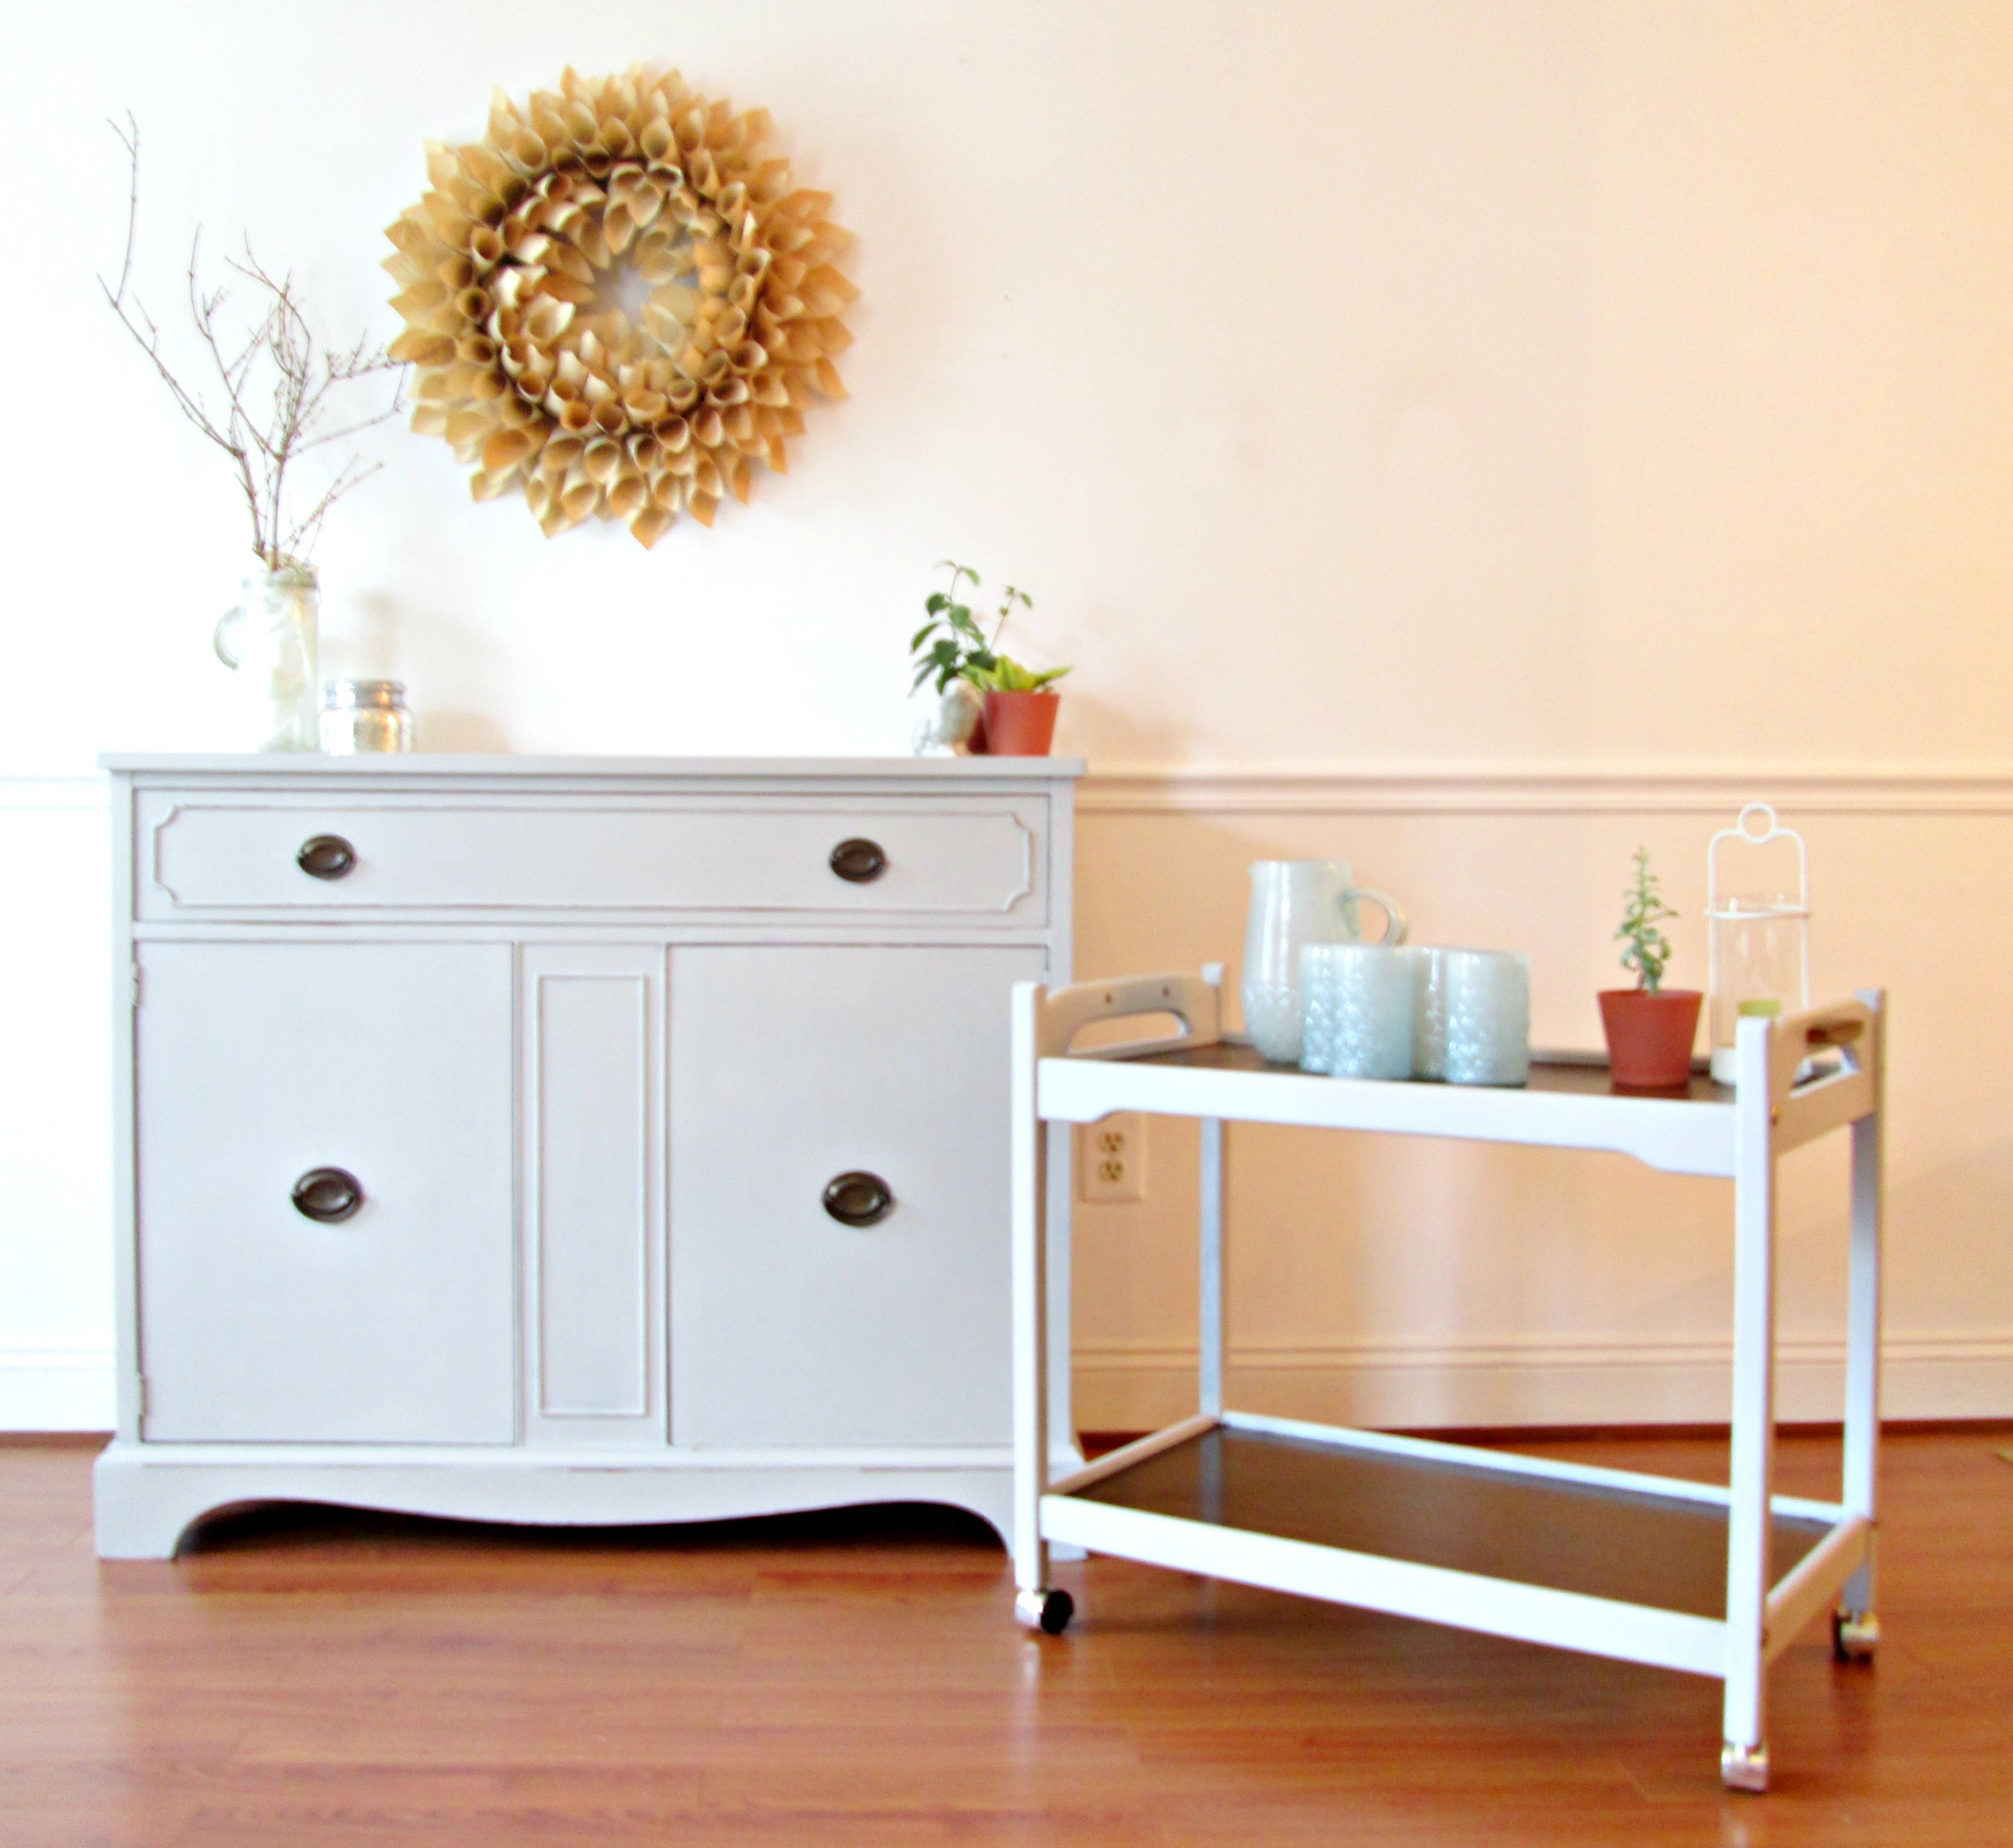
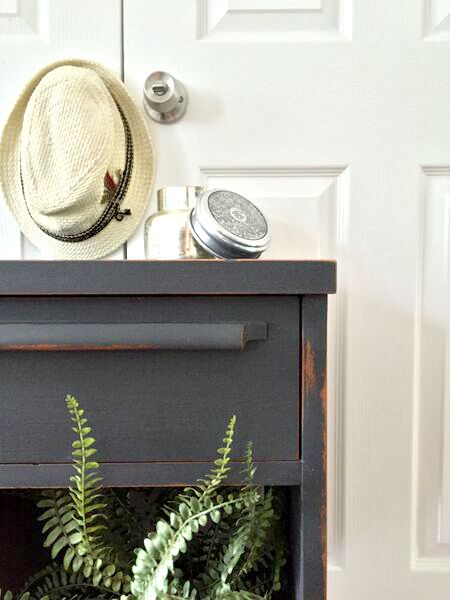
Not to be outdone by it's larger counterpart, this little nightstand / side table is lookin' pretty fly now, too!

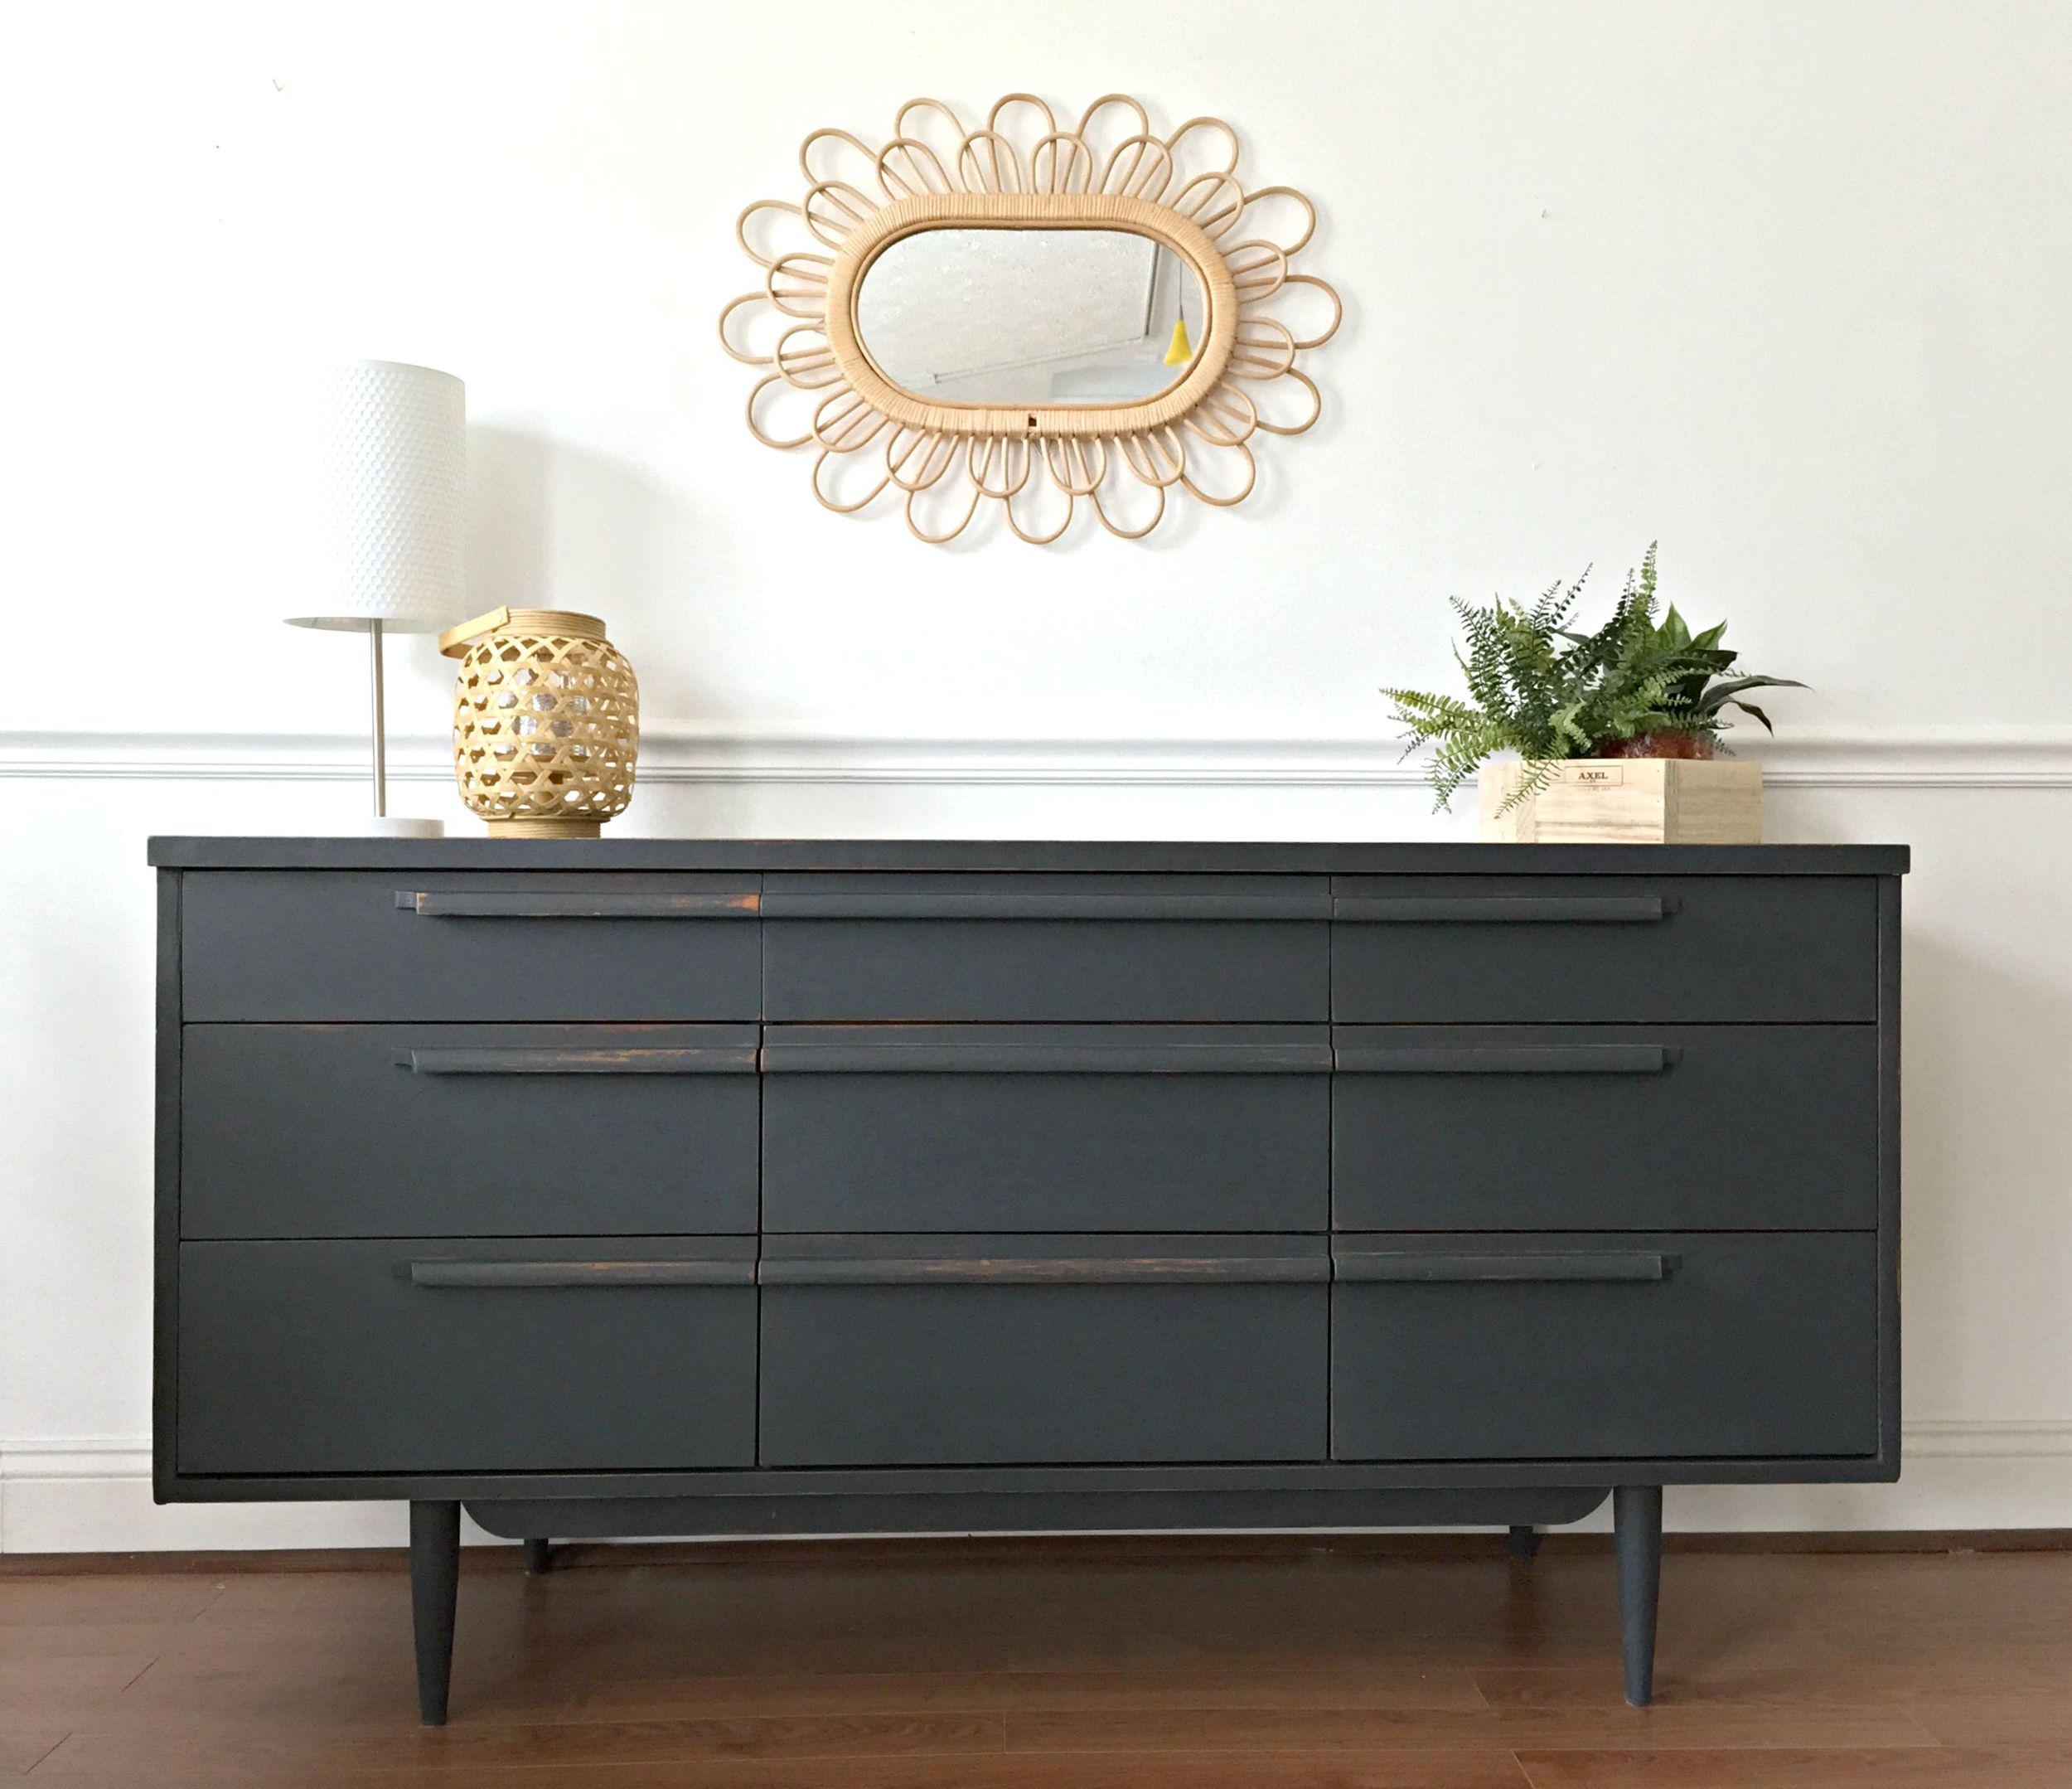
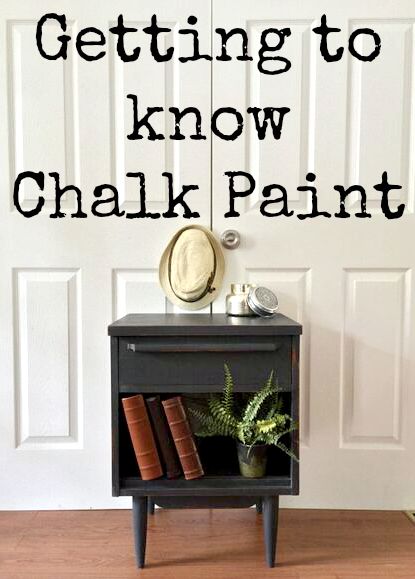
For this piece I used Annie Sloan's 'Graphite' - her darkest chalk paint color and truly a top favorite. Since it's been a while since I've used chalk paint I wanted to answer some questions I've received recently on the product! Most of these questions came from Instagram, and a few more came in via Periscope, (I'm on @ChelseaStyleMuttHome if you want to catch my live demos on refinishing, styling and the like)! 

Q: Why do you prefer it, (chalk paint), and is it easier? Because I'm all about easier.
A. I only use chalk paint when I am going `for a very rustic, matte finish. It's a very flat, absorbent, 'loose' (like chalk), paint.  So, it adheres well to any surface, but can also be distressed beautifully. It's definitely my go-to product when I want to give a piece a really time-worn, weathered looking finish. Chalk paint has an old-world look to it because it is so flat and distresses so well. And it is easy! No need to prep a surface before hand; just make sure the surface is clean and you're ready to paint!

Q: I just bought a can of Annie Sloan Country Grey today to paint a nightstand. I have only painted 1 piece of furniture with AS chalk paint before, a dresser using Old White. Any tips you can offer? The nightsand is unfinished pine. I want to have a smooth look to it.
A: I love Country Grey! Just make sure the surface is clean and then you can get to painting! You will probably want to use 2-3 coats for solid coverage, especially if you do not want it to appear distressed. Chalk paint brush strokes tend to be really apparent because it's so thick, so if you desire a perfectly smooth texture, I would paint on two coats, sand it over using a fine grit sanding sponge, then seal it in clear wax. A fine grit sanding sponge won't take the finish off if you just rub it over lightly, but it will smooth out the brush strokes. 

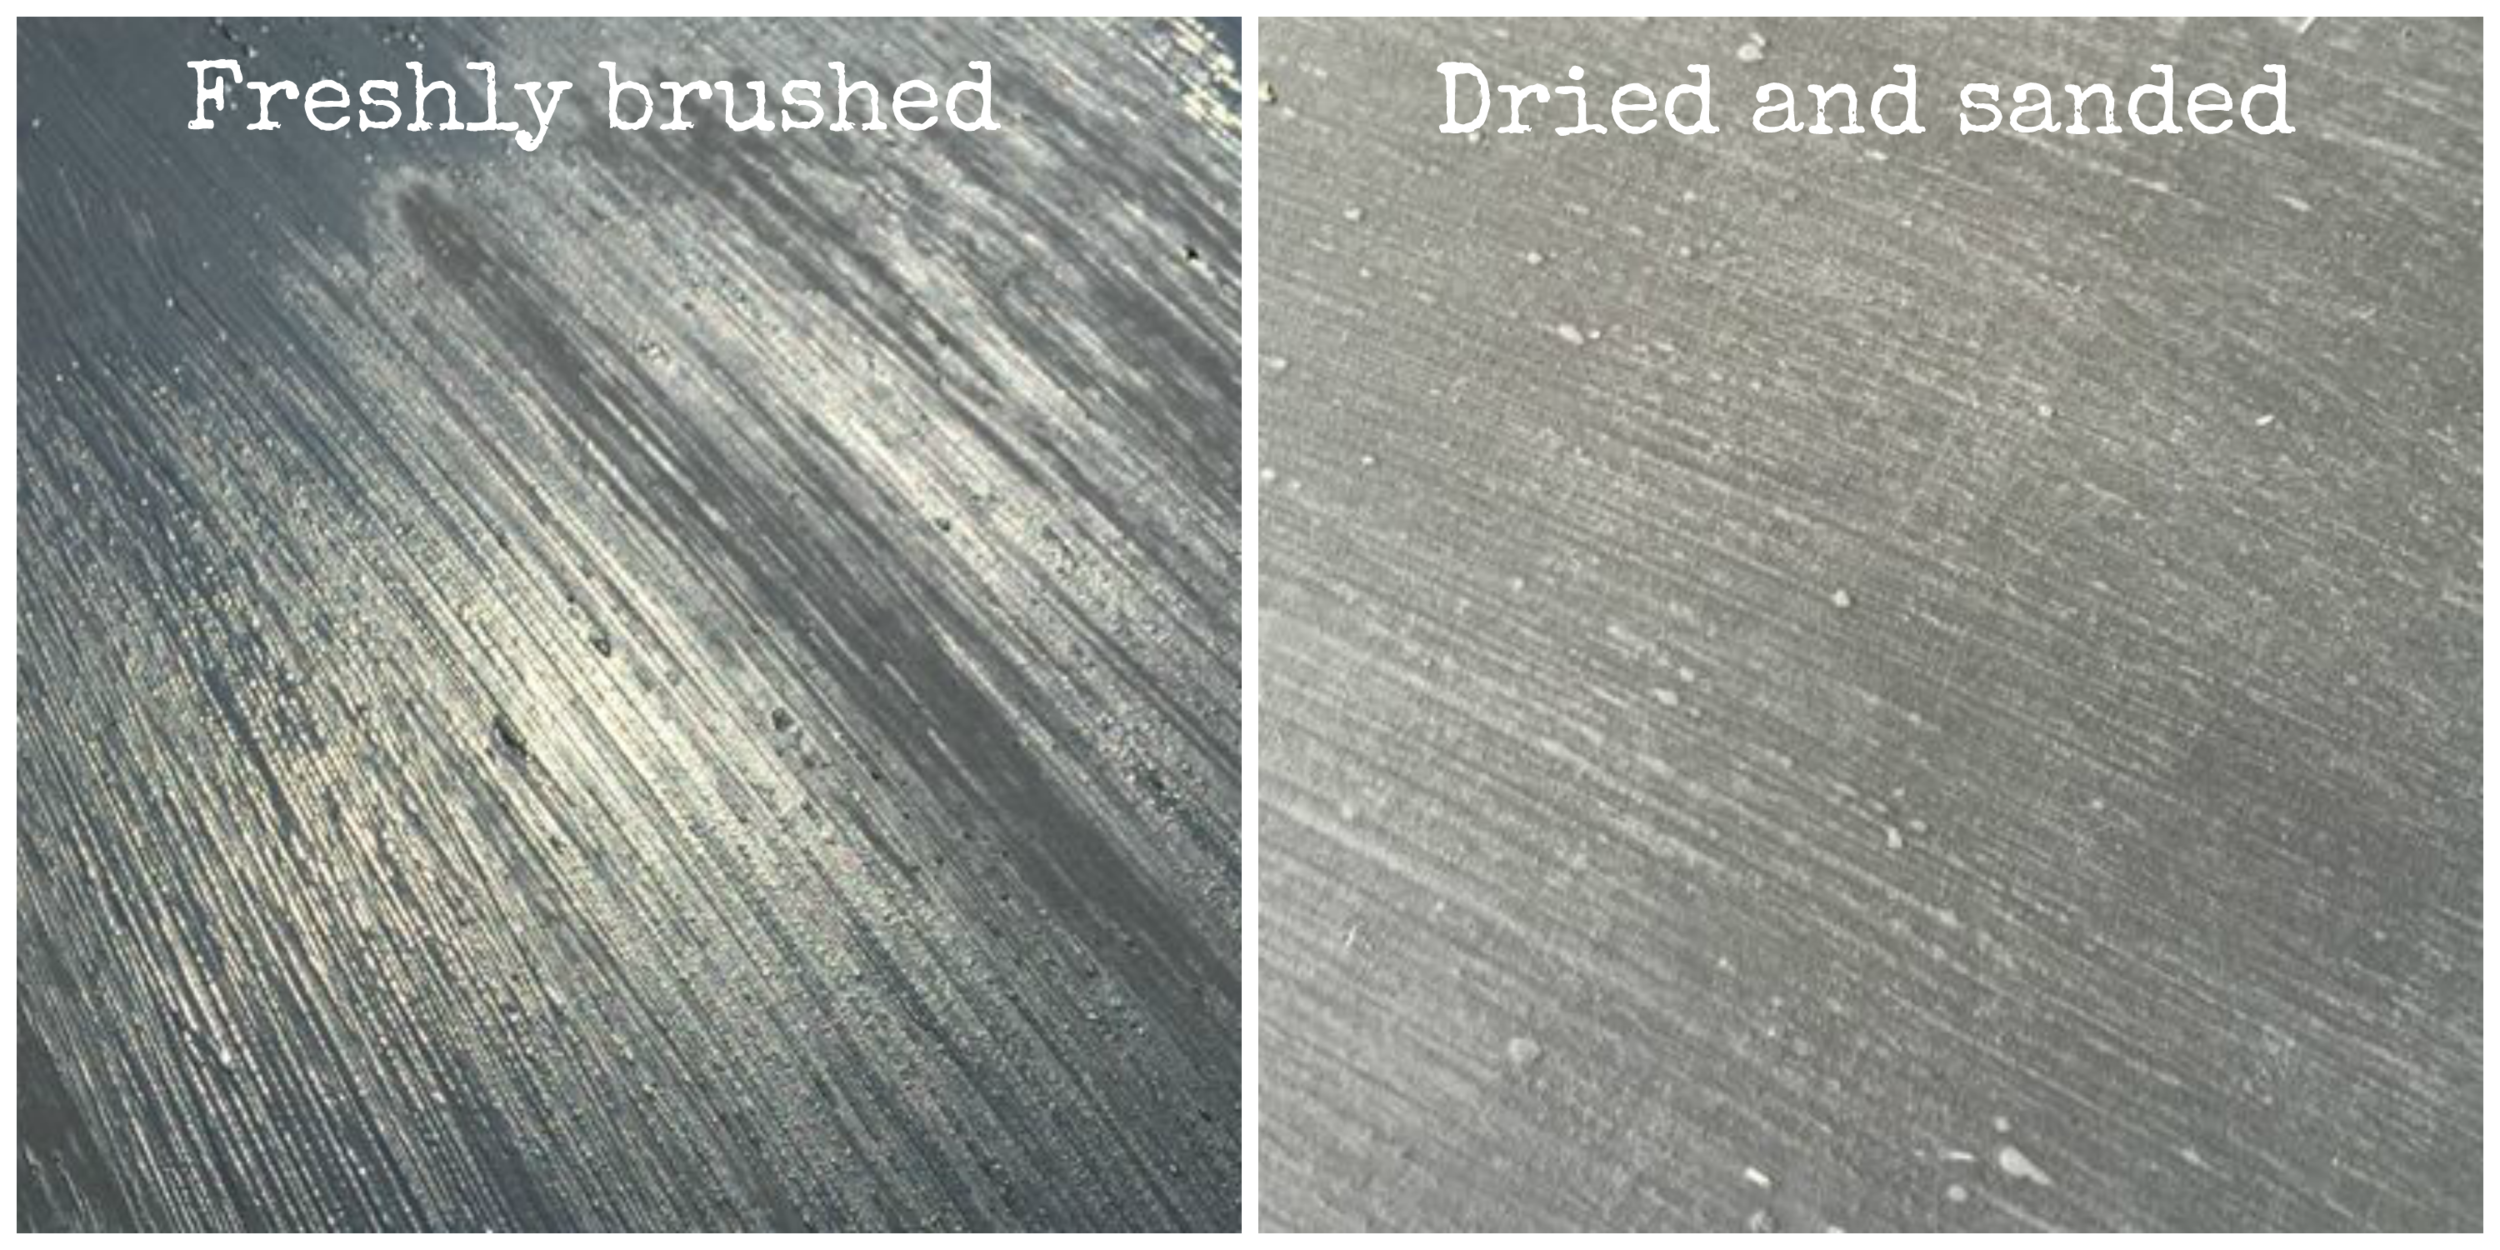
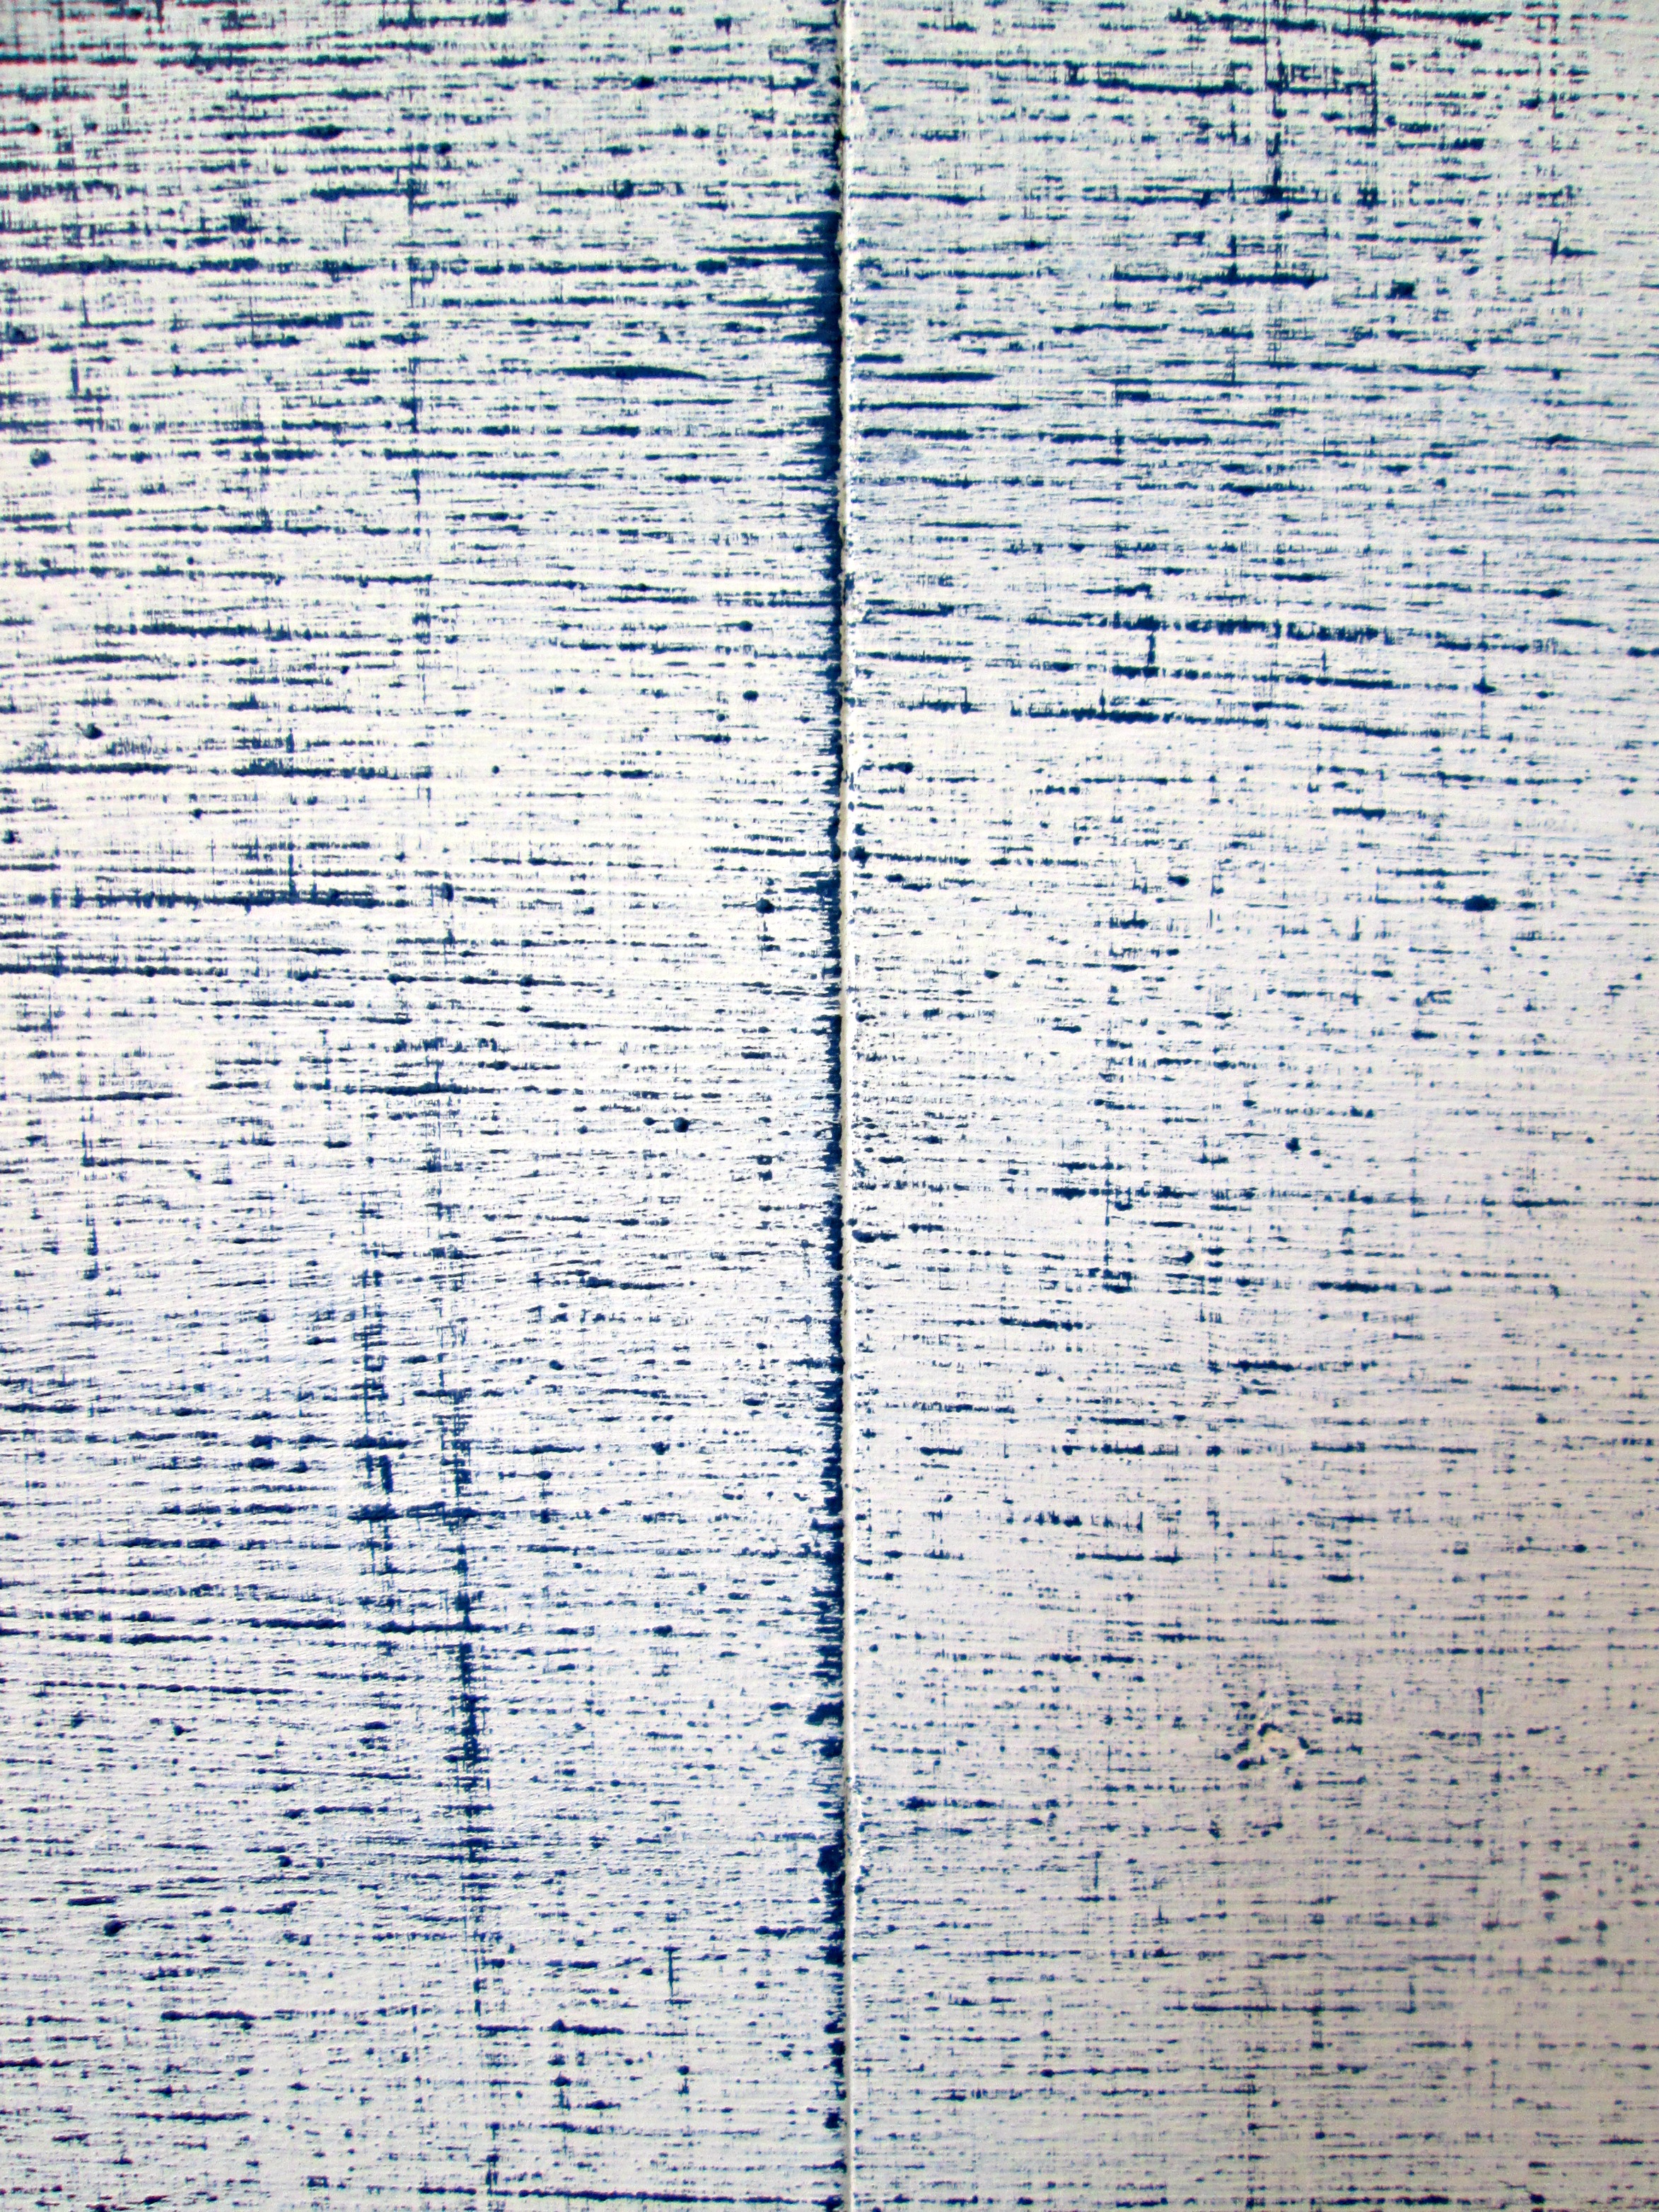
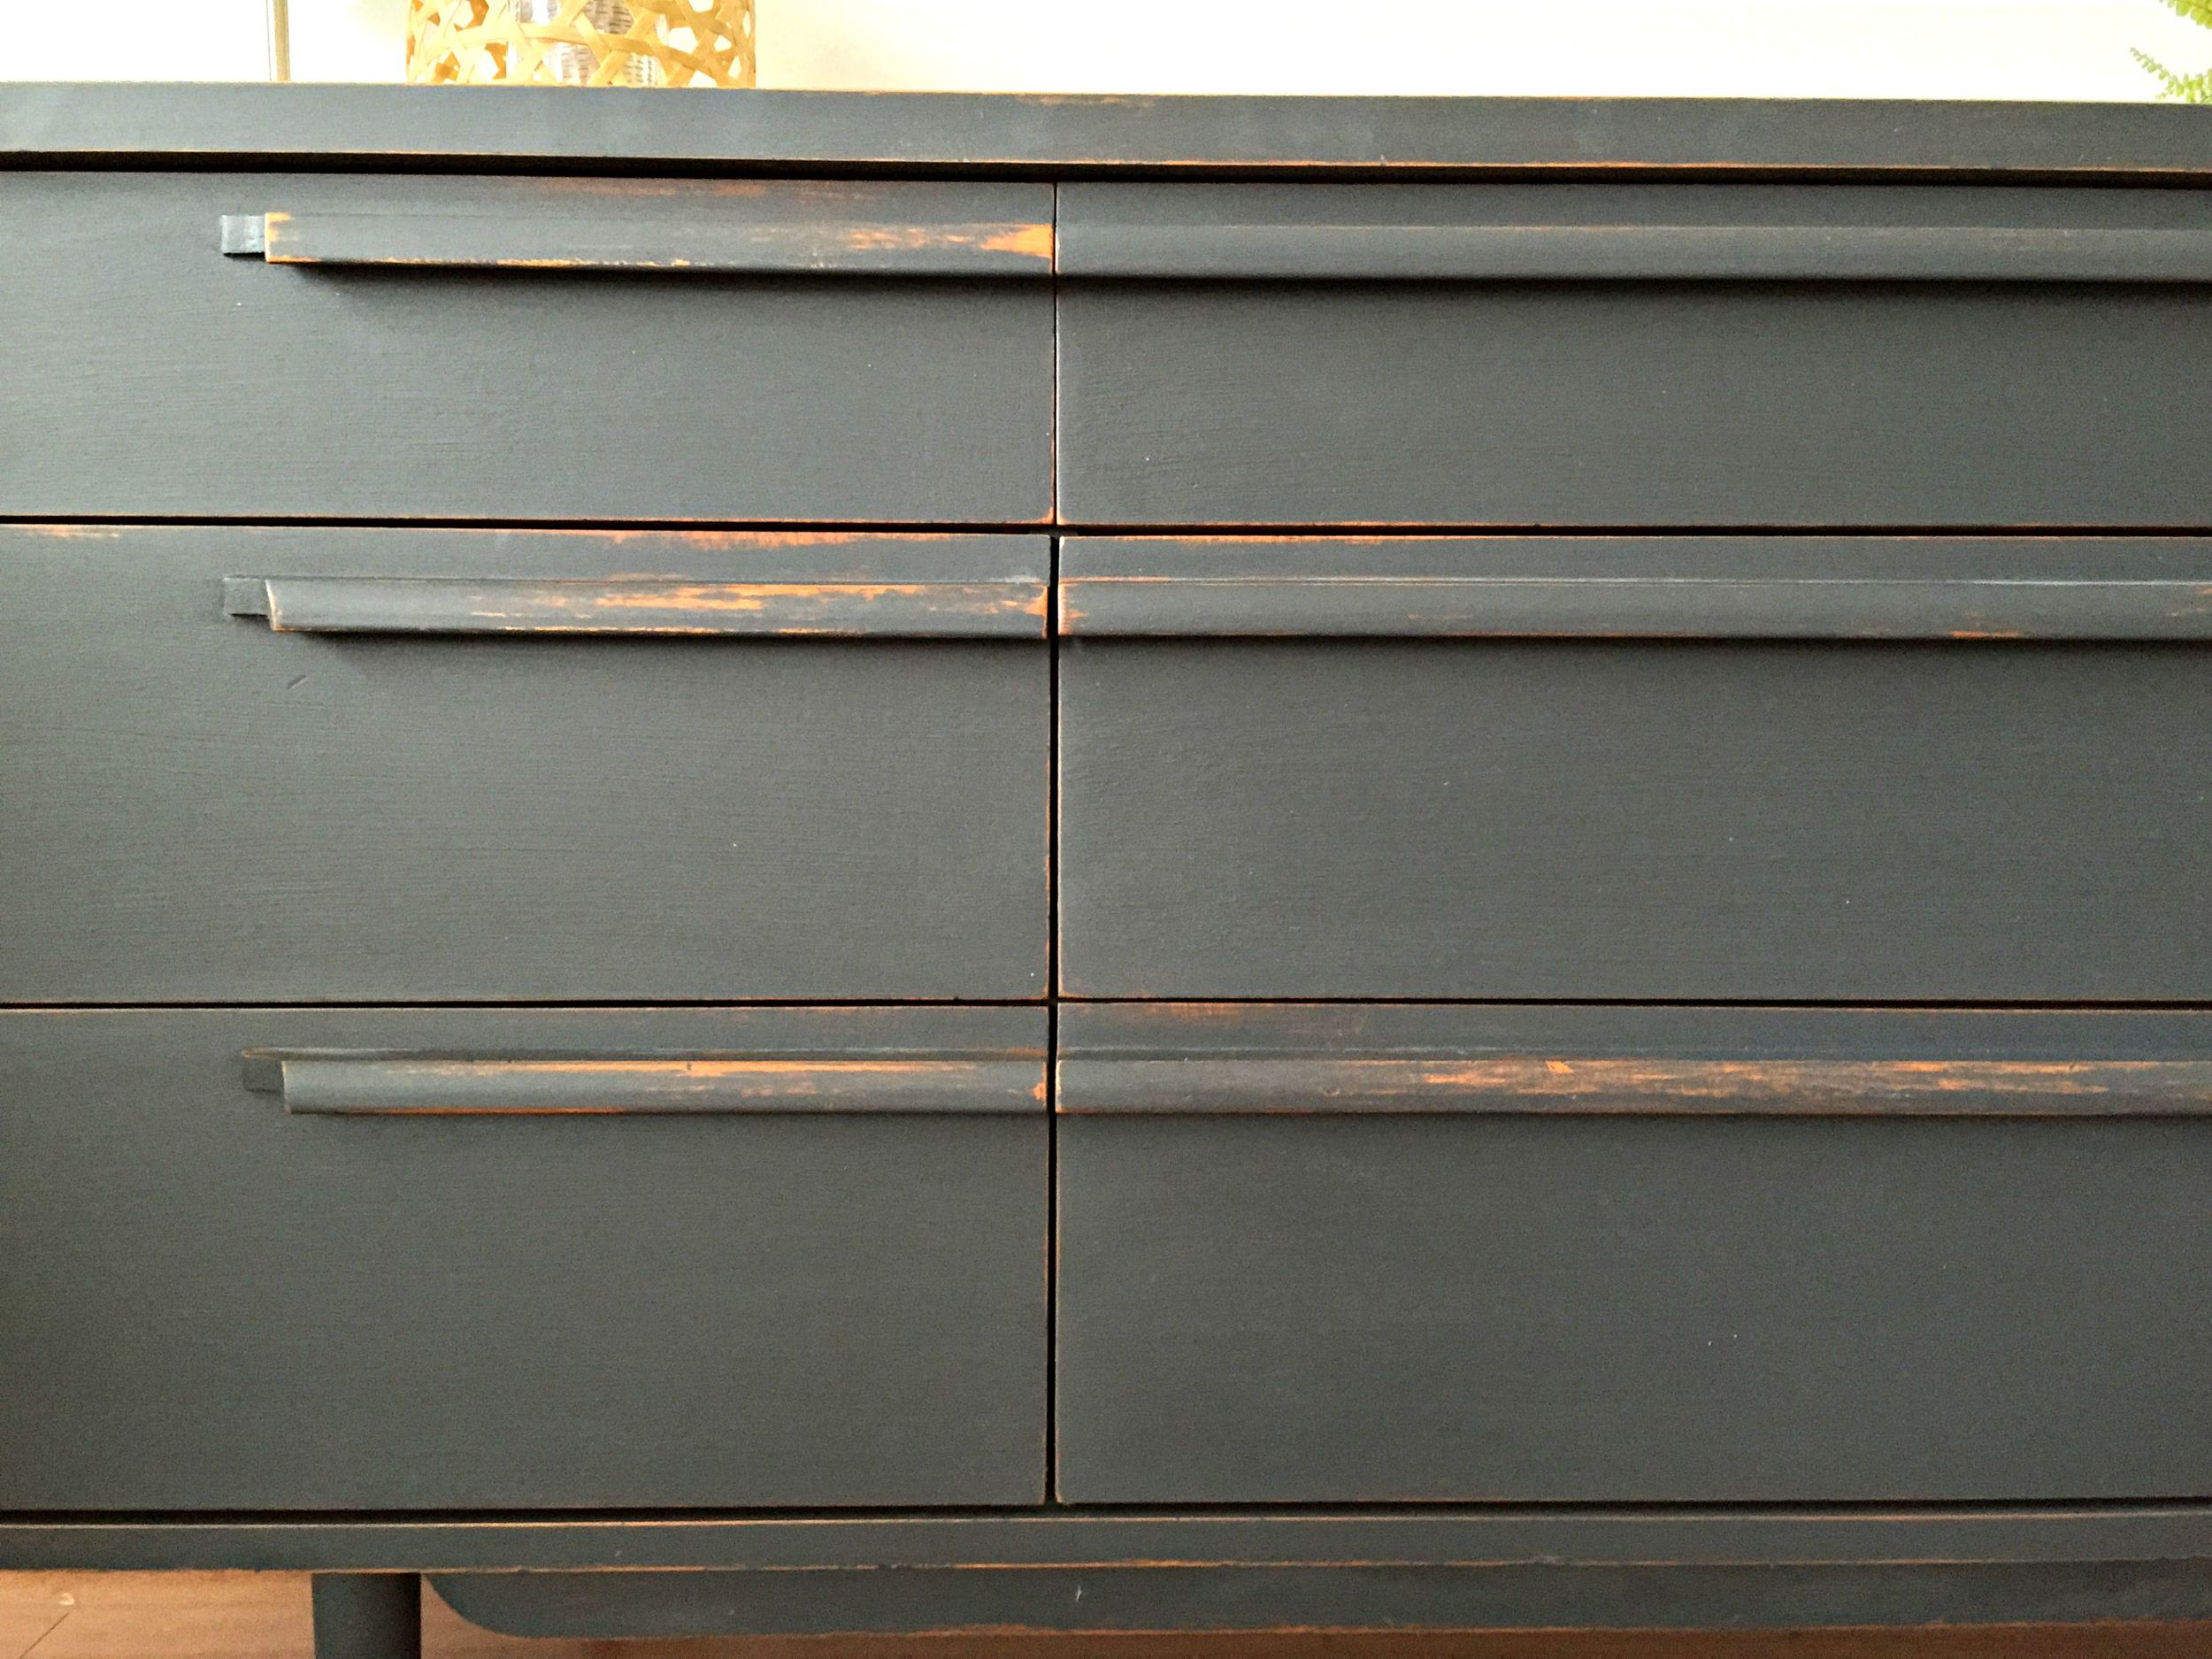
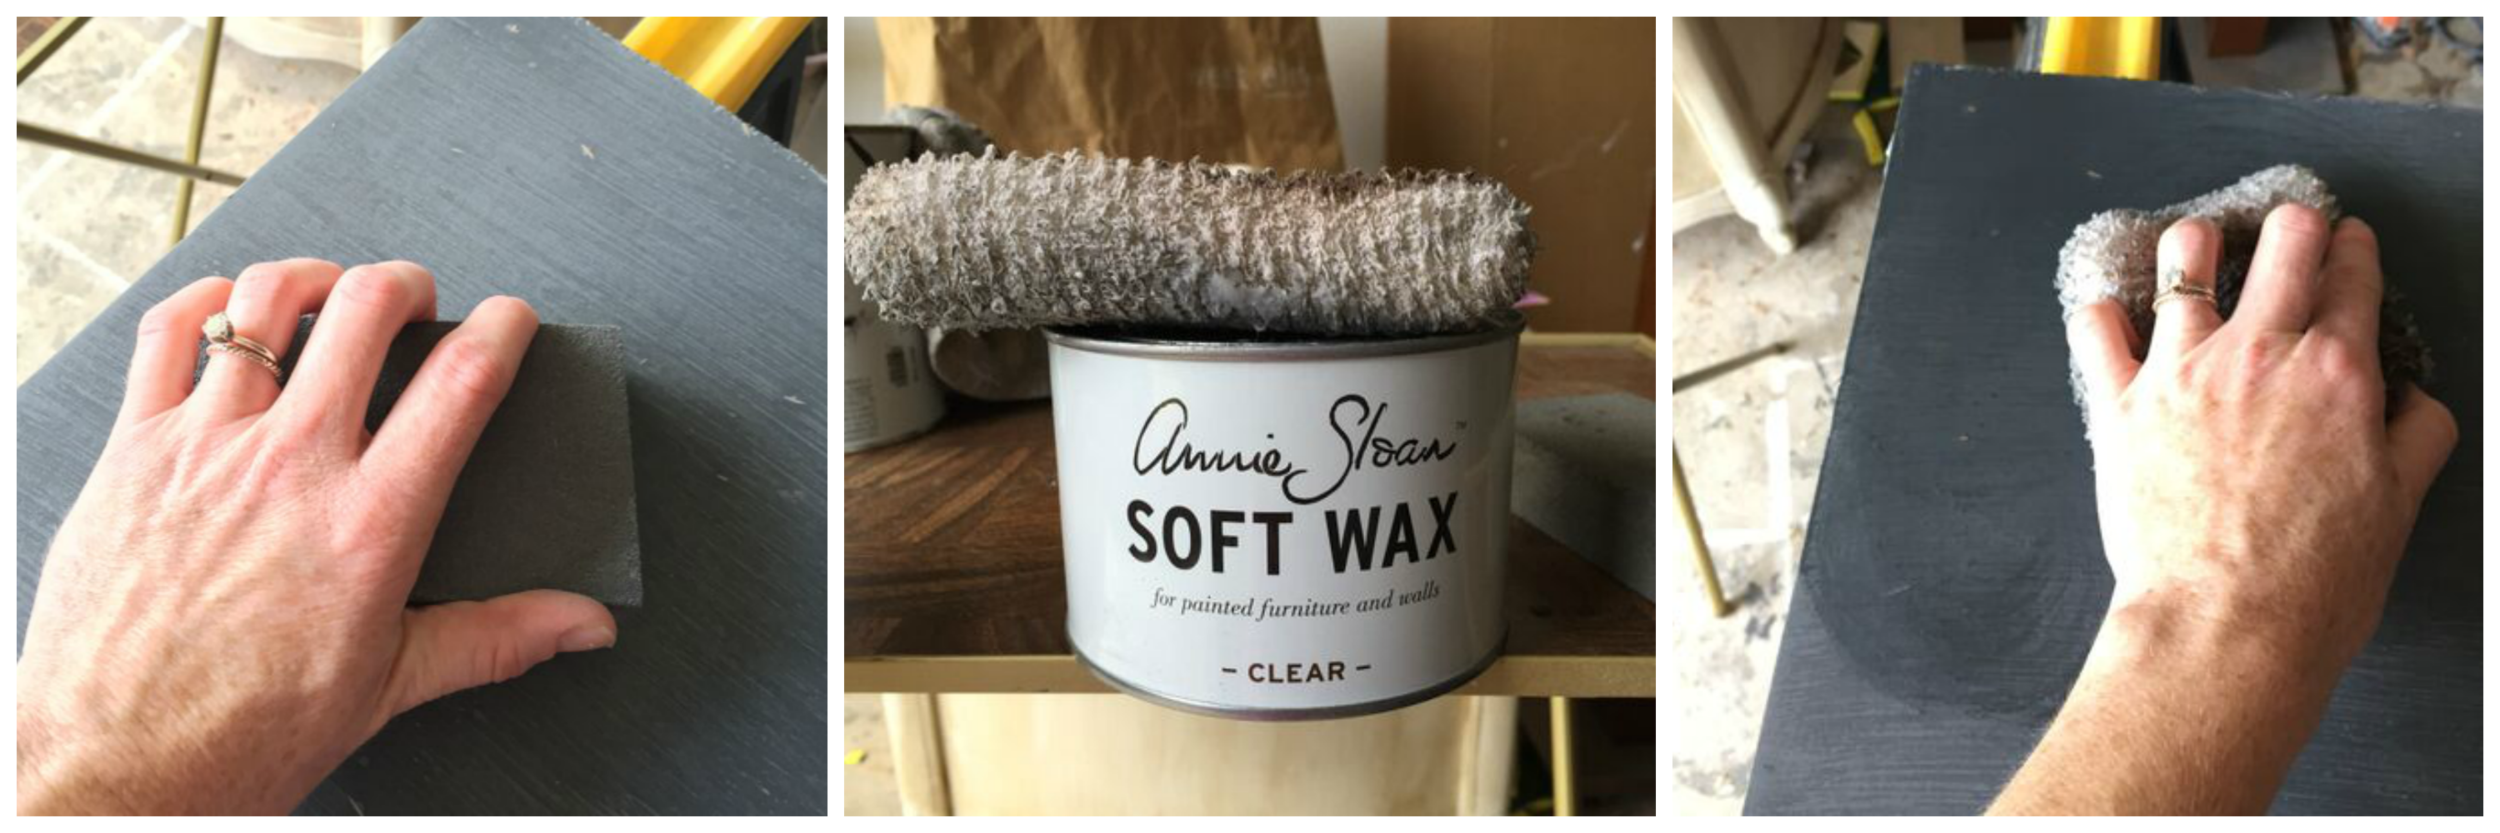
You can see above that the left picture has really raised brush strokes. The right side shows the same section smoothed over with a sanding sponge. There's a little discoloration from the sanding dust, but once it's waxed, it's all evened out and one solid color. I apply wax with a staining pad, found next to the wood stains in the hardware store.

The photo below left is smoothing the finish out with a fine grit sanding sponge. The photo below right is using a staining pad to apply the clear wax. You can see that the color is 'reawakened' with the wax. :)

Q: I'm hoping to paint a wooden chest of drawers with chalk paint and would like a glossy finish - what should I use to finish it?
A: Chalk paint is very, very flat and matte in finish. NO shine, whatsoever. To get it to shine in the least with wax, you would want to use two coats of wax and buff, buff, buff. So if you truly want a high gloss you can either a) Choose a glossier paint that might make more sense for the particular finish you are looking for, (I LOVE Rustoleum's Clear Protective Enamel paints, but if you need a wider range of color, try Behr's Marquee paint line), then you can seal it in a Polycrylic clear satin sealer. OR b) If you'd prefer to use chalk paint, then I'd use the steps above to smooth it out once you're finished, then use a Polycrylic clear high-gloss sealer. It won't shine quite as much as a glossier paint, but it will shine more than if you seal it with wax.

Q: Why is 'Graphite' difficult to work with?
A: Graphite gets SO grey when you start distressing it or smoothing out the texture with sanding! It can be a bit alarming:

The right side of the photo above shows where I gently sanded over 'Graphite', the left side is untouched. To restore the color you will want to apply a liberal amount of wax. If you want to touch anything up with paint afterwards, the process, (gentle sand and wax), will need to be repeated over that spot to even out the tone. It's a color that needs a little more sweet talking than other colors, that's all. :) But it's so worth it!

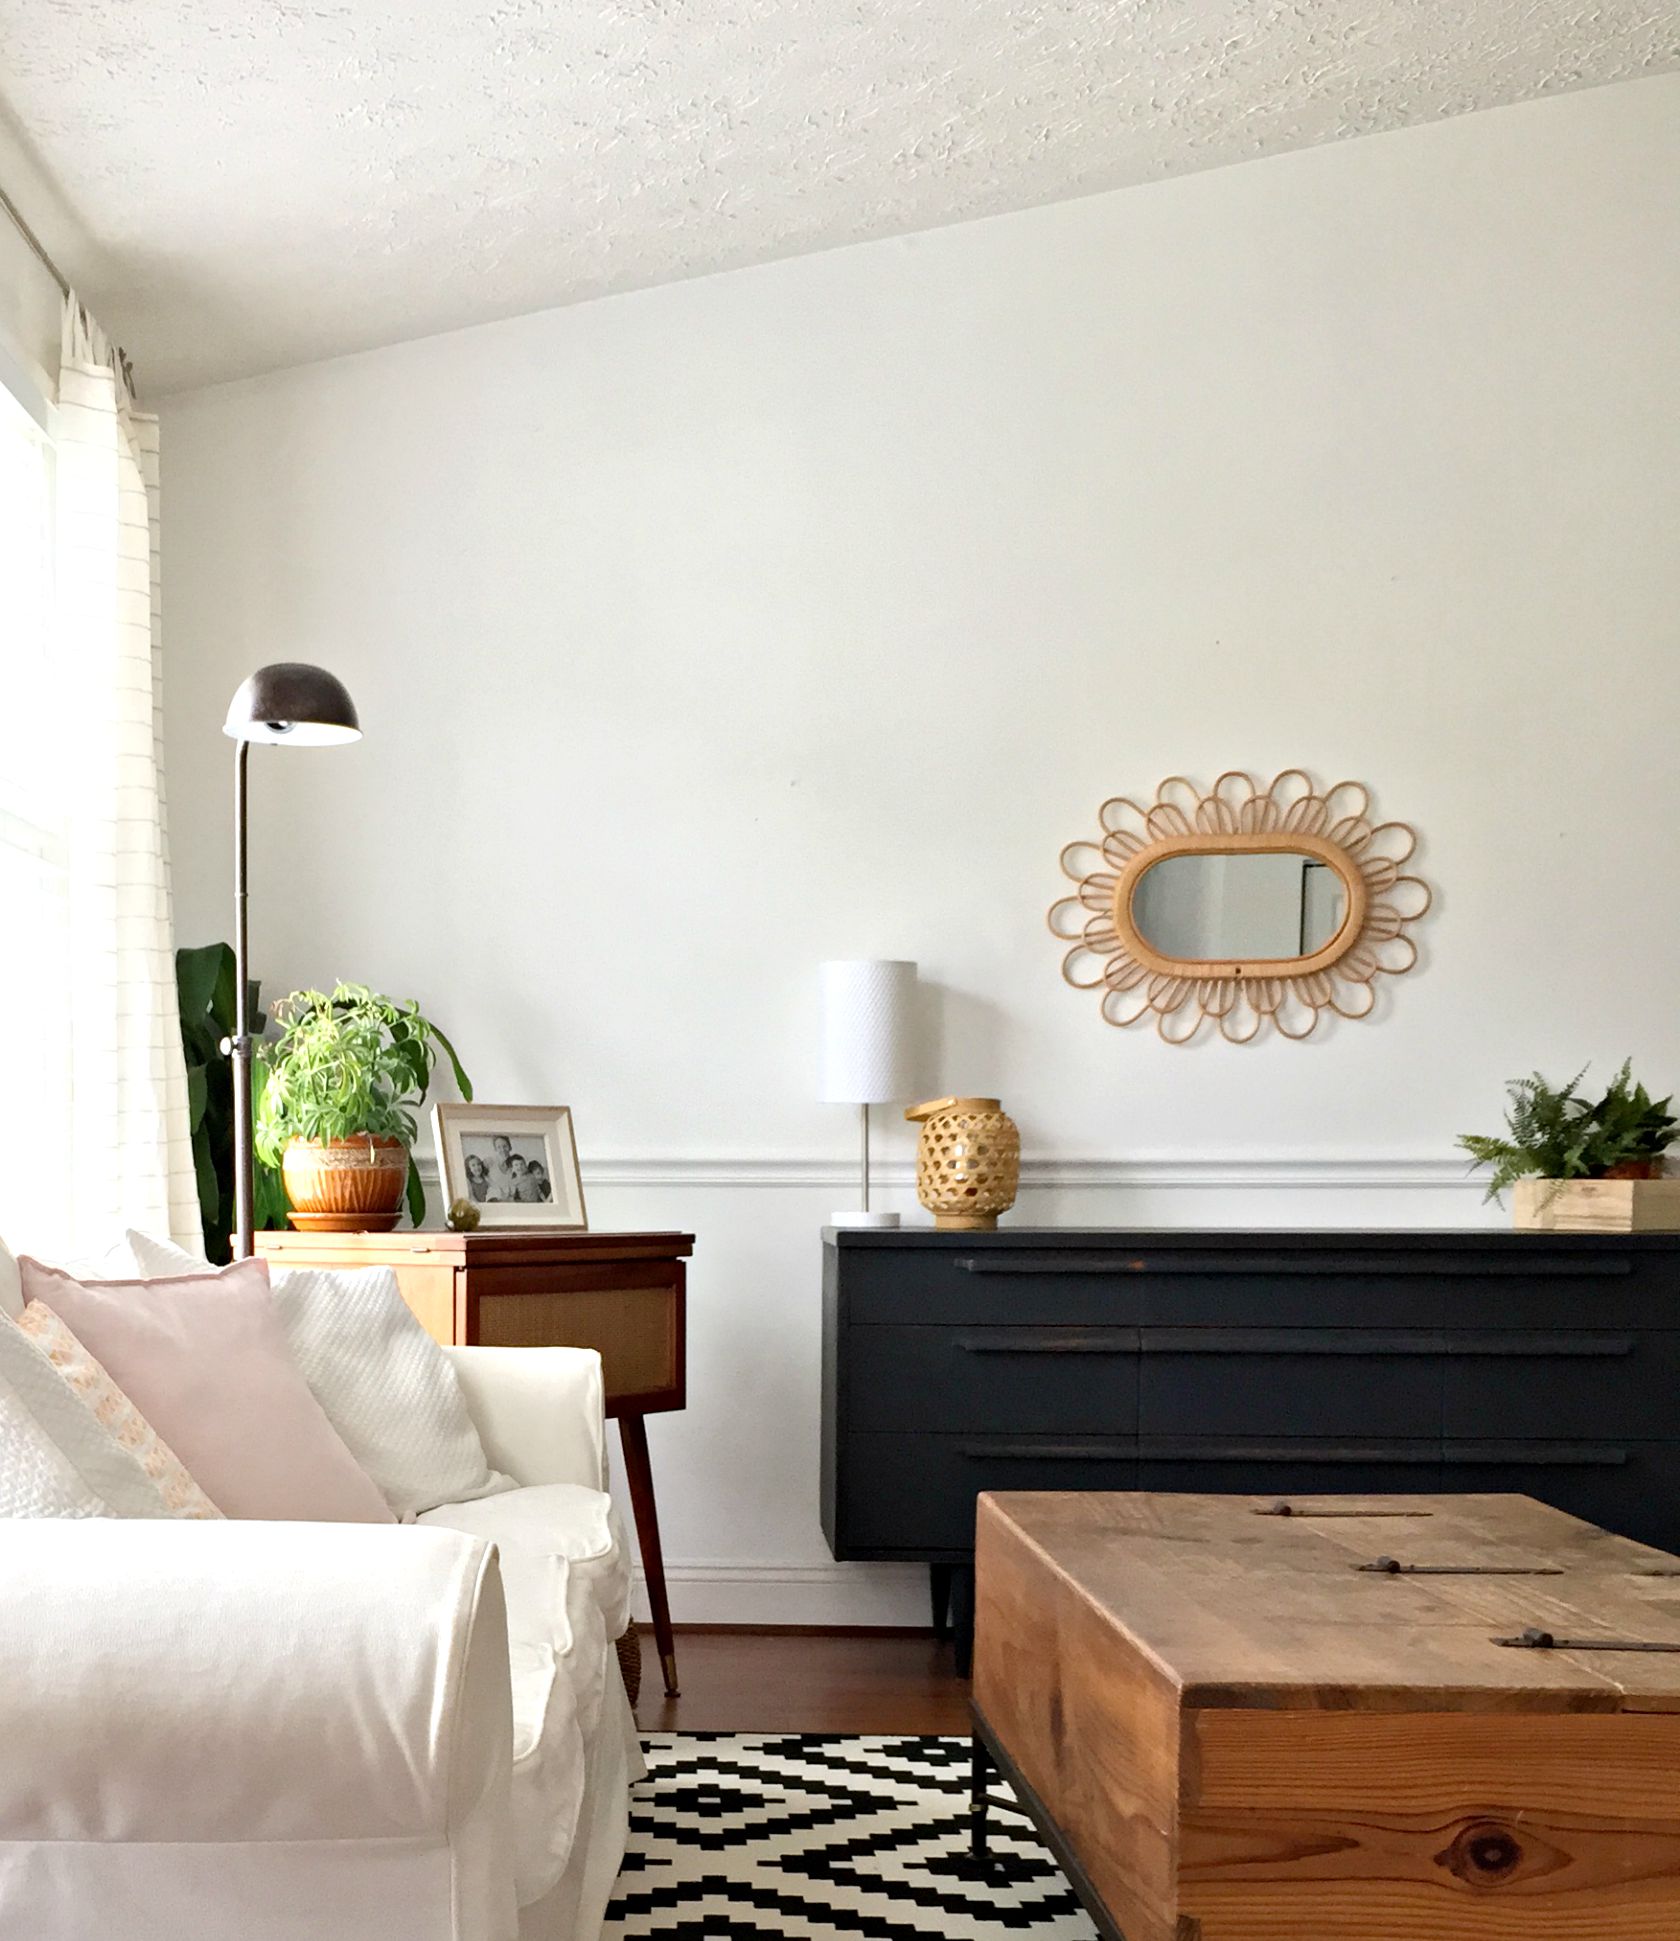
I used to paint everything white. White and Duck Egg blue. I still love the softness of those colors, but I am totally crazy about the contrast of this deep color in a white room! What a show stopper.

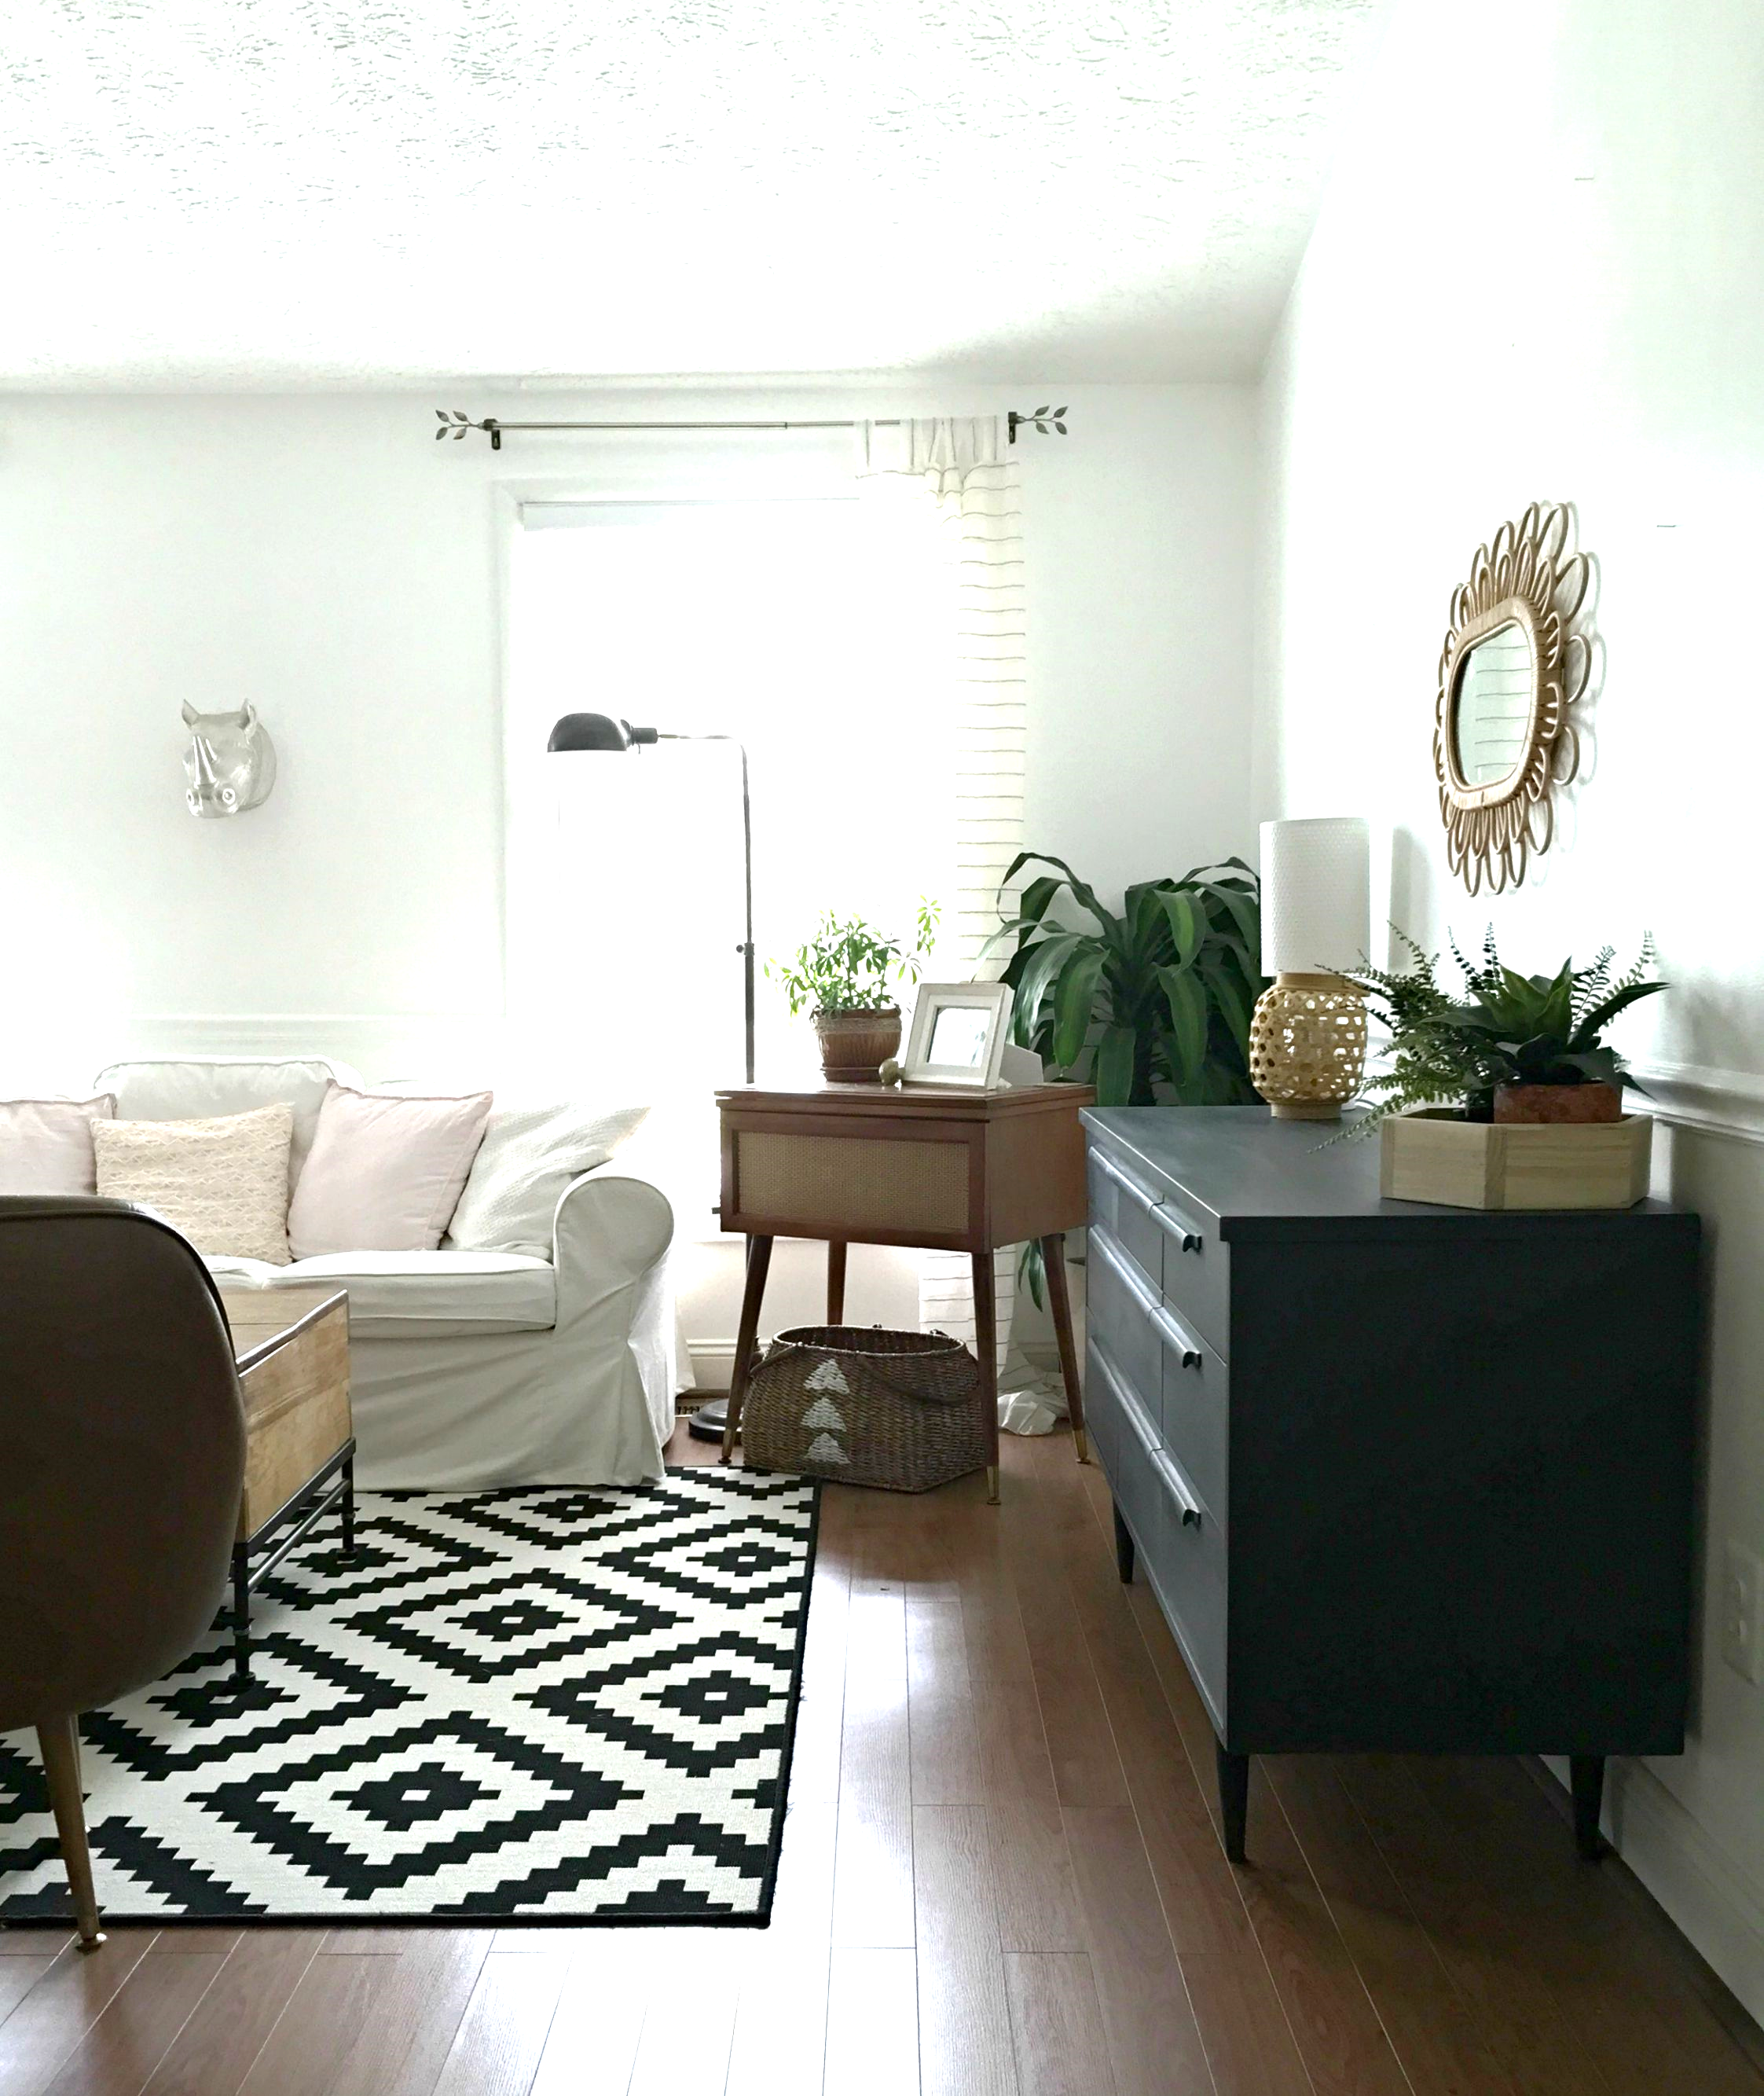
It's really quite dangerous to stage a piece which you intend to sell in your own home. Especially a piece that fits right in. Oh forbidden love, it's torturous! 

Have a wonderful week, friends! Thank you so much for stopping by and making StyleMutt Home a part of your day. We are so grateful for you XO


Before + After: Blue jean inspired cabinet

Hi friends! I hope you all had a wonderful start to your week. Ours has been a little rough around the edges - the Fall-back time change kicked our rears last year and it's doing the same thing this year. Our kids are waking up super duper early, getting less sleep, and are certifiable savages during the day. I'm digging deep to remain patient and calm and trusting the Lord that this chaos will not leave long lasting implications on our collective blood pressure....(kidding, partly). 

Thankfully, I was able to squeeze in a really fun refinished piece last week before we all went off our rocker on Sunday! Like this set that I shared recently, I didn't have a really defined idea of what I'd do with this piece at first glance.

The interesting double-folding cabinets, tapered brass legs, interior storage, and overall quality of the piece were enough to seal the deal, and I stuffed it into our van with the three little ones in toe, (or is it tow?). After painting it white it just looked so bland, like a big white box. There are absolutely times when a can of white paint feels right, but this wasn't one of them. So, off I went to Home Depot to fill my inspiration tank, (as Cate calls it)!

And I found exactly what I needed!

Leave it to good ol' Ralph Lauren to create a brush just for applying a denim treatment. I mean, I know brushes like this existed before, but c'mon; Ralph Lauren is the king of denim. With this handy brush and the perfect shade of blue jean blue, (America's Cup Navy, by Glidden), I was equipped to turn this cabinet into something special.

Let's zoom in a bit.

I would suggest practicing the application on scrap wood before applying to your piece. I had a scrap of plywood which helped me get comfortable with this technique. I should have taken a picture of that! Let's just say the practice was VERY helpful. :) My biggest advice, (aside from practicing first), is not to load the brush with too much paint. You'll end up with really thick, dark smudges of paint, when really you want it to look kind of bled on and thin. Does that make sense? Just practice first, you'll see what I'm saying.

I'm completely smitten with this marriage of paint and my favorite fashion staple! I'm finding that fashion has more of an influence over the way I refinish furniture than I thought. This leather-pull piece combined two other loves; creamy off-white and leather!

Thanks to Facebook and Instagram, I was able to get some input when trying to decide on the hardware for this piece. I had two options: Brass handles recycled from an old piece, or these original pulls which I refinished in the same denim treatment. 23 votes came in - 20 for the brass and 3 for the originals. What a pickle! Both were stunning choices. In the end it came down to one tiny detail: the brass handles were not a perfect match to the brass legs. The handles were a much lighter shade and the difference between the two wasn't looking exactly right. And the point of this piece was to try a new technique and let that take center stage. The full length original handles won this round and are perfect for debuting this particular piece. The best part about making difficult hardware decisions? It can always be switched out. :) 

There's still plenty of dazzling brass on this cabinet, though, and I think it's striking the balance between casual and elegant just beautifully. Like dressing up your best pair of jeans with heels and jewelry, (or saddle shoes and a leather elbow patched blazer if you're a guy - yea I like men's fashion).

Hello, Organization! Seriously, these drawers could be life changing for someone out there. And the double-folding cabinet doors don't hurt either.

After seeing Cate's latest piece, (already sold), we all discovered how awesome these kinds of drawers are when left unhidden! Removing the right cabinet door could instantly transform the piece, (again!), adding even more versatility to it's resume.

A quick interruption to share one of my favorite tablescape accents: Branches! Can you believe I pulled these branches from our back yard over a year ago? It's a miracle they didn't set on blazing fire above the candle flames...

Denim Cabinet, now available
48"L x 32"H x 19"D
$450

Email chelsea@stylemutthome.com if interested!
 

Thank you so much for stopping by!

Now for sale: Buffet + Bar cart {traditional with a twist!}

Happy Friday, folks! I'm excited to kick the weekend off with a couple of entertaining pieces - a matching buffet and bar cart! I've actually never done a bar cart before - the ones I see while out thrifting are glass and brass/gold and don't need any of my attempts at improvement. But, when I saw an all wood bar cart in perfect condition on old casters, I grabbed it with not the faintest idea of what to do!

Fortunately, I also snatched up this buffet on the same day which gave me a great jumping off point for creating a set! (I'm gonna go ahead and apologize now for the quality of the pictures - I had a tight window to get them done and it was during our darkest, rainy day this week while my kiddos ate lunch. These pictures were the least of our disasters this week, however, and I'm already looking forward to starting fresh come Monday! Just don't stare at my blurry pictures too long, I'd hate to awaken your vertigo.)

BEFORE

AFTER

I really wanted to maintain the traditional integrity of the buffet and decided to go with a classic color - a very soft, creamy grey. One of my favorite custom color mixes is Paris Grey and Old White, (both by Annie Sloan Chalk Paint), about equal parts of both. Rather than do any deep distressing, I just painted on two solid coats, applied the clear wax with a brush, and then buffed with a clean cloth. When buffing, I pressed a little harder with my cloth along the edges and details to pull some of the paint away, but it's nothing harsh. 

Seems a typical, lightly distressed grey buffet, right? But wait! There's more...

I'm not a totally traditional gal - I appreciate traditional pieces and design, but I personally prefer to put soft, unexpected 'twists' on such classic styles. Nothing that screams "whoa there, big fella!", (name that Seinfeld episode), but enough to give such sophisticated pieces a more casual, edgy look. I am in debt to Cate for helping me with this one - I knew I wanted to do something a little different with this piece, but I really didn't want to cross the crazy line. Cate's fresh eyes were so helpful and when she suggested leaving the inset panels in their natural wood state, I knew she'd hit the nail on the head. It was just enough of a twist without going overboard, maintaining the classic integrity of the piece.

And with a matching bar cart to boot, we're quite classy, indeed, today!

For a touch of glam I added aged brass pulls which I had removed from another piece last month. It was one of the easiest updates considering the impact they add to the simple cart. (NEVER throw out old hardware...unless you feel it's truly quite hideous!)

This set is now available for sale, $525. Email me at chelsea@stylemutthome.com if interested! 

To see what else we've got for sale please hop over and browse our Garage Shop!

Enjoy your weekend and thank you for stopping by!