Happy Labor Day weekend, Mutts! This weekend, people all over the country are celebrating what many deem to be the last weekend of summer. I, for one, can't wait for Fall - but I'll be celebrating like the rest of you in one of my favorite Midwestern cities: Chicago, Illinois.
Another favorite? Minneapolis, Minnesota, where the brains behind today's reader design hails from. Welcome to Erin's Perfect Midwestern Digs!

I found Erin via Instagram several months ago and continue to fall in love with her aesthetic with every post. Her home manages to be light, bright, simple, and durable - something that is increasingly important in Minnesota to withstand all of that cold and precipitation (and whatever those other three seasons bring).
From Erin:
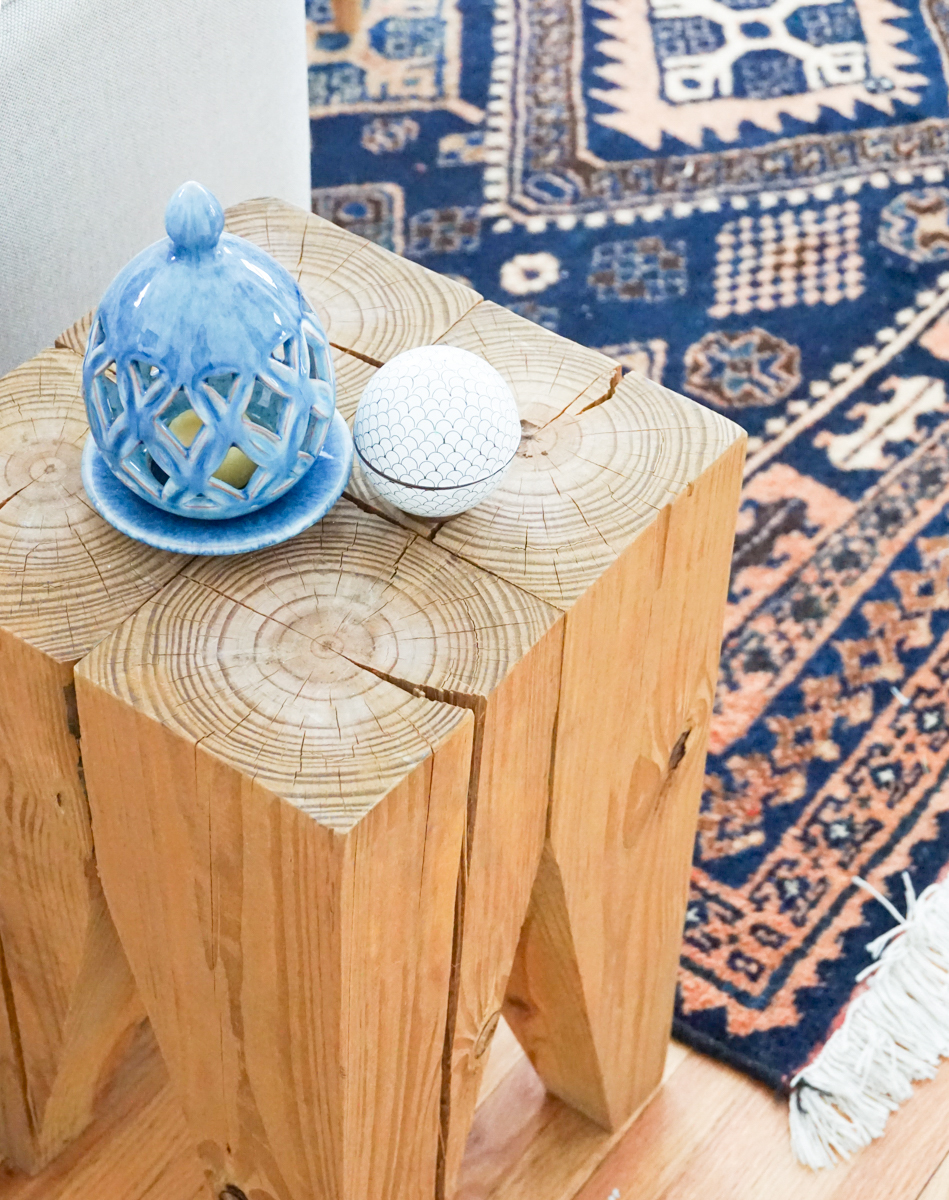
“I’d describe my style as “handmade modern.” I love visually clean, modern spaces that have been softened by traditional architectural elements and handmade pieces. Though I’m drawn towards bright, modern spaces, I still want our home to feel approachable and “undecorated.” Using a mélange of handcrafted and vintage pieces really help to reinforce the relaxed and casual vibe.”


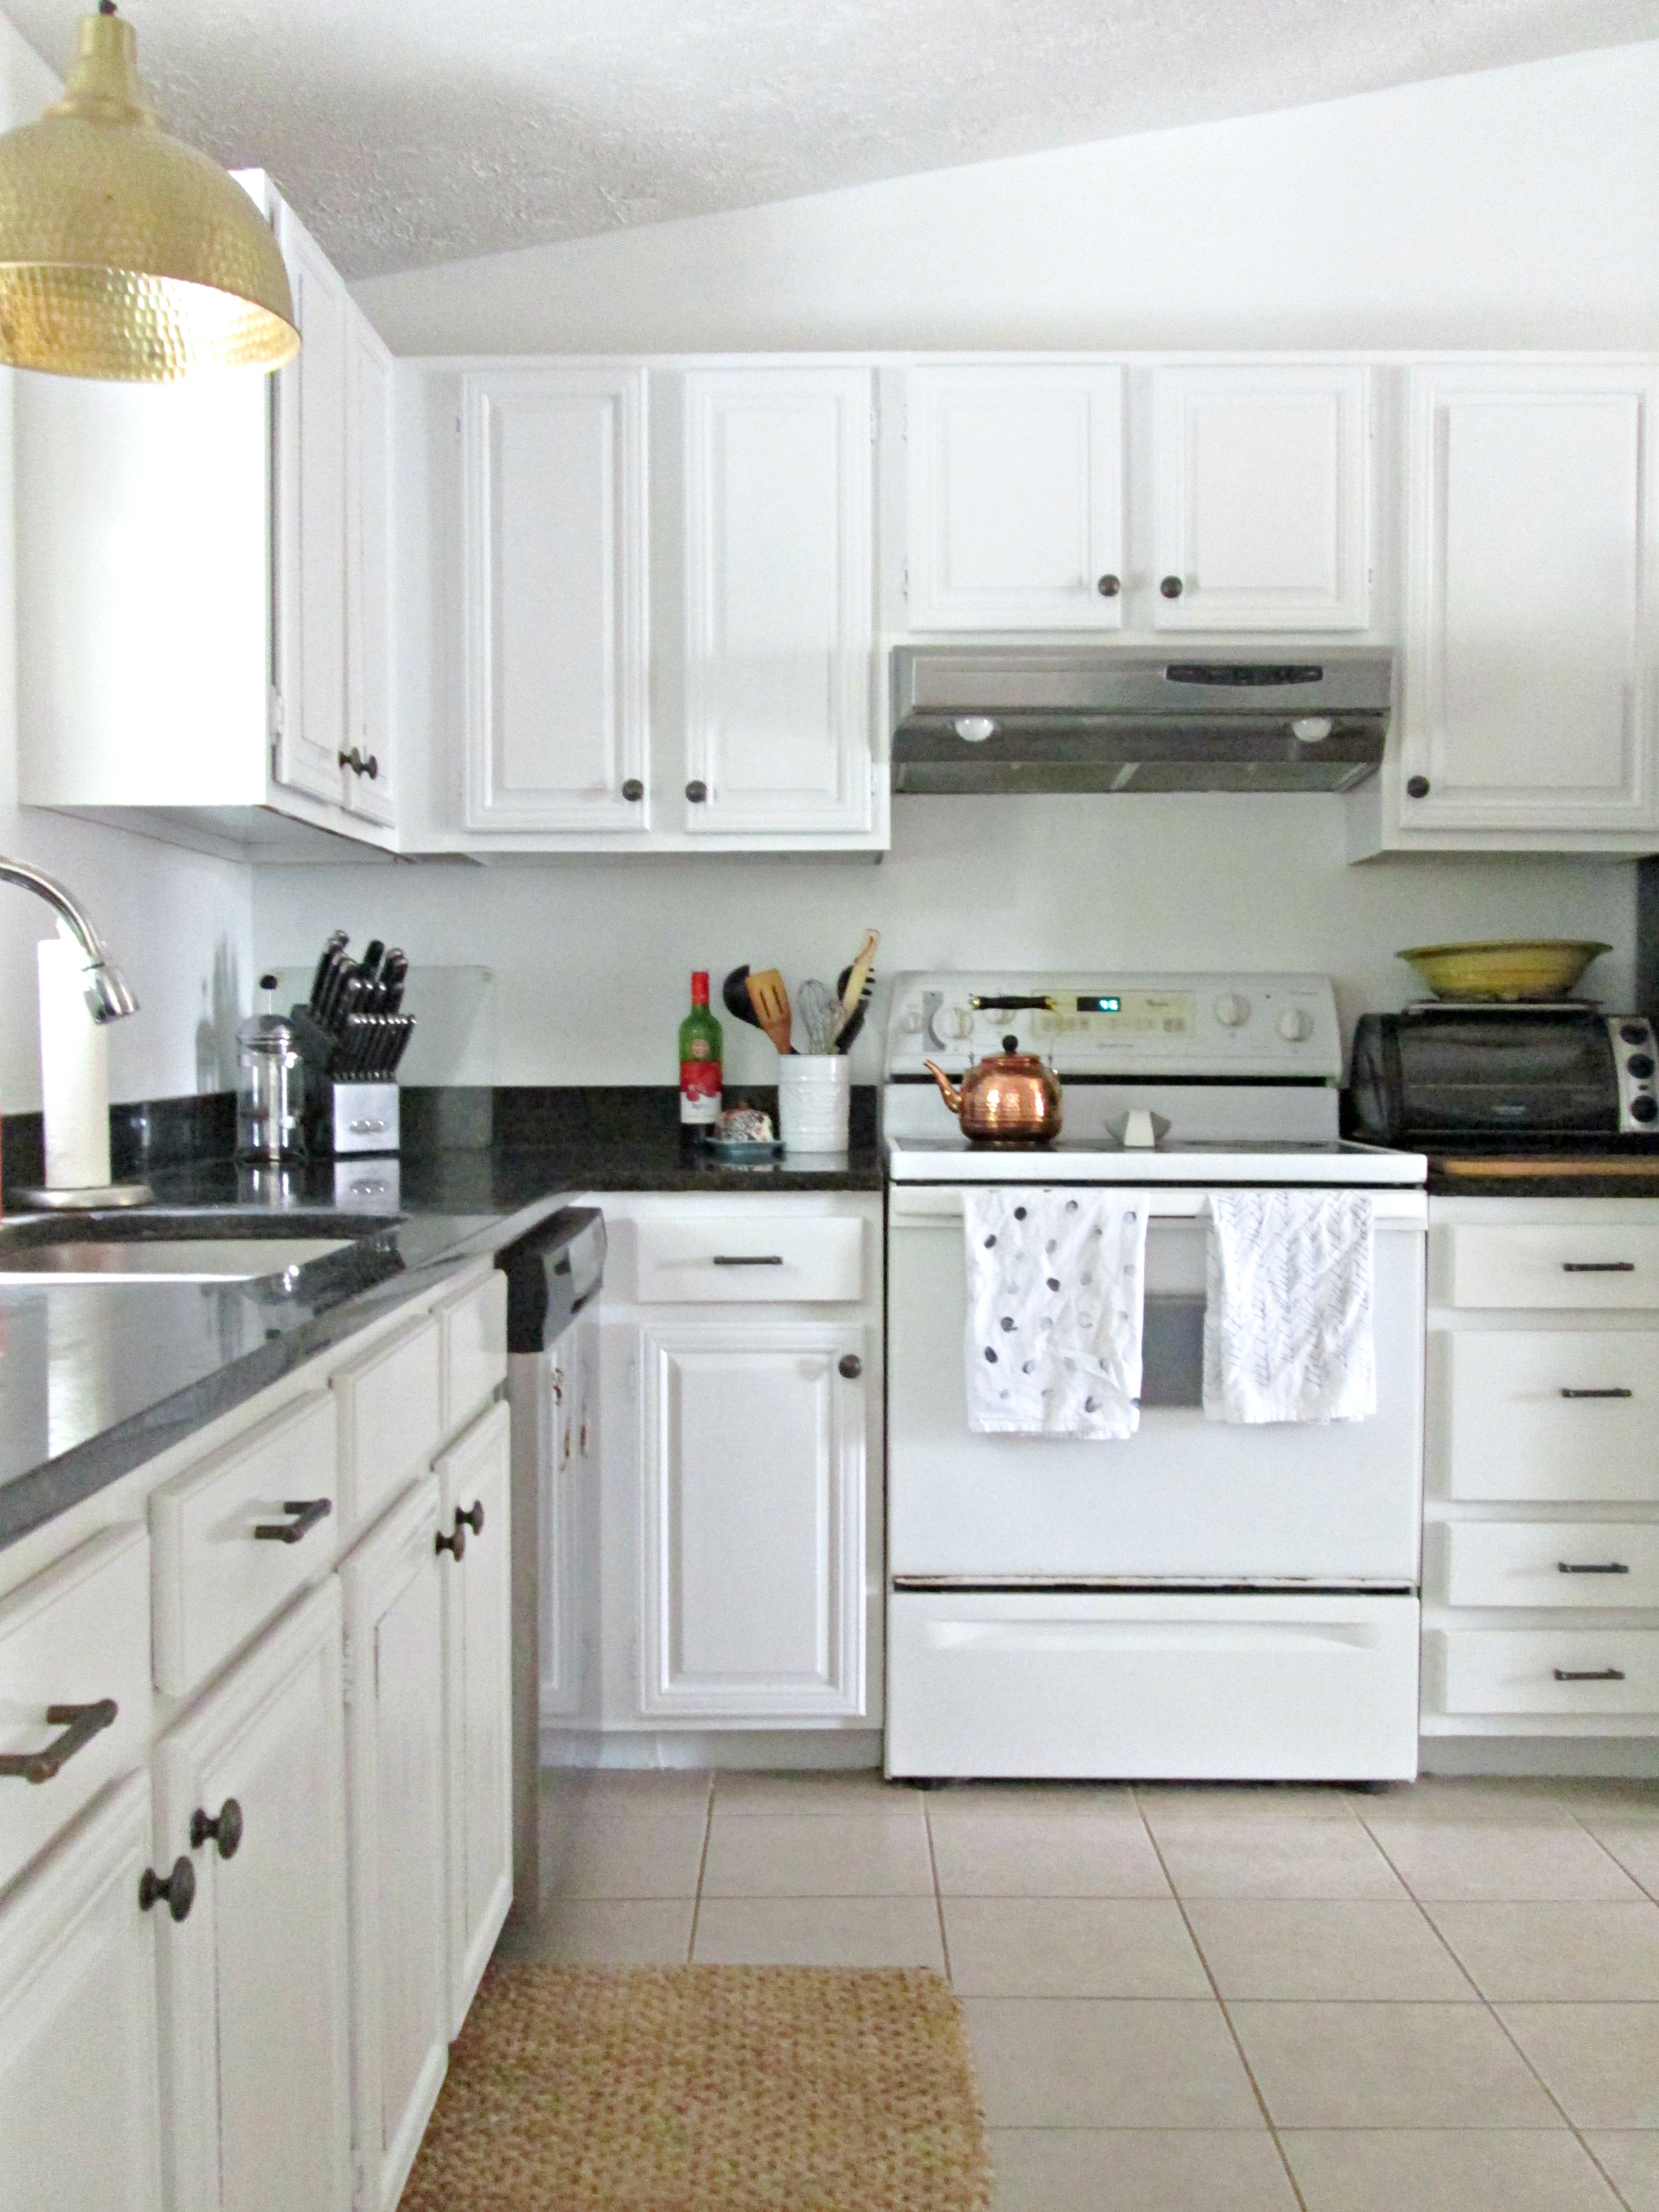
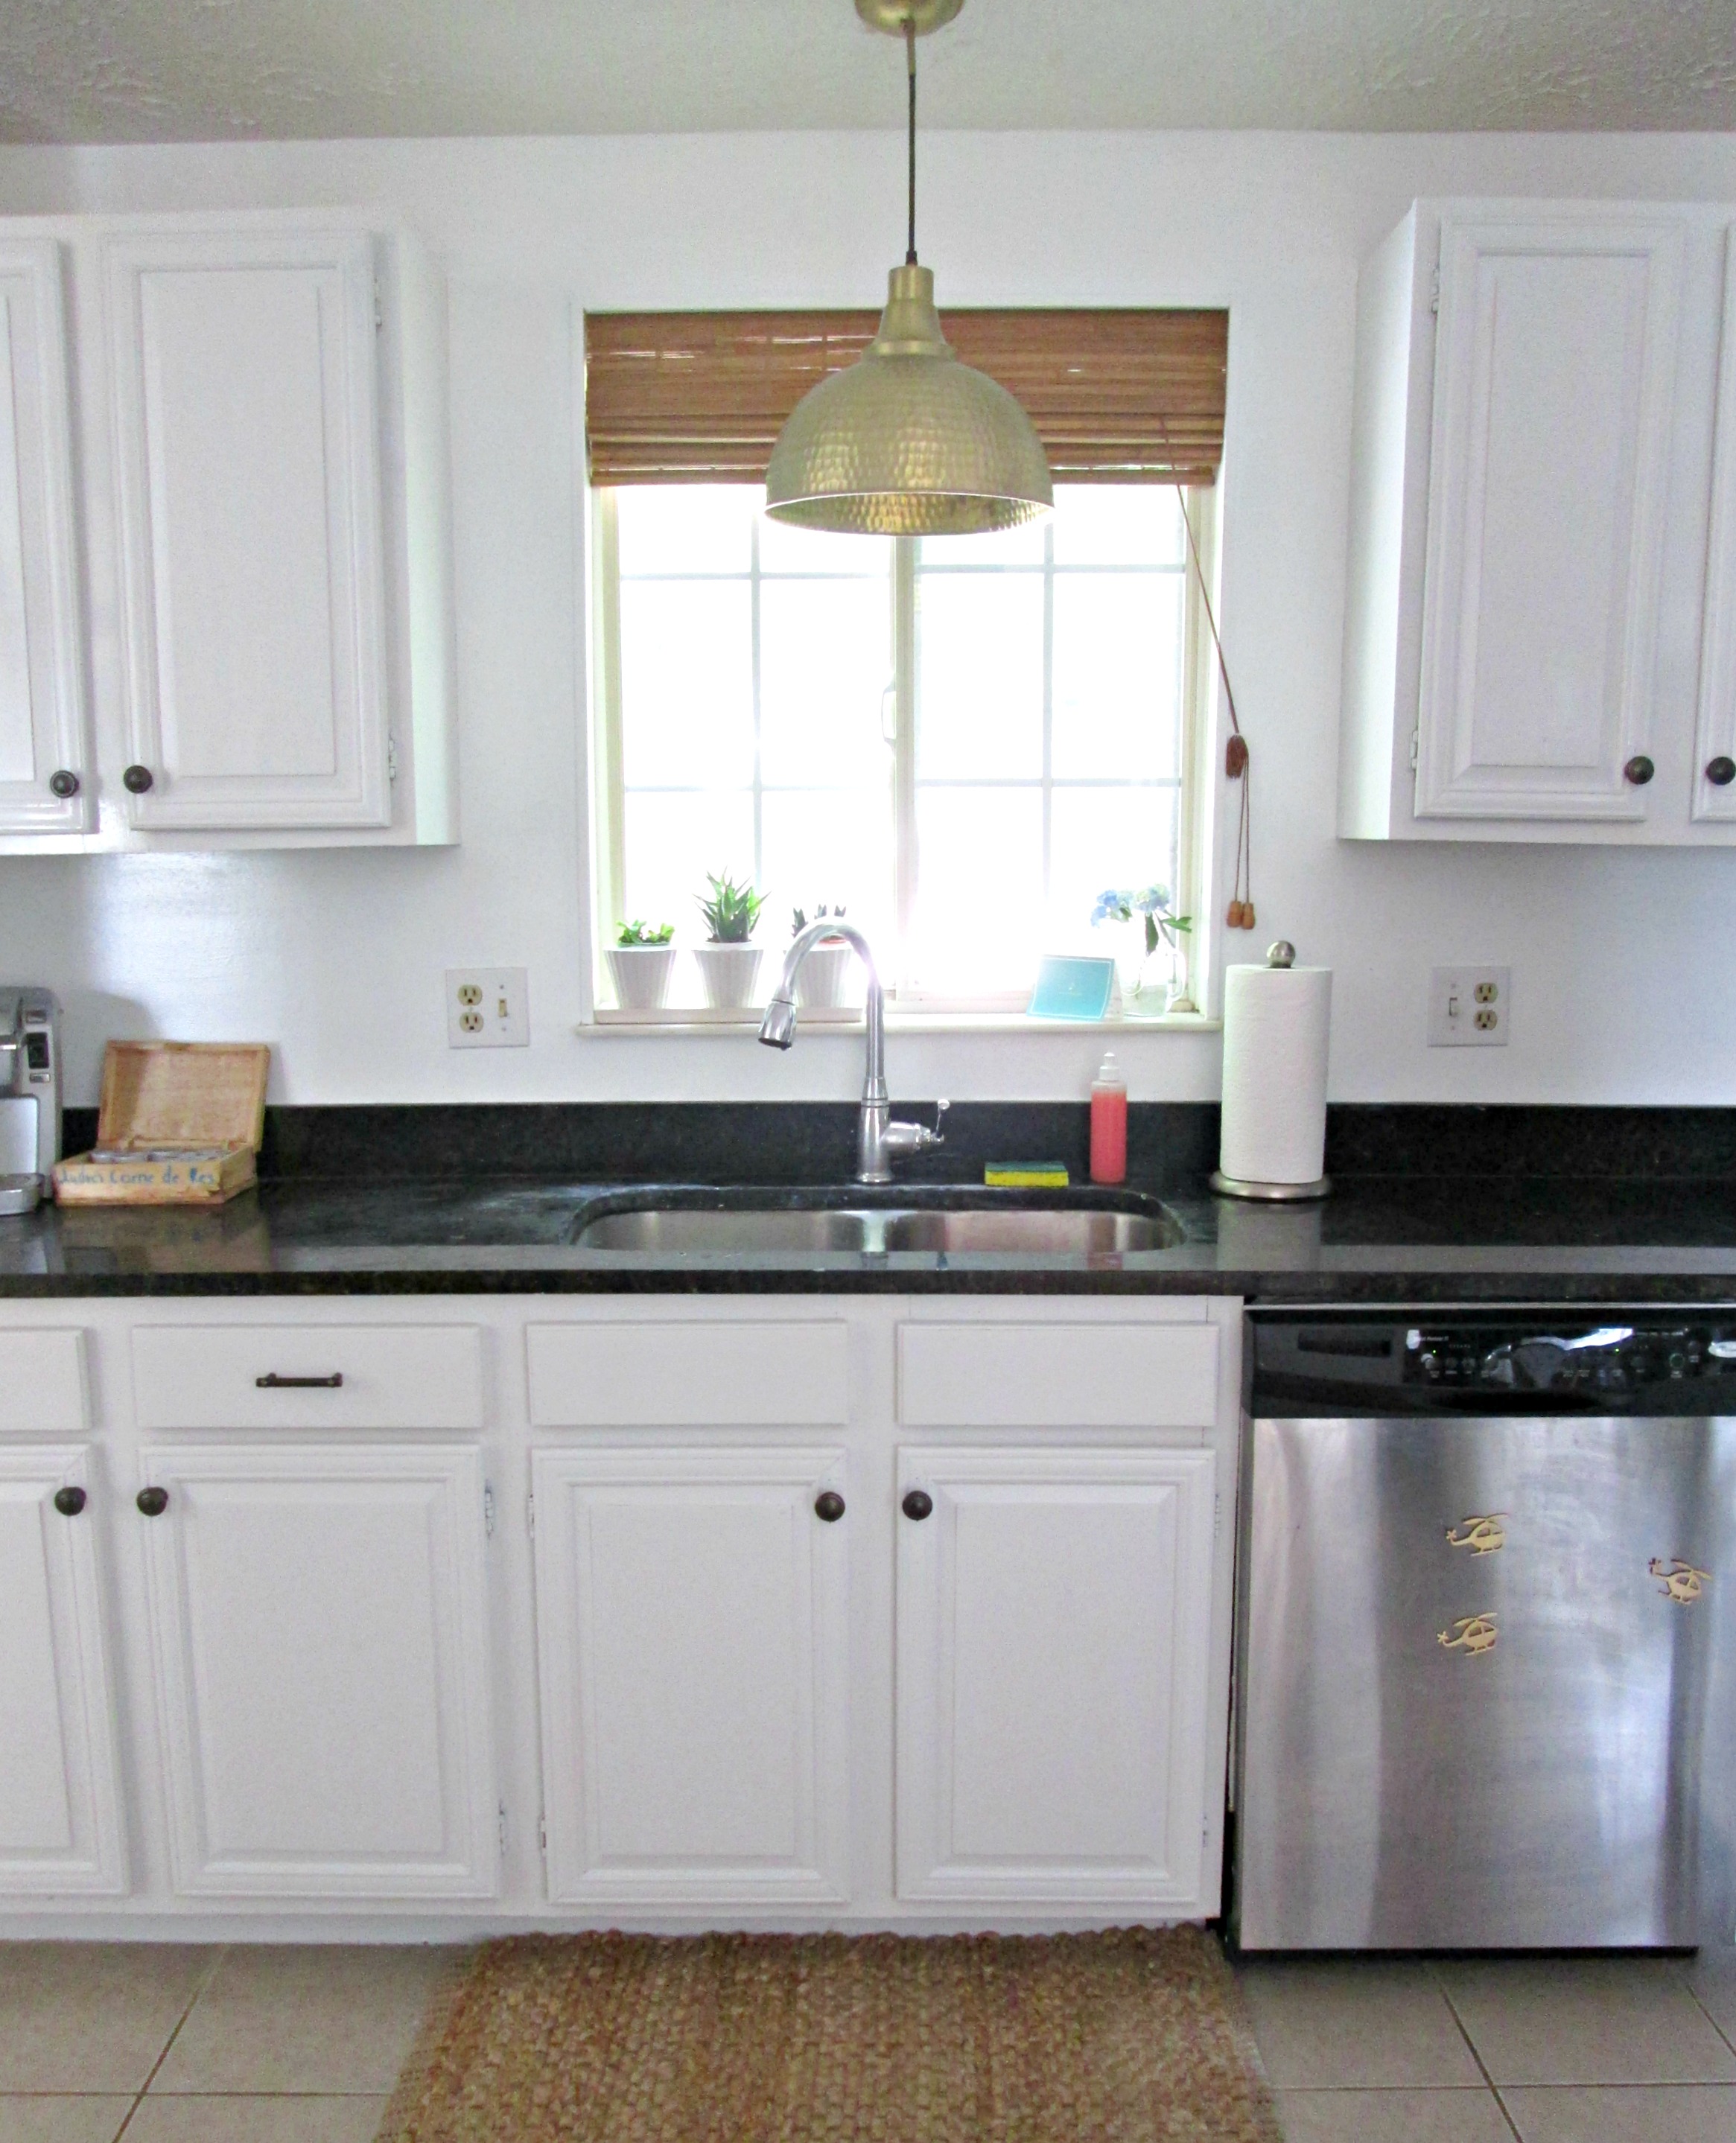
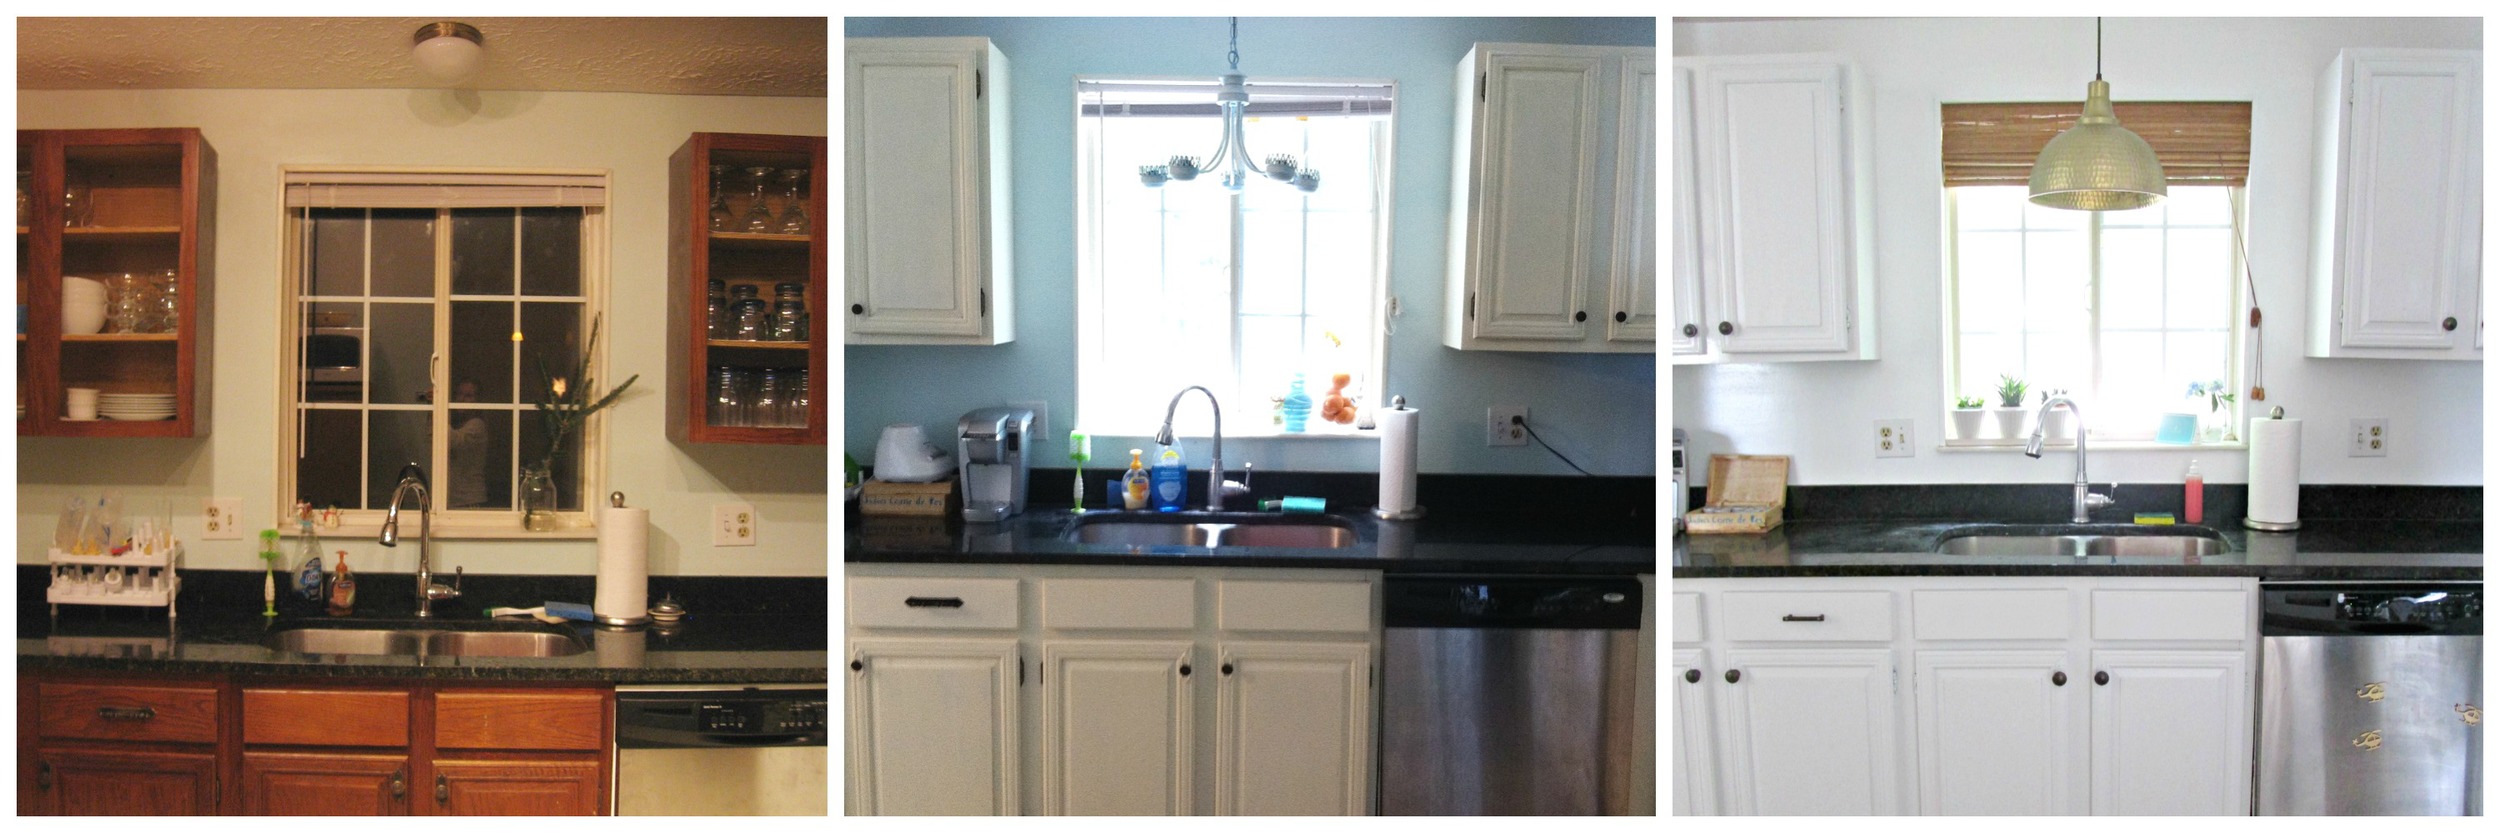
Let's talk about the oven nook. What a place to bake a chicken pot pie come this Fall! I can't be the only one fantasizing about this, right?? Erin's favorite part of the kitchen are the cabinet doors below the sink. They were actually salvaged from the original kitchen in the home, just simply refinished with paint and hardware!
“I love how they give our inexpensive cabinetry a custom look, as well as help pay homage to the home’s 90 year old bones.”

“I think personal style, interiors or otherwise, is born from simply figuring out what it is you are repeatedly drawn to. What do you find beautiful and why? I’m always trying to surround myself with inspiration, because I think style is something that develops slowly over time and never stops evolving.
I definitely pay attention to trends, but I try not to design my home around them, unless either I’ve loved this element long before it became popular, (i.e. my affinity towards the color blue), or I feel as though the trend will still have legs long after its heyday has passed, (i.e. classic subway tiles).”

“I really wrestled with whether or not to paint the wood trim in our living and dining room. I love white enameled trim, but throughout my childhood, my mother, who adored her beautiful Mid-Century woodwork, always taught us never to paint the trim. I had a bit of an internal struggle about it at first, but after seeing how weathered our 1930’s trim was, especially the sills, it made it a lot easier to go for the enameled trim.”
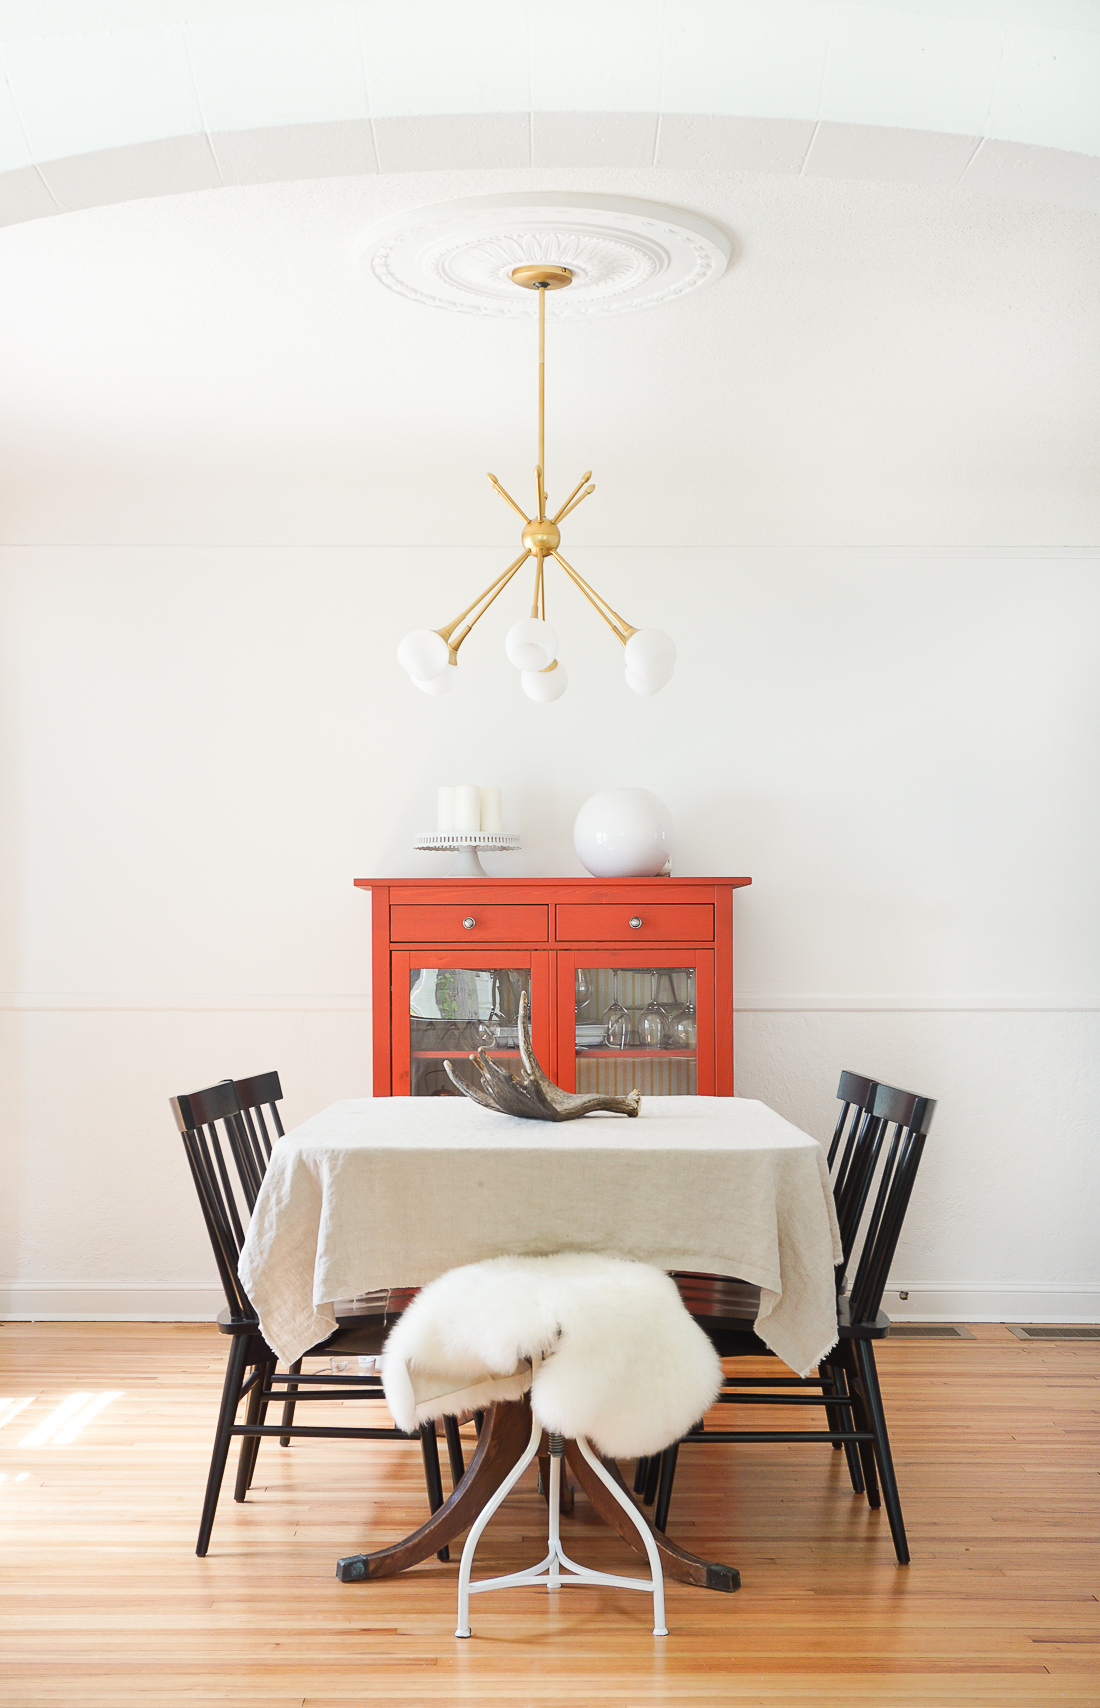
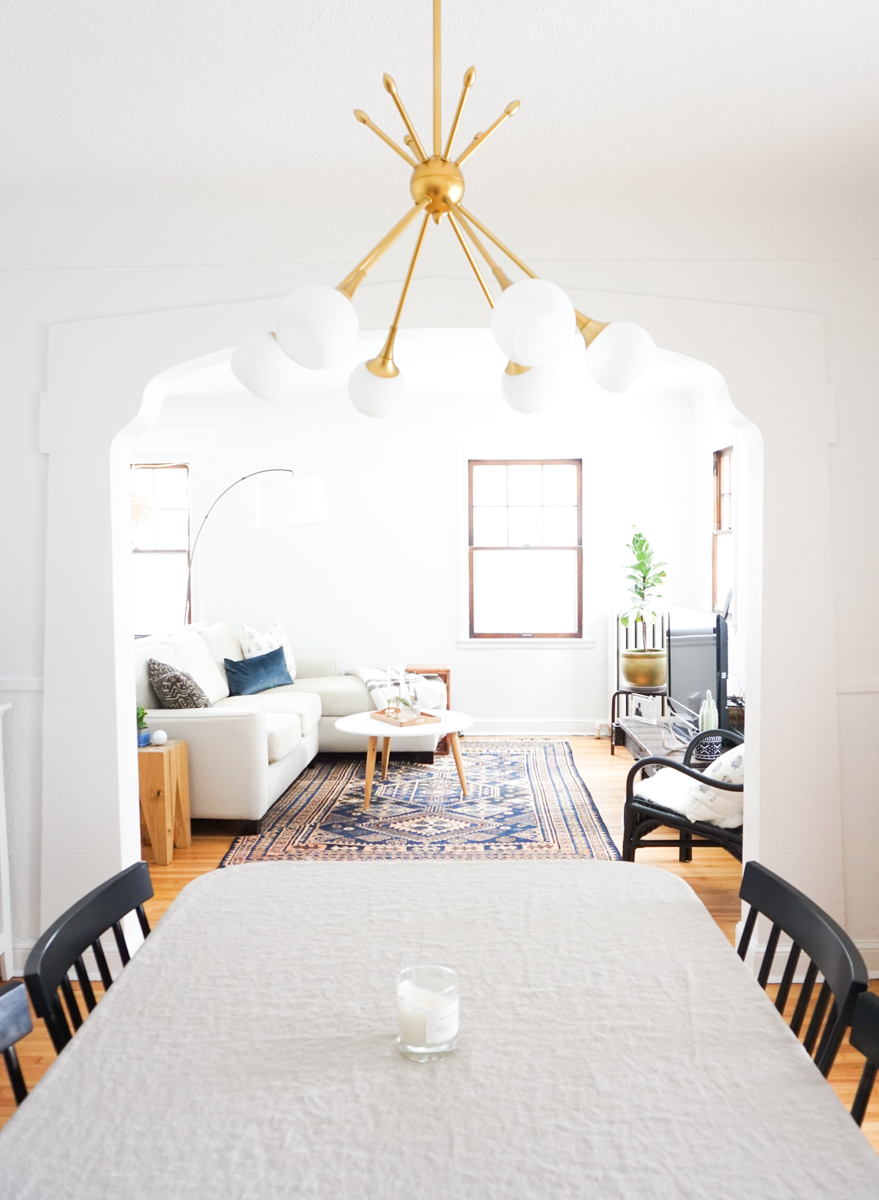
Another beautiful original element of the house is captured in 1930s-era rounded archway. Erin expertly blends straight mid-century modern lines with romantic curvatures throughout her space. And then there's the dining room light fixture - woah.
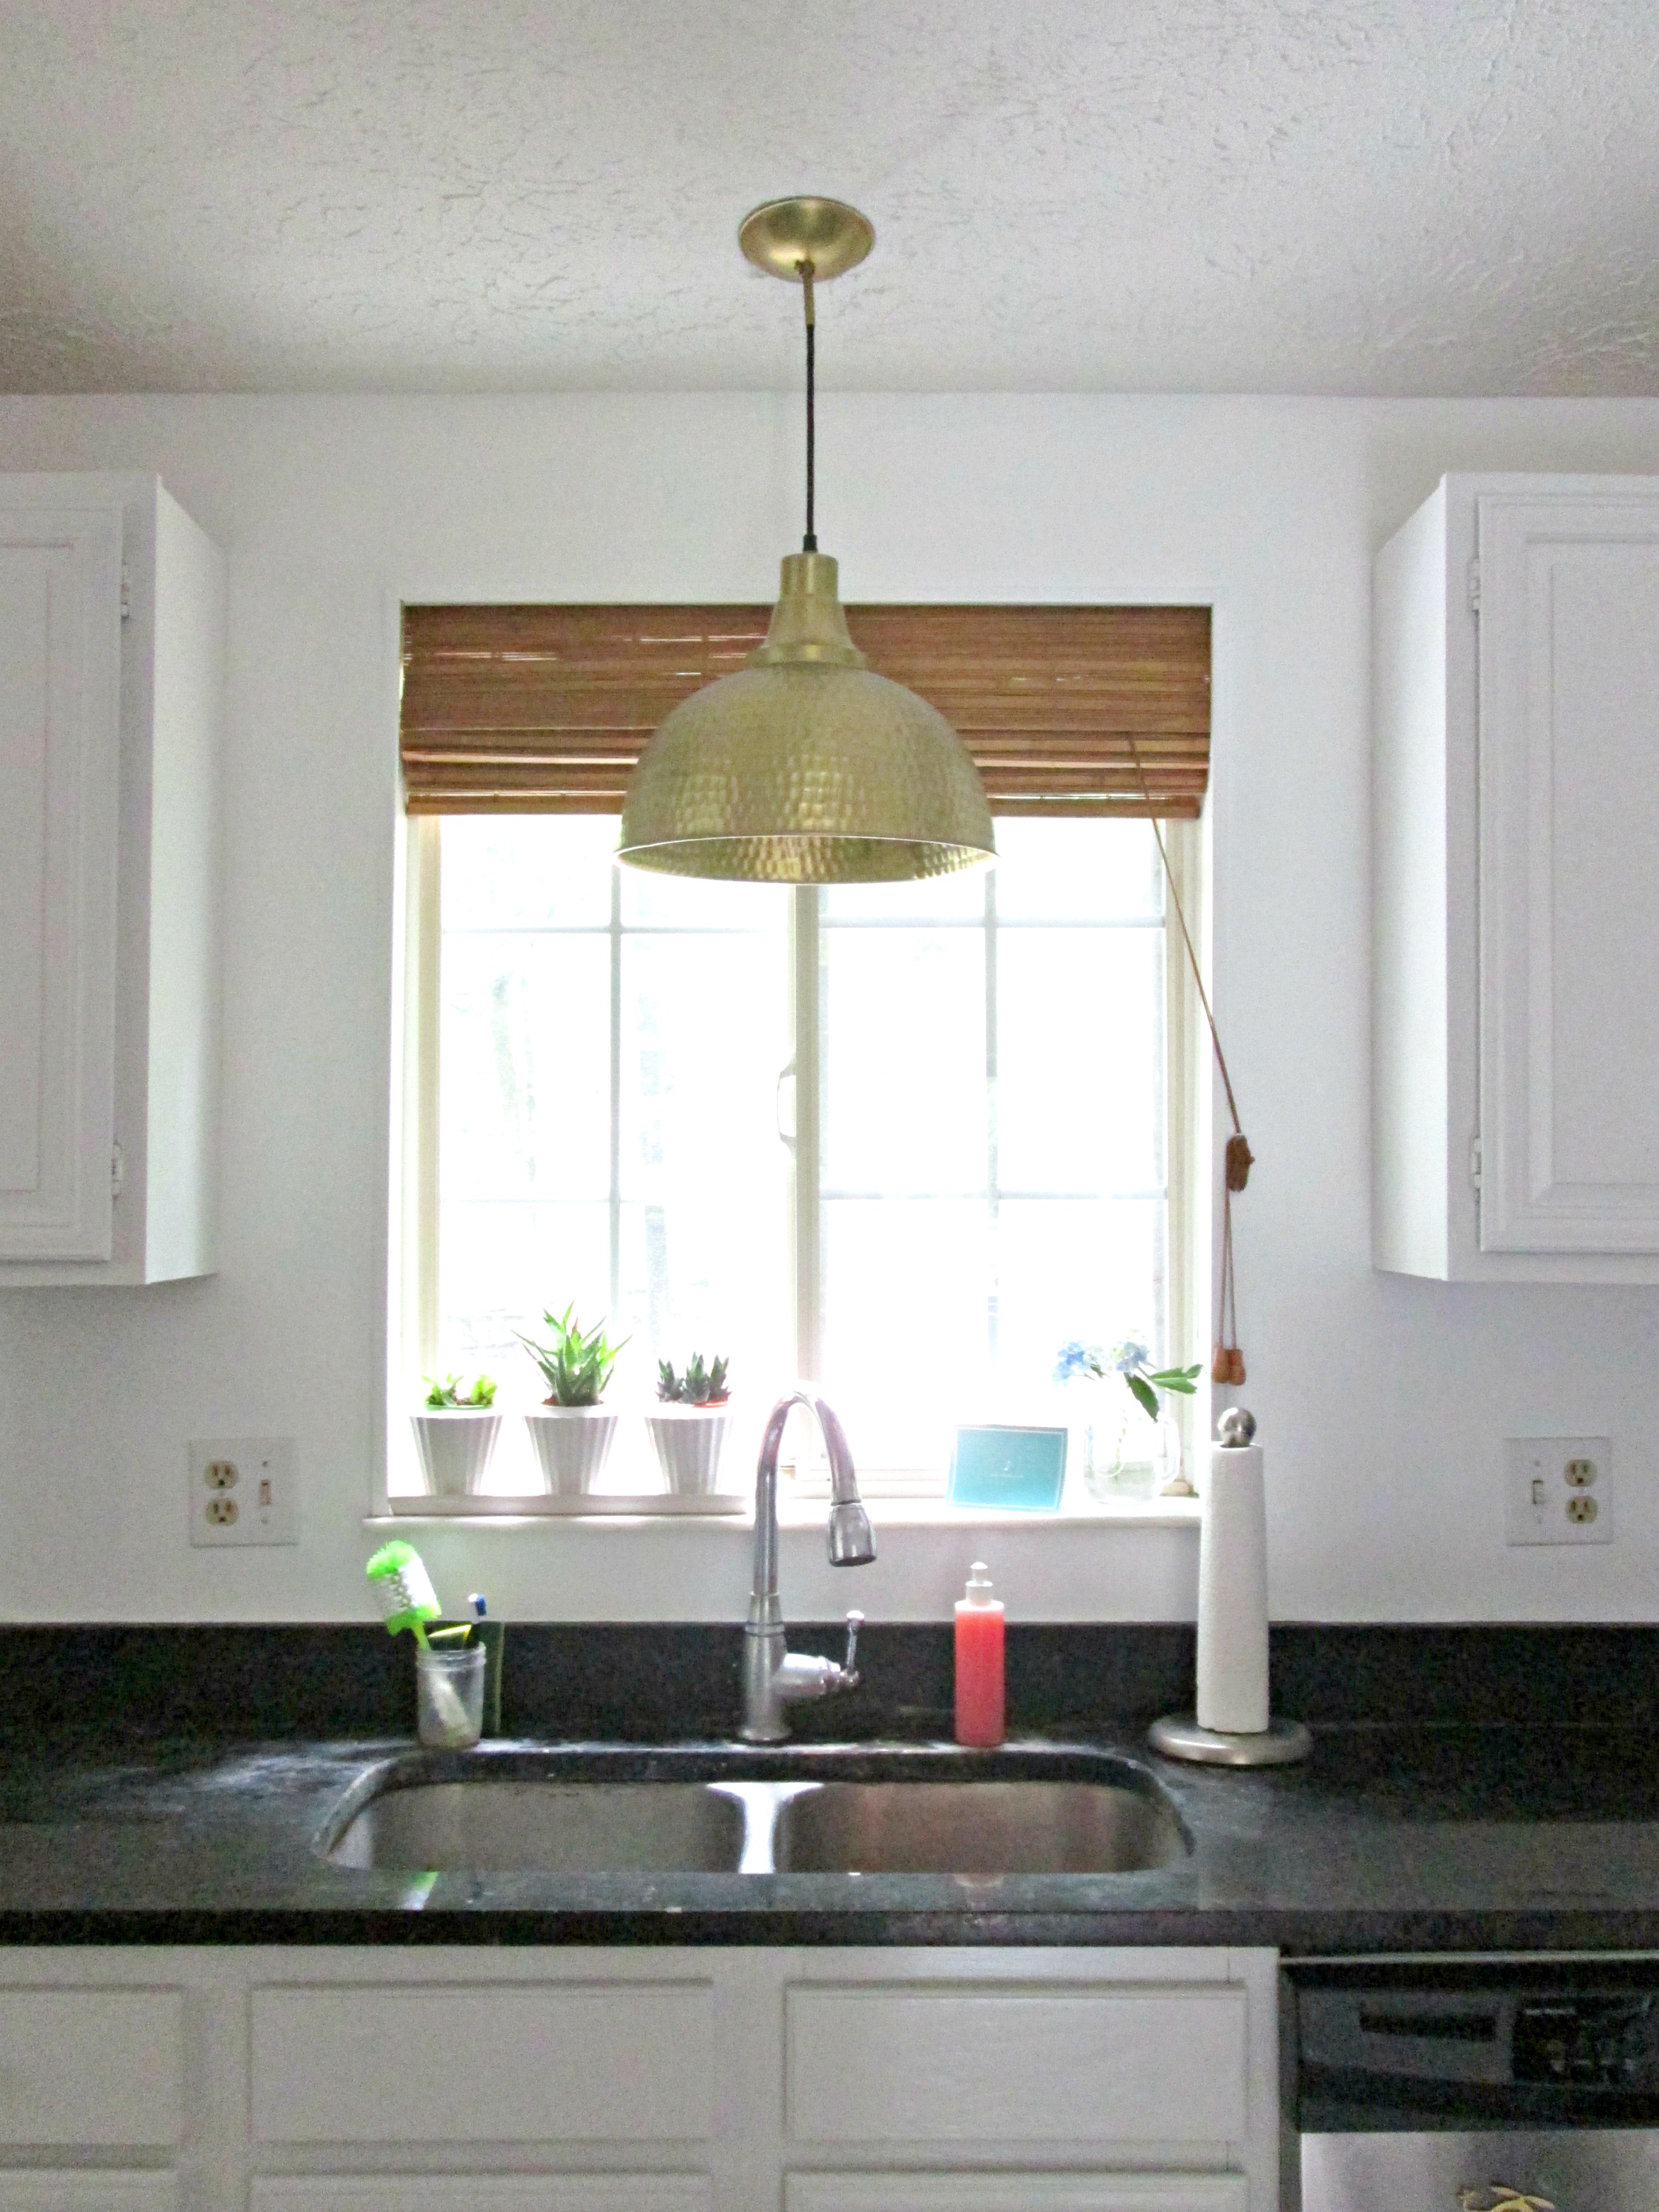
“Whether it’s a vintage rug or sculptural light fixture, I’ll always be willing to splurge on one statement piece within each space. The perfect piece can make the entire space pop without much effort, so I’ll pair the statement splurge with affordable or thrifted finds to help balance the budget. My advice though would be to really make sure you love the piece (and will for years to come) before you buy. This is not the time to buy based on trends!”