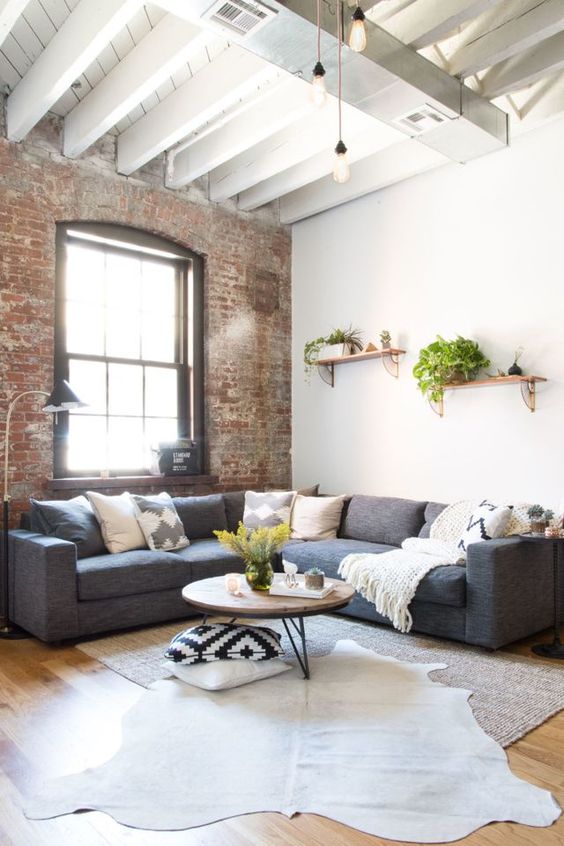
Hi there! Gonna do my best to keep this one brief! We’ve lived in this house, (our first!), for quite a few years now - going on 9, actually! Our home has always been my ‘canvas’ of sorts to try new ideas and learn more about how I want our home to feel - both to us and to those whose company we get to enjoy within these walls. Our family room is in our basement, but it’s only partially underground so we do get some good light down here! It’s got some weird quirks, like an old brick hearth from a previous owners wood stove, and a 12” ‘bump out’ that provides extra insulation where the space is underground. But I love brick, I love wood, and I love built-in shelves! Until recently, I hadn’t touched the shelves flanking the brick:
5 years ago:

This winter I was feeling the need to wake this space up. I have loved it as-is since we moved in, but I just wanted to freshen it a bit, you know? I know there is a lot out on the web for how to decorate for less, but I still want to share how I refreshed this space for $75. You can create a lot of impact with a little!
First, here is what I spent at a glance:
Thrifted mirror: $20
Thrifted file cabinet: $20
Thrifted accessories: $10
Plants & containers: $25
The theme here is thrifted. It took me a couple months to gather these items, and each time I walked into a thrift store I tried to just look around with an open mind. I had measured the heights of my shelves so I wouldn’t get anything that didn’t fit, and knew I wanted a couple interesting shapes. Other than looking for a wood file cabinet that I could refinish, and a large mirror, I was pretty open to items that simply stood out for the shelves.
Now

All accessories here are thrifted accept the art! The trees print was on clearance at Target, and the abstract on the bottom shelf was a GIFT. I still can’t believe it. Our sweet friend Melissa is a talented abstract artist using the most unusual techniques, (like avocado oil, thread….she never ceases to amaze me). Her work is so striking but even more so is her heart behind her work. You can find out more about her and her work here if interested!

While Craigslist, Facebook, and thrift stores are busting with file cabinets, I really wanted a wood one with brass hardware that I could refinish. I finally found this one and grabbed my black chalkpaint, (by Valspar at Lowes!), the same day! It was a quick afternoon job and I love how it turned out. Our basement doubles as office space and so I figured our functional file cabinet could at least serve as a cute end table, too. At the end of the day it’s still just a file cabinet. Not my favorite piece of furniture, but it doesn’t bother me as much in this matte black finish.


I really don’t care for excessive decorative pillows, (they get sat on and thrown on the floor in this house), so when I want to change things up I prefer to ‘shop my house’ and steal from other rooms. All of these pillows have been around for a while in various rooms,, and I’ve discovered that 20x20s or 22x22s are our magic size for our TV lounging sofa here. Anything smaller just doesn’t work for us.
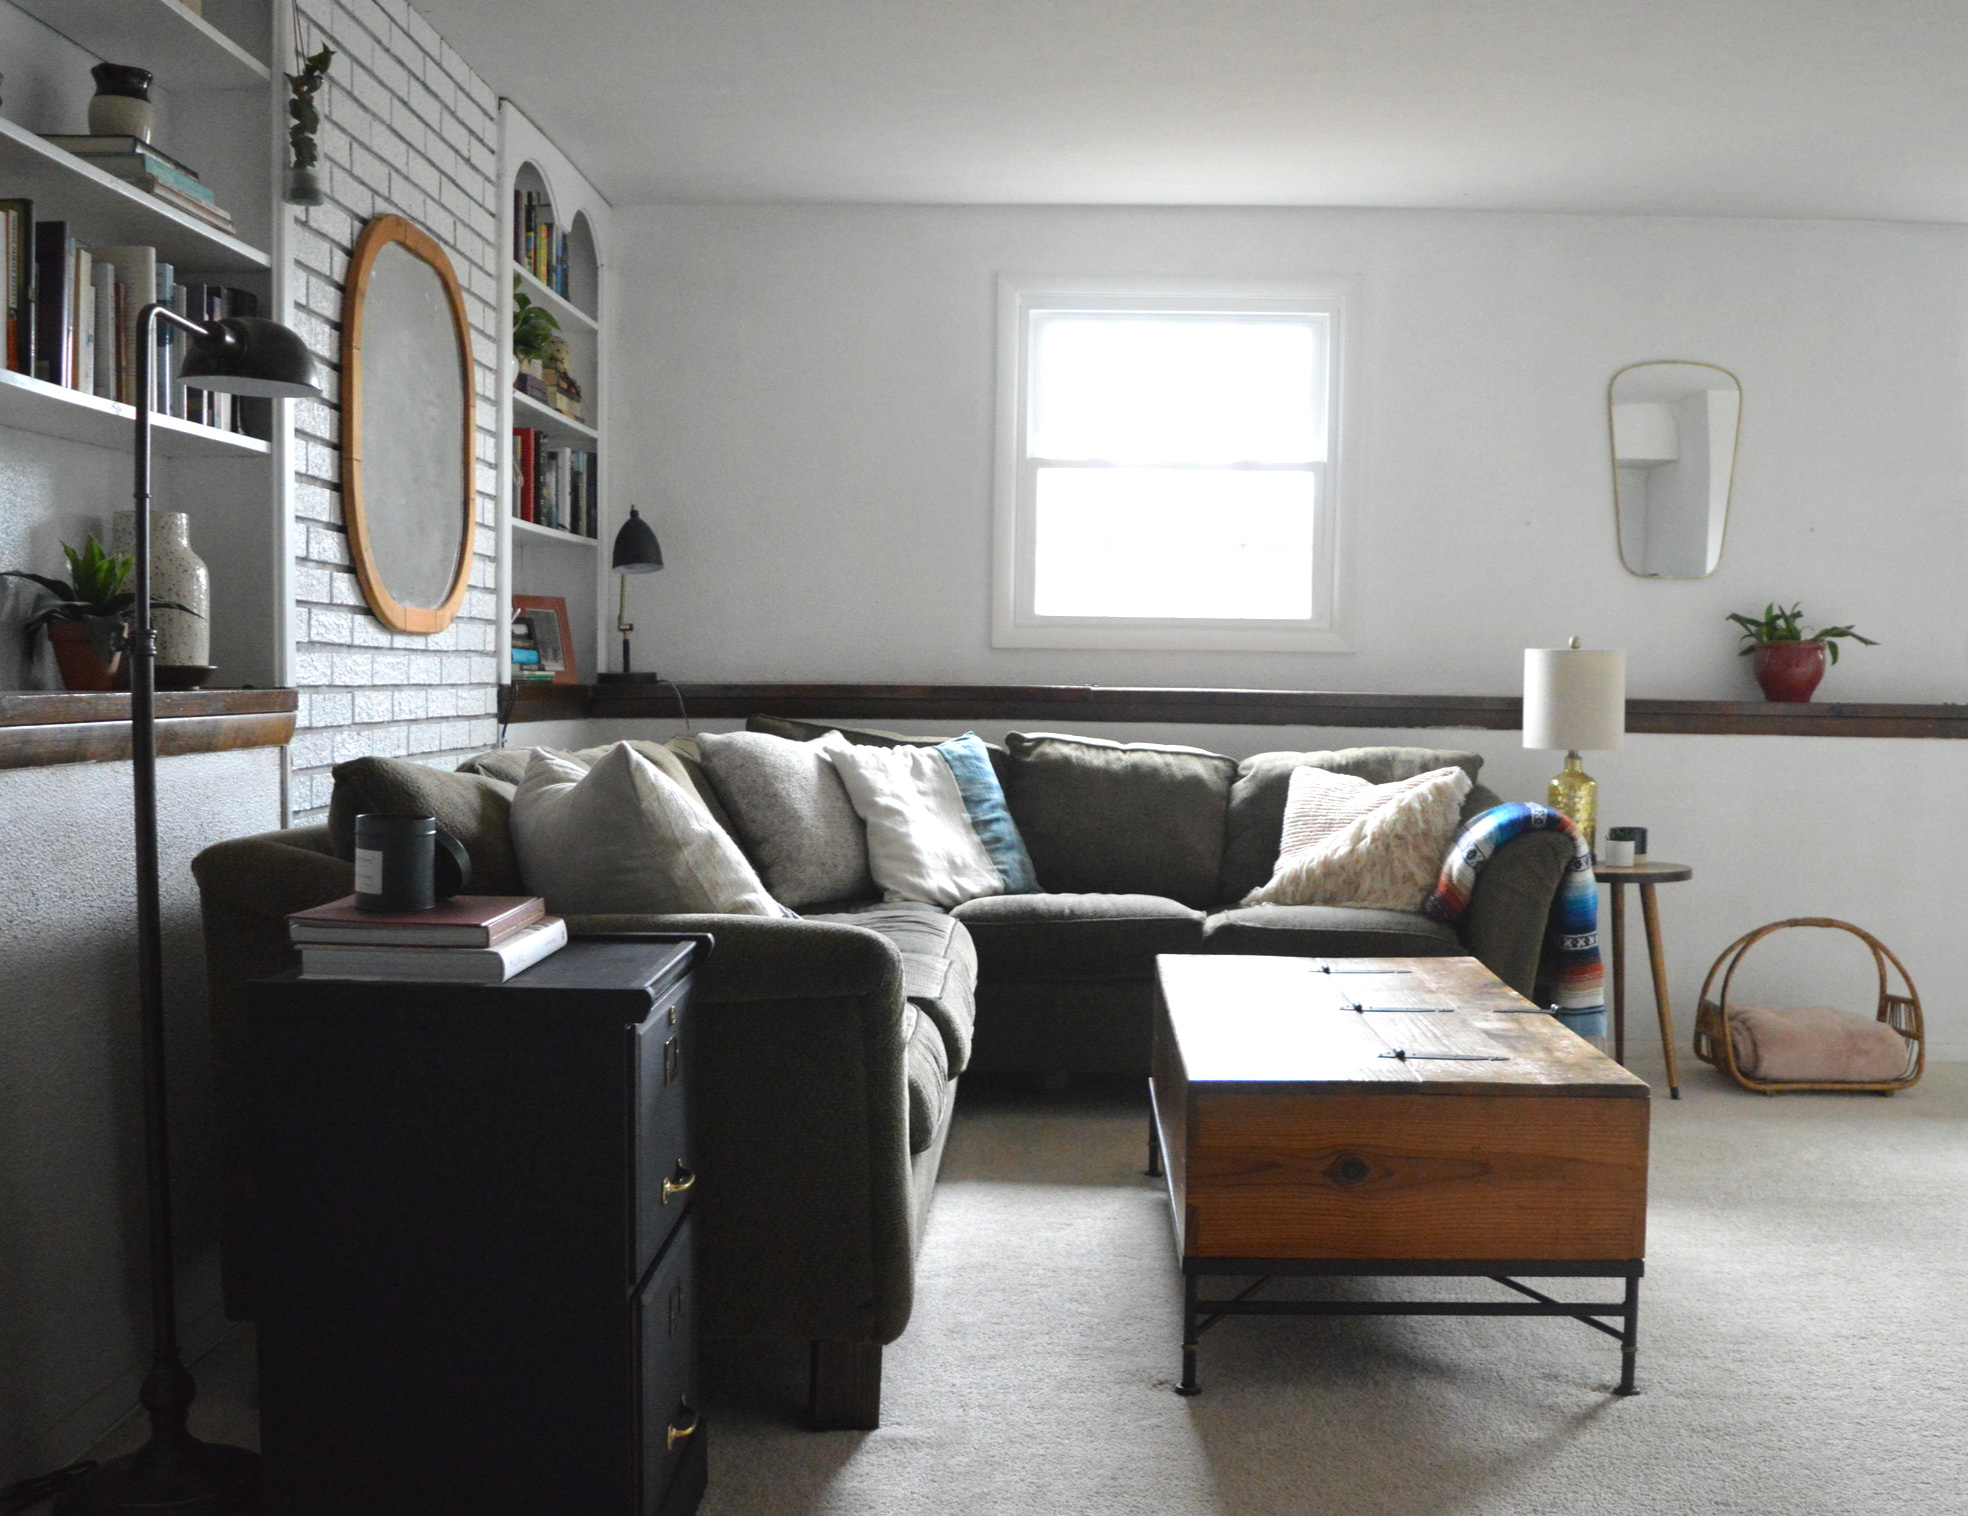

Two tricks I’ve discovered when styling shelves with a lot of books: 1) Break the books up into stacks and mix in with small accessories. Have a row of vertical books on one shelf, then a few stacks of horizontal books on another. Shelves of JUST books can feel a lot like college again. 2) If you’ve got books with covers offensive to your eyes, take em’ off. Matt’s Harry Potter set was sticking out like a sore thumb to me. I just like more muted tones, when possible. So I took the neon covers off and prefer the naked bindings, (top left).

Mixing in a plant or two here and there is another great way to break up books.

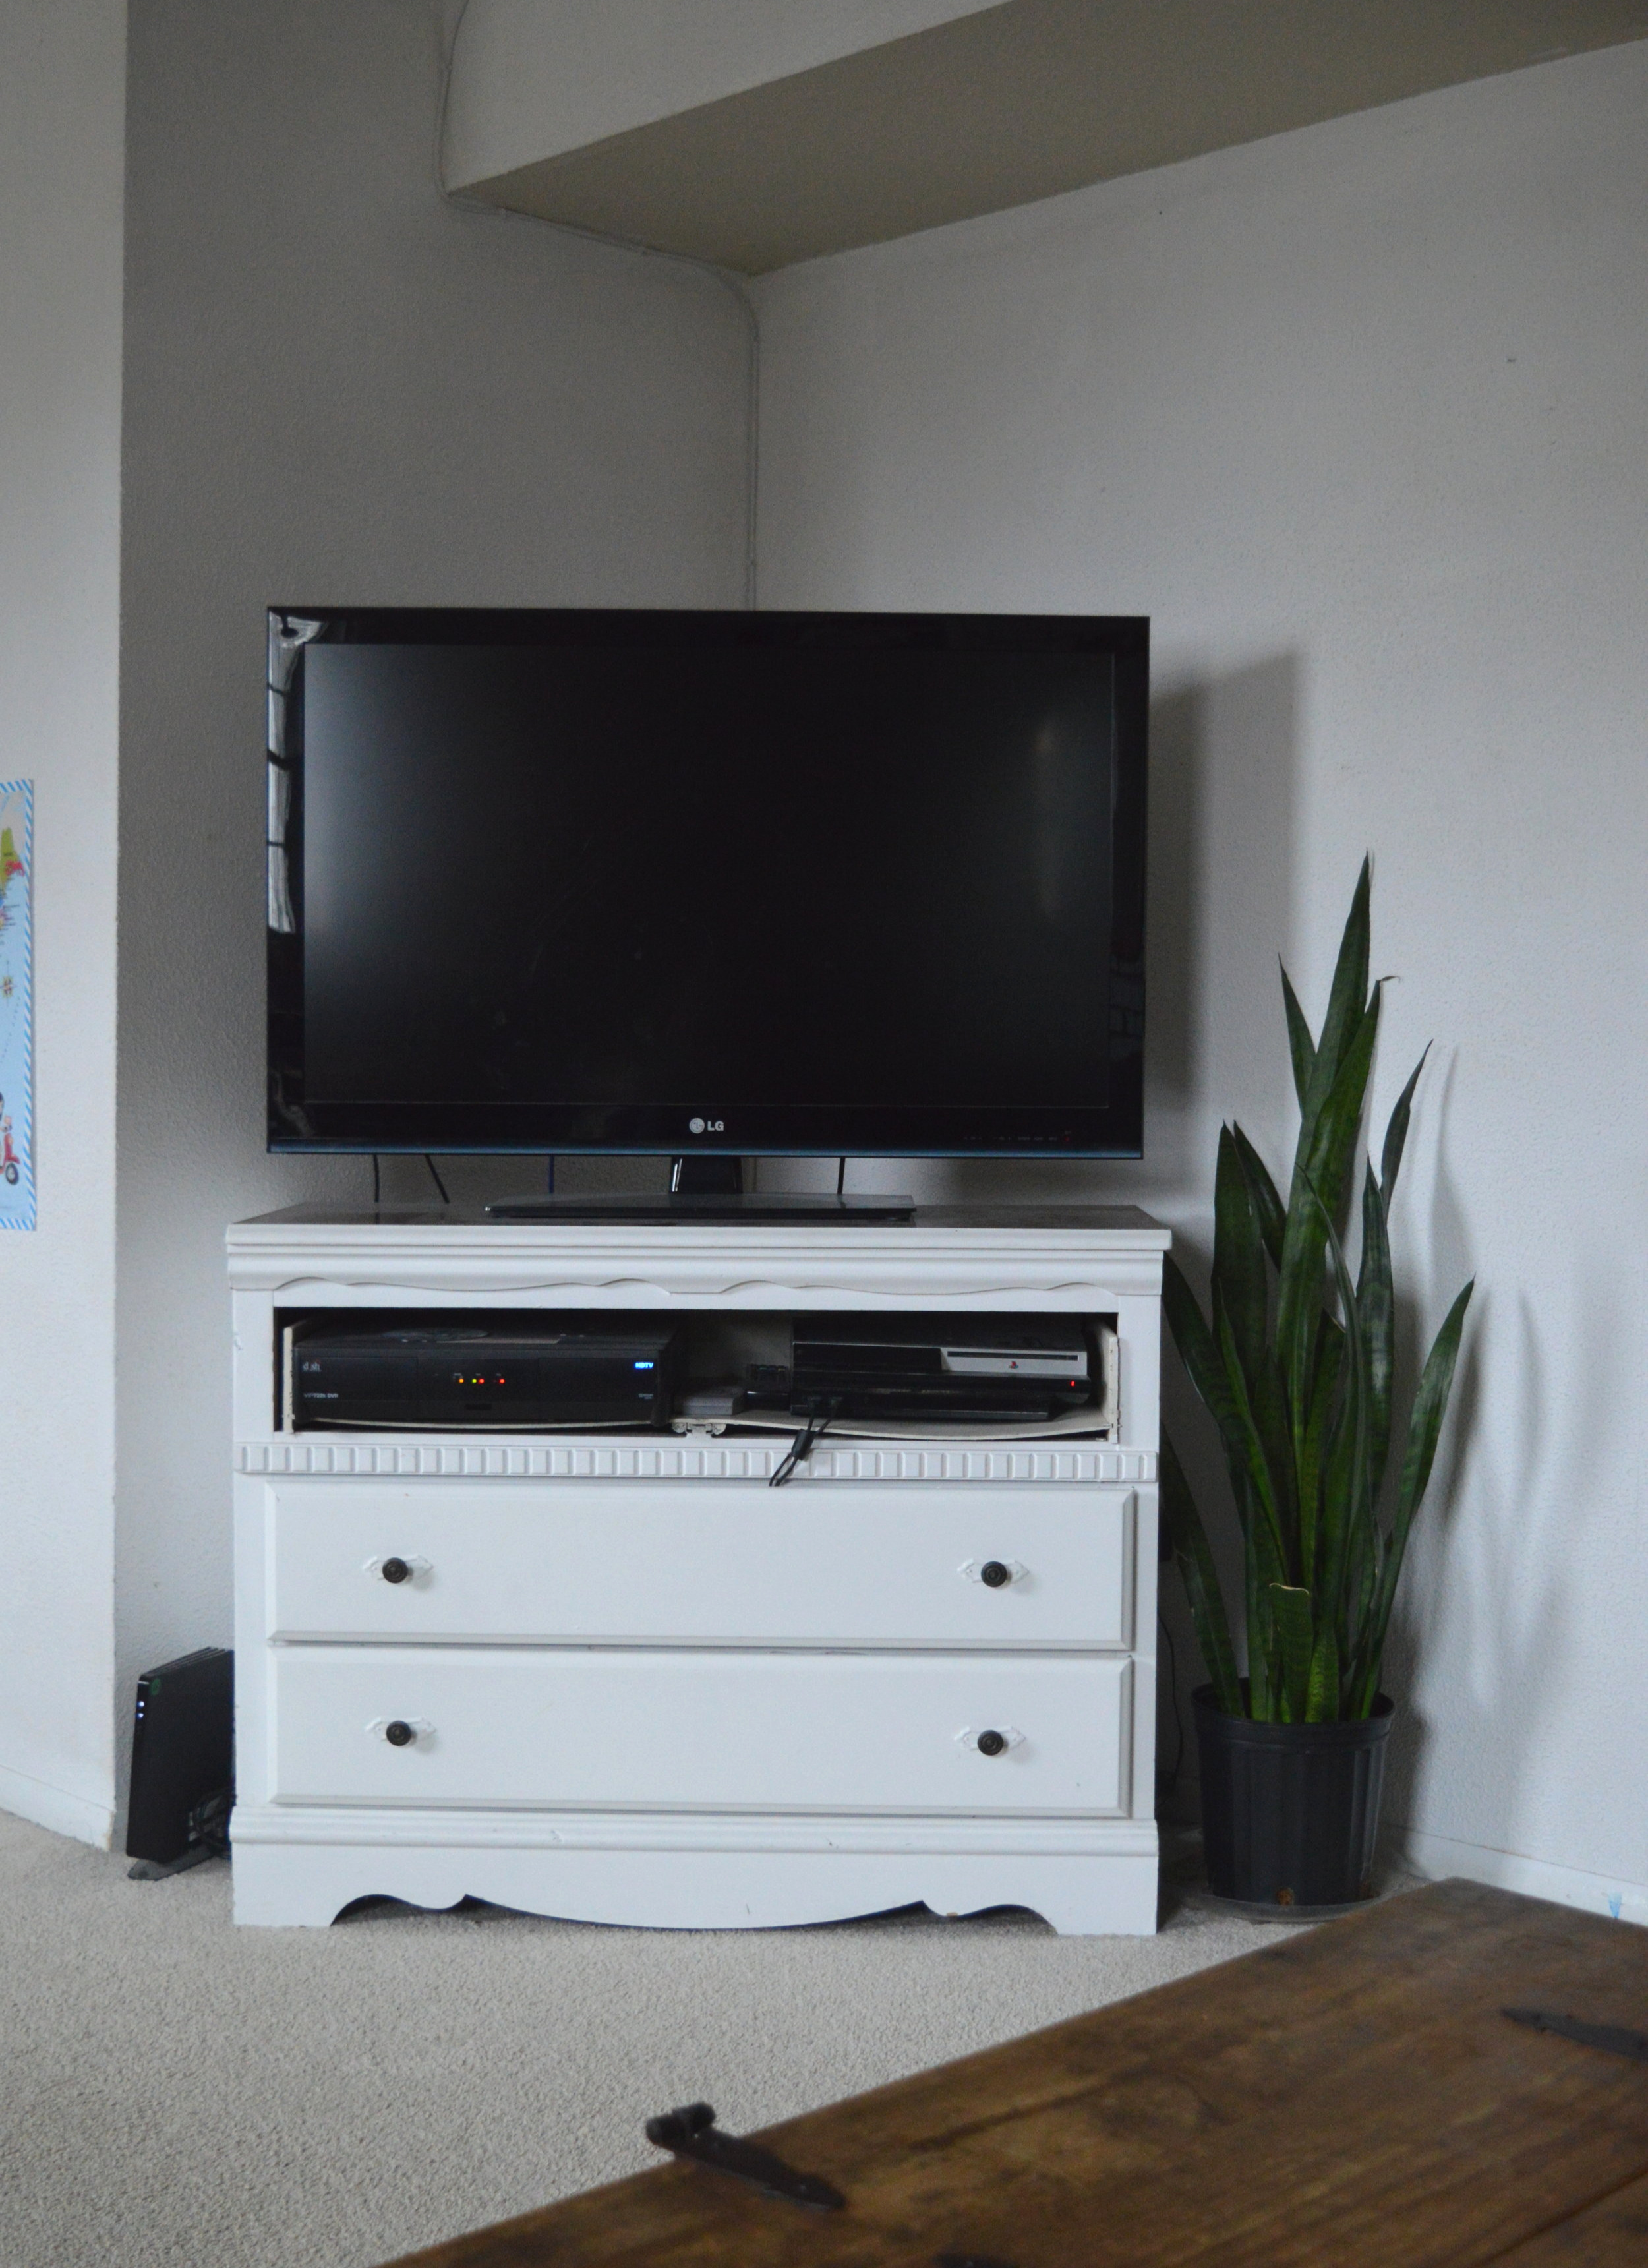
Our TV has sat on the same refinished/converted dresser I thrifted 8 years ago. I think this piece was less than $20! It’s not my style now, but it also doesn’t bother me one bit! We’ve definitely got a few pieces like that that aren’t what I would pick now, but also just don’t bother me to the point of urgeny to replace.
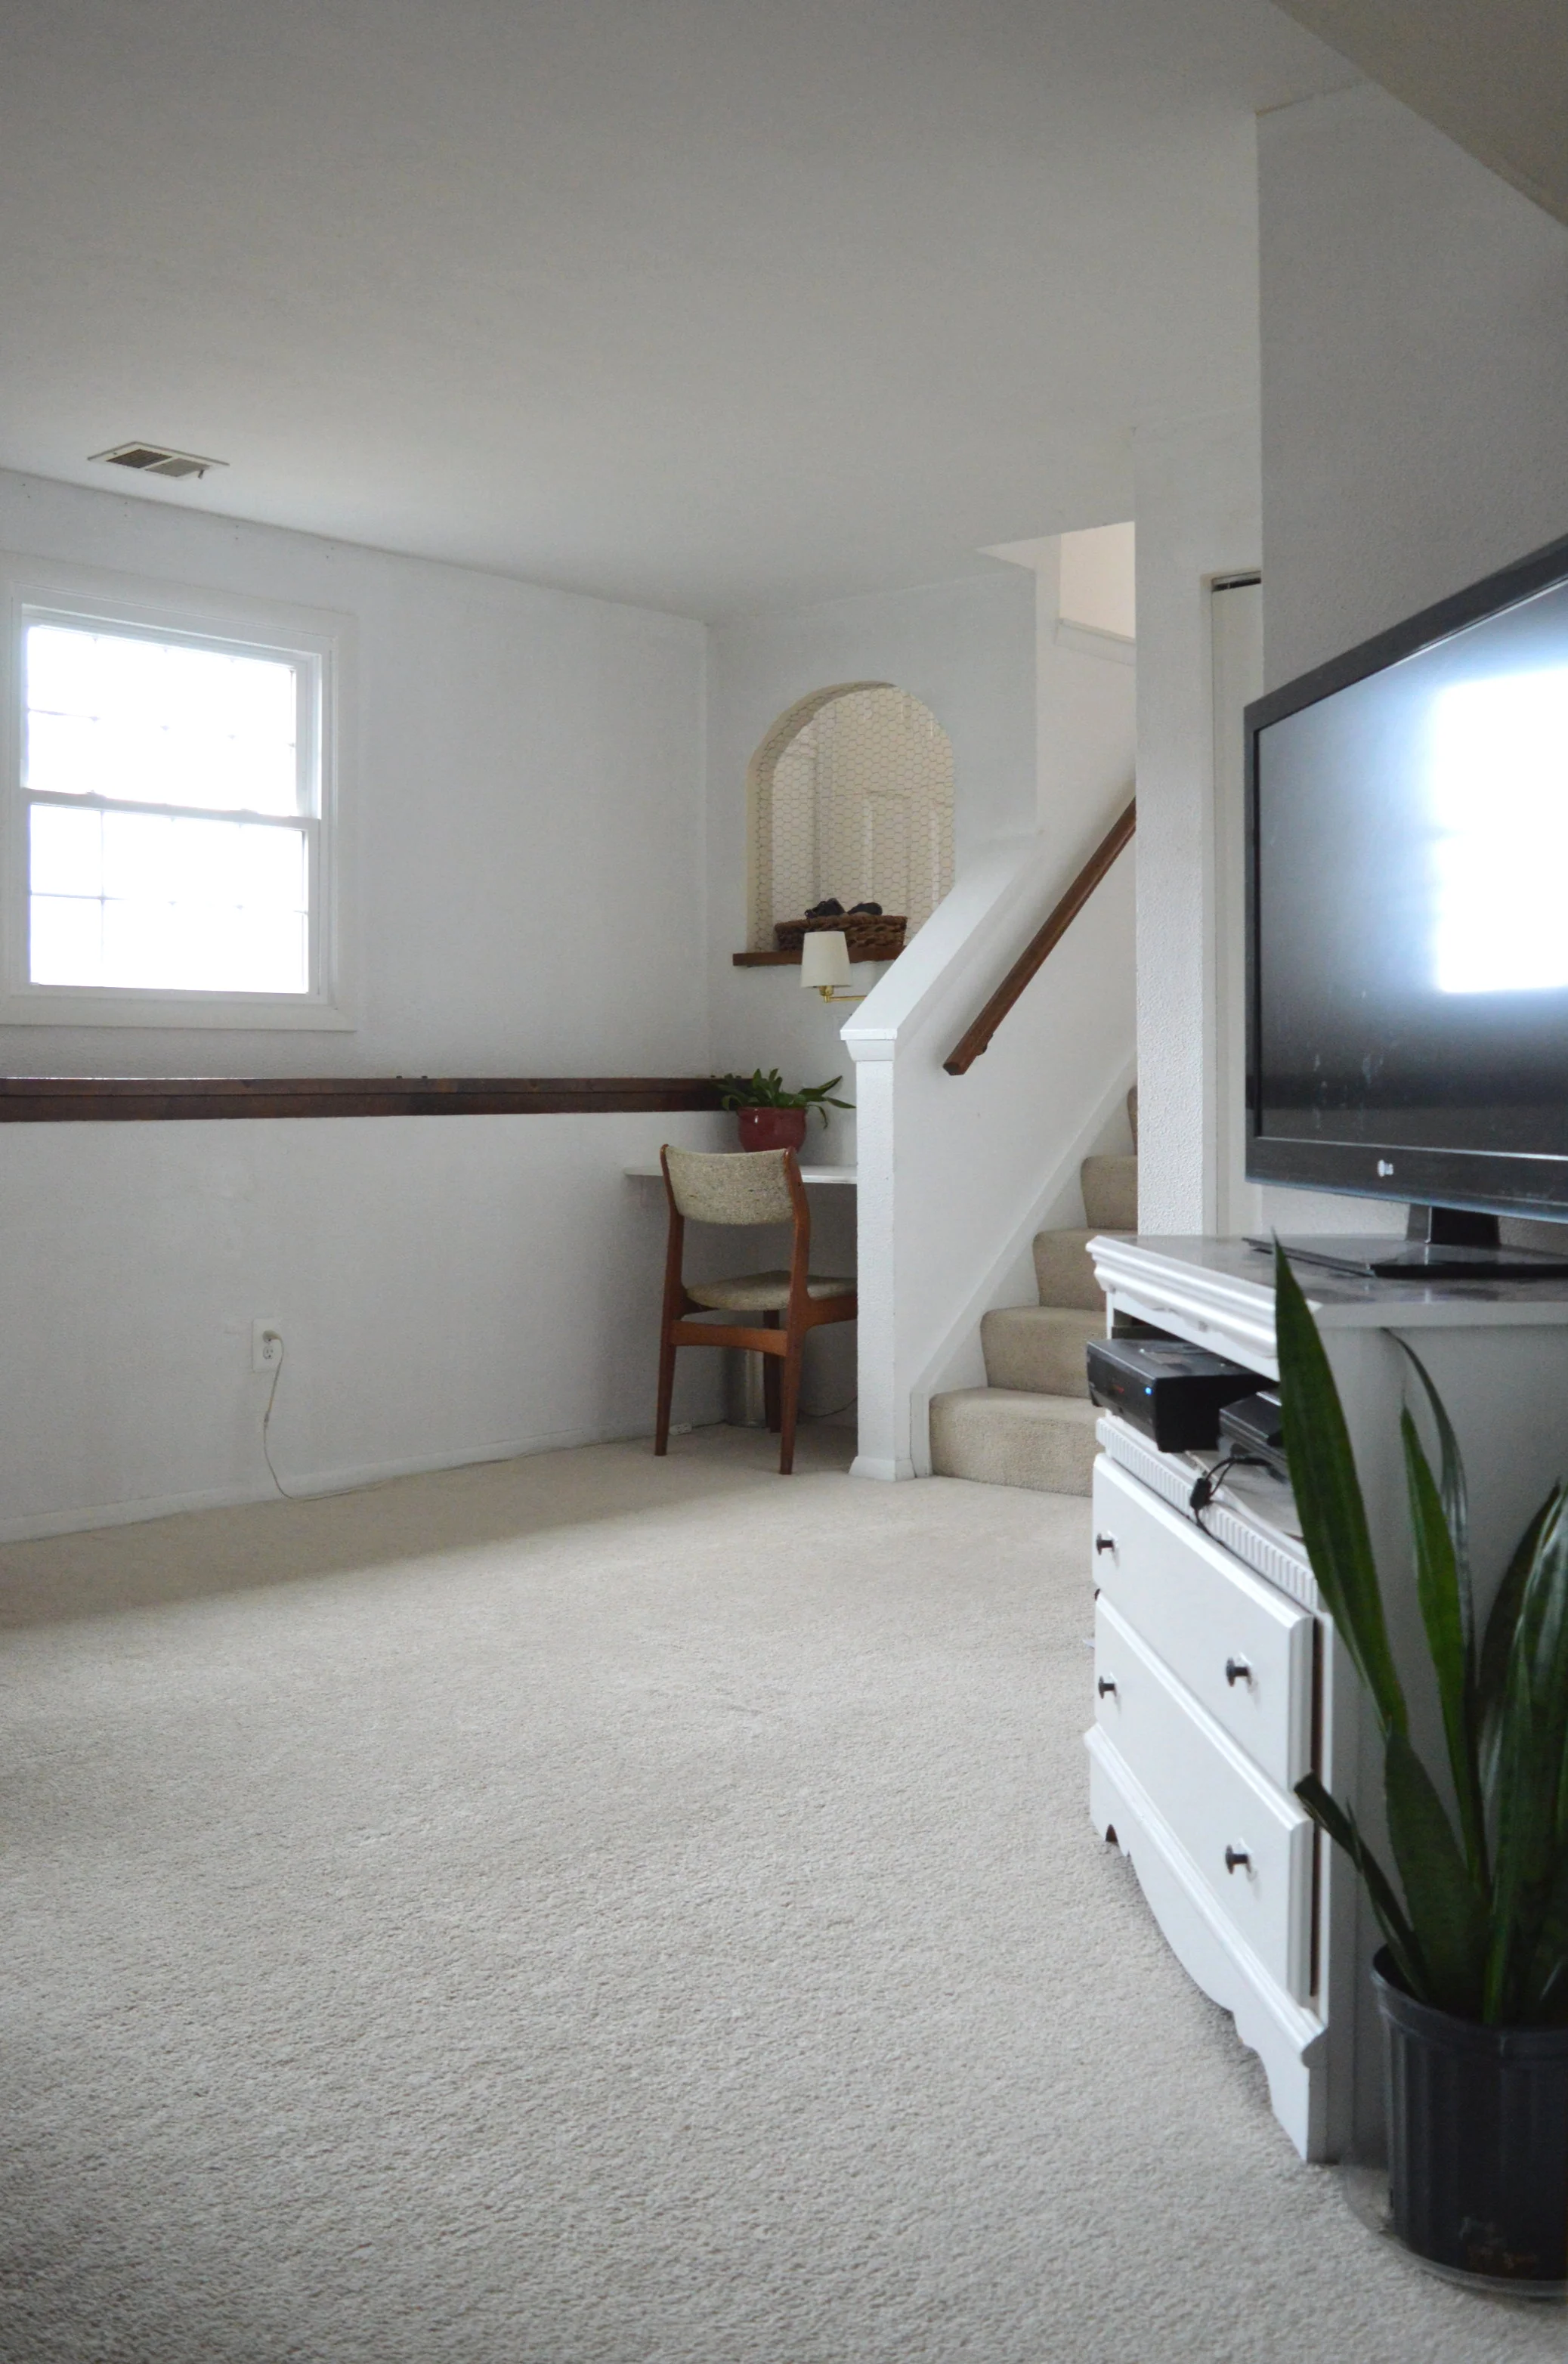
This desk Matt built along our stairs is as useful as it looks depressing. He settles here when he has work to do from home - I can’t do it. Hah! But it’s a great way to make use of a nook in a small home.

That’s a wrap! Hope you feel empowered to shop used or even around your own home the next time you’re looking to refresh a space. It’s always a great place to start. And a can of paint doesn’t hurt, either!
Thank you so much for coming by today! Have a wonderful weekend!