Reader Design: Jen's Fabulously Functional Home

We are so pumped to have so many inspiring entries to #stylemuttspaces.  Chelsea and I want so dearly for StyleMutt Home to be a resource for our readers and we certainly don't believe the buck stops with us.  We pine for input from you all!  And we hope you never shy away from reaching out to us with your own ideas.  You don't have to be a professional designer or blogger to have your voice heard here.  Love your space?  Then...

Work It.png

(or boy ;)  and share it with us!

Ok, I need to reign in my sassy snapping fingers and get back to serving your double helping of juicy inspiration from our next reader design.  Are you hungry?  Because dishing it out hot is our first international feature from Alberta, Canada: Jen from Fresh Crush.

From Jen:

"The goal was comfort and colour!  I was crazy for coral while doing this project, and pairing it with neutral walls, a little black, aqua, and yellow was the perfect match."

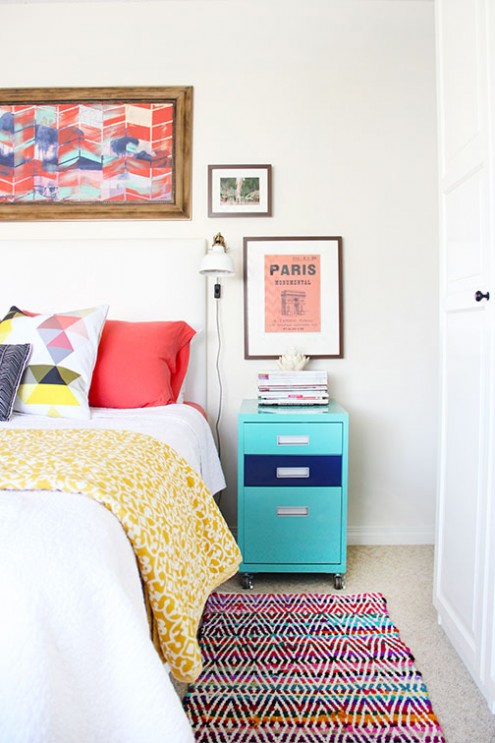
Fun fact!  I have a filing cabinet that I painted this color aqua.  Jen - great minds eh?! 

Jen's wall-mounted clip lamps make the best use of surface space without sacrificing style.

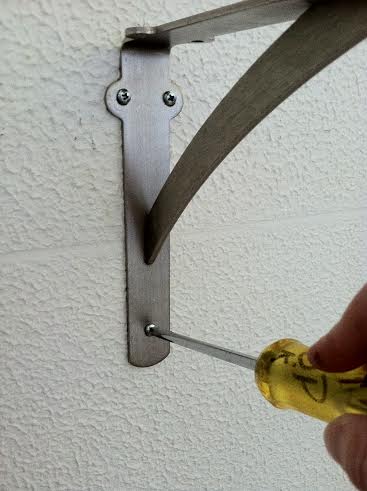
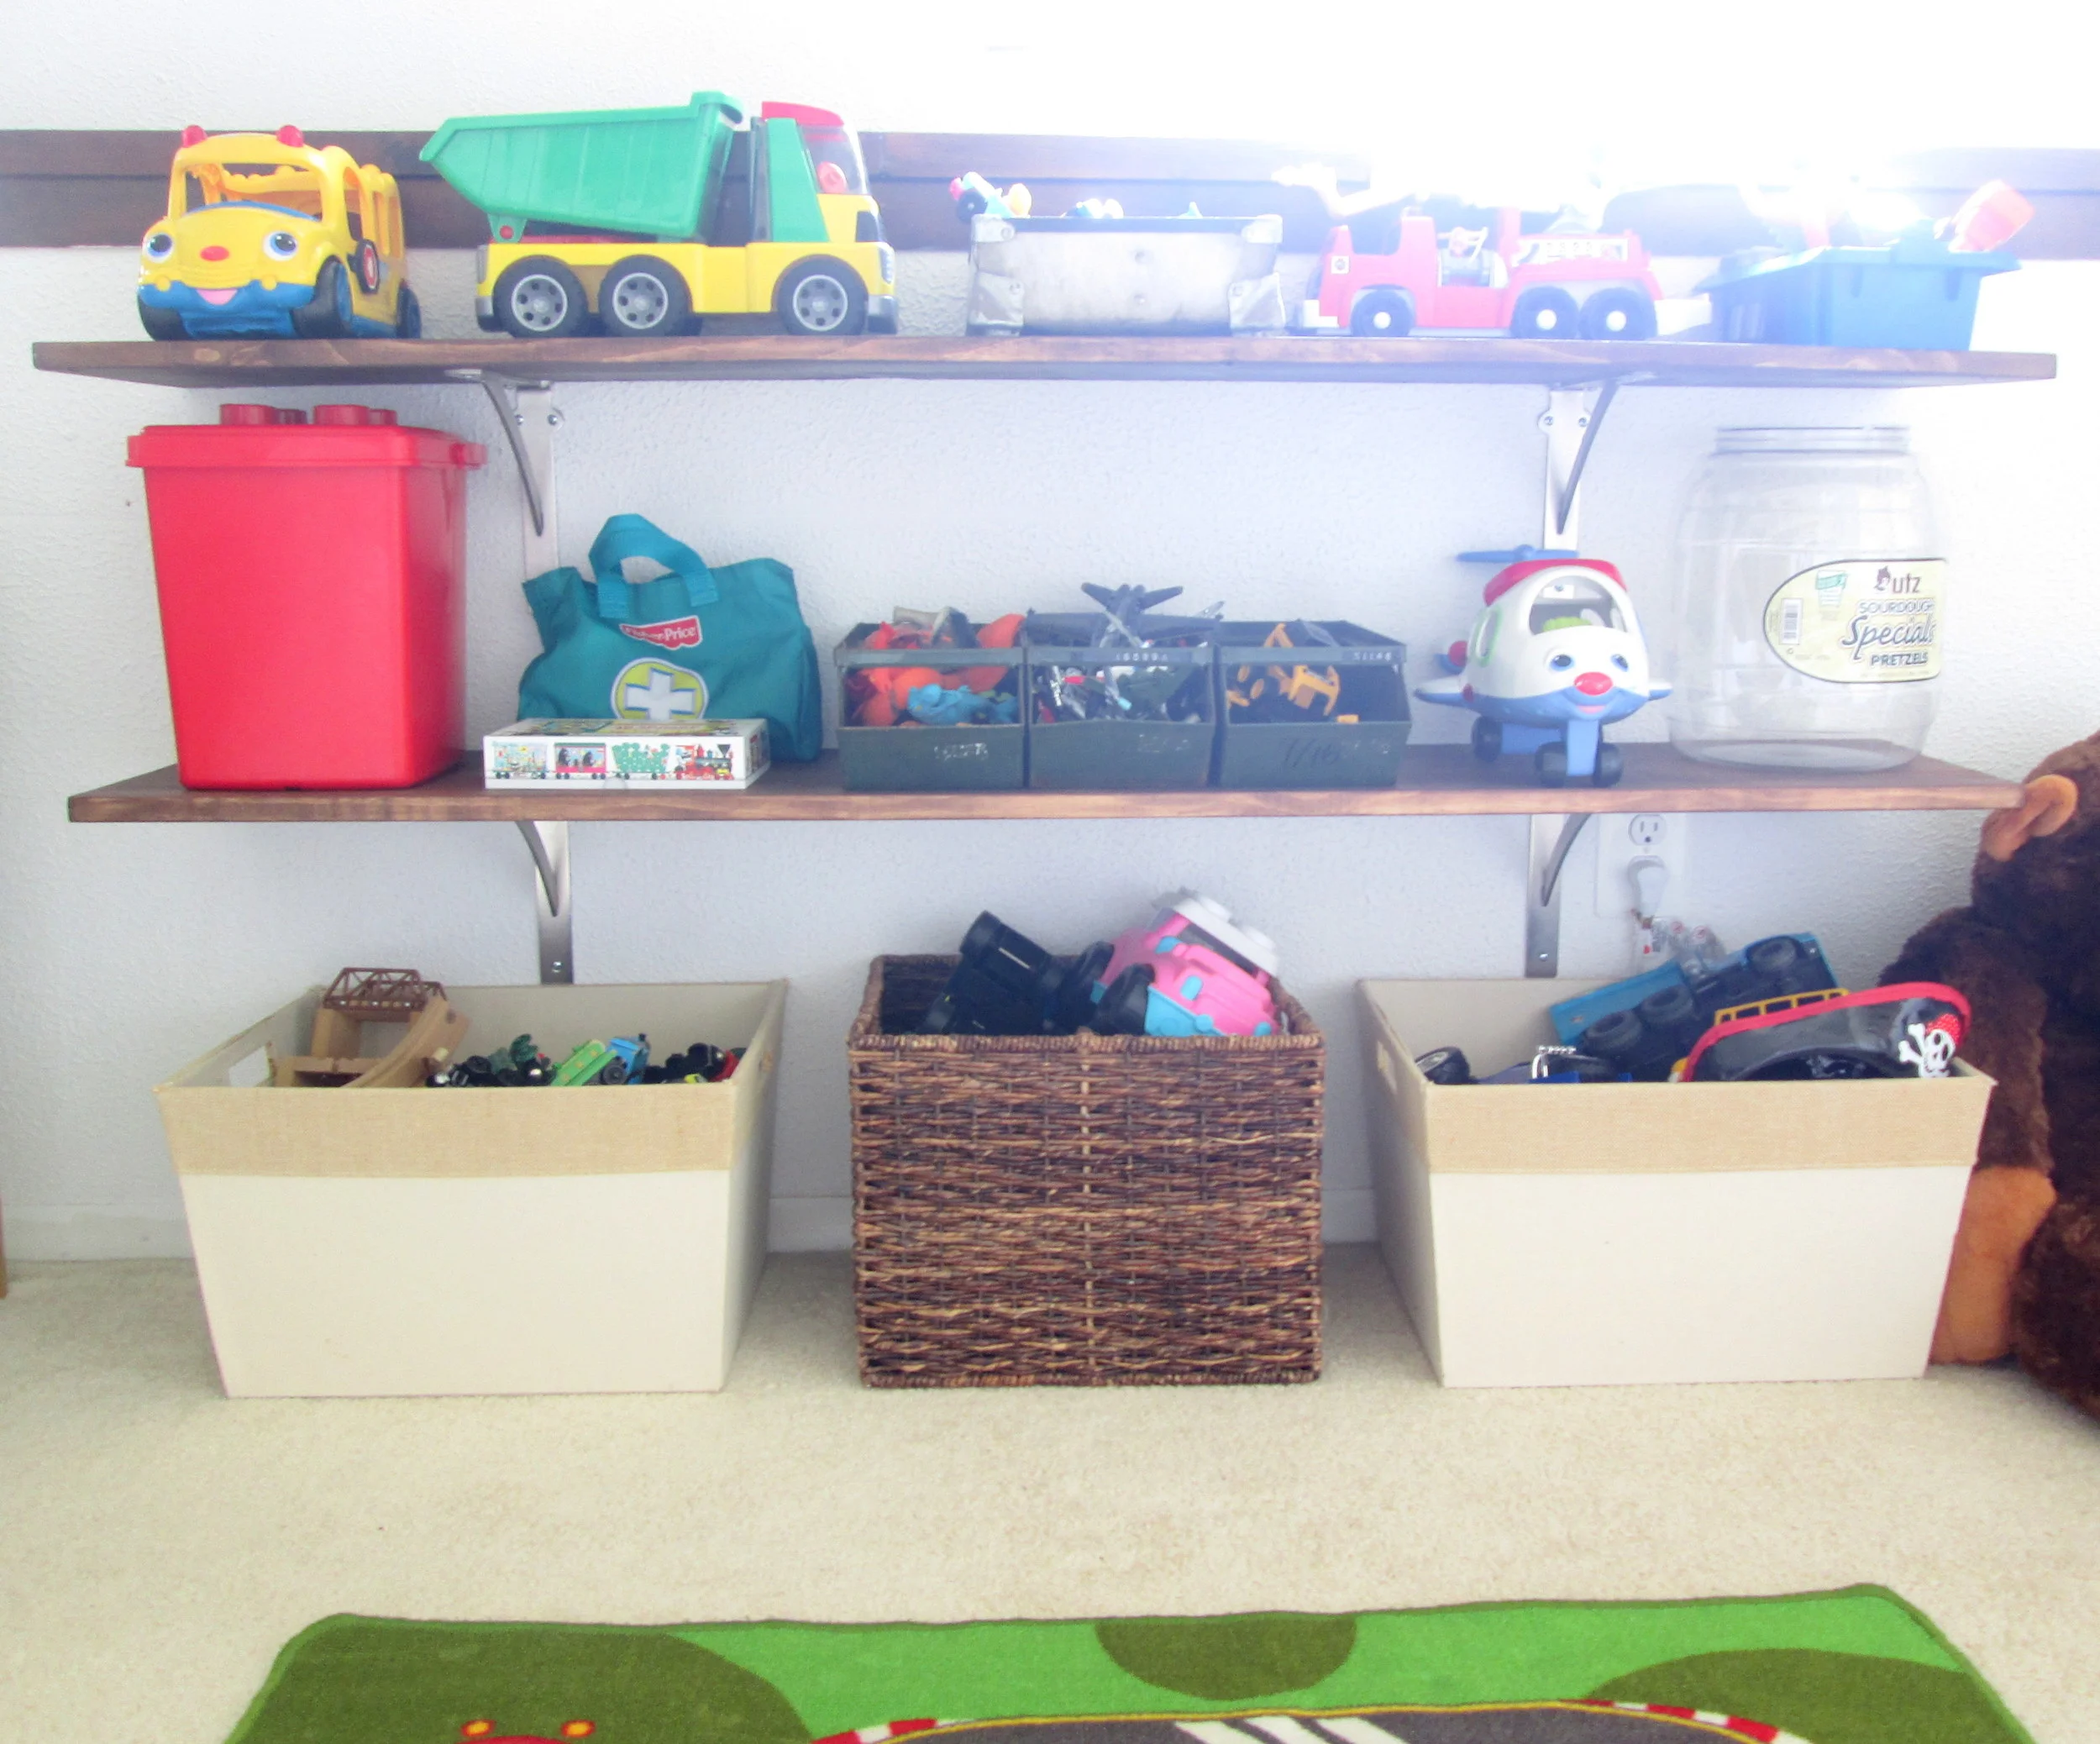
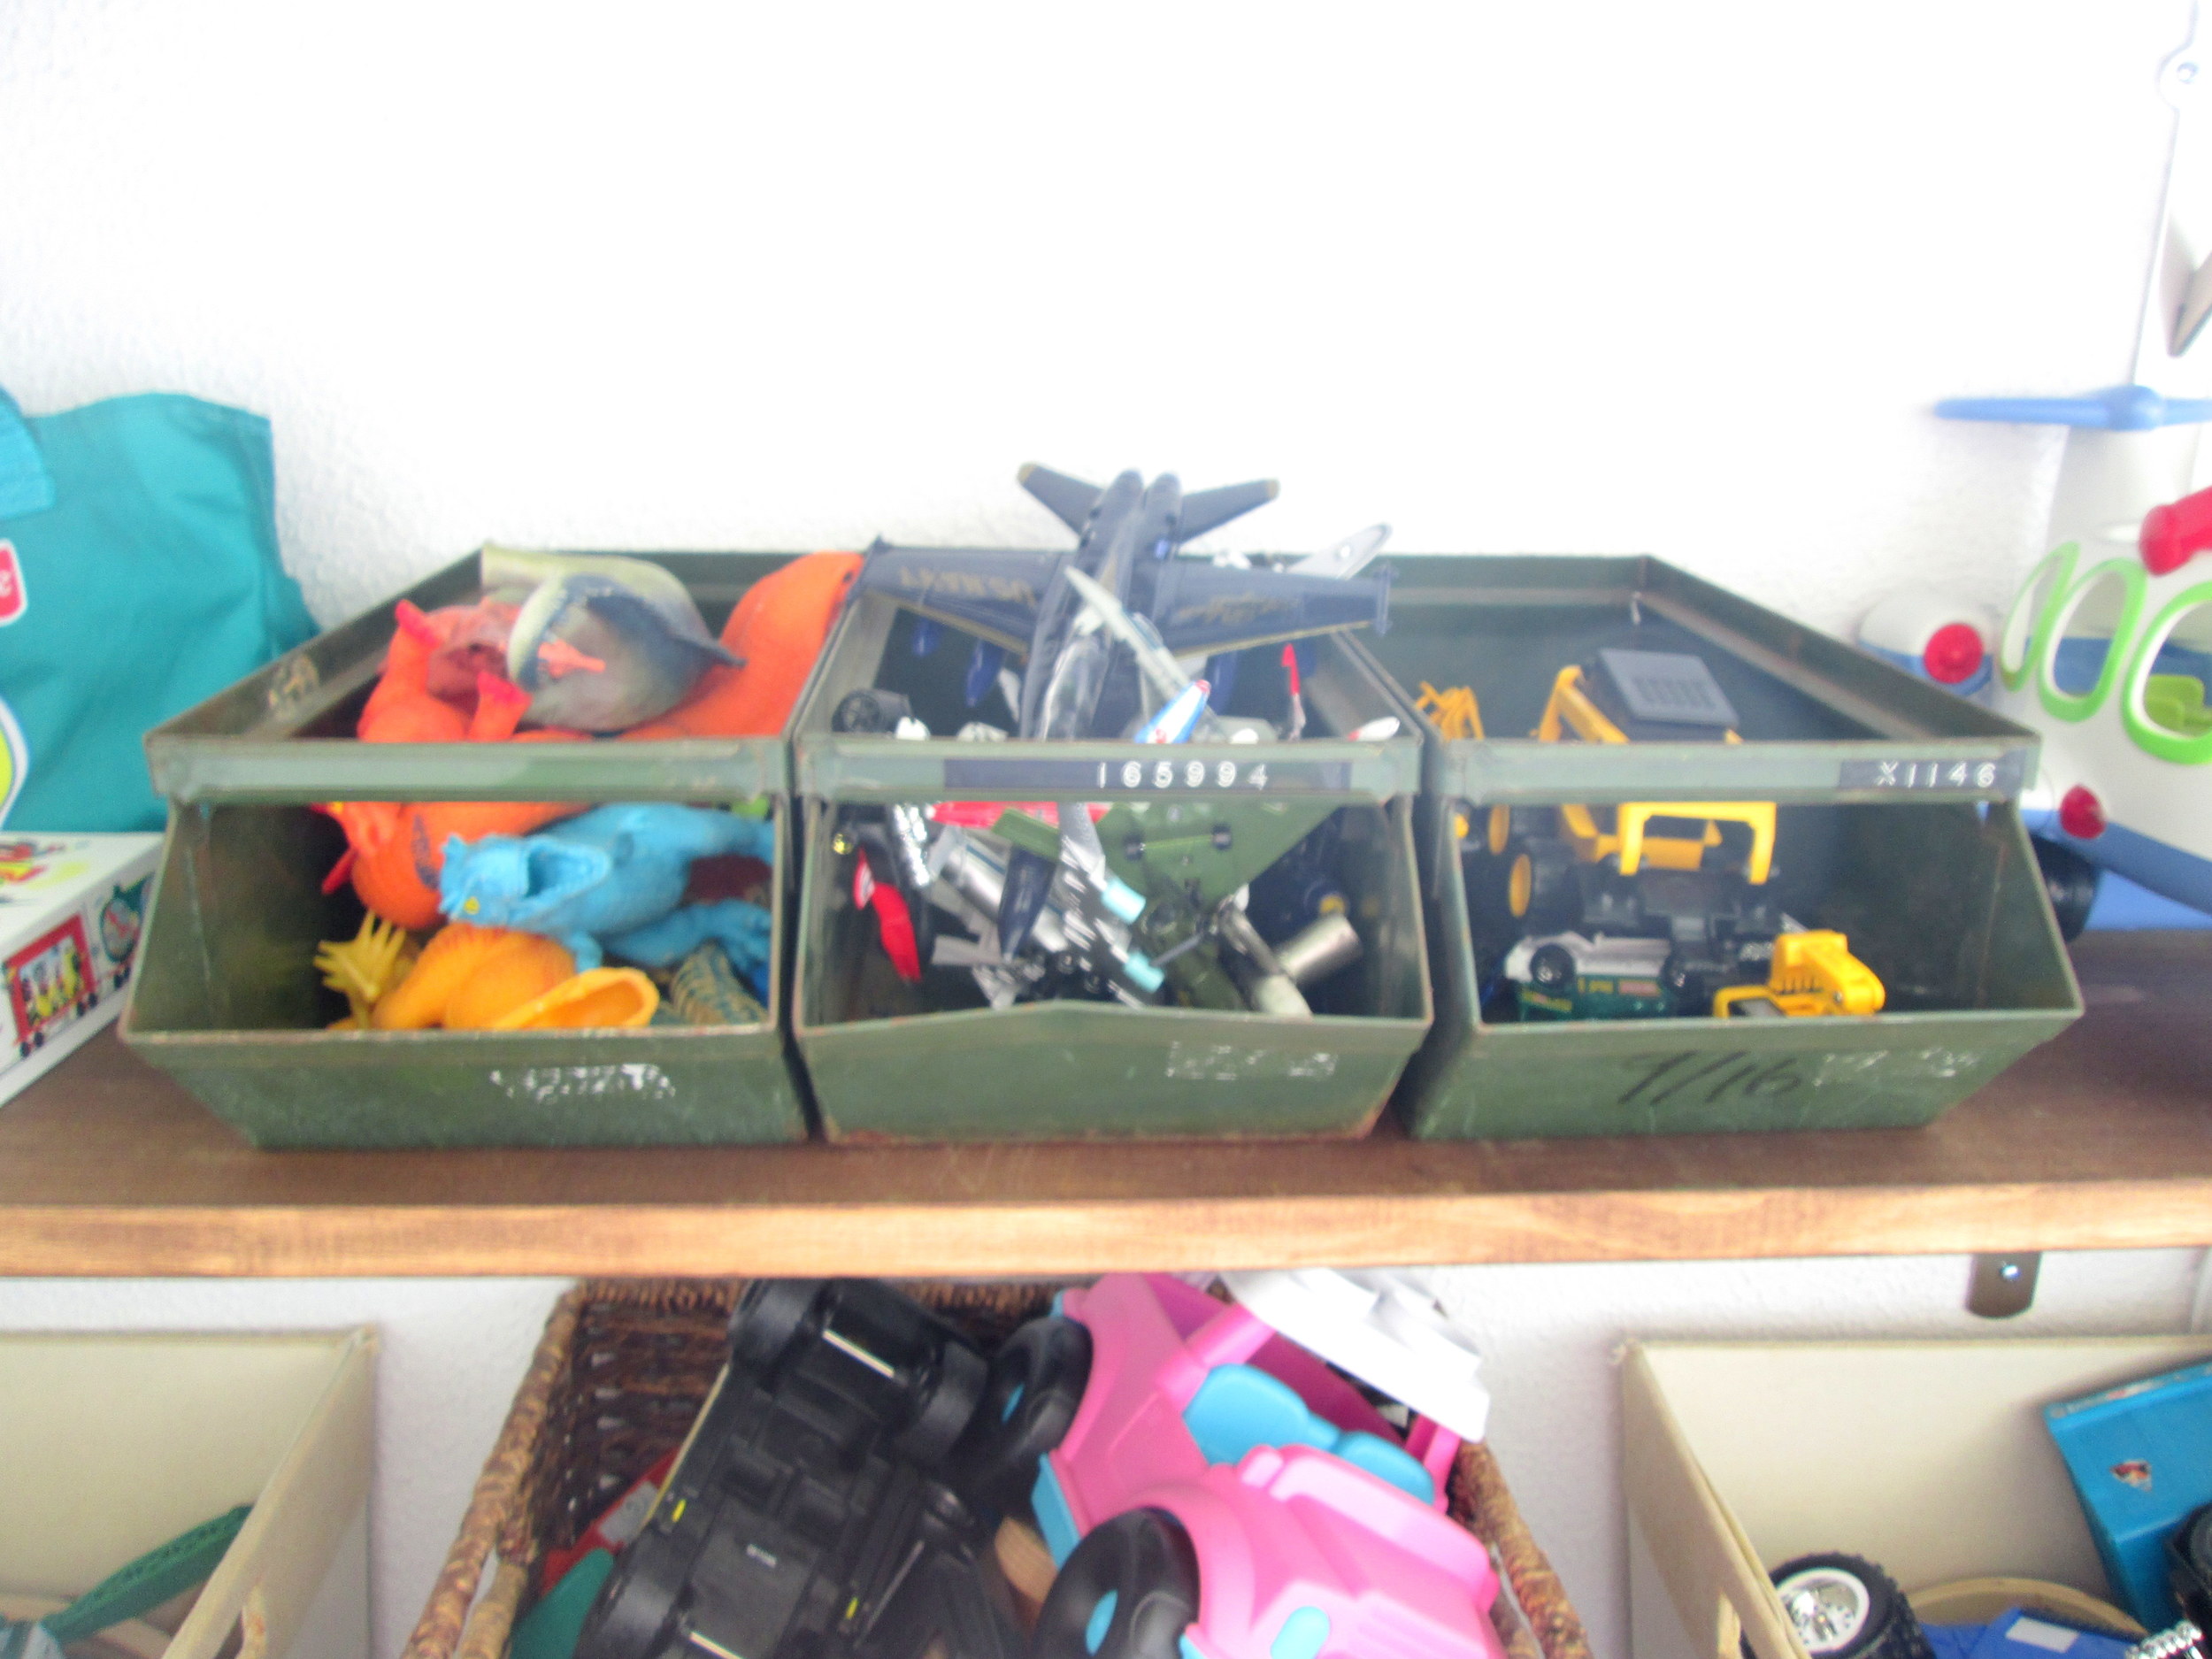
"A few simple DIYs brought everything together, the easiest (and cheapest) of which had to by my addition of a drum shade to our ugly old (but needed) ceiling fan.  And custom shelving added a lot of pretty for very little cost, but huge comfort impact.  Definitely a great space to unwind at night." 

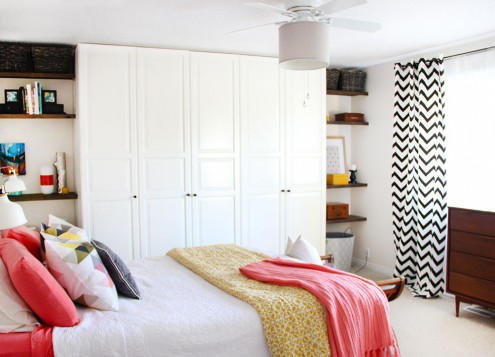
Did you even notice there was a ceiling fan?!  I didn't!

Don't those shelves masterfully maximize the dead space in the corner?

Jen's marriage of form and function does not stop here.  Wipe the drool from your mouths and let's go gawk at the before-and-afters of her foyer:

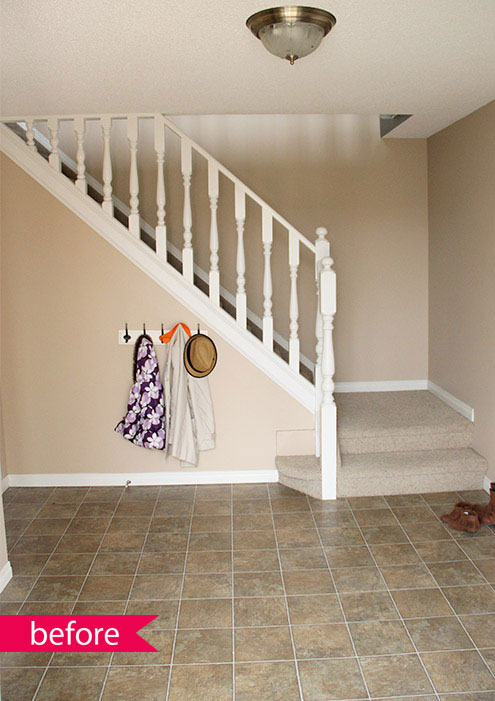
"Our foyer needed a serious update, but on a budget..."  

You're speaking my love language here Jen ;)

"The goals were to make it welcoming and warm, get it organized with easy to use storage, and make it easy to clean.  The open concept of the foyer [makes] it easy for our little one to help out.  The previous heavy doors [on the hallway closet] were too hard to operate and kept everything hidden and hard to find.  The new flooring and neutral paint warmed everything up..."
"...and new lighting, along with a few DIY projects and accessories kept everything on budget.  My favourite project from the space was my DIY copper shoe rack."  

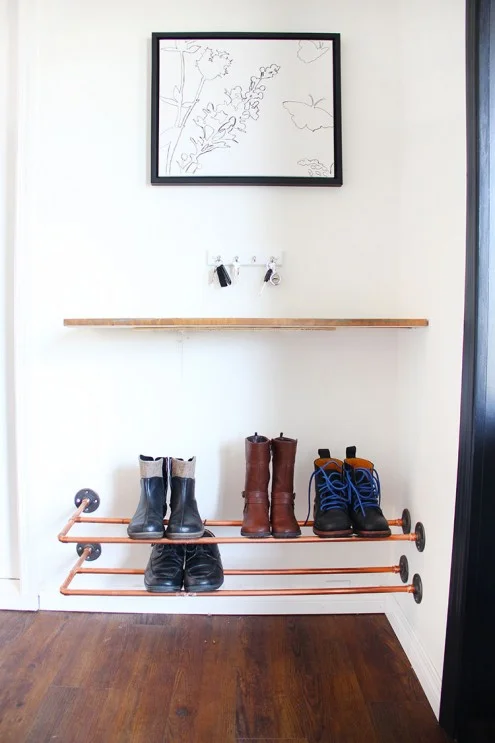
Me too Jen.... meeeeee too.

Read about more of Jen's bedroom makeover and foyer transformation on Fresh Crush,  Thank you Jen for sharing with us all the way from Canada!

So what do y'all think?  You crushing on Fresh Crush yet?  

Don't forget, we want to celebrate your individuality with you!   So don't hesitate to tag #stylemuttspaces on Instagram or post your photos onto our Facebook wall!  The whole point of Reader Designs is simply to share incredible rooms with fresh ideas and document these features in our SPACES section to use as a reference of inspiration.  These submissions are seriously the jewels in the StyleMutt Home crown.  

You never know who else will be inspired by your space so don't deprive us of your unique YOU people!

Heavy duty toy-shelves (hung in drywall!)

Hi All! Fall is happening in Northern Virginia! The air just smells delicious. Even with a 30 degree temperature drop to the 30s this past weekend, my favorite part was sitting around a fire pit, snuggling under blankets, and roasting s'mores with my family. This season is short but oh, so sweet.

Today I'm excited to share that we've got brand new toy-shelves! We were previously using the IKEA TROFAST toy storage system. It ended up not being the most practical toy storage for our family. The stacked bins made it really hard to see what toys were where and as a result I felt like the kids weren't enjoying playing with their toys as much as they should. Then it hit me - if the toys were out in the open, perhaps they'd be played with more!

Before, with the IKEA TROFAST storage system

Before, with the IKEA TROFAST storage system

Now, with custom made, open shelves

Now, with custom made, open shelves

After running the idea by my husband Matt, and getting one thumb up, I was ready to begin! I measured the wall space where I wanted to build shelves, and went out to buy a couple 1" x 12" shelves, (which I cut to 60" myself at home), and brackets. I stained the shelves in Hickory wood stain and then got to work with hanging!

Matt was kind enough to help me with this project so I could take pictures of some of the steps. Since we don't have studs in the particular section of wall we used, I think this is a good opportunity to address how to hang heavy shelves without using studs, (well, I did have one stud...get it...)!

 Measure and mark with a pencil where you want your brackets to hang, then mark the holes where your anchors and screws will go.

 Measure and mark with a pencil where you want your brackets to hang, then mark the holes where your anchors and screws will go.

Make sure you use a level several times to make sure your brackets are lined up straight.

Make sure you use a level several times to make sure your brackets are lined up straight.

These drywall toggle anchors are not jokin' around and are what you want to use when hanging anything substantial into drywall.

These drywall toggle anchors are not jokin' around and are what you want to use when hanging anything substantial into drywall.

Check em' out!

Check em' out!

No electric drill needed for this project! Just a regular screw driver gets the toggle anchors securely into the wall.

No electric drill needed for this project! Just a regular screw driver gets the toggle anchors securely into the wall.

Screw them into the wall until they are flush with the surface.

Screw them into the wall until they are flush with the surface.

Once your toggle anchors are in, place the bracket over the anchors and screw the screws into the anchors.

Once your toggle anchors are in, place the bracket over the anchors and screw the screws into the anchors.

Again, a screwdriver is all you need for this job, no electric drill needed!

Again, a screwdriver is all you need for this job, no electric drill needed!

Then lay your boards on top of the brackets and use shorter screws to attach the boards to the brackets, (from underneath, as seen in the picture).

Then lay your boards on top of the brackets and use shorter screws to attach the boards to the brackets, (from underneath, as seen in the picture).

All done!

Basement6.jpg

Those toggle drywall anchors are what dreams are made of - no more worrying about studs or tossing projects out just because the studs aren't lined up where you need them! These babies hold up to 100 lbs each! Not too shabby.

To round up some of the smaller toys I found some old metal containers at the Old Lucketts Store, (rt 15 North in Leesburg, VA). 

Looking at these shelves, you would never know we have a daughter, too... But, this new 'system' of keeping everything out in the open has been a home run for us! The kids have been playing so well and creatively together - something I thoroughly enjoy watching or being a part of myself!

And if I have any work to do, I get to sit right there with them in our little built in office!

View as you come down the basement stairs. So grateful for this space to play and kick back!

(If interested, I've added the rest of our basement onto the Spaces page, seen in the menu bar!) 

I know not everyone is looking for toy storage solutions, but hopefully this post is useful to anyone needing to hang shelves into stud-less drywall! I was pretty excited about this discovery - it's like a whole new world opened up!

Thank you all so much for stopping by!