He goes before all things, and in Him all things hold together.
Colossians 1:17
First things first. Hi. I hope you are well, safe, and finding peace. In fact, I hope you are stumbling across plenty of things that bring you joy and laughter! There is no reason this season, however long it lasts for us, should be void of joy and laughter.
On that note, one thing that brings me joy is creativity! While this design project, our church lobby, was completed prior to the current world situation, I’ve never been more excited to share a finished project with you. I want to use the humble means I have through social media and this blog to connect with you over our common interest in design and encourage your own creativity.
Everything I intended to tell you about our Christ Community Church lobby design almost feels irrelevant now; sharing a public gathering space during a time like this may seem odd. But I see more hope here now than ever before! More on that, but first a little reminder of what it looked like prior to installation! (Don’t mind the red slashes - I’d saved the photos like this to indicate to everyone which walls we’d be painting) (Oh yea, and I happened to show up on the day they do food collection and distribution lol!)
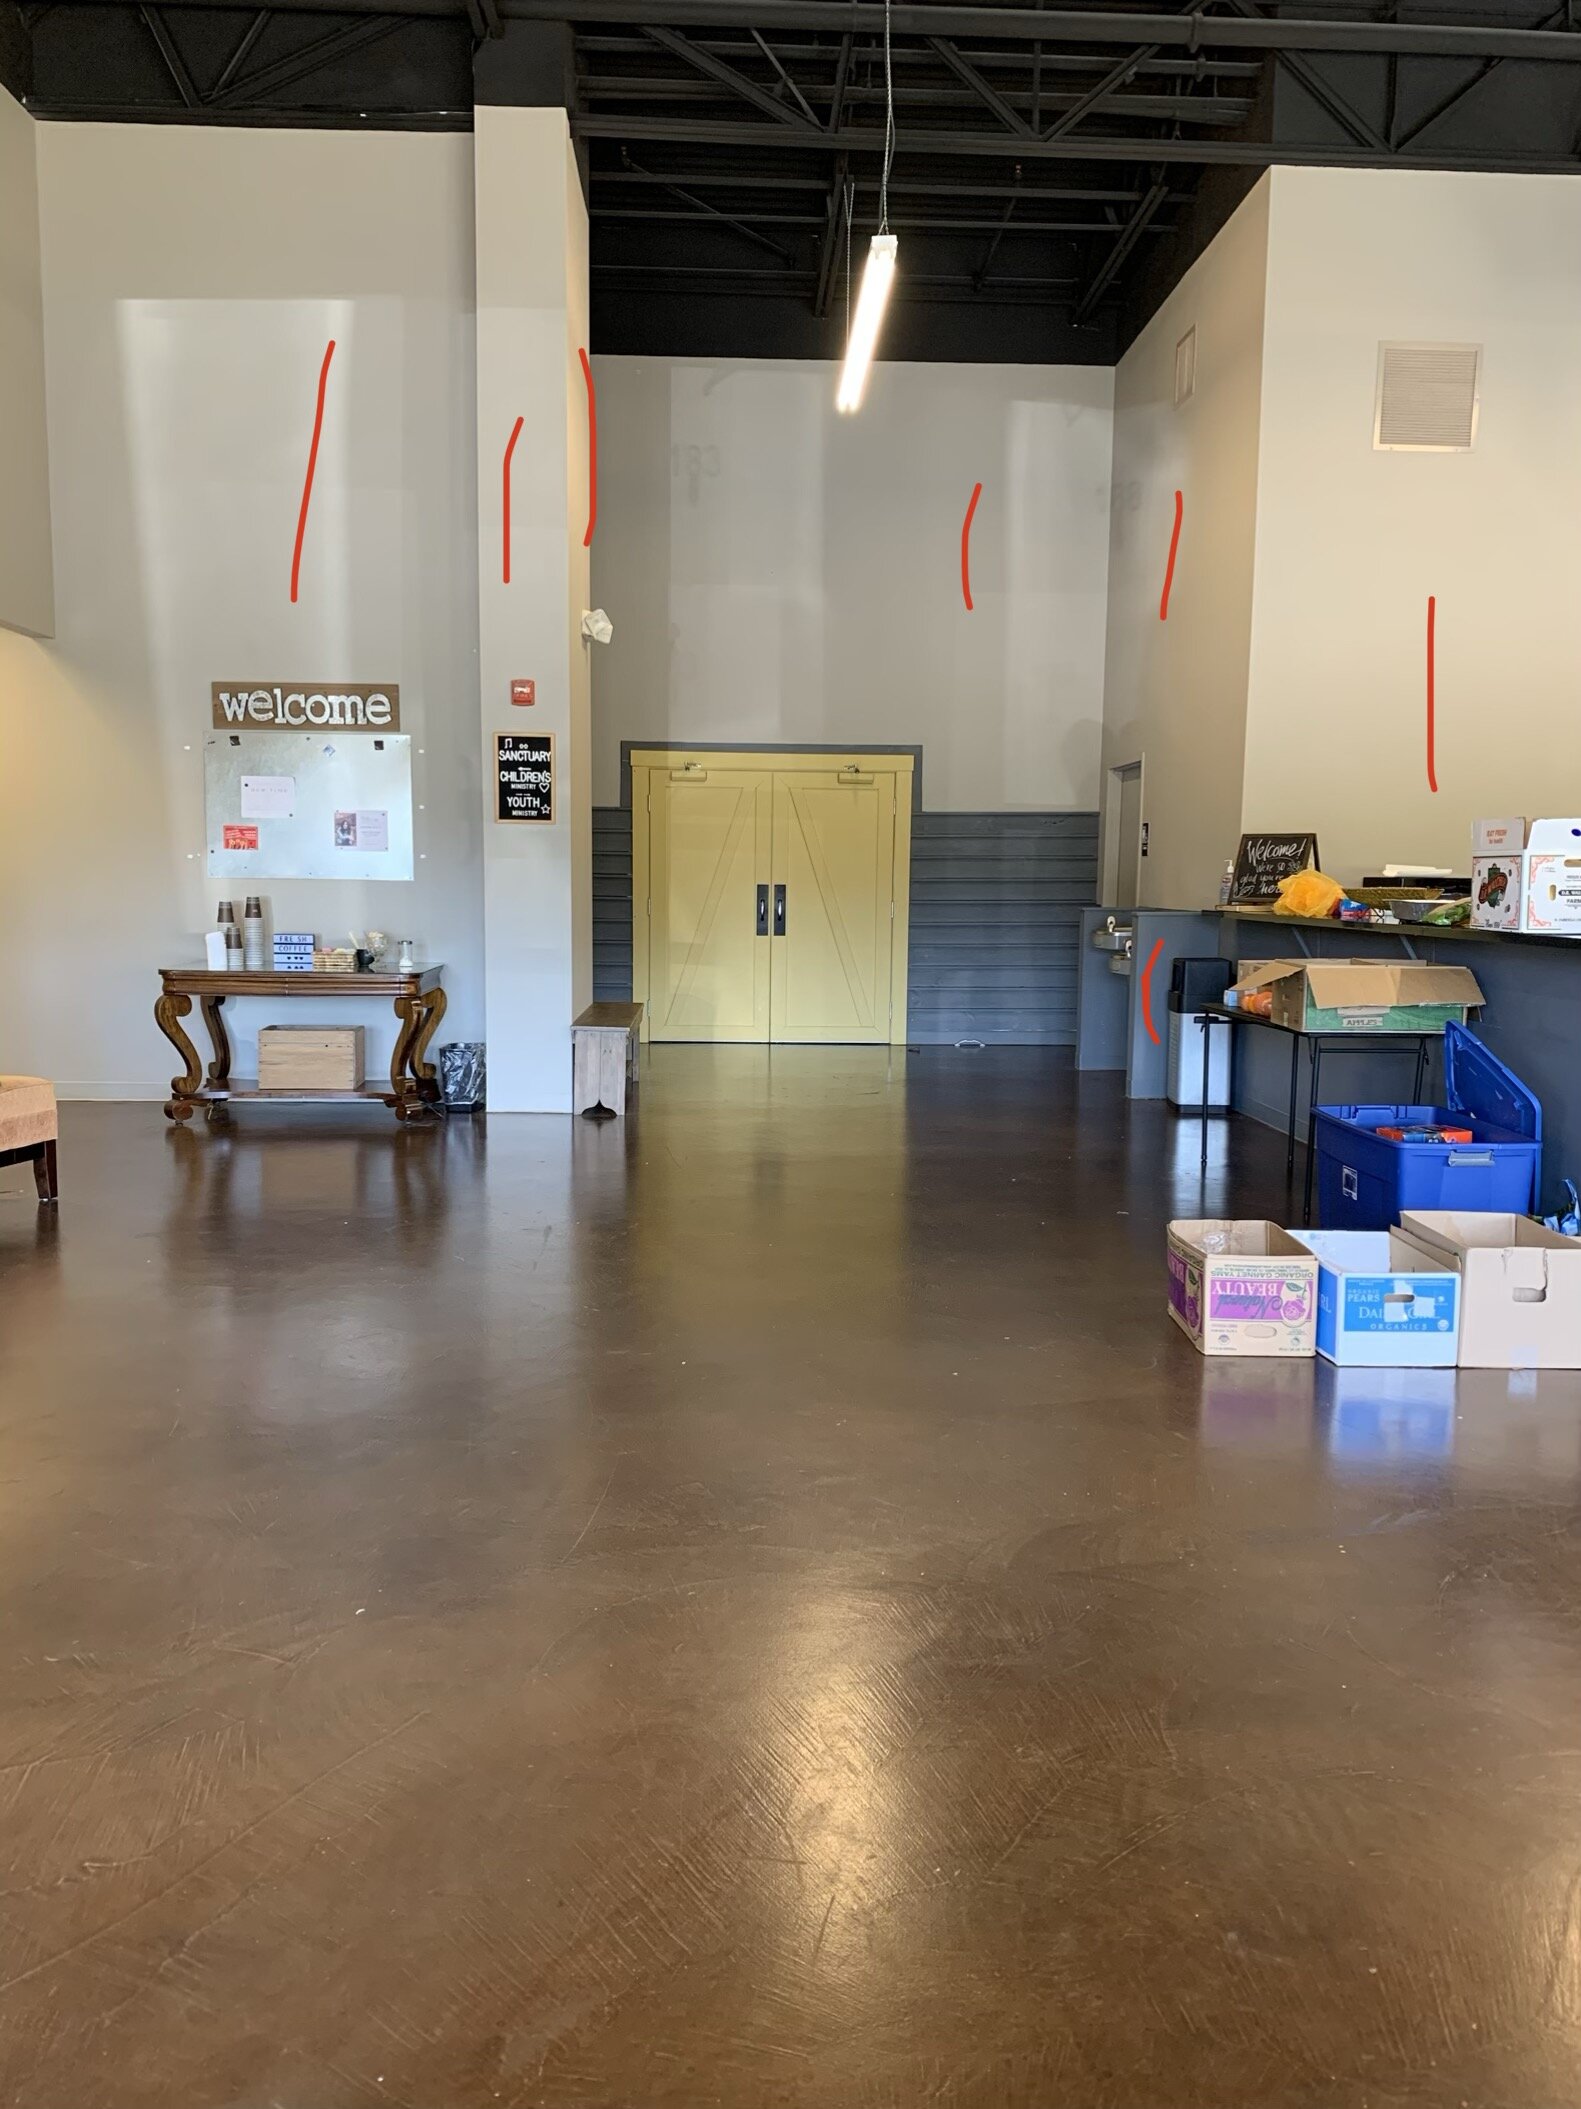
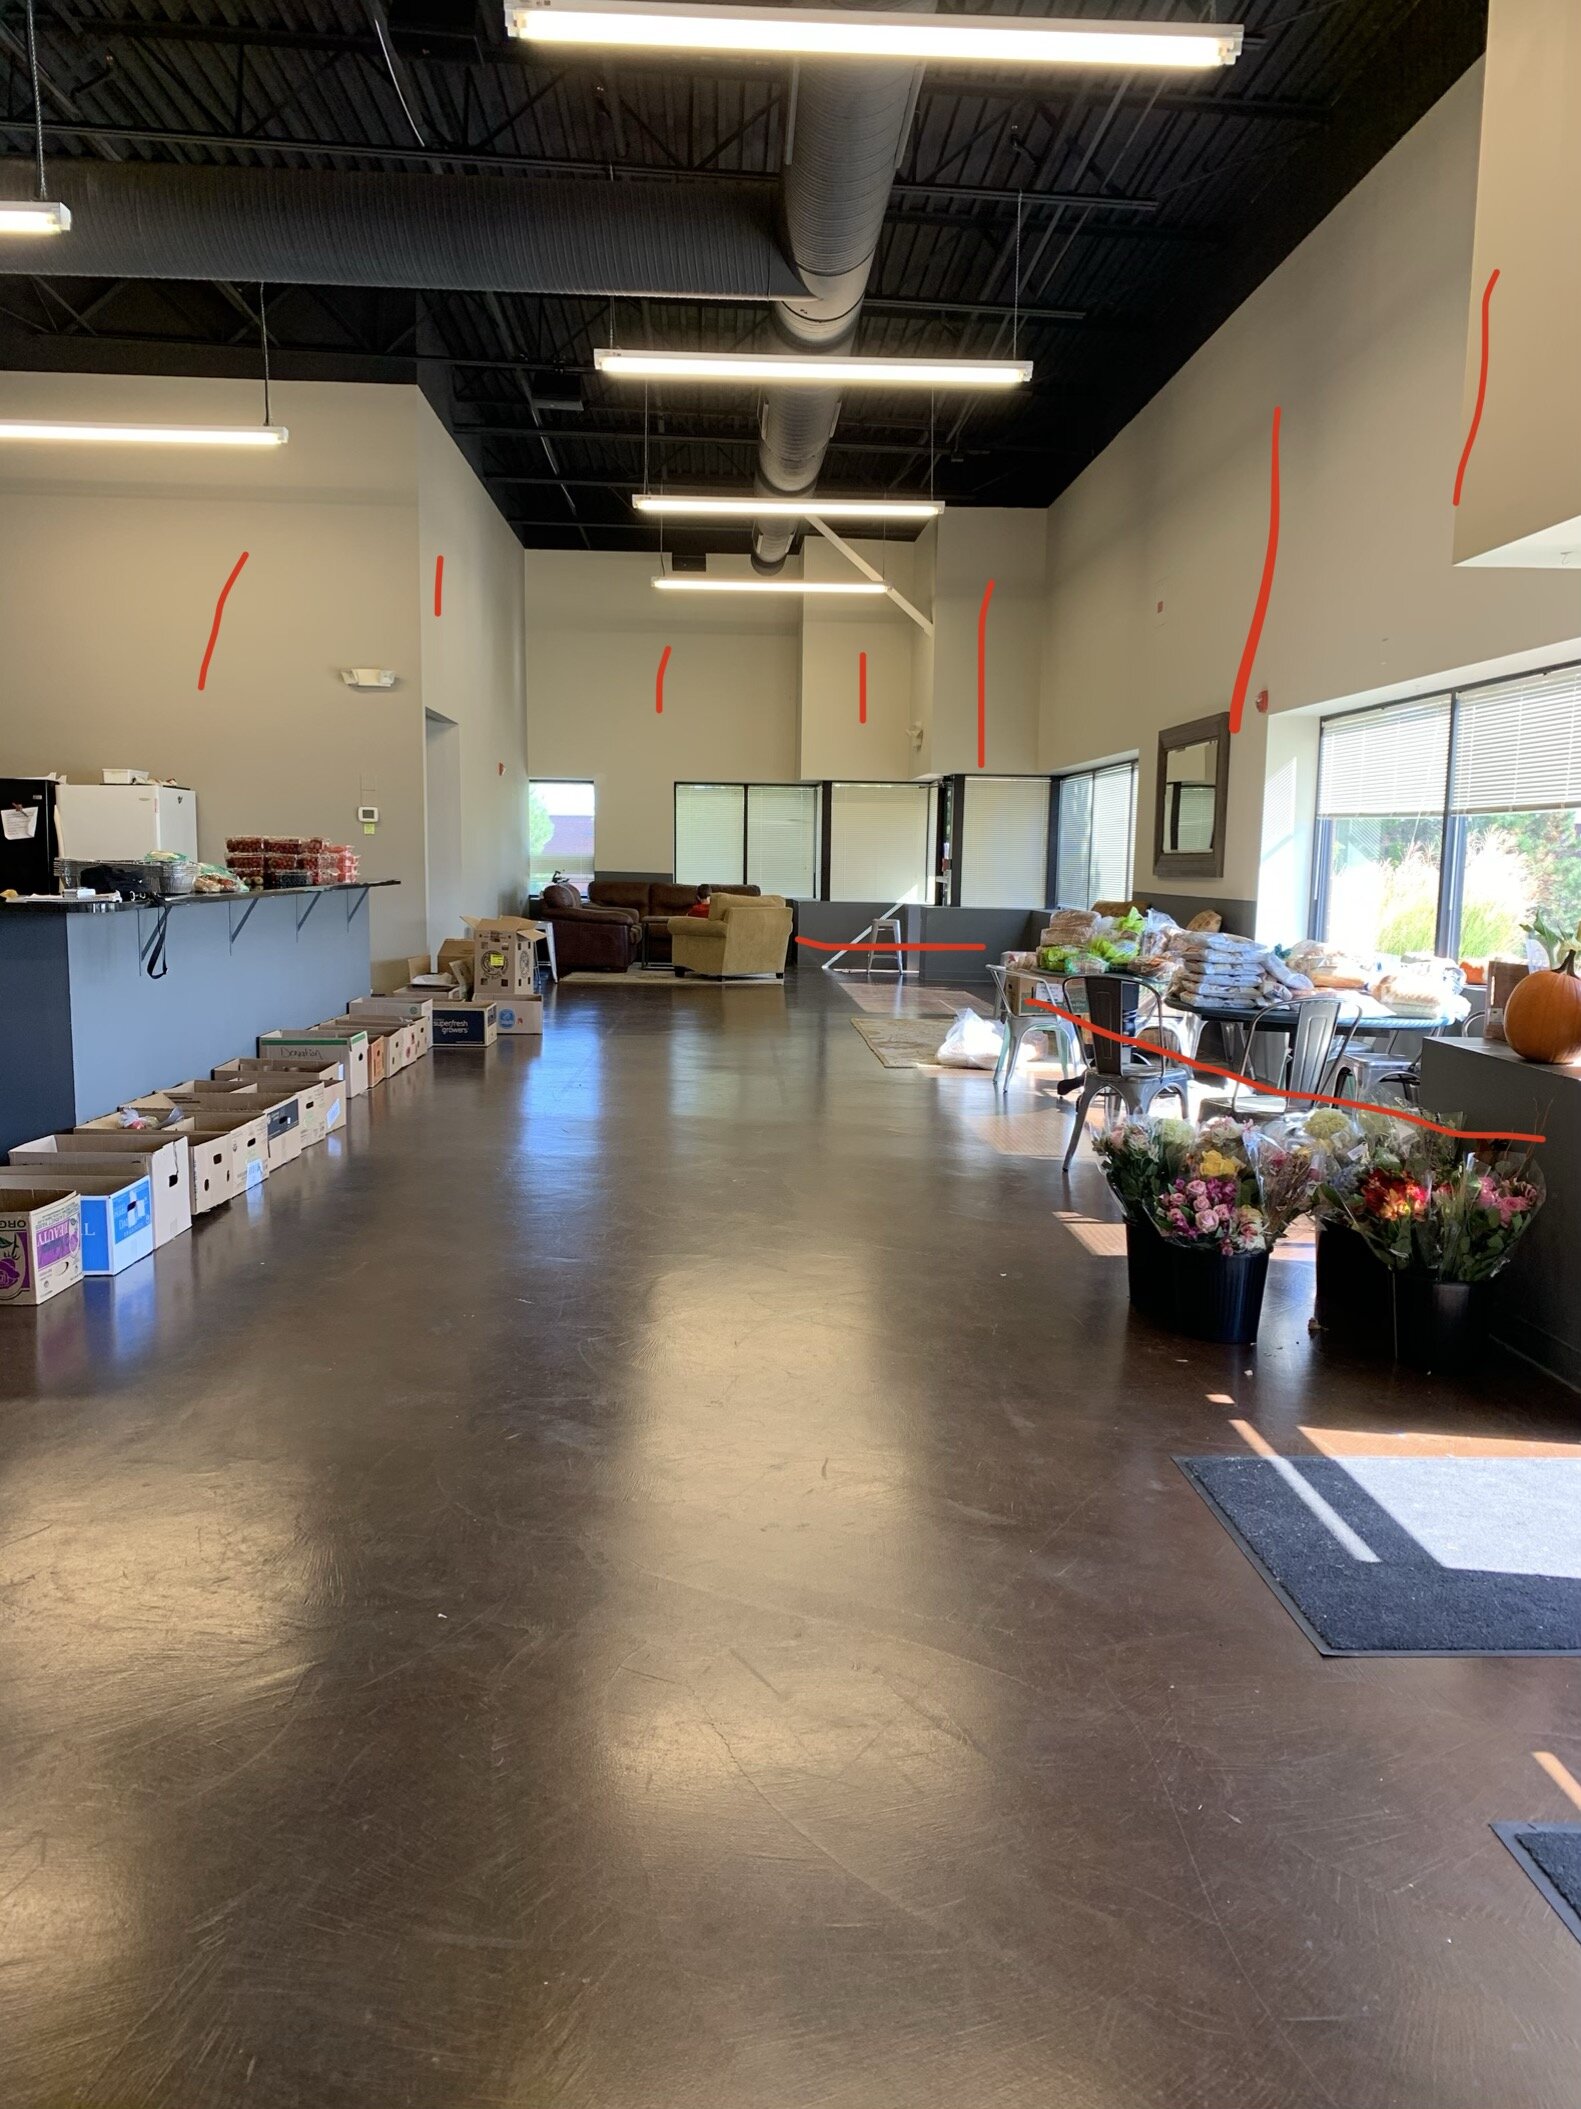

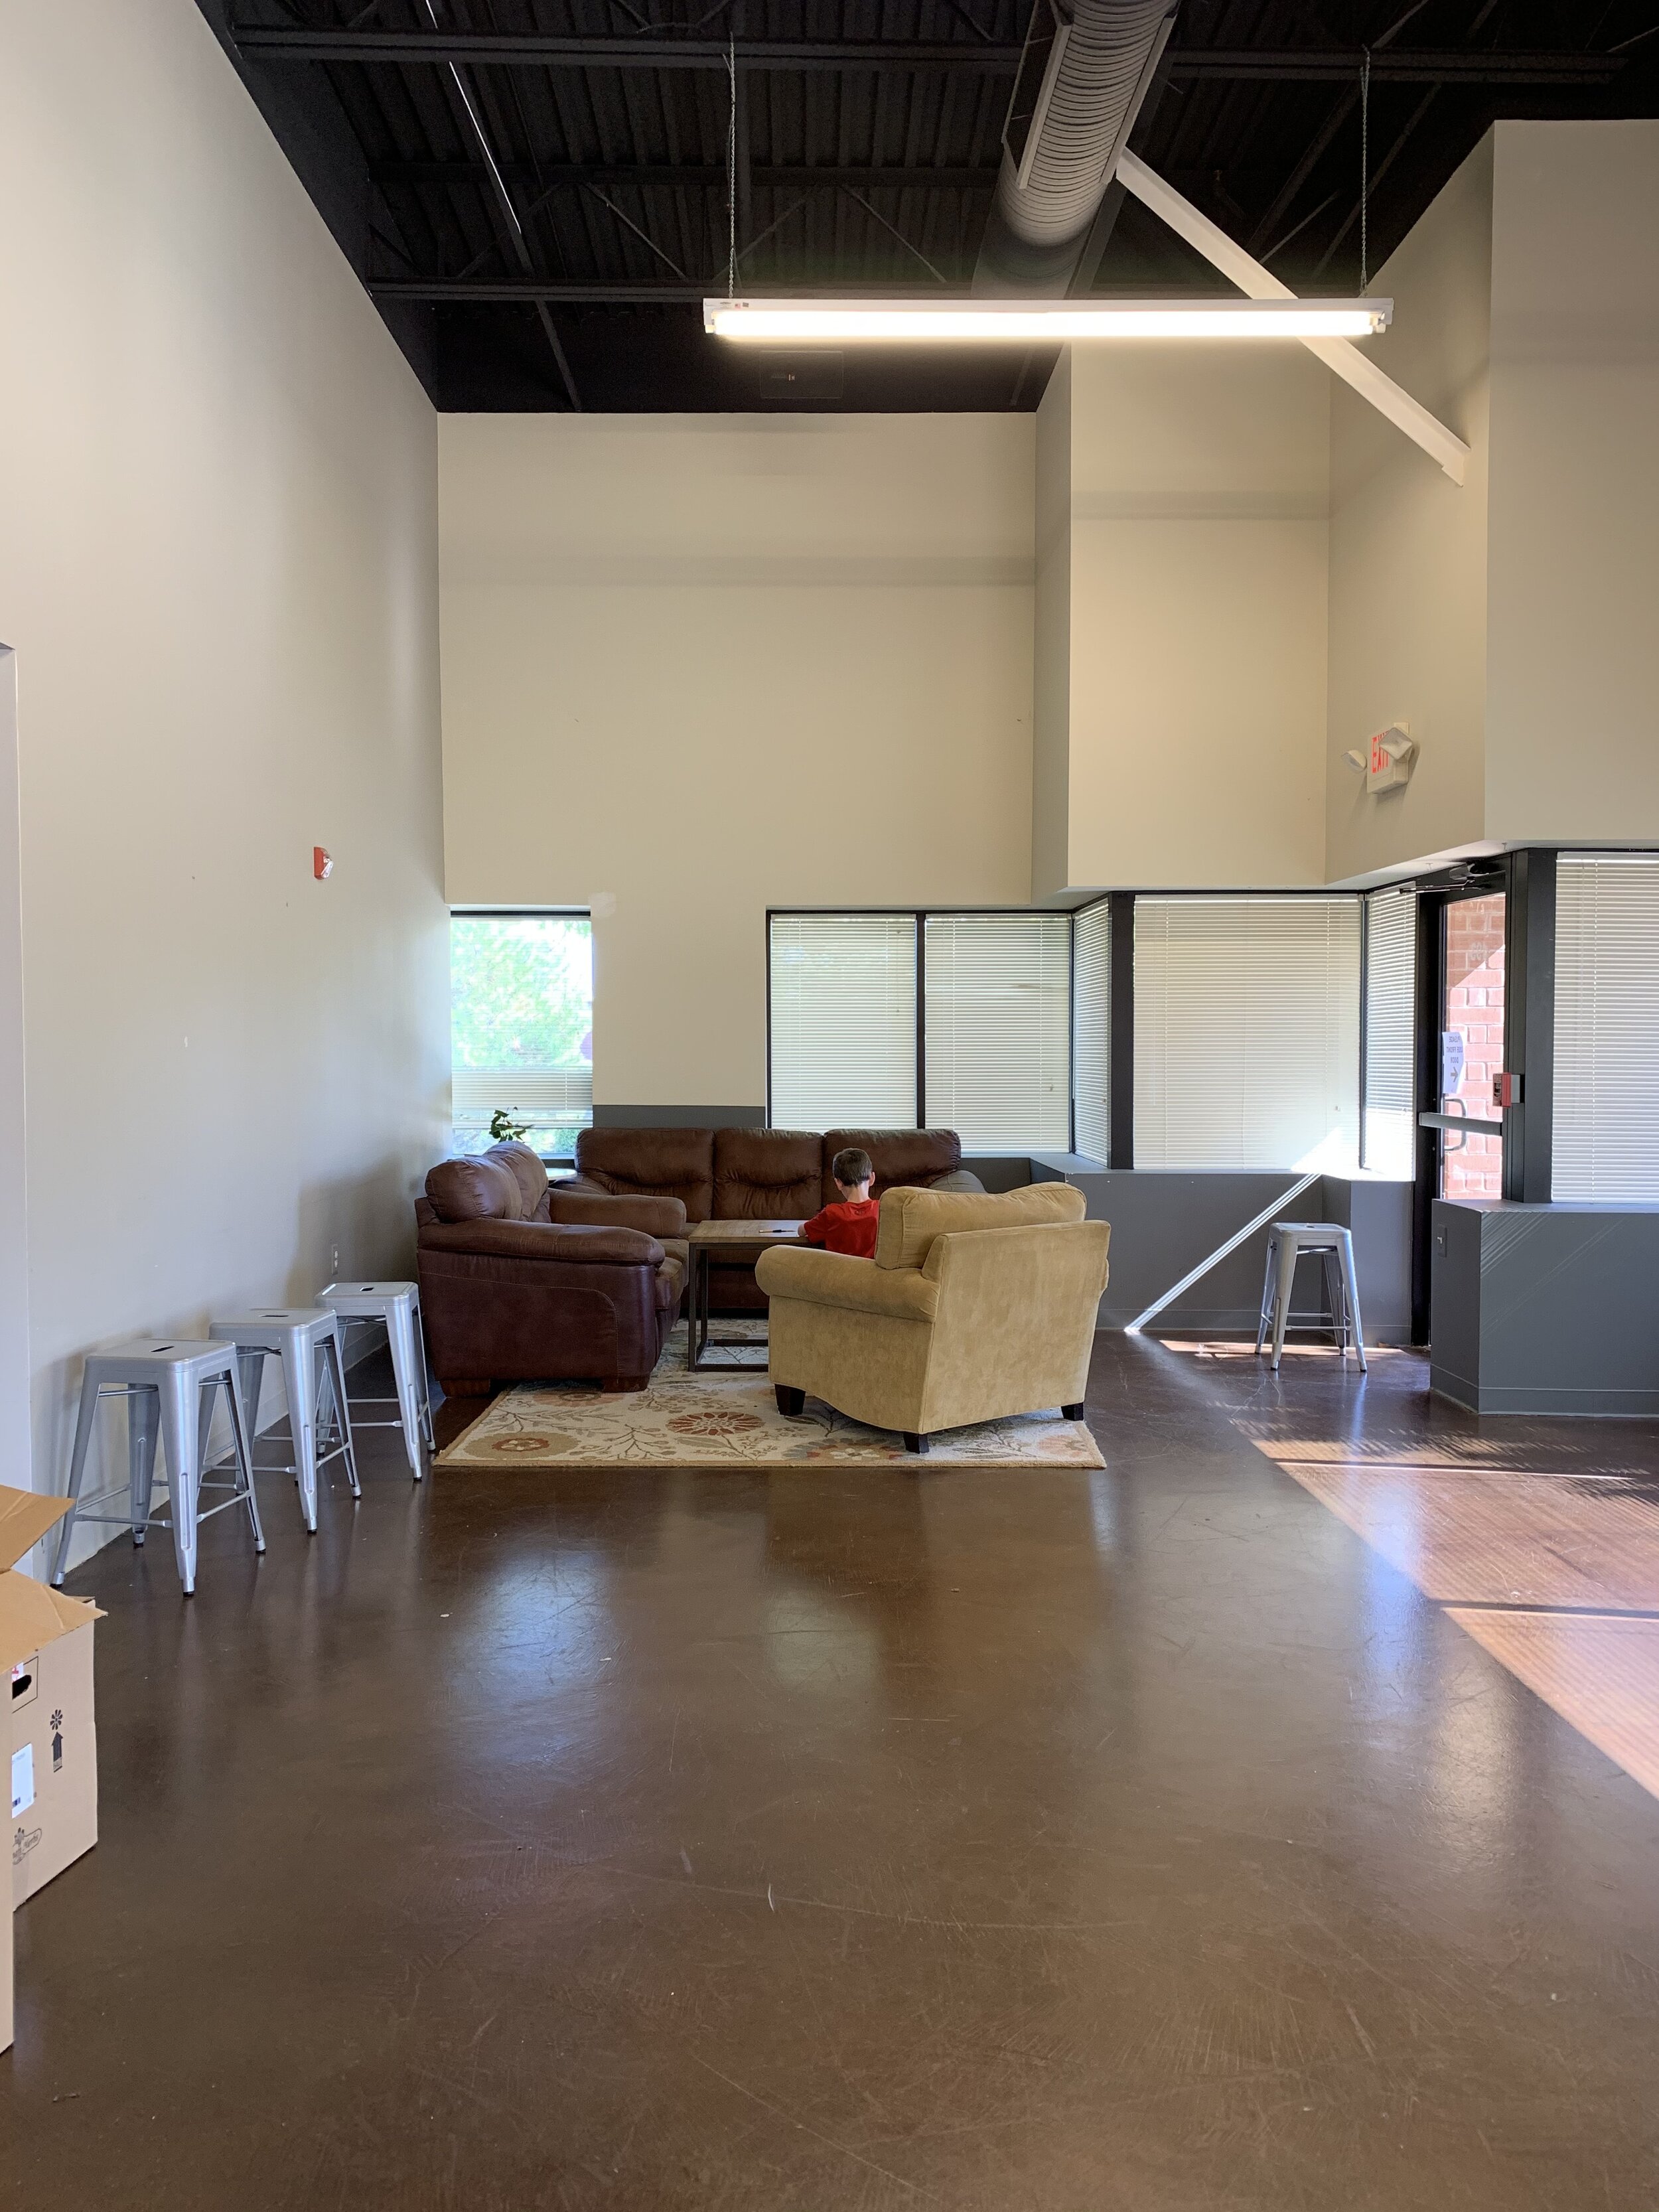
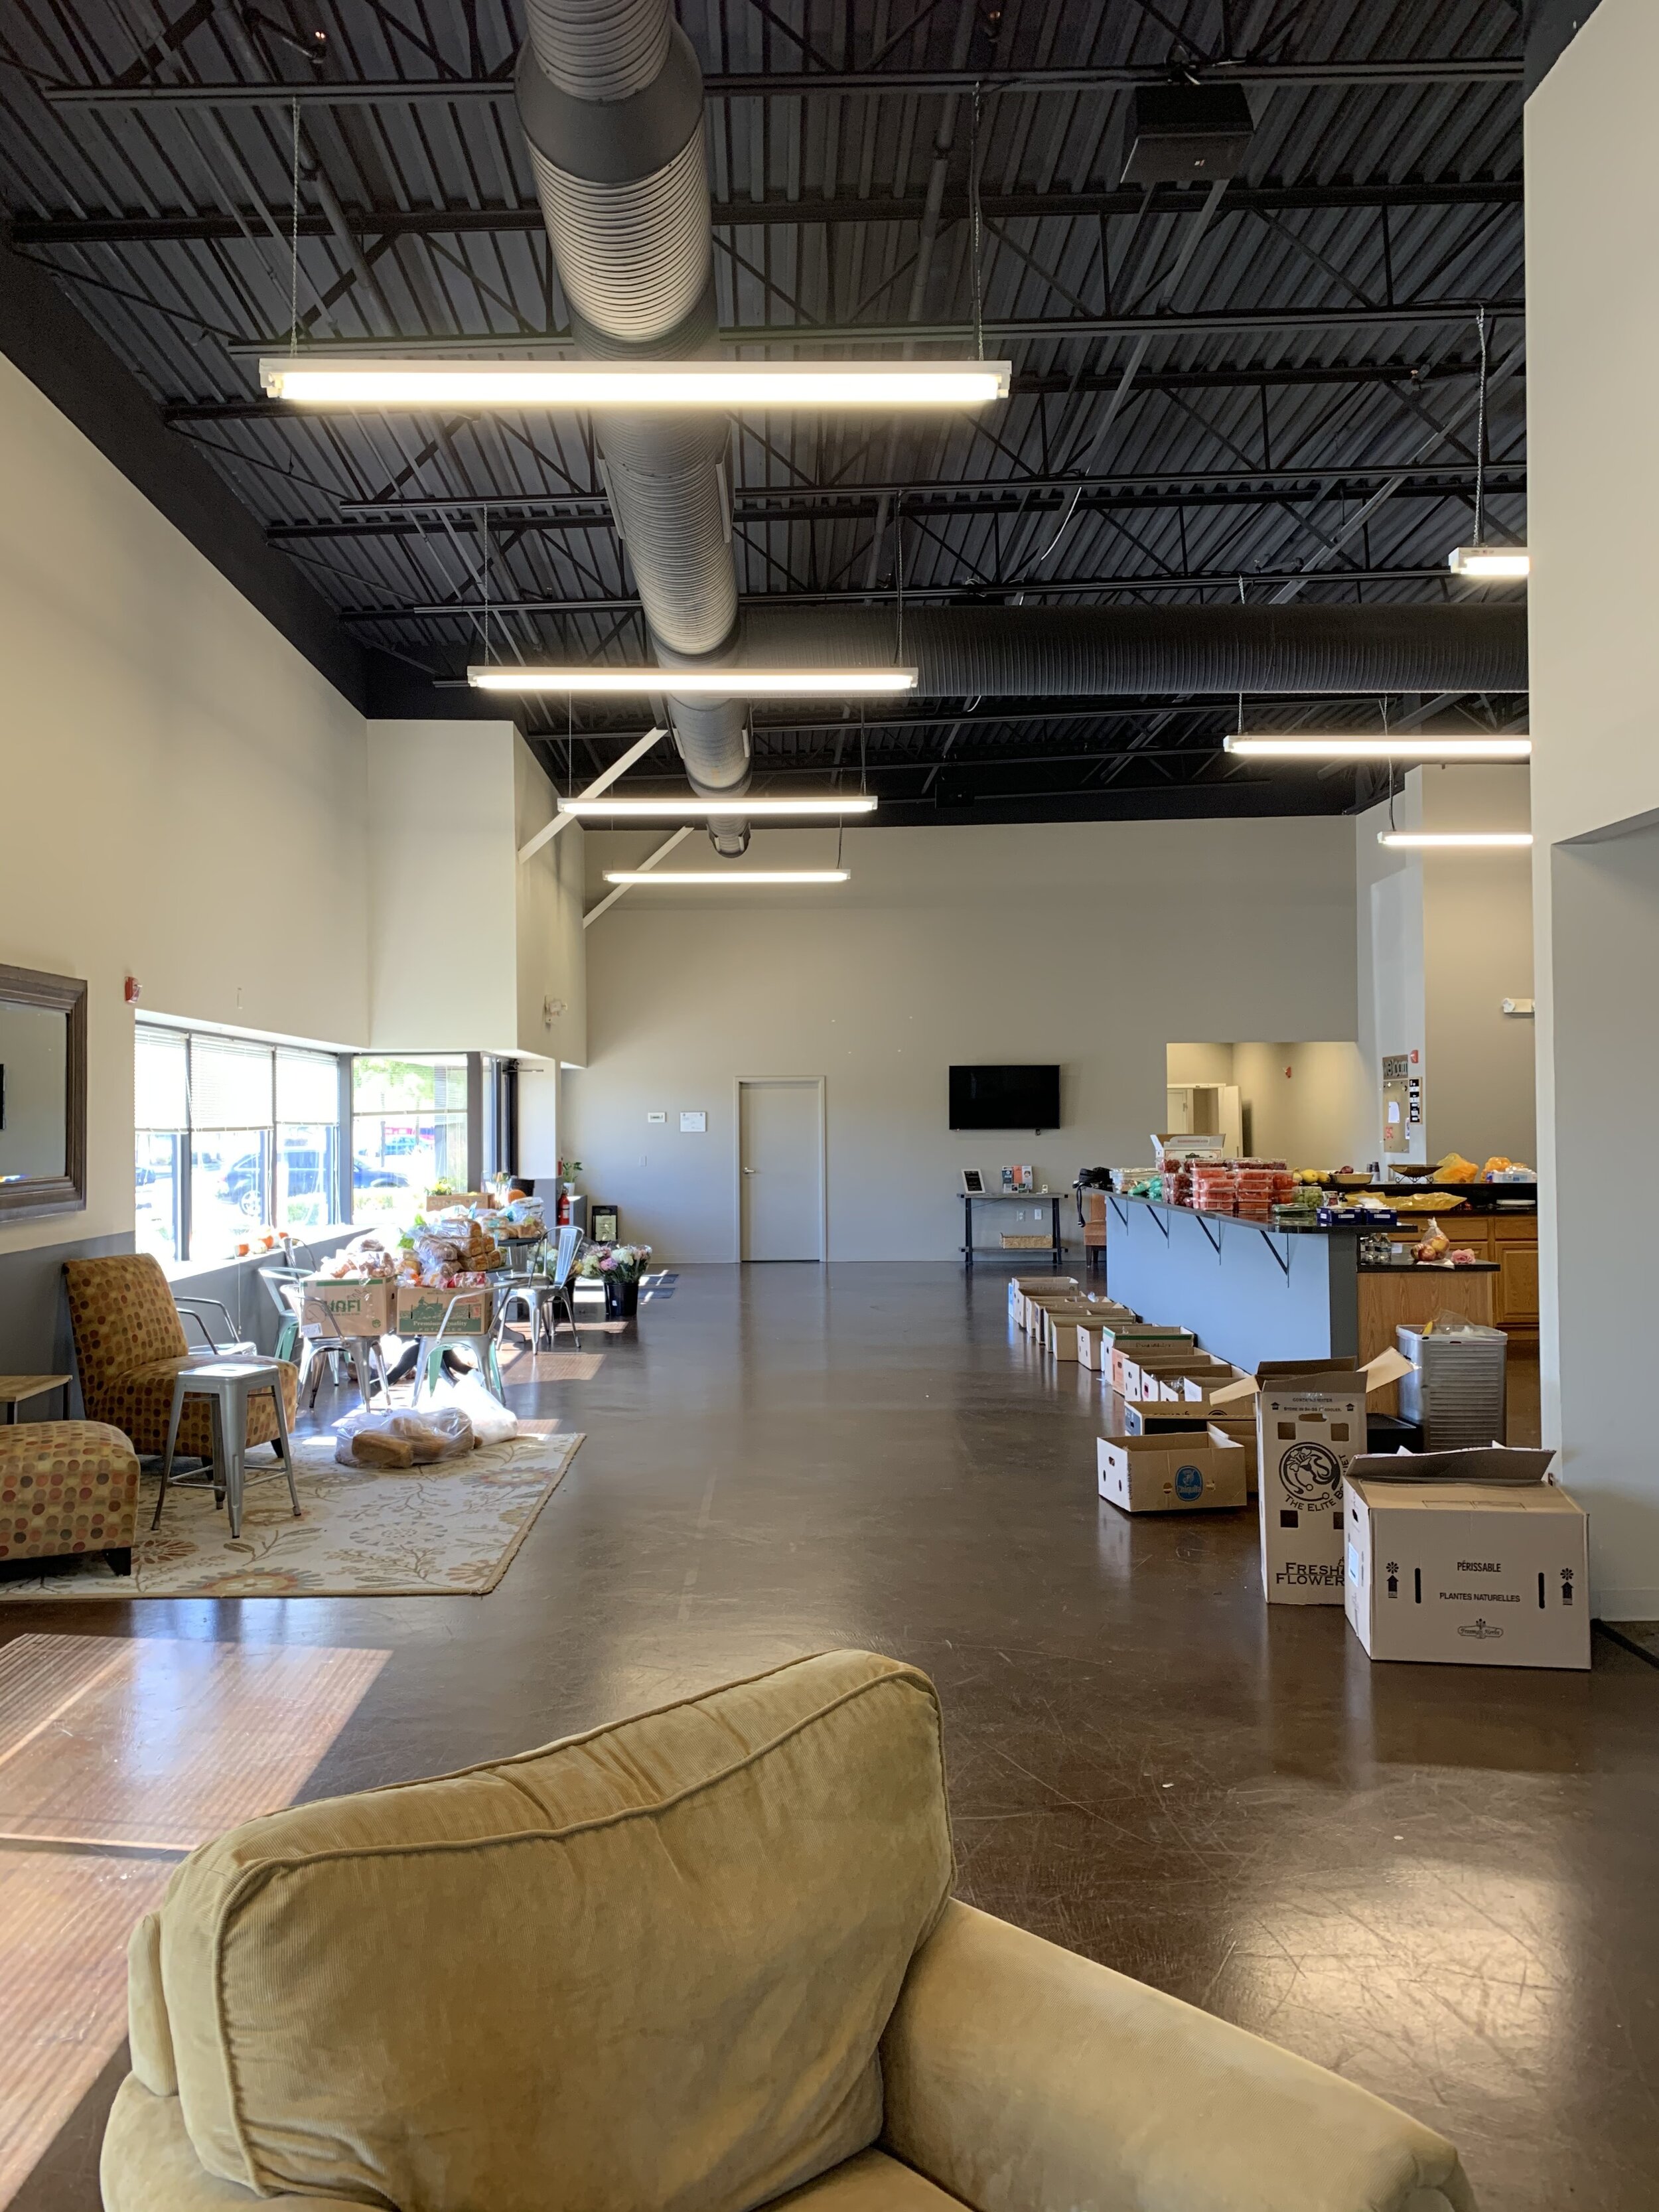
Not a bad space, right! It’s big and open with high, unfinished ceilings. There is loads of light coming in through black trimmed windows. Our church lobby is a space that has seen a whole lot. It is mightily used in the most creative of ways. But there has always been greater potential for it. Those of us more aesthetically effected have longed for it to become what we’ve always known it could be: A space that pulls you in and invites you to linger. A place to socialize and a place to just ‘be’. An environment that is warm and safe and serves those who enter through its doors. But what does that actually look like? As an interior designer I feel the weight of stereotype that it’s materialistic, shallow work. I get that; it’s how I used to view interior design, too. But I think of it as a way to serve. It’s about creating an environment that makes others feel welcome and safe being themselves. Interior Design is not about creating perfection; it’s about creating comfort. Approaching projects with flexibility and peacefulness help me a lot in putting these feelings into a visual finished product.
When I was invited to help come up with a design for our church lobby last October, it was not a difficult task. For one, I have daydreamed about this space for a while, imagining what it could be. And not just me, but my dear friend, Nicole, too. From our blended ideas I was able to crank out a pretty quick design draft, which went through a few rounds of edits with a larger team, and we ended up with this:


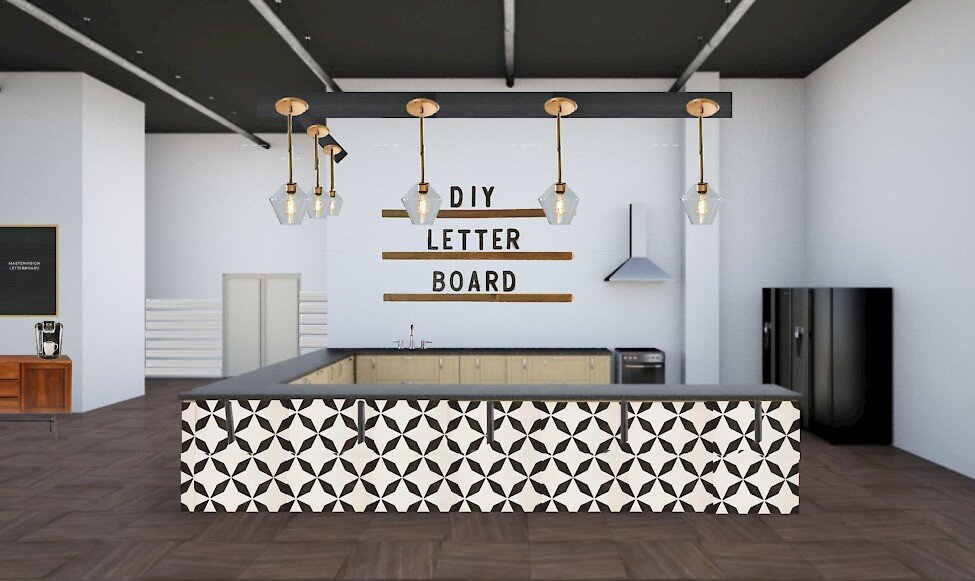

The idea was to take our cavernous space and balance it from end to end and side to side. By selecting pieces of a certain scale, proportion and visual weight, we would be able to fill the space without adding a ton of stuff. We wanted to maintain enough open space for plenty of movement throughout, but provide several areas of seating that would cater to different needs. And we needed to ensure that the quality of the pieces brought in would be able to handle the heavy wear and tear of each week - the preschool who uses the church on weekday mornings, the multiple youth groups that come in every week, the regular breakfasts and prayer times that gather - I really wanted to source high quality, highly durable pieces that we wouldn’t have to worry about.
Our budget for this project was generous, however over half of it went to only TWO items - paying the electricians, and paying for 7 gorgeous fake leather 47” 12-channeled back booths from a restaurant furniture supplier. Everything else we got savvy and put in a good amount of sweat-equity, with one exception, (which you won’t miss)!
So come on in!
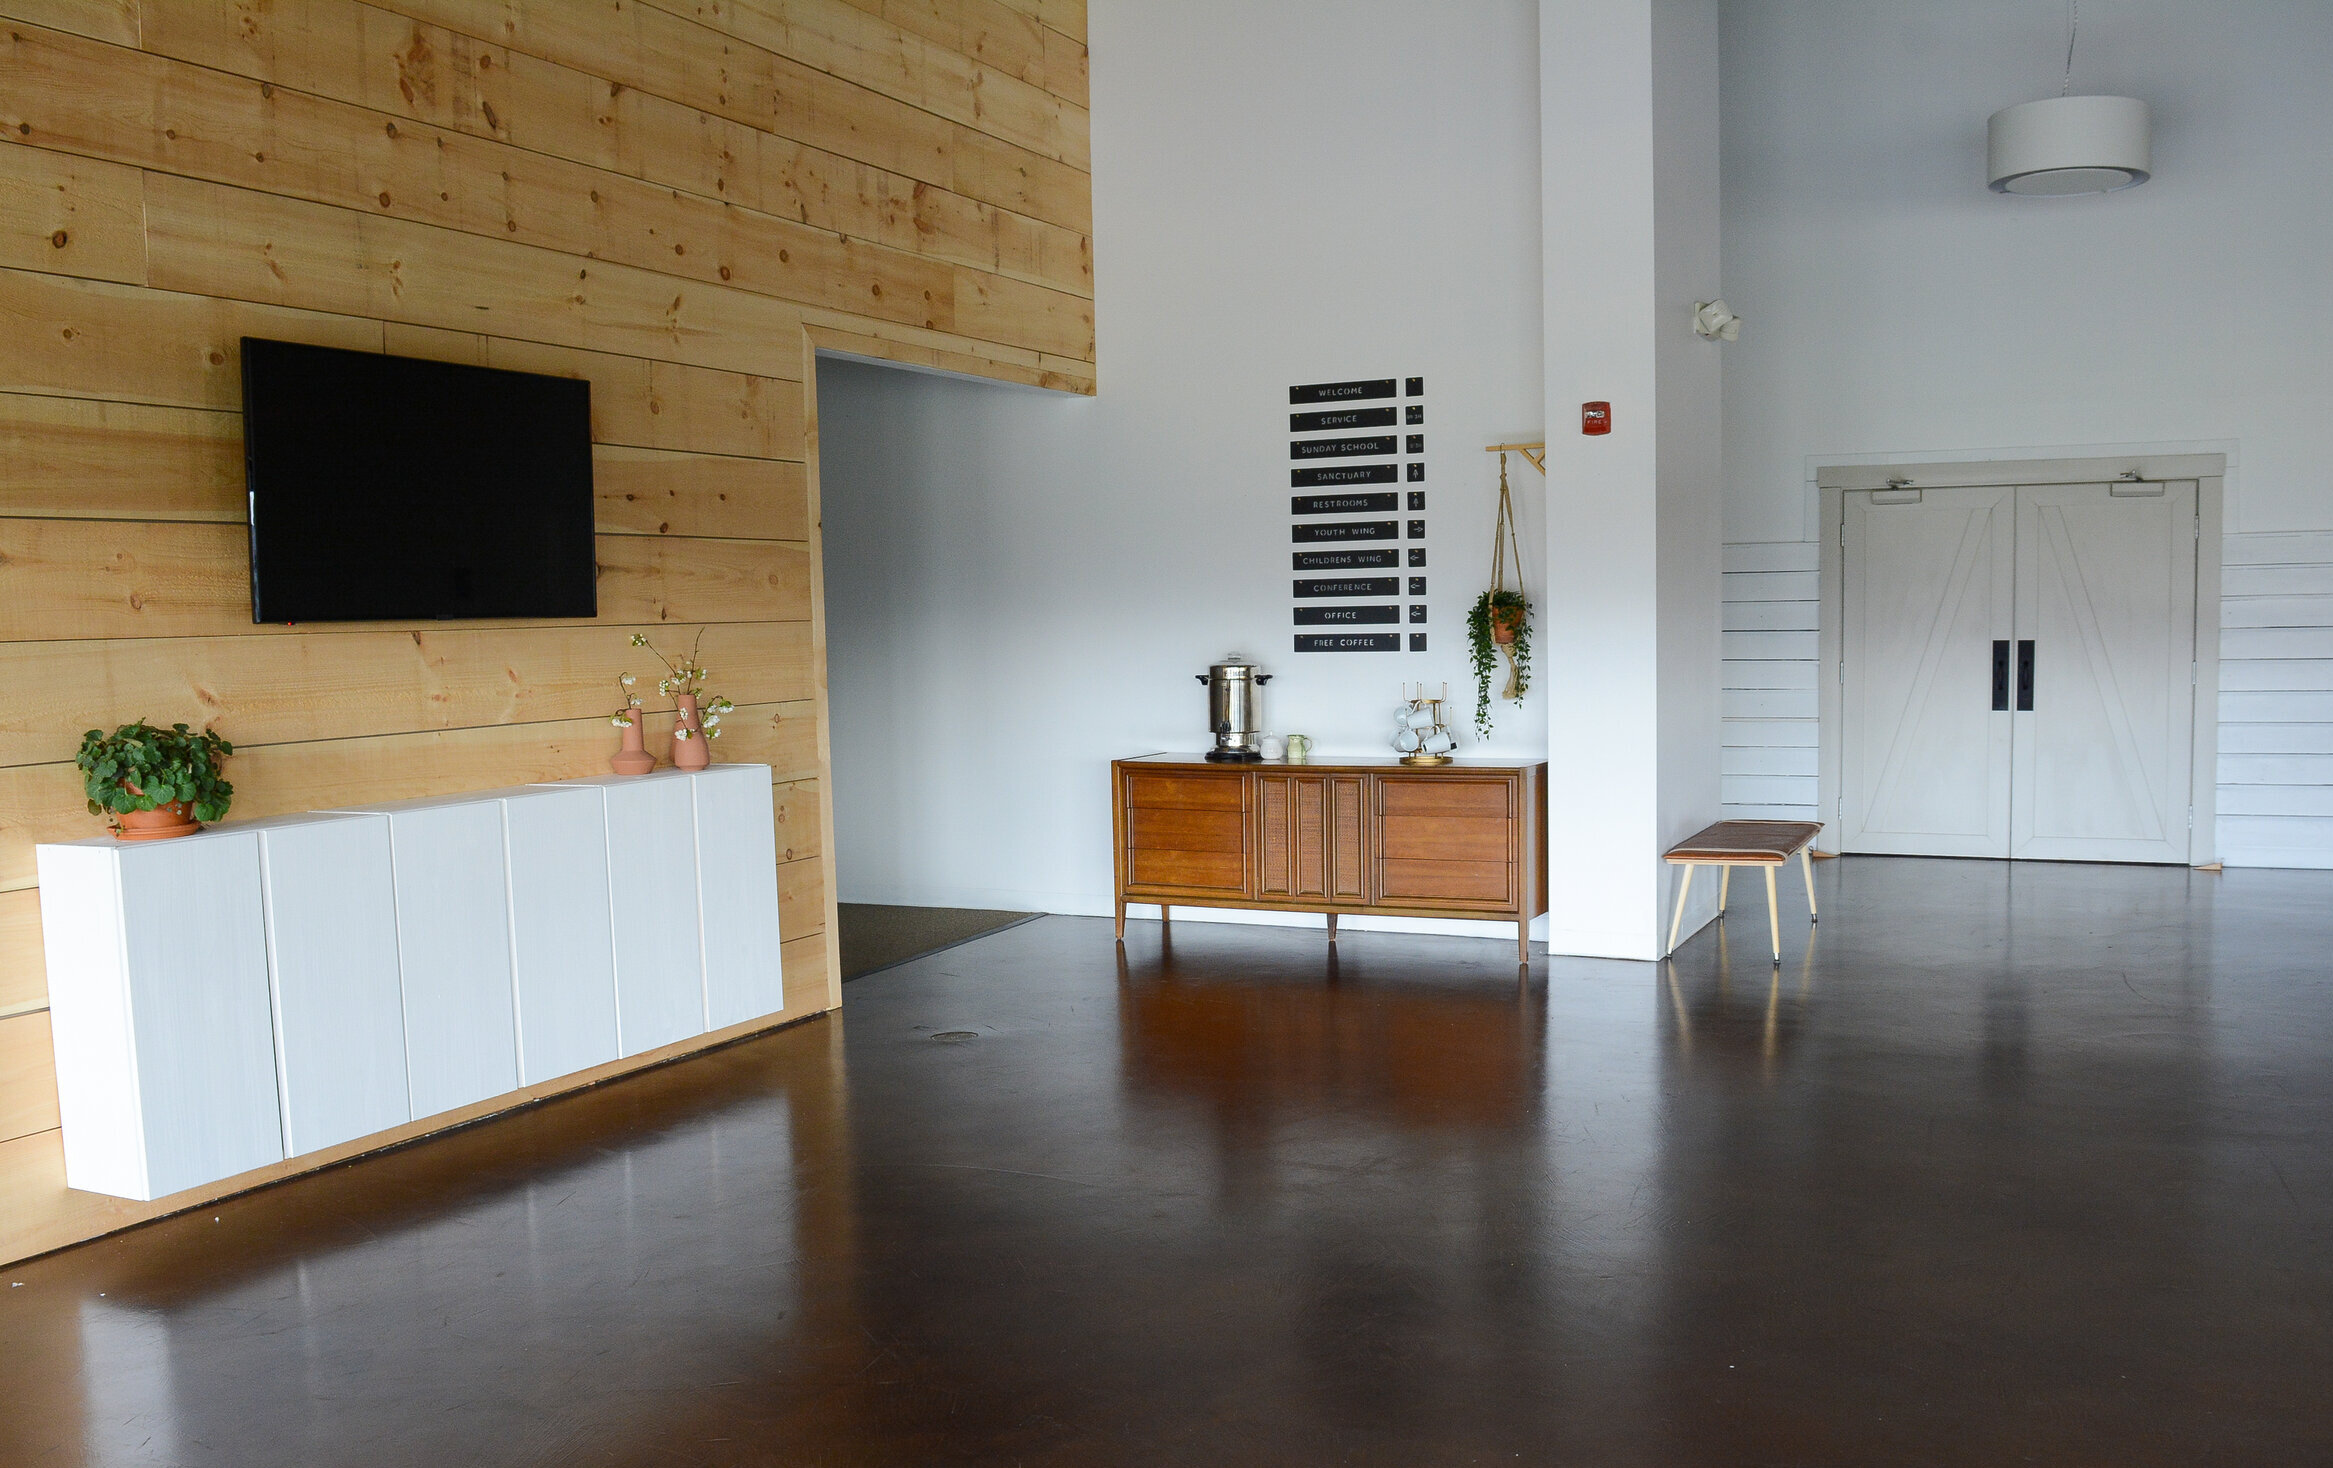

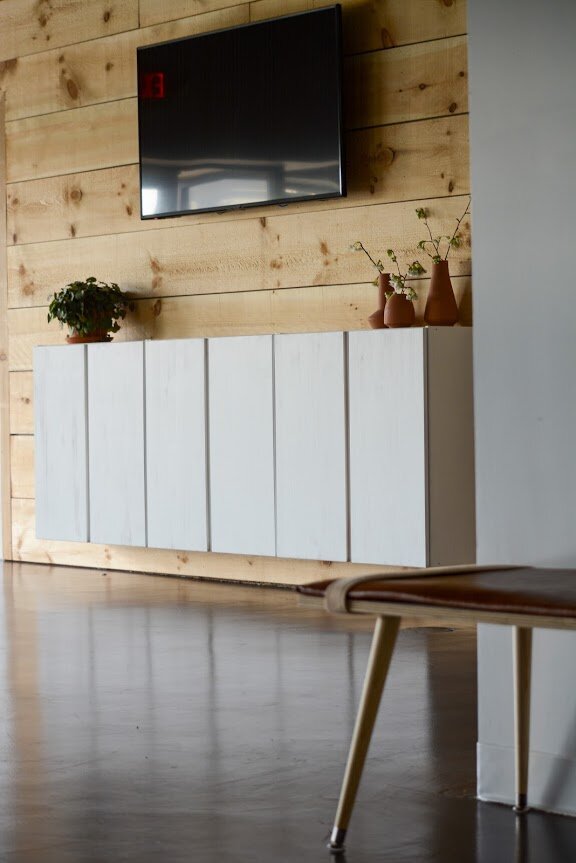
One of the coolest things about designing a community space was getting to do it with the community itself. I have never had so much talent at a projects disposal before, so it was particularly fun getting to dream big and outside of the box, knowing others that could make it happen! This planked wall is the first mighty example! A very skilled guy at our church, Scott, did this wall in a night and a day with his Dad, and it’s just beyond amazing. He chose these 12” planks, which was a genius move for a 16' foot wall. And you might recognize the IKEA Ivar cabinets. I have admitted on here before that I use these in almost every project because they are ridiculously inexpensive and entirely customizable. My Matt put them together, I painted them, (same color as the walls), and Scott mounted them - the end result is a sleek information center with ample closed storage.


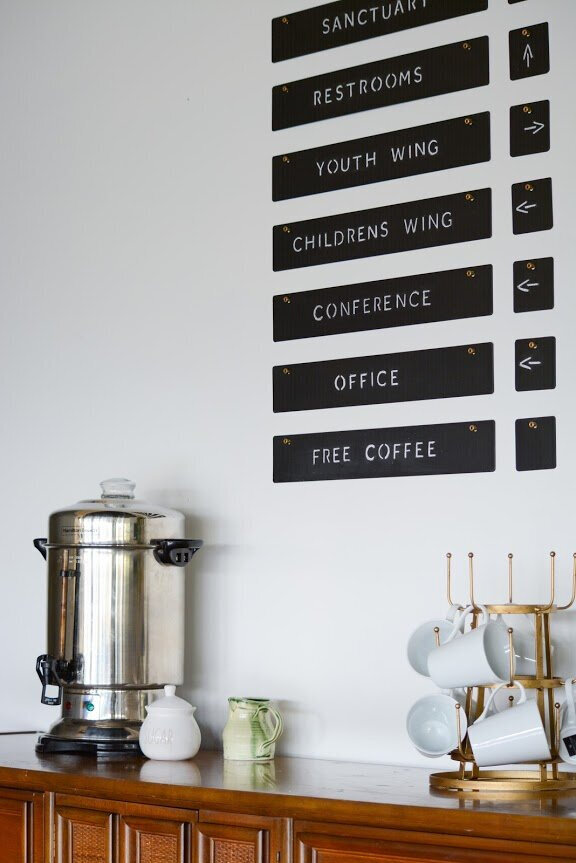
Our free coffee station, which you see straight ahead when you enter the lobby, is a simple wood storage piece I found at a thrift store, and THE most ridiculous sign. George & Willy is a wildly popular small business specializing in commercial signage, and truth be told, I saved this sign of theirs back in November when thinking about the priorities of this space. I want all who walk through these doors to feel right at home and know where everything is. There’s nothing like walking into a strange place and trying to get your bearings. So clear signage that is visible from the front doors, but also complimentary to the overall design, is a critical element for this space. And this piece is that exception I was talking about earlier. George & Willy graciously sent us their Market Chalkboard sign when I shared the progress of this space on social media, with the simple line, “We would love to support your project!” Their generosity is truly a light of hope. I can’t wait to work with them again someday and support this fine company.

We had a big ol’ painting party to cover these walls in Polar Bear by Behr paint! All doors were painted the same, except the sanctuary doors. Another skilled craftsmen in our church, Bill, had added this beautiful trim work to the doors, and I painted them in Accessible Beige by Benjamin Moore.

And because I just get excited about details, I sourced these wood and leather doorstops on Etsy.


The kitchen was a really fun space to work on because we did it very low cost but high impact! I used a stencil to add some visual weight to the peninsula, while an incredibly generous and talented friend, Danielle, made the giant letterboard happen! She also created and installed a gorgeous floral wall mural that you can see on the far right side of the image below, more on that soon!


The casual seating area by the front doors was one of the first edits to the original design, made by none other than our pastor and friend, Jeff! In my first draft, I ran the leather booth all the way down the right-hand wall, end to end. But Jeff thought we should have a more intimate, comfortable seating area by the front doors. Brilliant! I never see these chairs empty now and am so glad he suggested this! One of the final touches I requested here was a curated collection of books from him - he’s an avid reader and I thought it would be fun to include a mini library of sorts right out here on the floor!
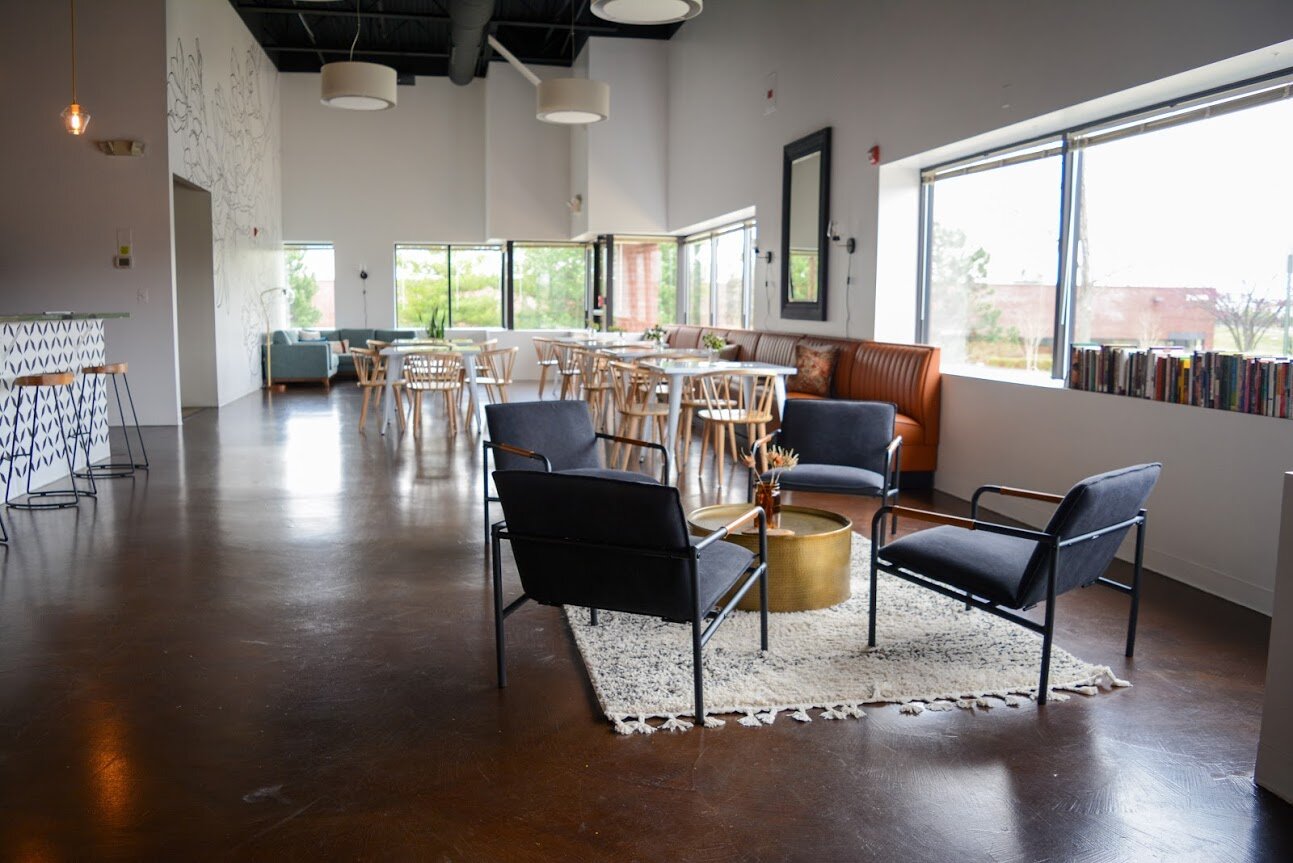


Now, to those gorgeous 12-channeled back booths I told you about! The camel leather just grounds the whole space and makes it feel so cozy and warm.Plus, no toddler or teenager can destroy them! I sourced pillows from another favorite small business, Istanbluevintage.


I painted our original barnwood mirror black and requested it to be rehung vertical, rather than horizontal, as it had been previously. This made room for some much needed sconces to illuminate the space in the evenings.

I’ve shared peeks of this mural on Facebook and Instagram, but it’s such a delight to finally share it here with the rest of the finished space! As I mentioned, we got to benefit from the talent of local muralist, Danielle, owner of Fun Places Murals & Painting. Incorporating her gift in this space was just beyond amazing; I still can’t believe how beautiful this turned out!
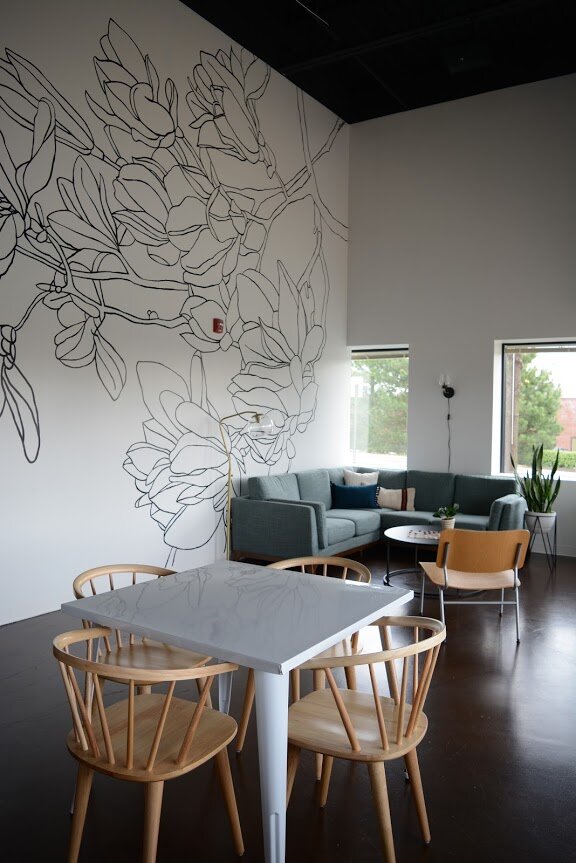
I sourced our sturdy sofa from Article, my go-to for soft seating. It’s the only color in the space, but being at the far end of the room it definitely draws you in and gives the eye something to fall on.


Looking over these images just makes me that much more excited to gather again. We put in the effort for this space so that we could gather and be inclusive and provide a place for all to feel safe and welcome. If the past few weeks have taught us anything, it’s that we need community. And I can’t wait to see this place filled as it was meant to be someday soon. When this is all over, you have a place to come hang out, people of the Ashburn, VA area! We will be ready for you and we can’t wait to see you soon. In the mean time, if you’re interested in some time of peace and encouragement, we do have virtual weekly messages available. You can find them on our home page here.

That’s a wrap! A tremendous thank you to my dear friend, Morgan, for jumping in at the very last minute to take these pictures. She has a beautiful eye for capturing people, and I know shooting an interior was out of her comfort zone. Don’t you think she nailed it?! So, so proud of her and beyond grateful to get to benefit from her skills. From start to finish this space has been an awesome group effort. It just makes me delighted to see what so many talented, creative, and generous people could accomplish together.
Praying you have peace and good health during this time and the ability to find fun in the mundane! Don’t stop forgetting that this. is. temporary.
So grateful for you all and thank you for coming by today!