DIY Mess-Free, Pretty Placemats

"SON! Don't. Touch. Your placemat."

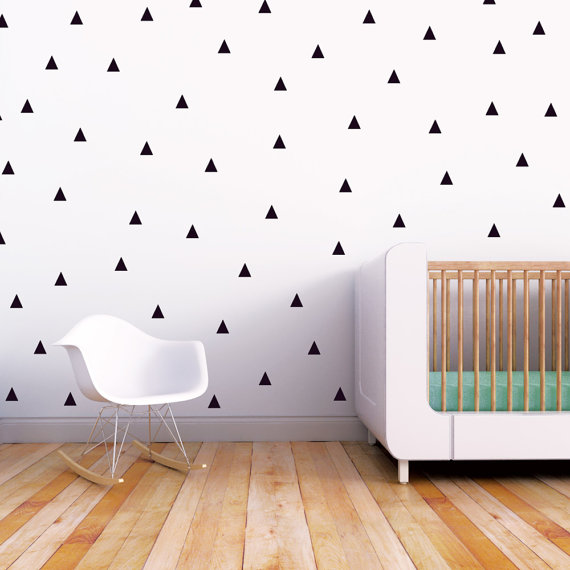
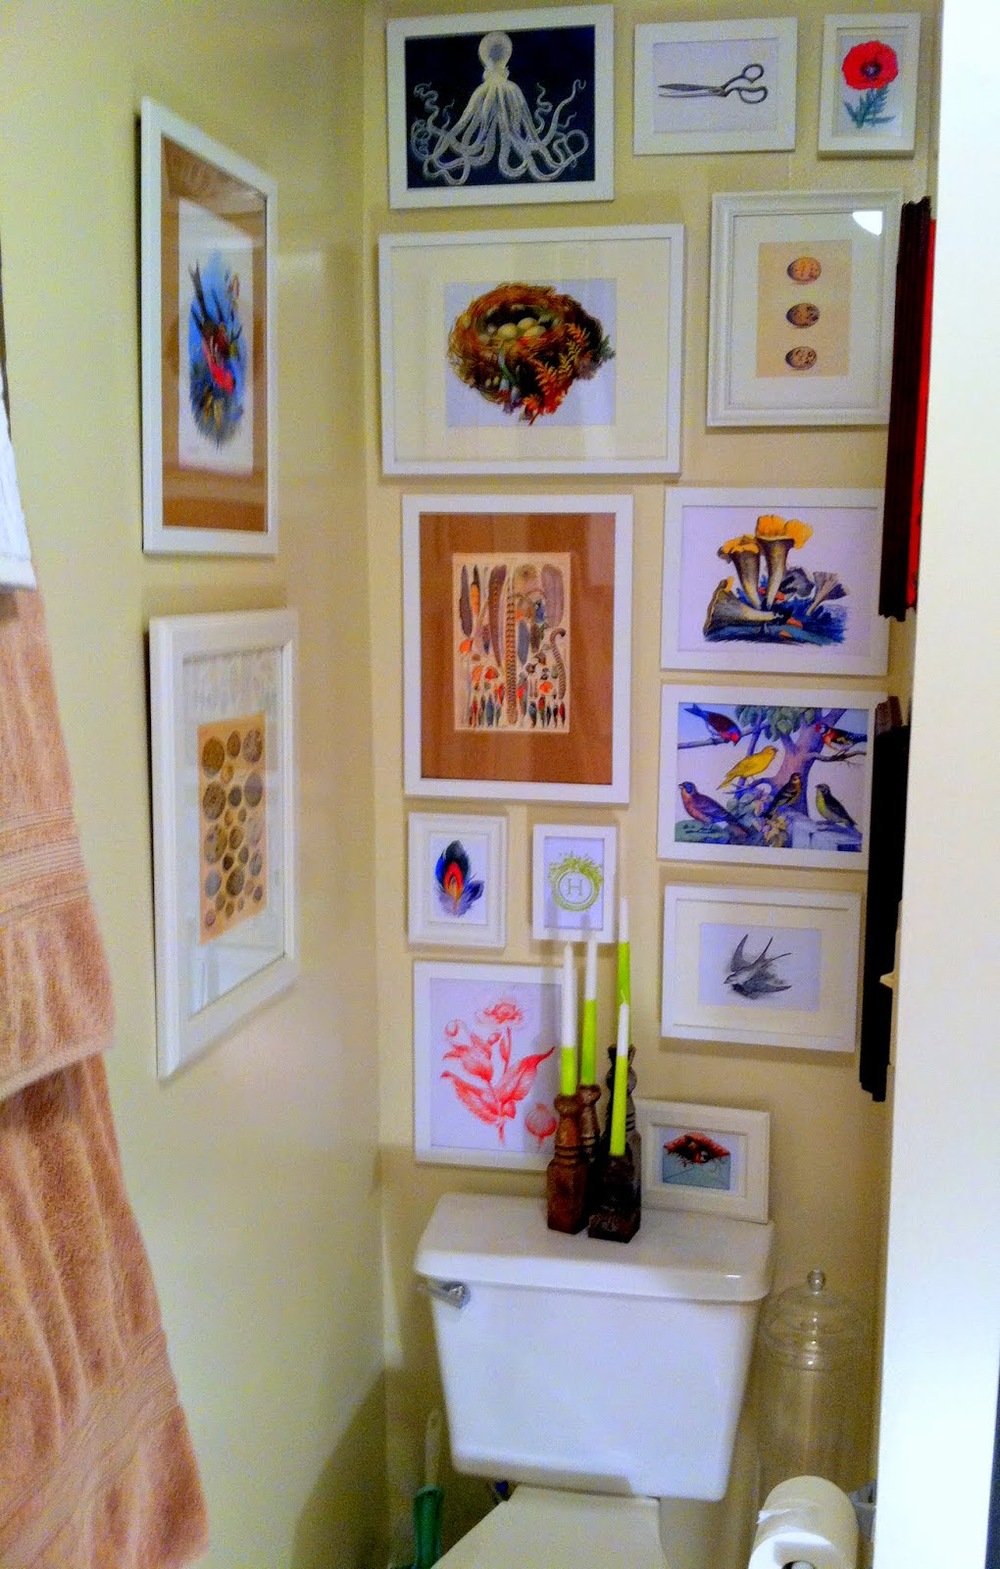
This was totally me as soon as our Mason joined us at the table from his high chair. He is by far our messiest eater as he doesn't stop squirming for one second at the table. For a while I had used those circular woven placemats that you can get for cheap at Target because they're versatile enough to use year-round.

See, not too shabby. Not like, 'oh my gosh, where did you get those placemats?!', but not bad. Yep, these were doing us just fine. As long as no one touched them with dirty hands, dropped food on them, or spilled their milk... I was always telling our little guy to stop touching his placemat. I mean, of all things!

One day we got home from church and were hit by a wretched smell as soon as we walked in our home. I checked the kitchen and all the rooms, but it got better the further I got from the dining room. It was in the dining room. I always wipe down the table and floor after every meal because, you know, kids; so I was kind of dumbstruck. Then I found the culprit - the placemats! Even though I wiped them down after every meal, they stank so bad. It was time to move on to kid-mess worthy placemats.

After a discouraging search for decent looking plastic placemats, I turned to the age old art of lamination. I've actually never had anything laminated in my life! It was quite exciting, indeed.

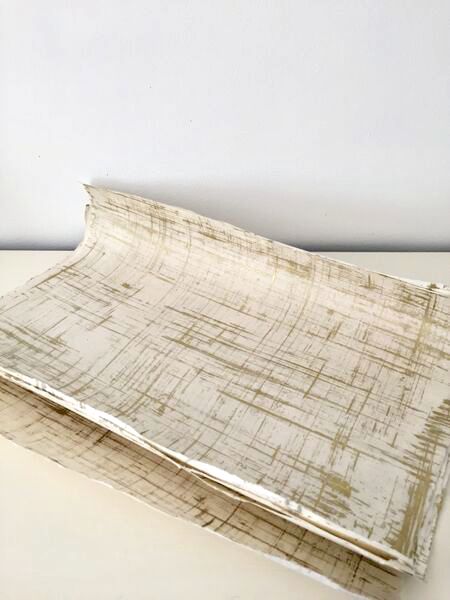
I took a quick trip to PaperSource and came home with two sheets, (20x28), of this:

To make four placemats, all I had to do was tear these in half and then get all four sheets laminated!

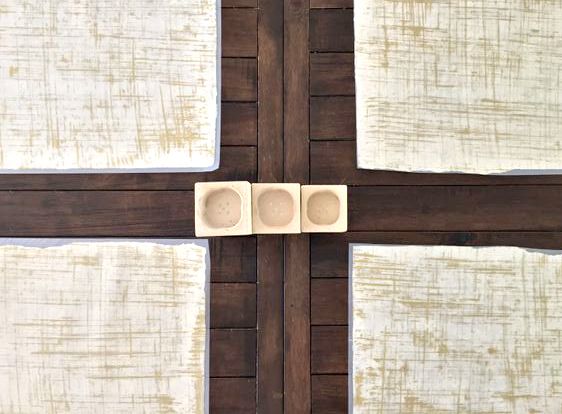
Since all the edges were uneven and frayed, I tore each large sheet in half rather than cut with scissors:

Then I took my four sheets to a FedEx print shop and had each piece laminated. When I picked them up I had placemats!

Gotta loooooove that plastic! In a few years I'll be moving on to pretty fabric placemats, or none at all! But for now, I appreciate this totally kid-friendly alternative.

And guess what? Yesterday at lunch Mason dropped peanut butter from his apple on his placemat. And I smiled, wiped it with my finger, ate it myself, and kissed his chubby cheek. Any little thing that brings a bit more peace to these chaotic, messy days, I'm game. :) 

Carpe the mess!

Thank you all for stopping by! XO


Easy + Inexpensive Home Upgrades

Hi Friends! I don't know about you, but I tend to start piddling around our house looking for SOMETHING to do by mid- January. When the excitement of the holidays is behind us and life moves back into regularity, I start getting a little itch to do something creative. And when my furniture pieces are so cold that a single brush of paint frosts over before my eyes, I'm limited to the indoors.

If you're looking to do a few creative home improvements over the long winter months, we're here to help you get inspired! The following ideas are simply meant to be jumping-off points to get your wheels spinning. 

Let's have some fun!

1. Wall Decals - Here's a trend that I am revving to jump on! Wall decals are such a whimsical way to complete a room, and the best part is, there are so many beautiful choices! You can create an entire statement wall with decals, or a specific focal point. These choices are a great mix of fun and sophisticated:

Sources from Left to Right: Raindrop Flower, Seagull Wall, Triangle Wall

2. Hardware - One of my personal favorite ways to switch things up is a simple hardware upgrade! The options are endless so your bound to find a style that's right for you, (and your piece of furniture)! Here are three favorites floating around right this minute:

TO BUY

Sources, Left to Right: Gold Tone Mushroom Knob, Netherbury Knob, Antique Tear Drop Knob, Rustic Cabinet Pull

TO DIY

If you have a retired belt, (or you can find one for a few bucks at a thrift store), then you can cut it up and make leather pulls! On the piece blow, I made tab pulls by folding 6" pieces in half and sticking my screw through the top, as well as full length handles by sticking a screw through each end, with the middle bowing out a bit.


3. Sofa Cushions - By far the most popularly switched out item in the home, sofa cushions are a zero effort option that offers dramatic results. Fabrics and patterns can be mixed and matched any which way you please, so if you can make the tough decisions, it's a great way to give a room a noticeable face-lift! It was hard to narrow my favorites down, but the companies below are my personal, tried and true favorites for price, style and quality.

TO BUY

Sources from Left to Right: Stocholm Pillow, Striped Aztec Pillow, Velvet/Linen Pillow 

TO DIY

Using leather cord and a white cover, stitch just the ends of the cord placed in a criss-cross pattern.

4. Gallery Walls - This completely DIY option can be as clean and simple or as random and haphazard as you'd like! There are really no rules when it comes to gallery walls, but it's highly recommended to lay your pieces out on the floor first so you can play around with placement and design. Use personal photos, pages from books you own, or downloadable prints you find online! Here are a few gallery walls we've designed here at StyleMutt:

Sources, (complete with how-to tutorials), from Left to Right: Botanical Prints, Downloaded Prints, Sentimental Wall in White

There you have it! A few good indoor-weather projects to get you through the Winter! Is there anything you hope to work on this Winter or any other ideas you can add? We'd love to hear what you're up to!

Thank you all for stopping by!