
As of today, I'm officially down to the last two items of my Furniture Flip Bucket List - with only two months left in the year to complete. Huzzah!
Not sure why I ended up working backwards on this list, but since January 2015, I've crossed off items:
No.6
No.5
No.7
No.4
and now No.3: Rivet Something!
So to recap, a Riv·et (noun) is a short metal pin or bolt beaten or pressed down used for holding together two plates of metal [or other material] together. I got my first rivet gun for Christmas and am ashamed to say I only JUST freed it from it's clam shell packaging for this project. I claimed I was waiting for "the perfect occasion to break it in." But the truth is I was scared.
Now there's really no reason to be intimidated by a rivet gun. In fact, just about the only intimidating thing about this tool is the word gun in the title haha - it's not even a power tool and only costs $10 bucks! But I confess breaking out a new tool I've never used before can make me second guess my skills. But when I finally got an idea on how to use it, I sat down and watched a couple youtube videos to bolster my confidence and was ready to [timidly] roll.
The "worthy project" was an 80's style patio cart I acquired in early October. It was a white powder-coated steel that almost looked like PVC pipe instead of metal. It was tragic.
Plain Jane no?

My first instinct was to go gold using our beloved faux gold finish technique. But when I finished painting it, it felt flat to me. I wanted to add something special to make it feel more... finished.

This is when I realized I already had just the tool for the job: my riveter.
Supplies needed:
Metal bar cart
Leather
Rivet Gun/ Riveter
Pop Rivets
Power Drill (not pictured)

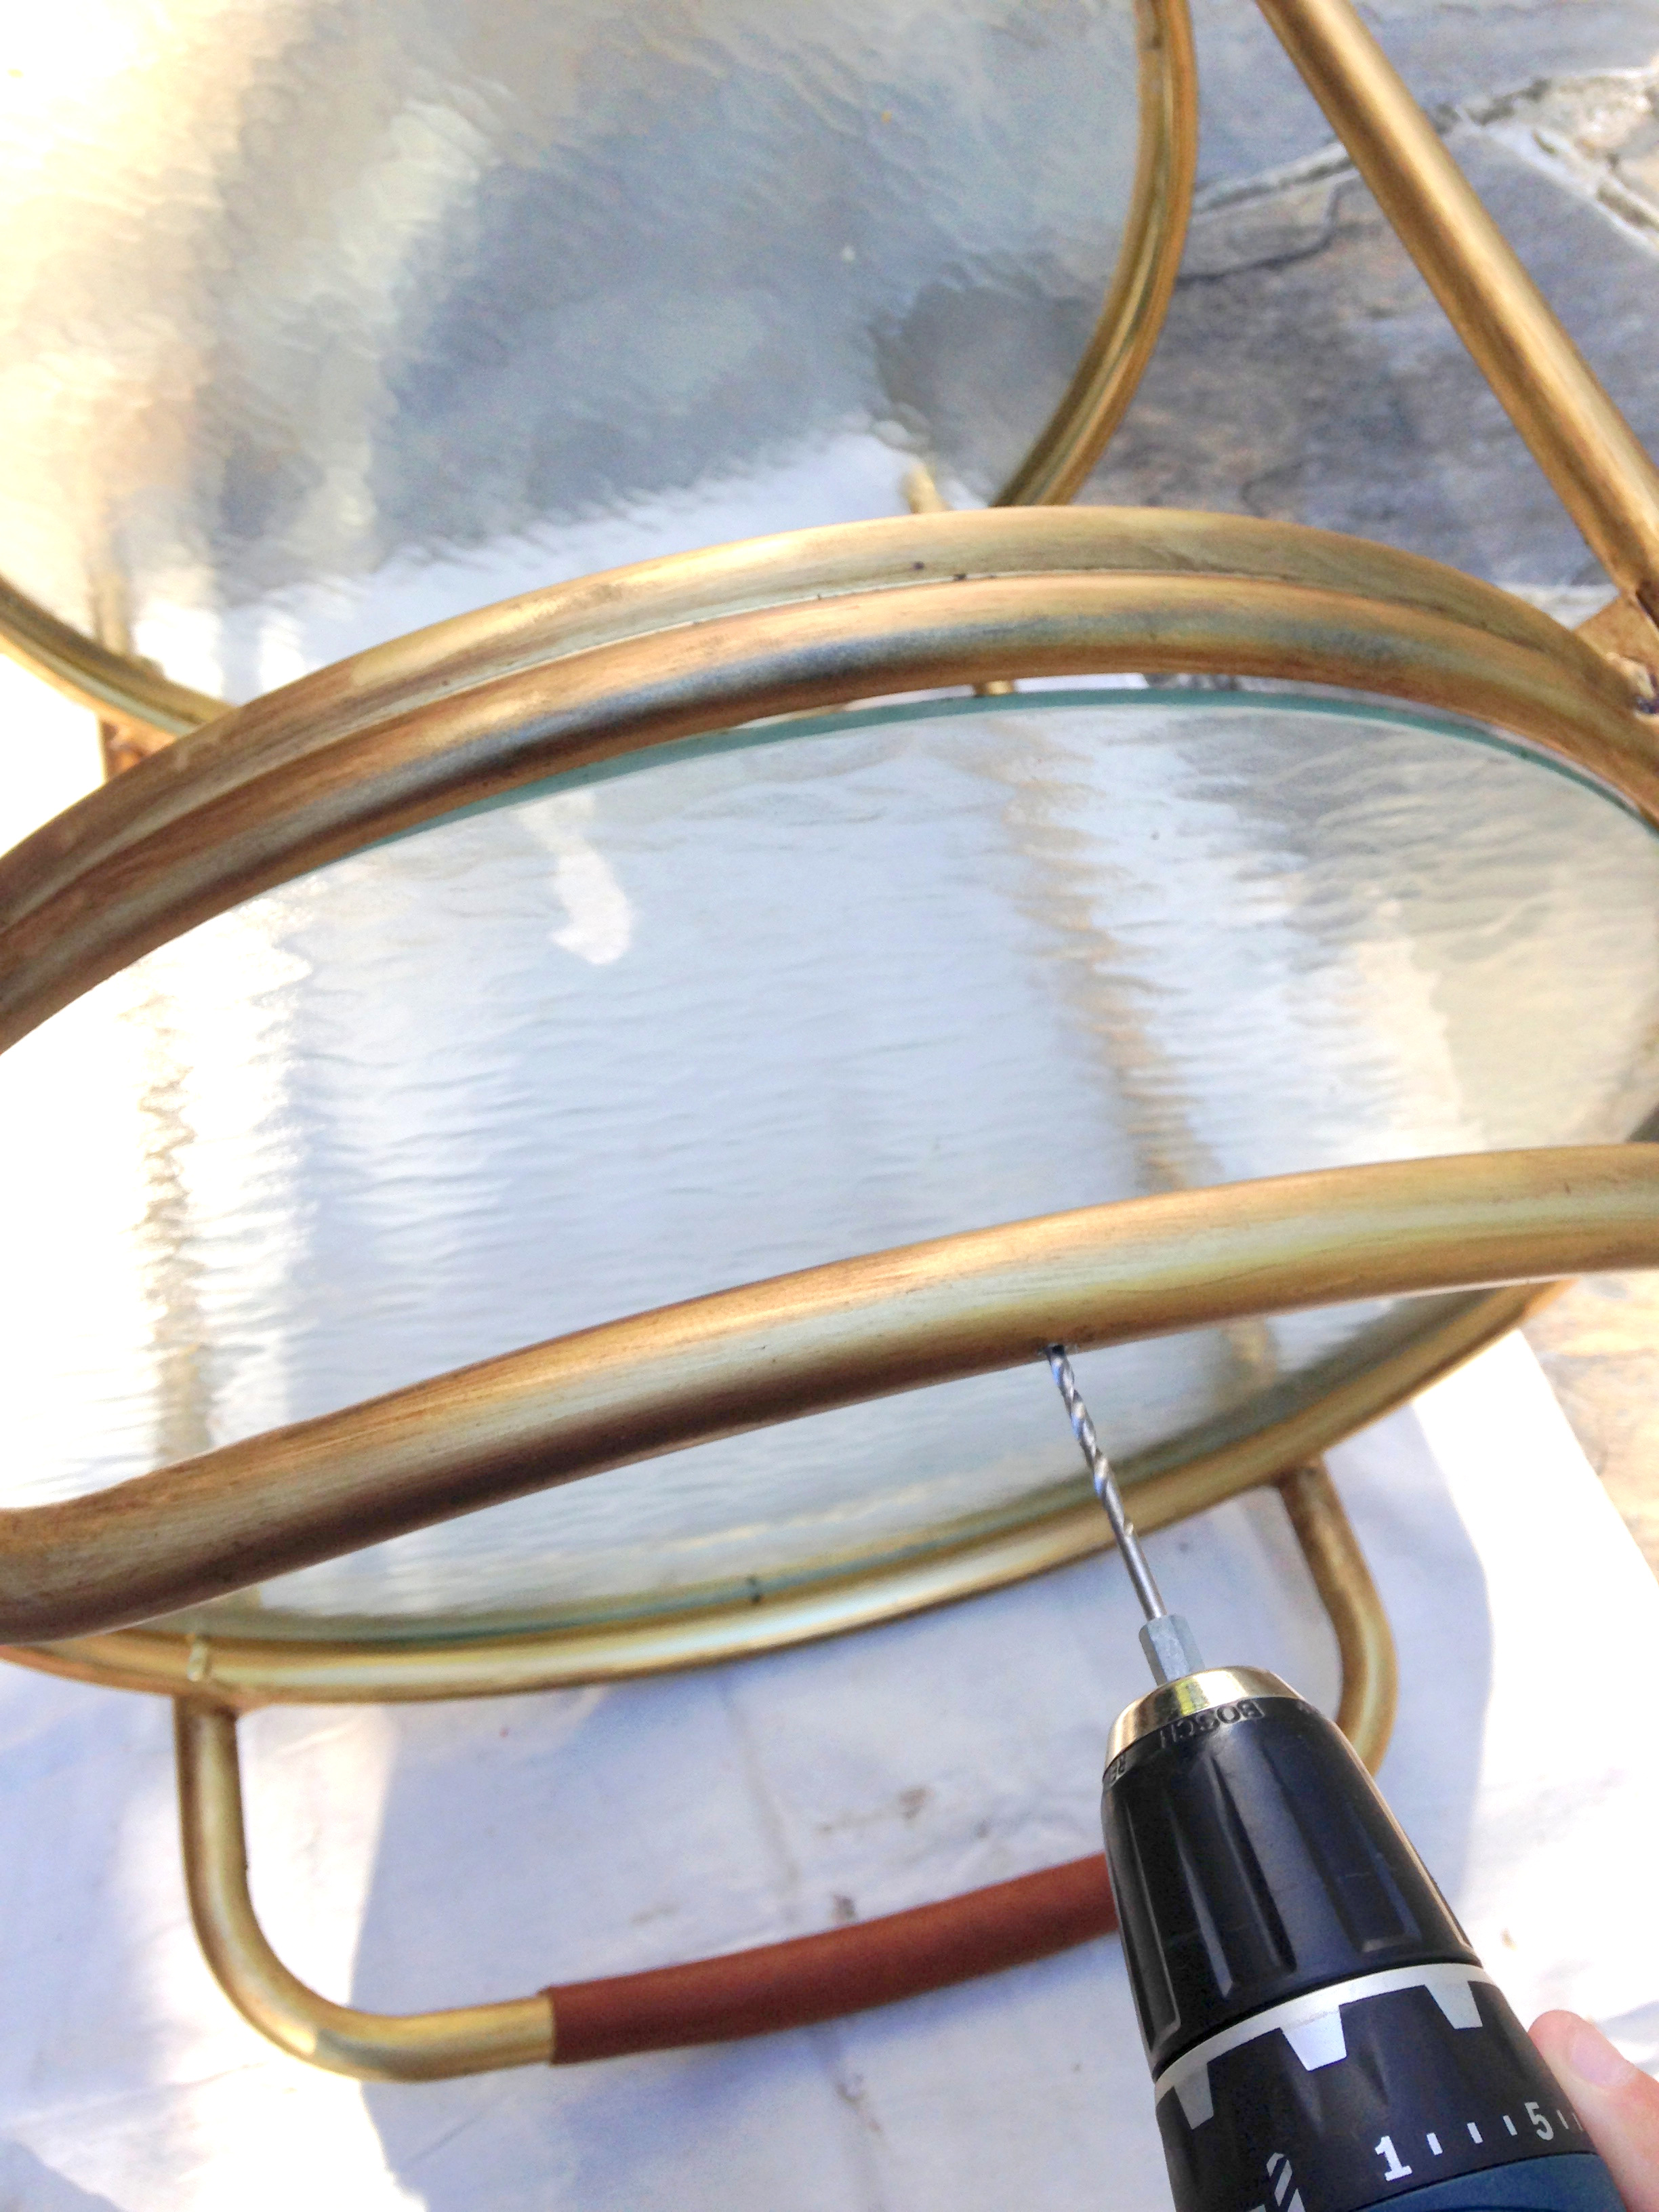
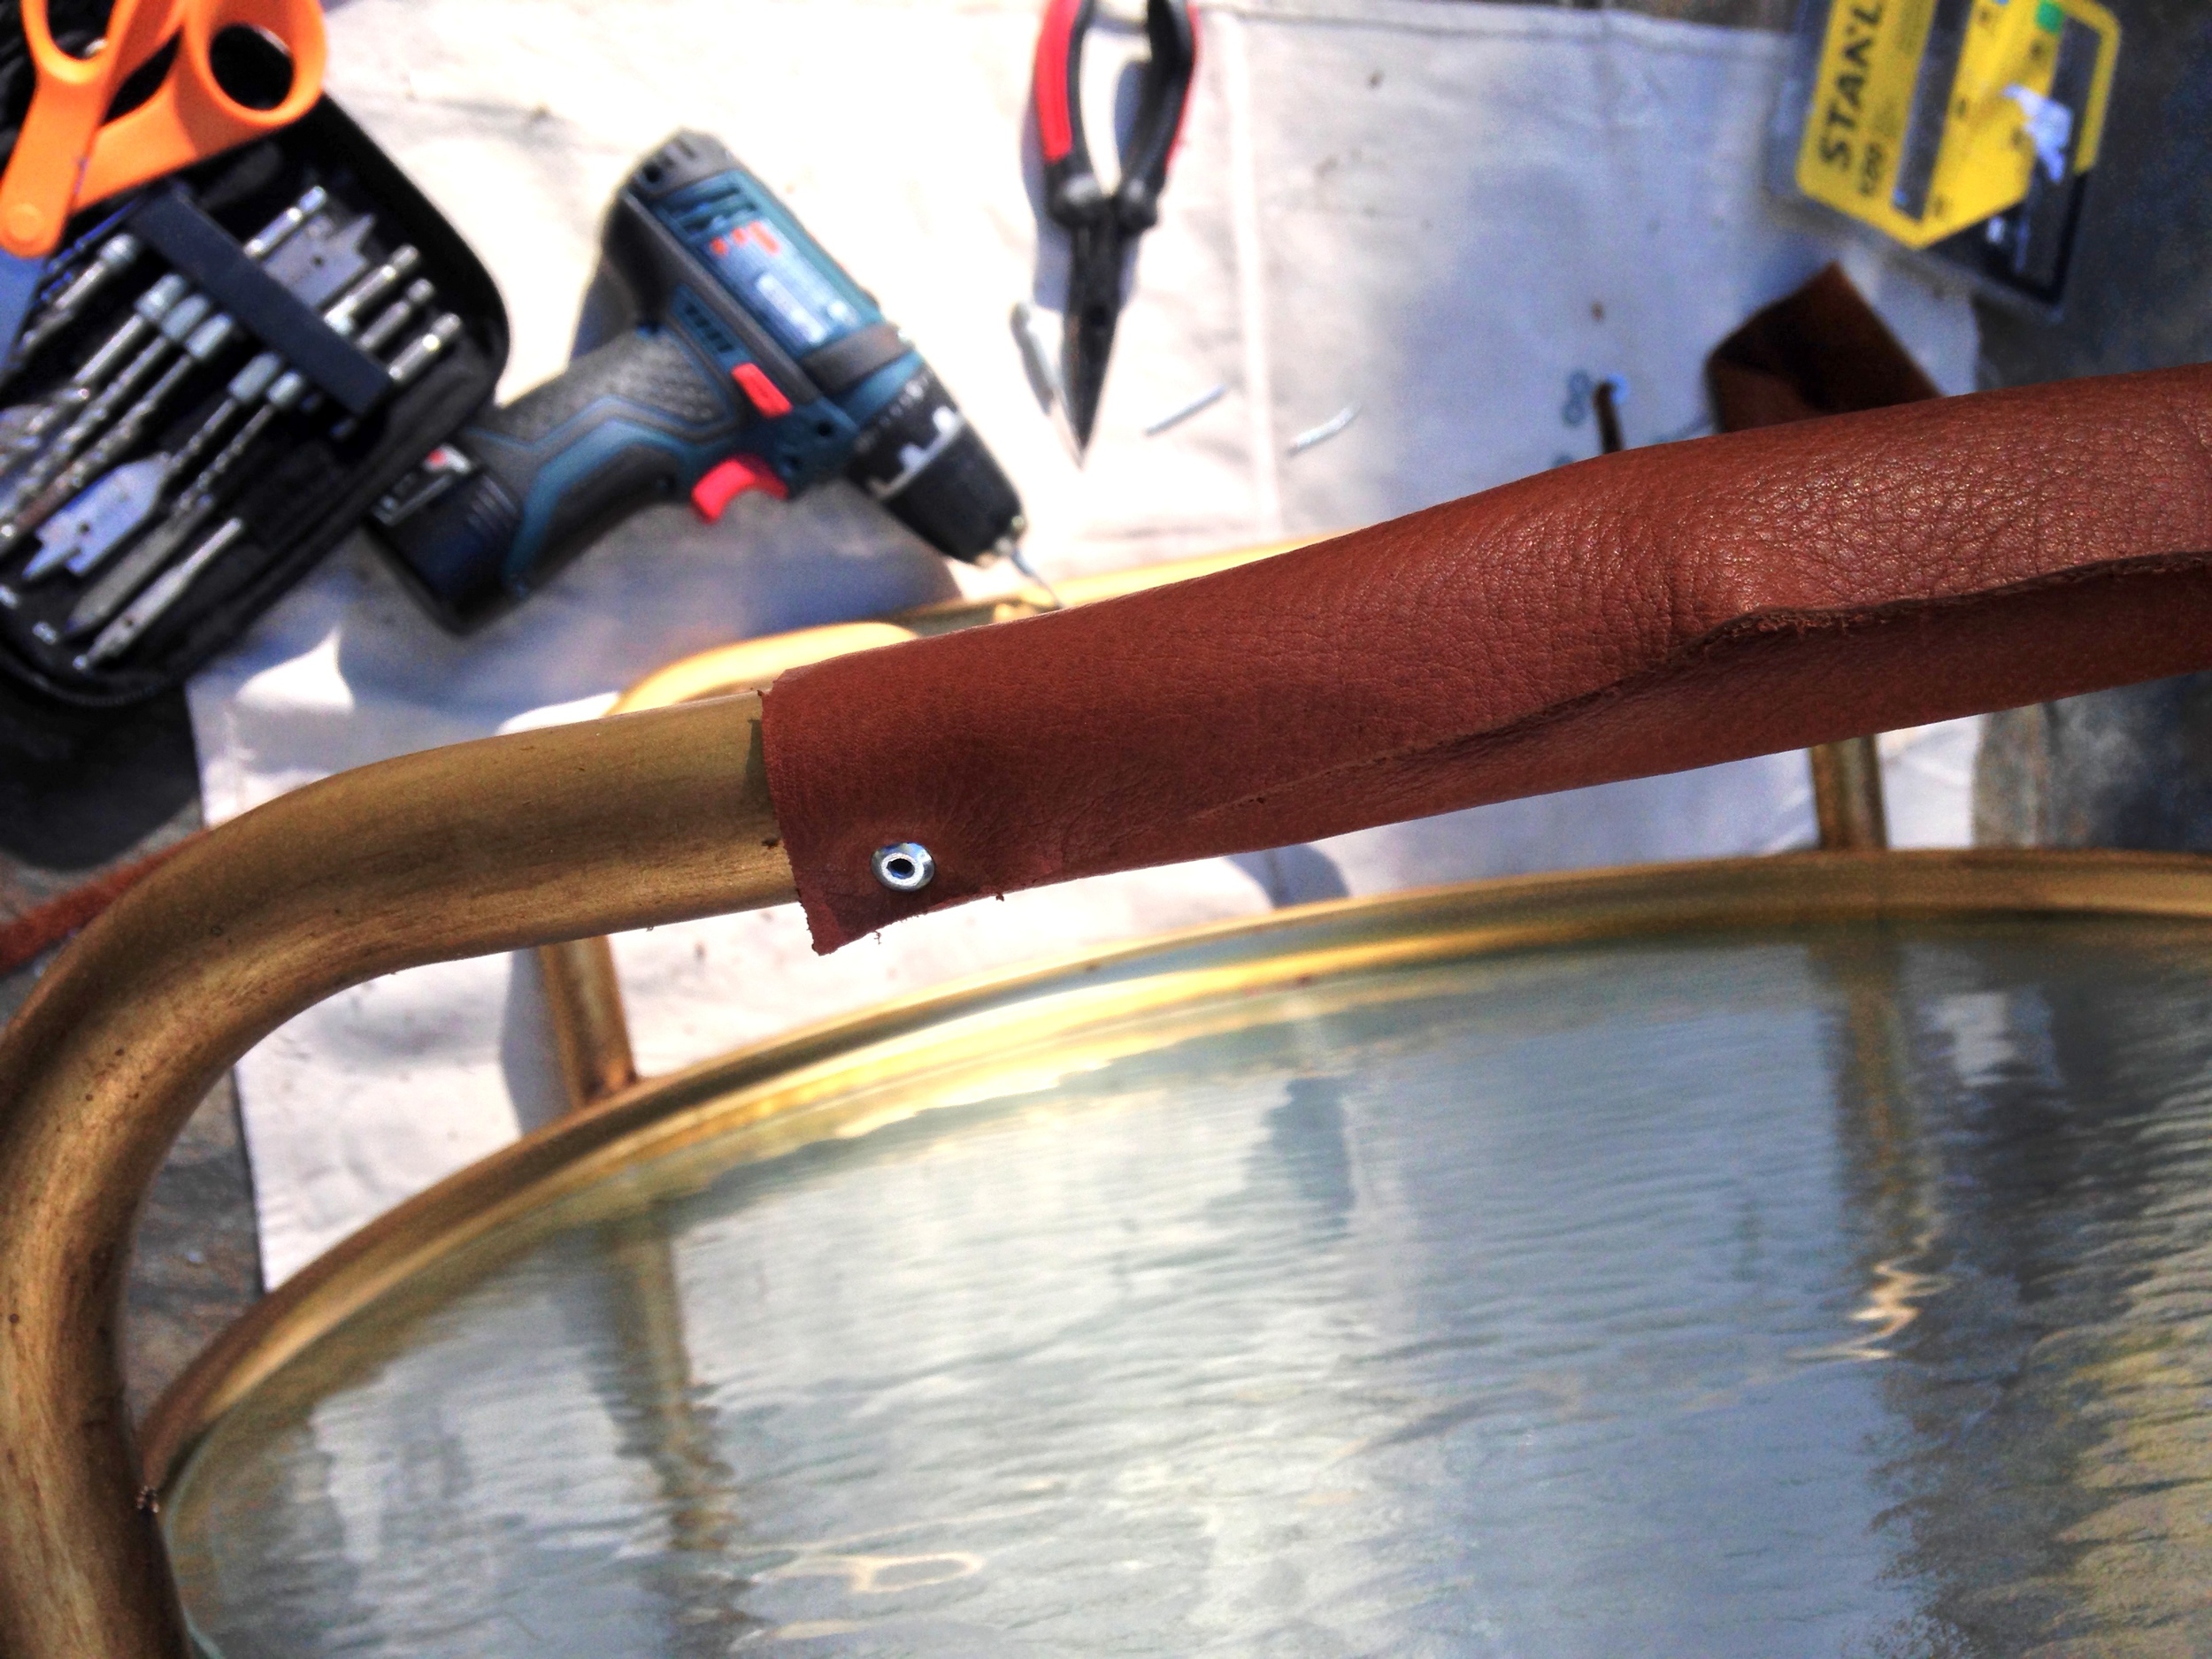
Step 1: drill a pilot hole in the center of the handle.
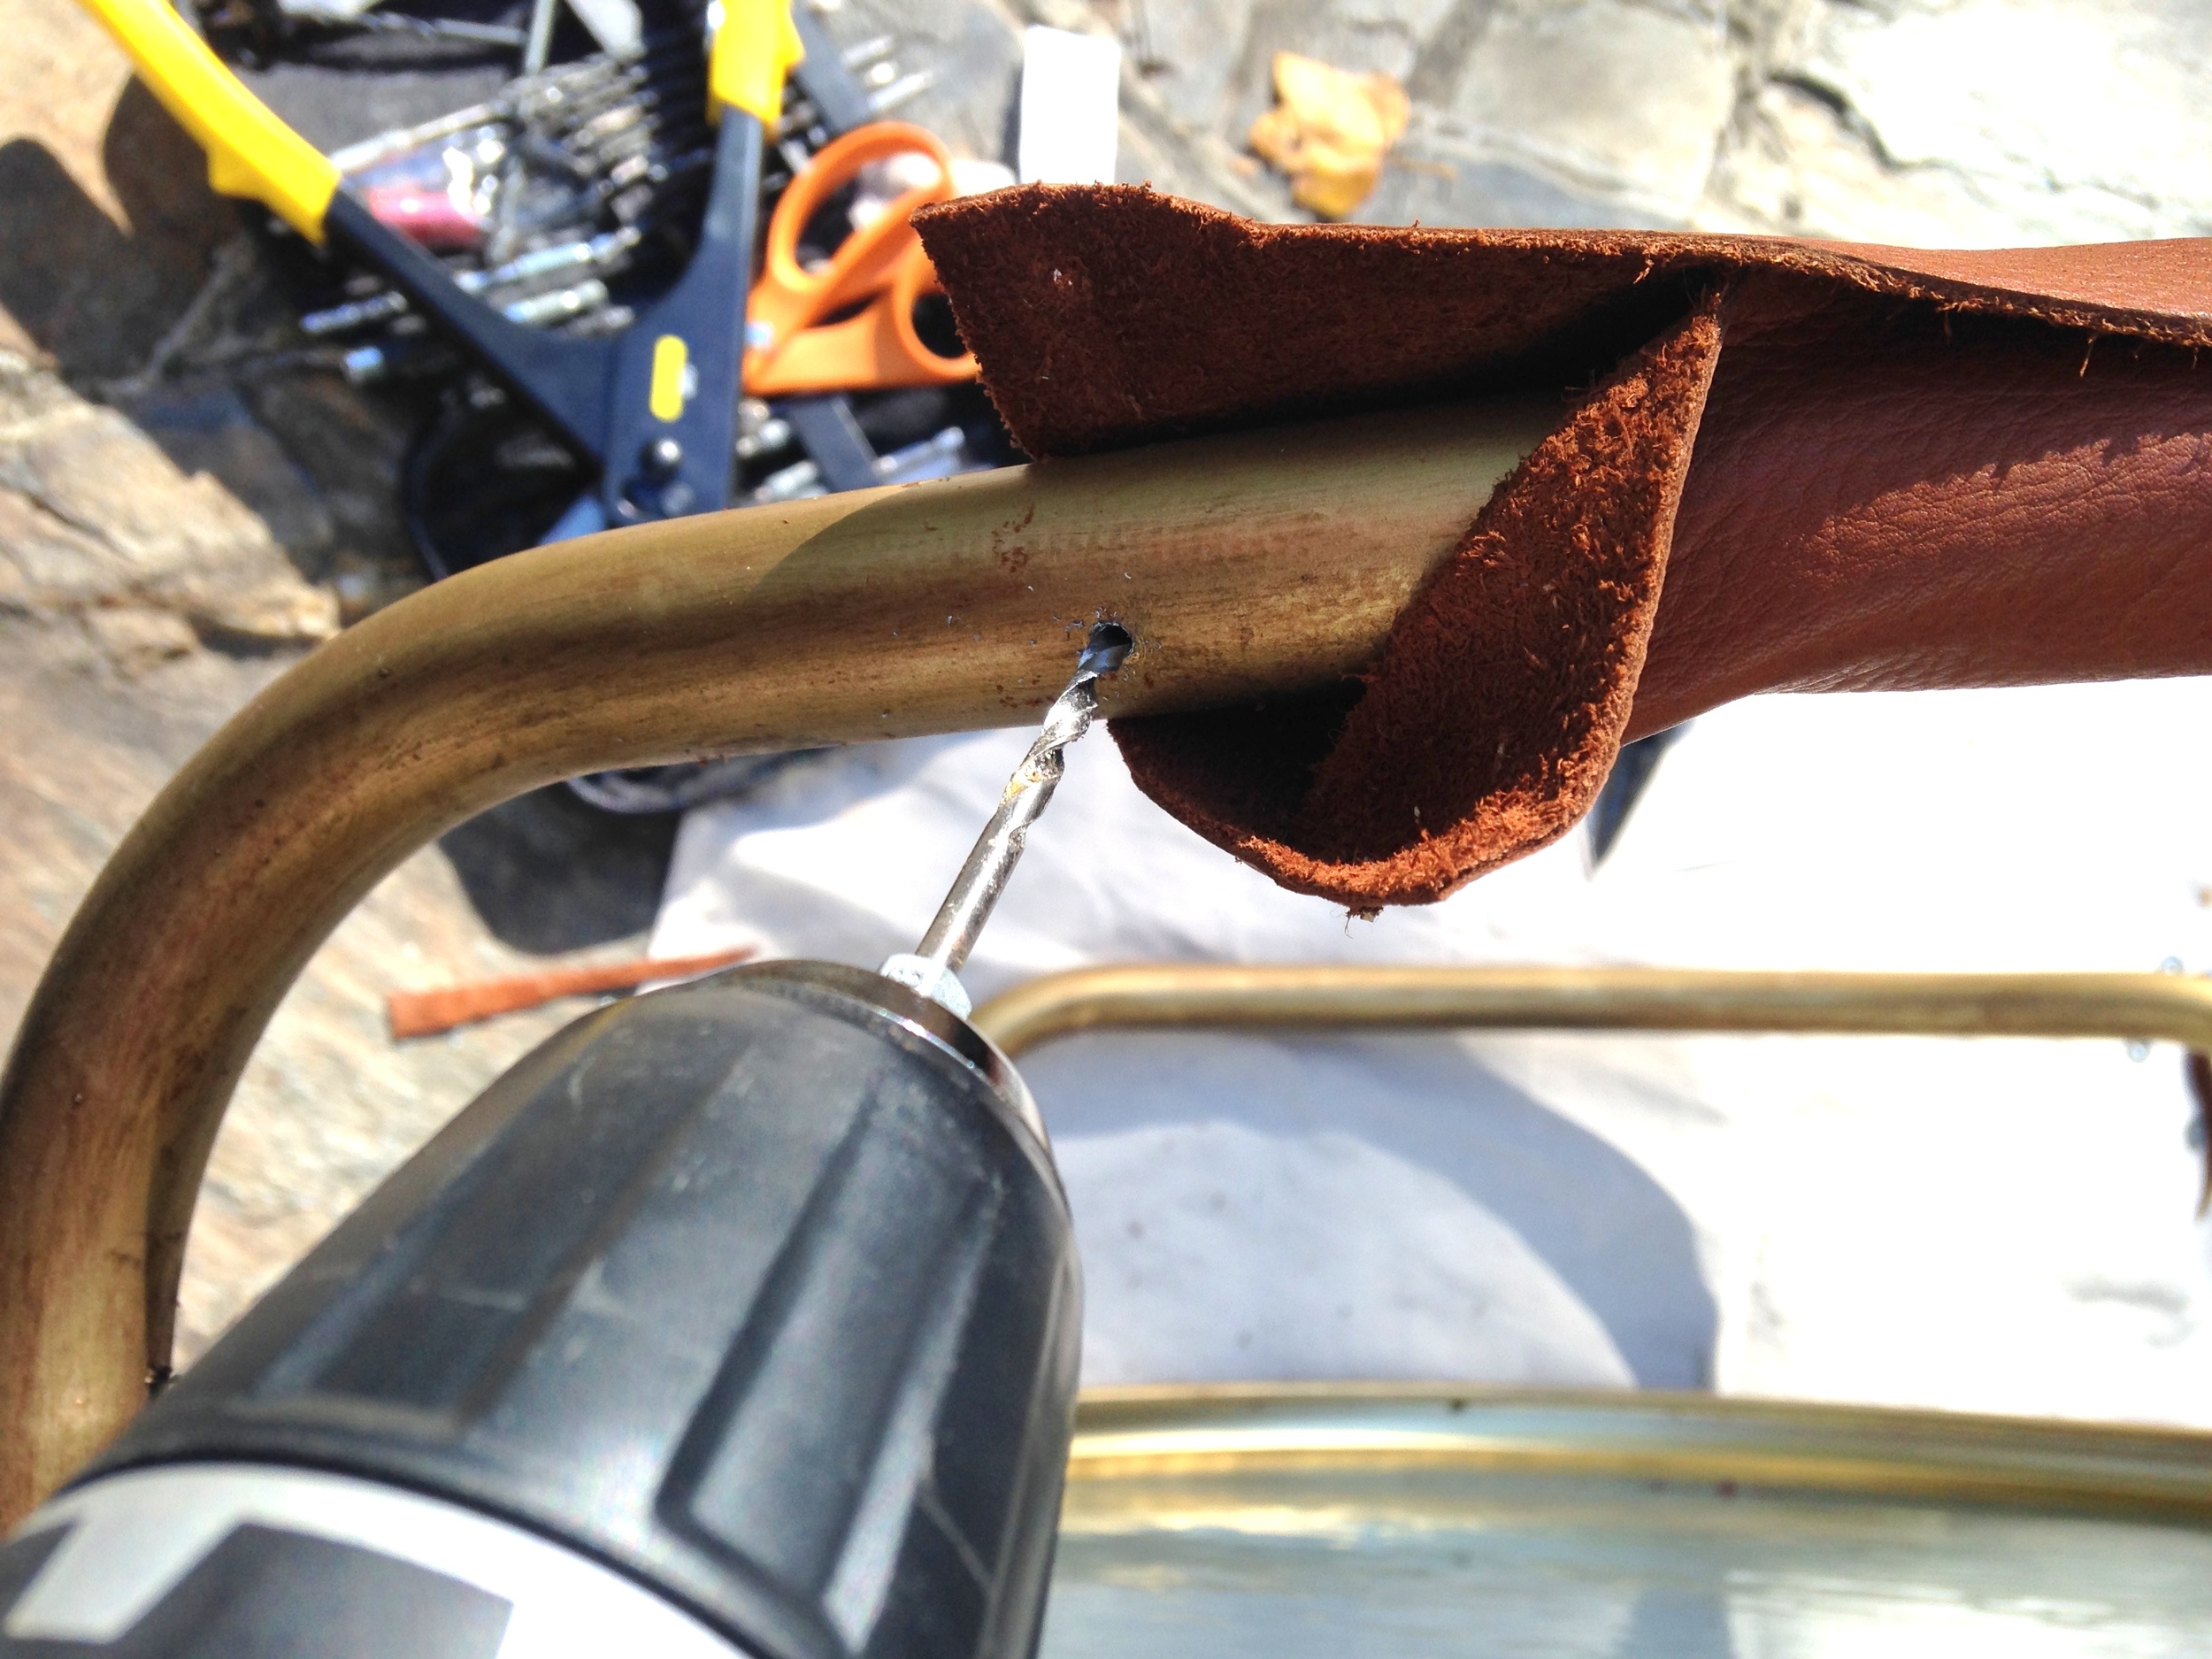
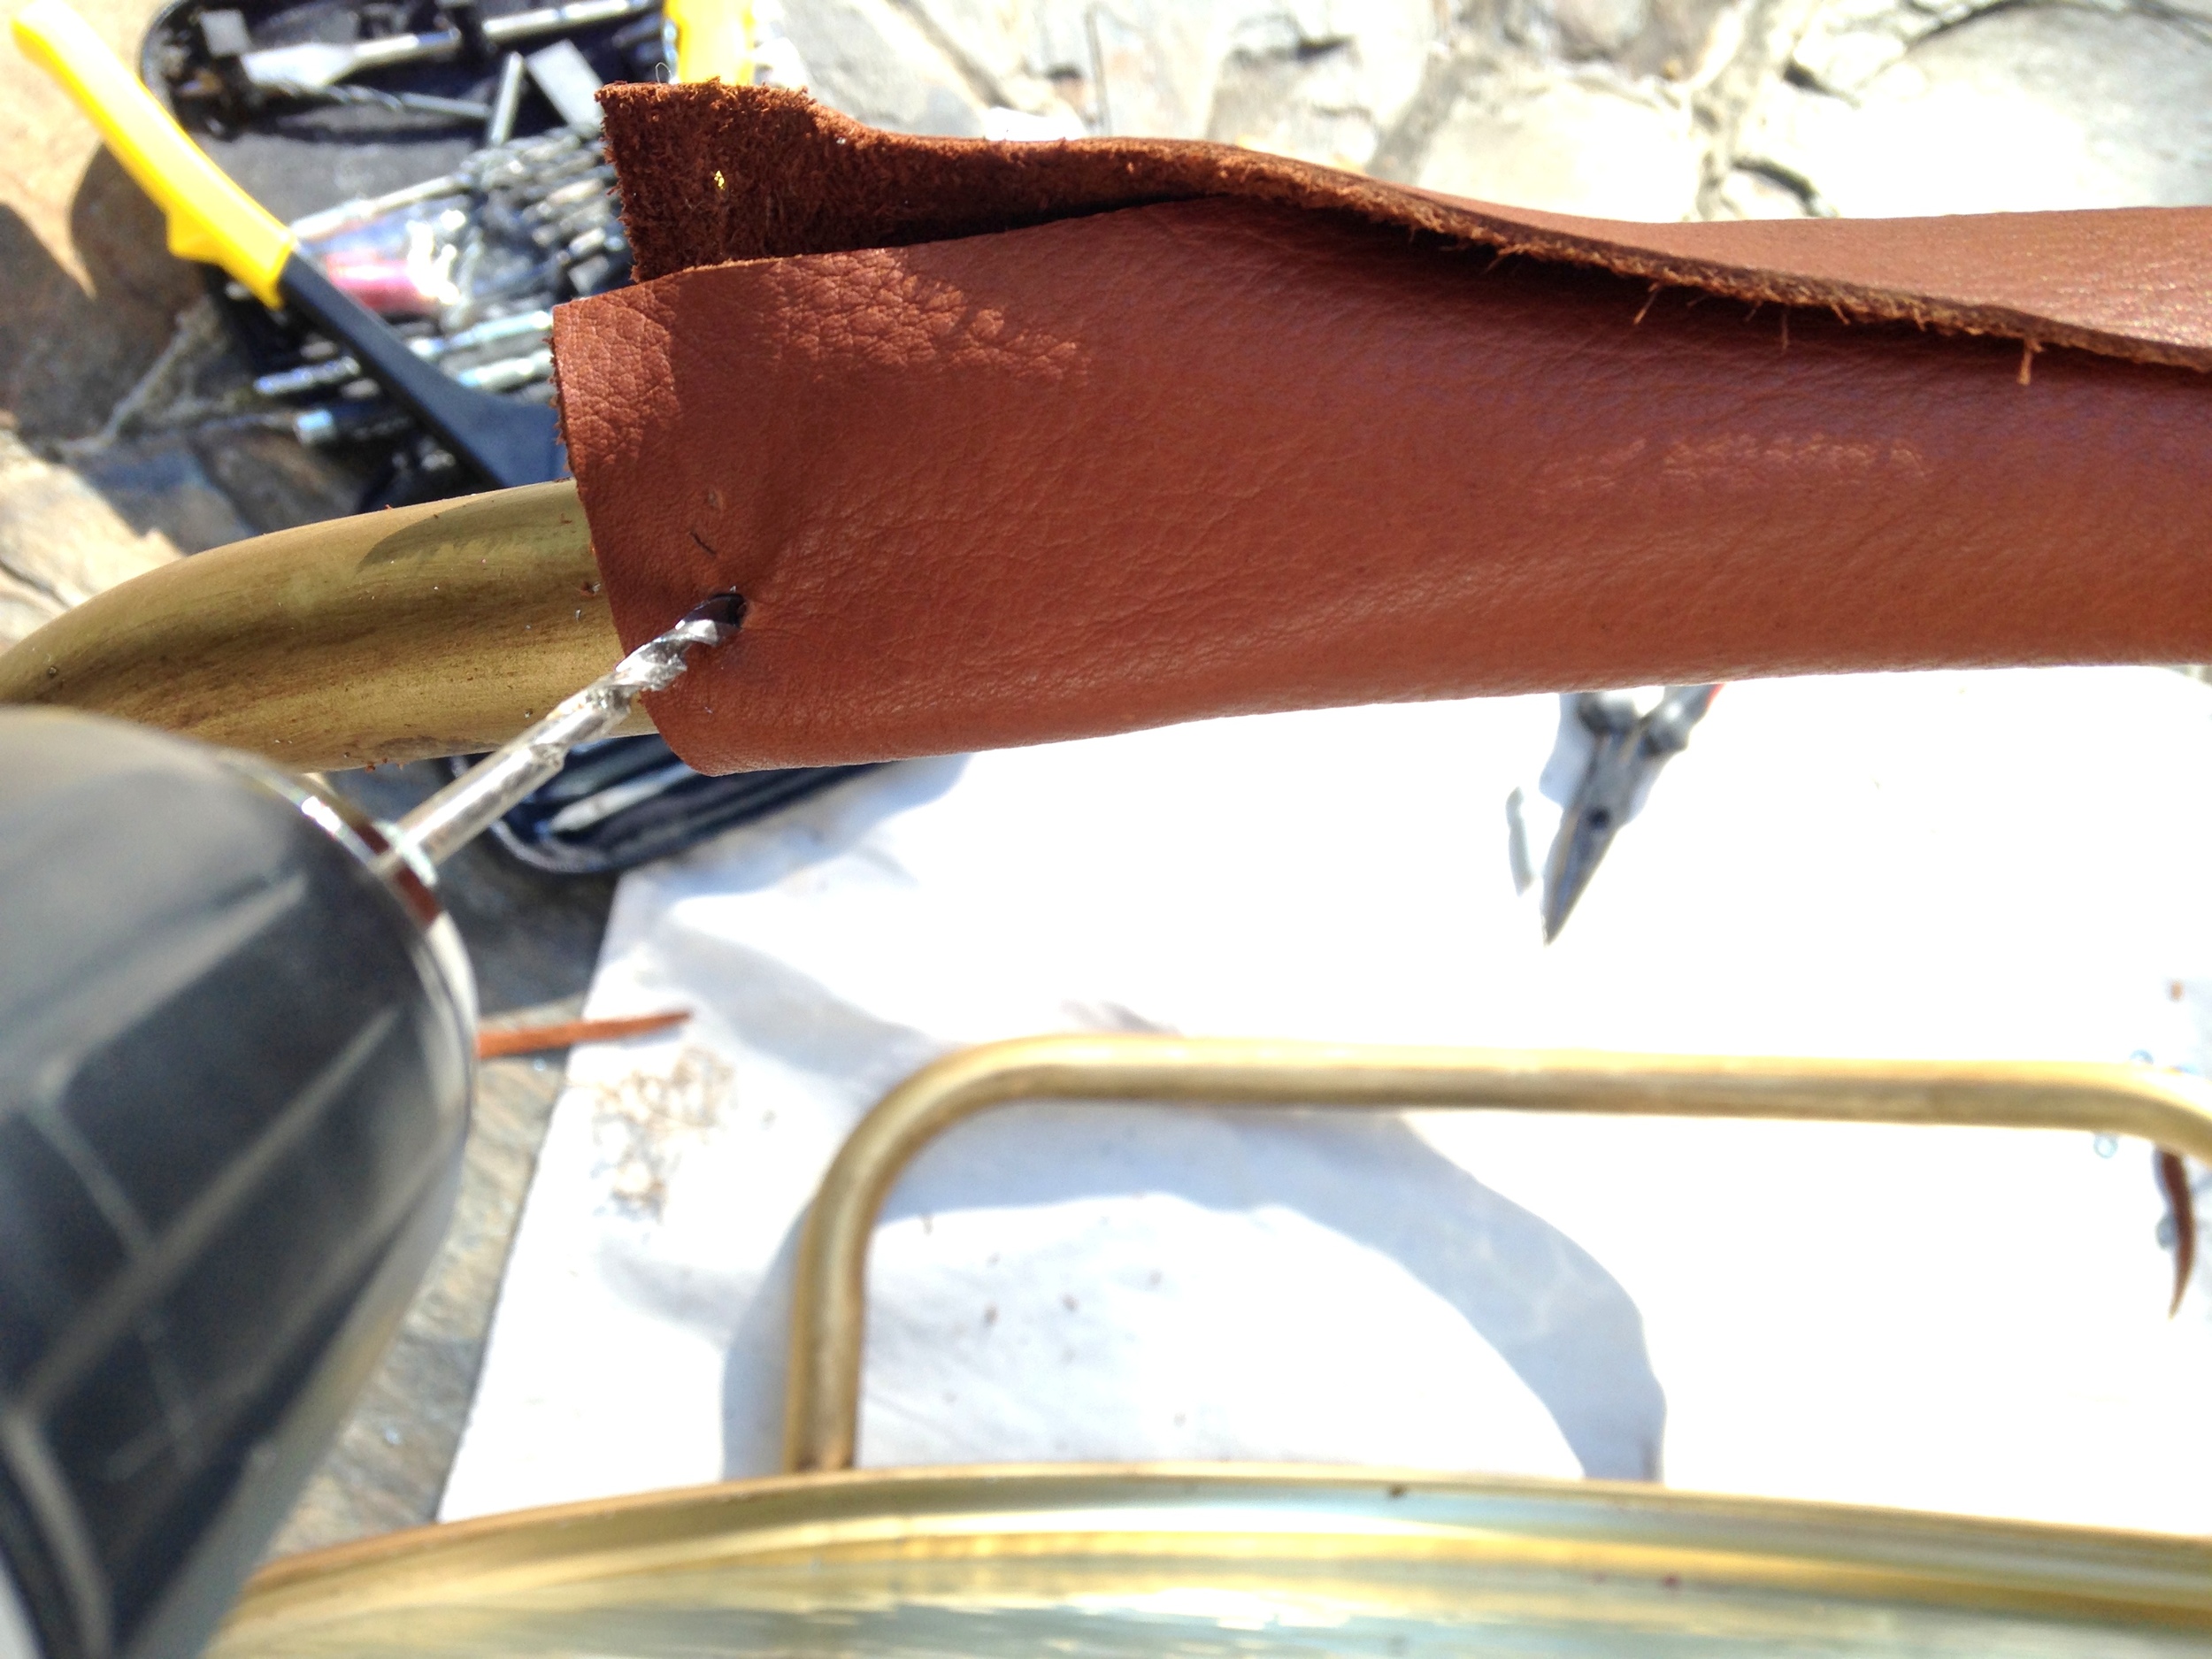
Step 2: Line up the center of edge of the leather strip on the hole in the metal and drill a matching pilot hole in the leather.

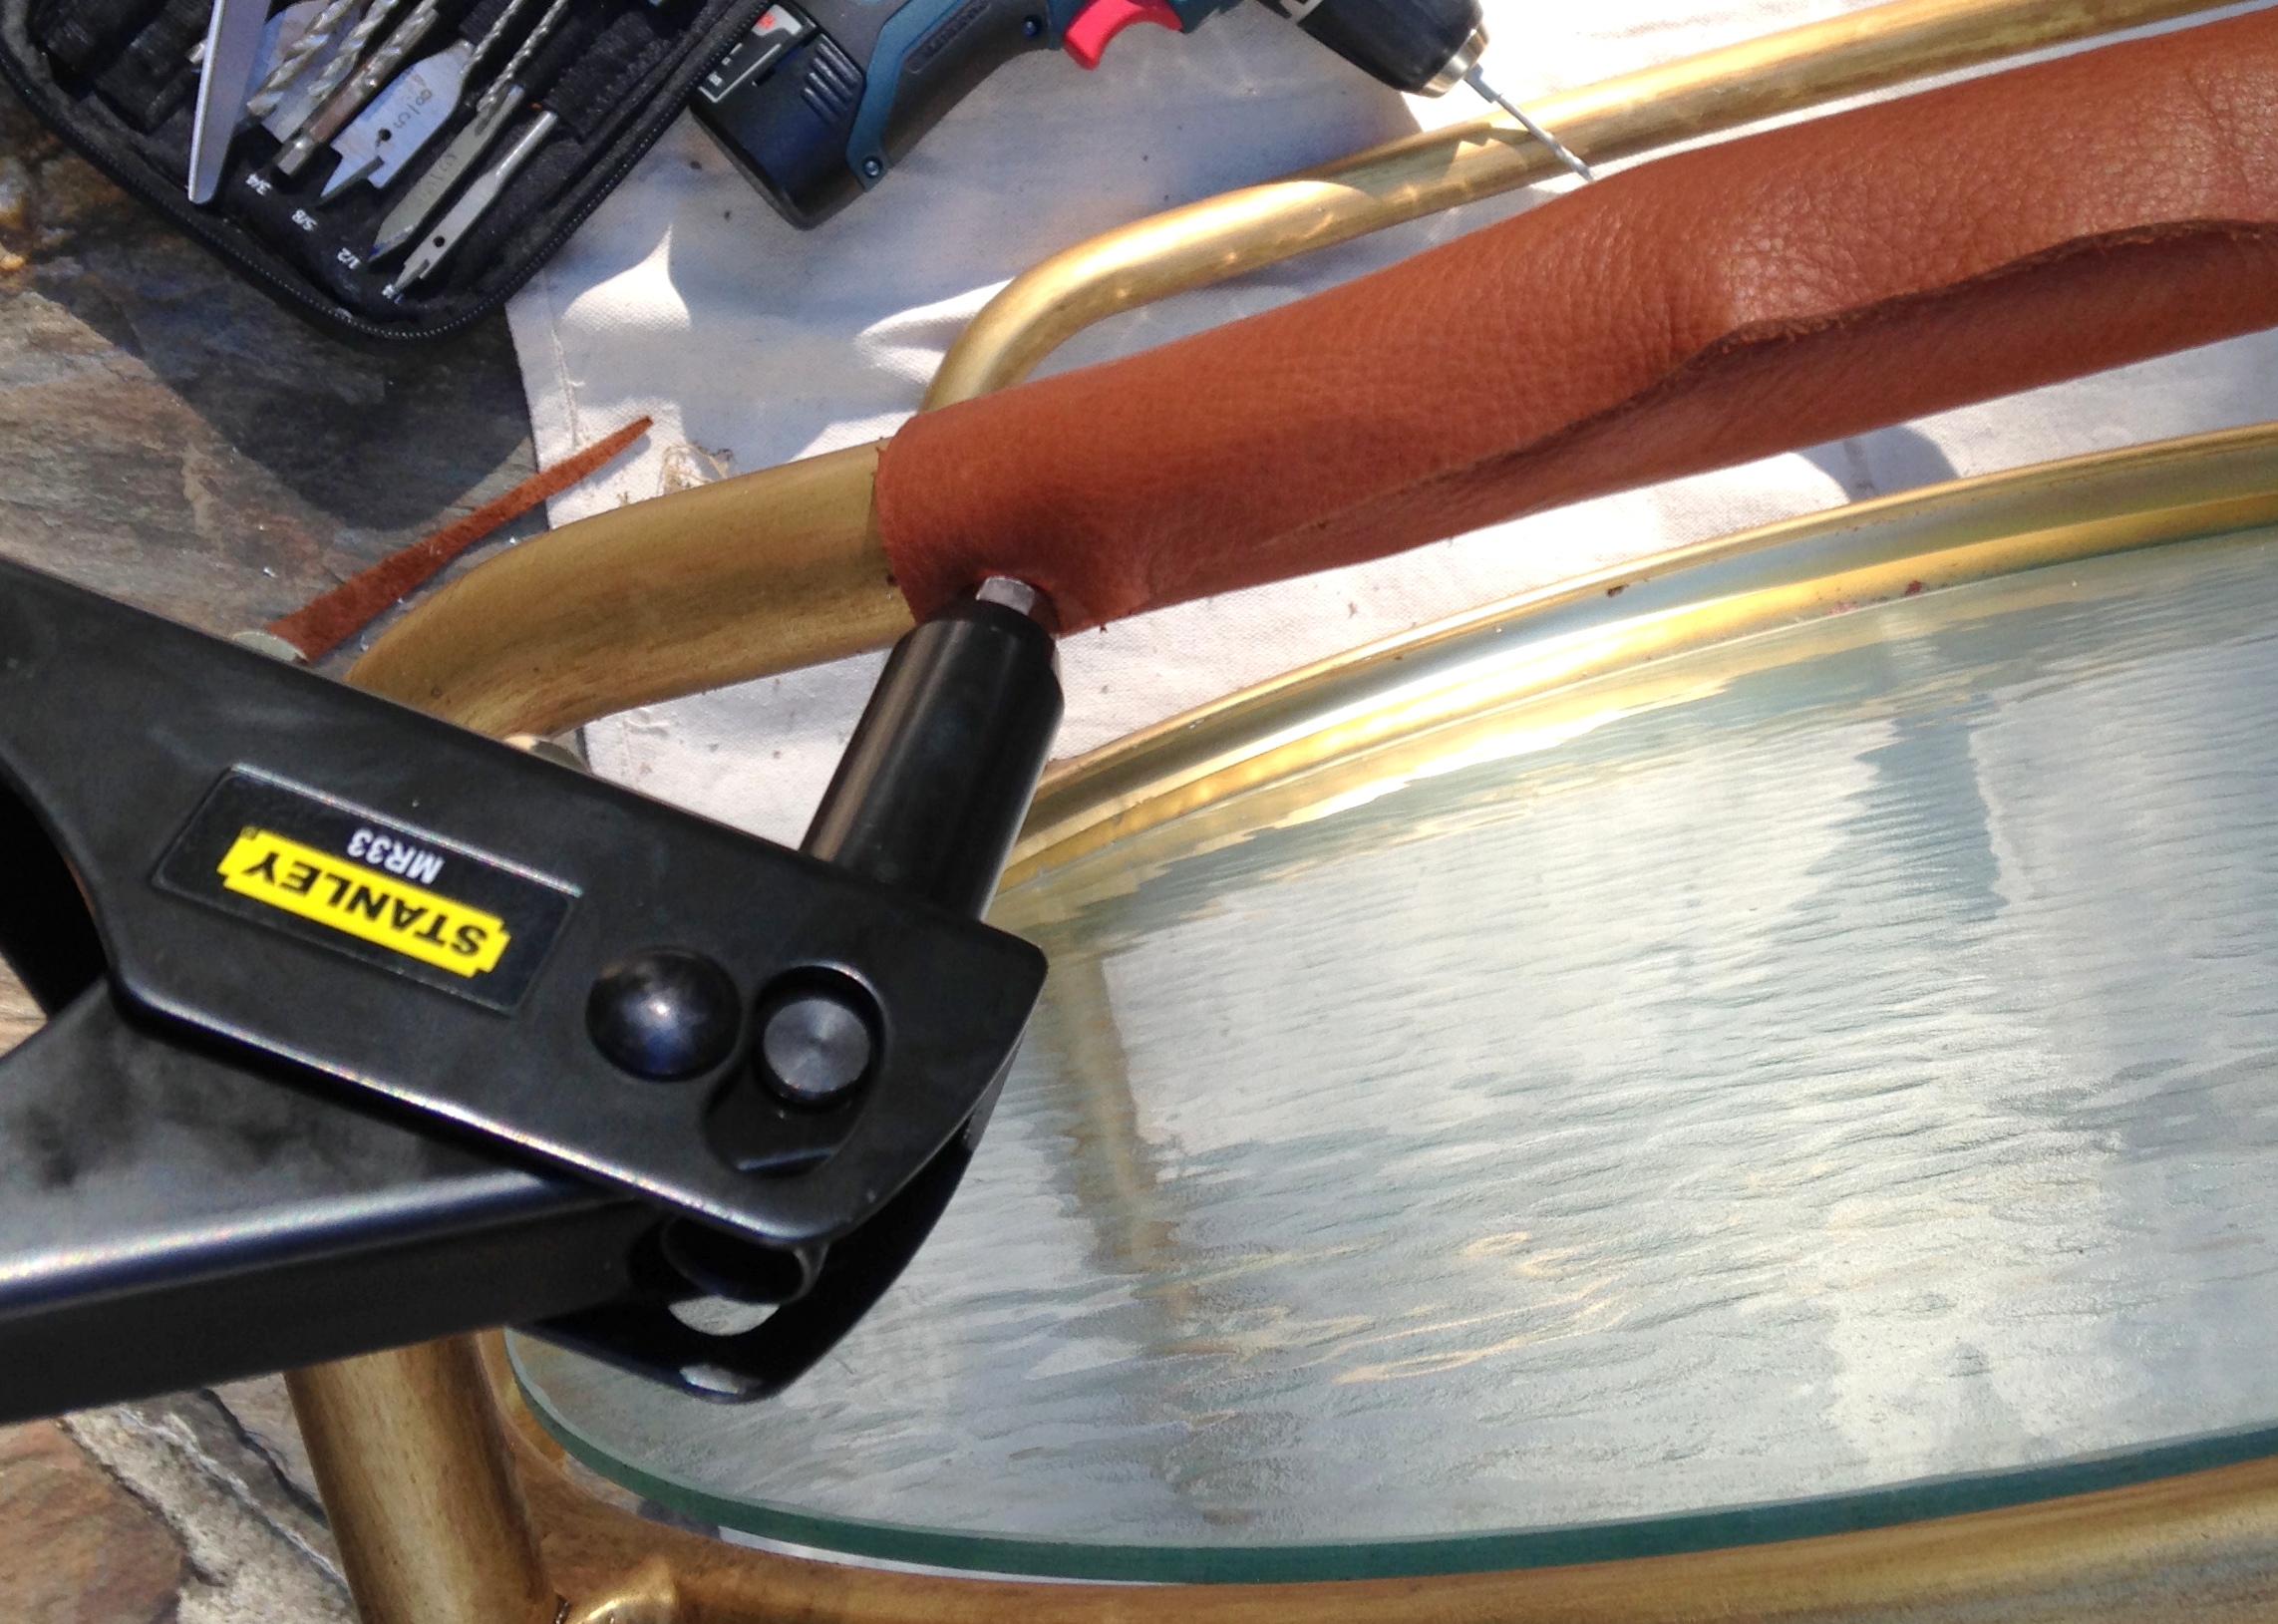
Step 3: Load your rivet gun with a pop rivet (watch this video if you needed help like me) and thread the pop rivet tip through your pilot holes, pressing the tip of the rivet gun up against the cart.

Step 4. Squeeze the handles of your rivet gun until you hear the rivet "pop" (hence the name pop rivet). When you pull the gun away, you should see the flattened tip of the rivet, securely fastening your leather to the metal.

Step 5: using the center rivet as an anchor, wrap the leather around the handle - pulling it tight as you go. I cut my leather long enough to cover the center rivet and end almost at the underside of the handle so the seam will be hidden when I'm finished. Then working from the outside in, repeat steps 1-4 all along the seam until the leather is completely riveted in place.

In retrospect, it would have been easier to do this treatment with wide leather cording and wrap around the handle several times - you would only need a rivet to anchor at the beginning and one to finish at the end. Maybe I'll try that next time ;)


I also added leather cuffs to the feet of the cart to give it a bit more... masculinity. I'm hoping it'll attract a buyer like Marshall's leather cuff did Lily (How I Met Your Mother fans...?).
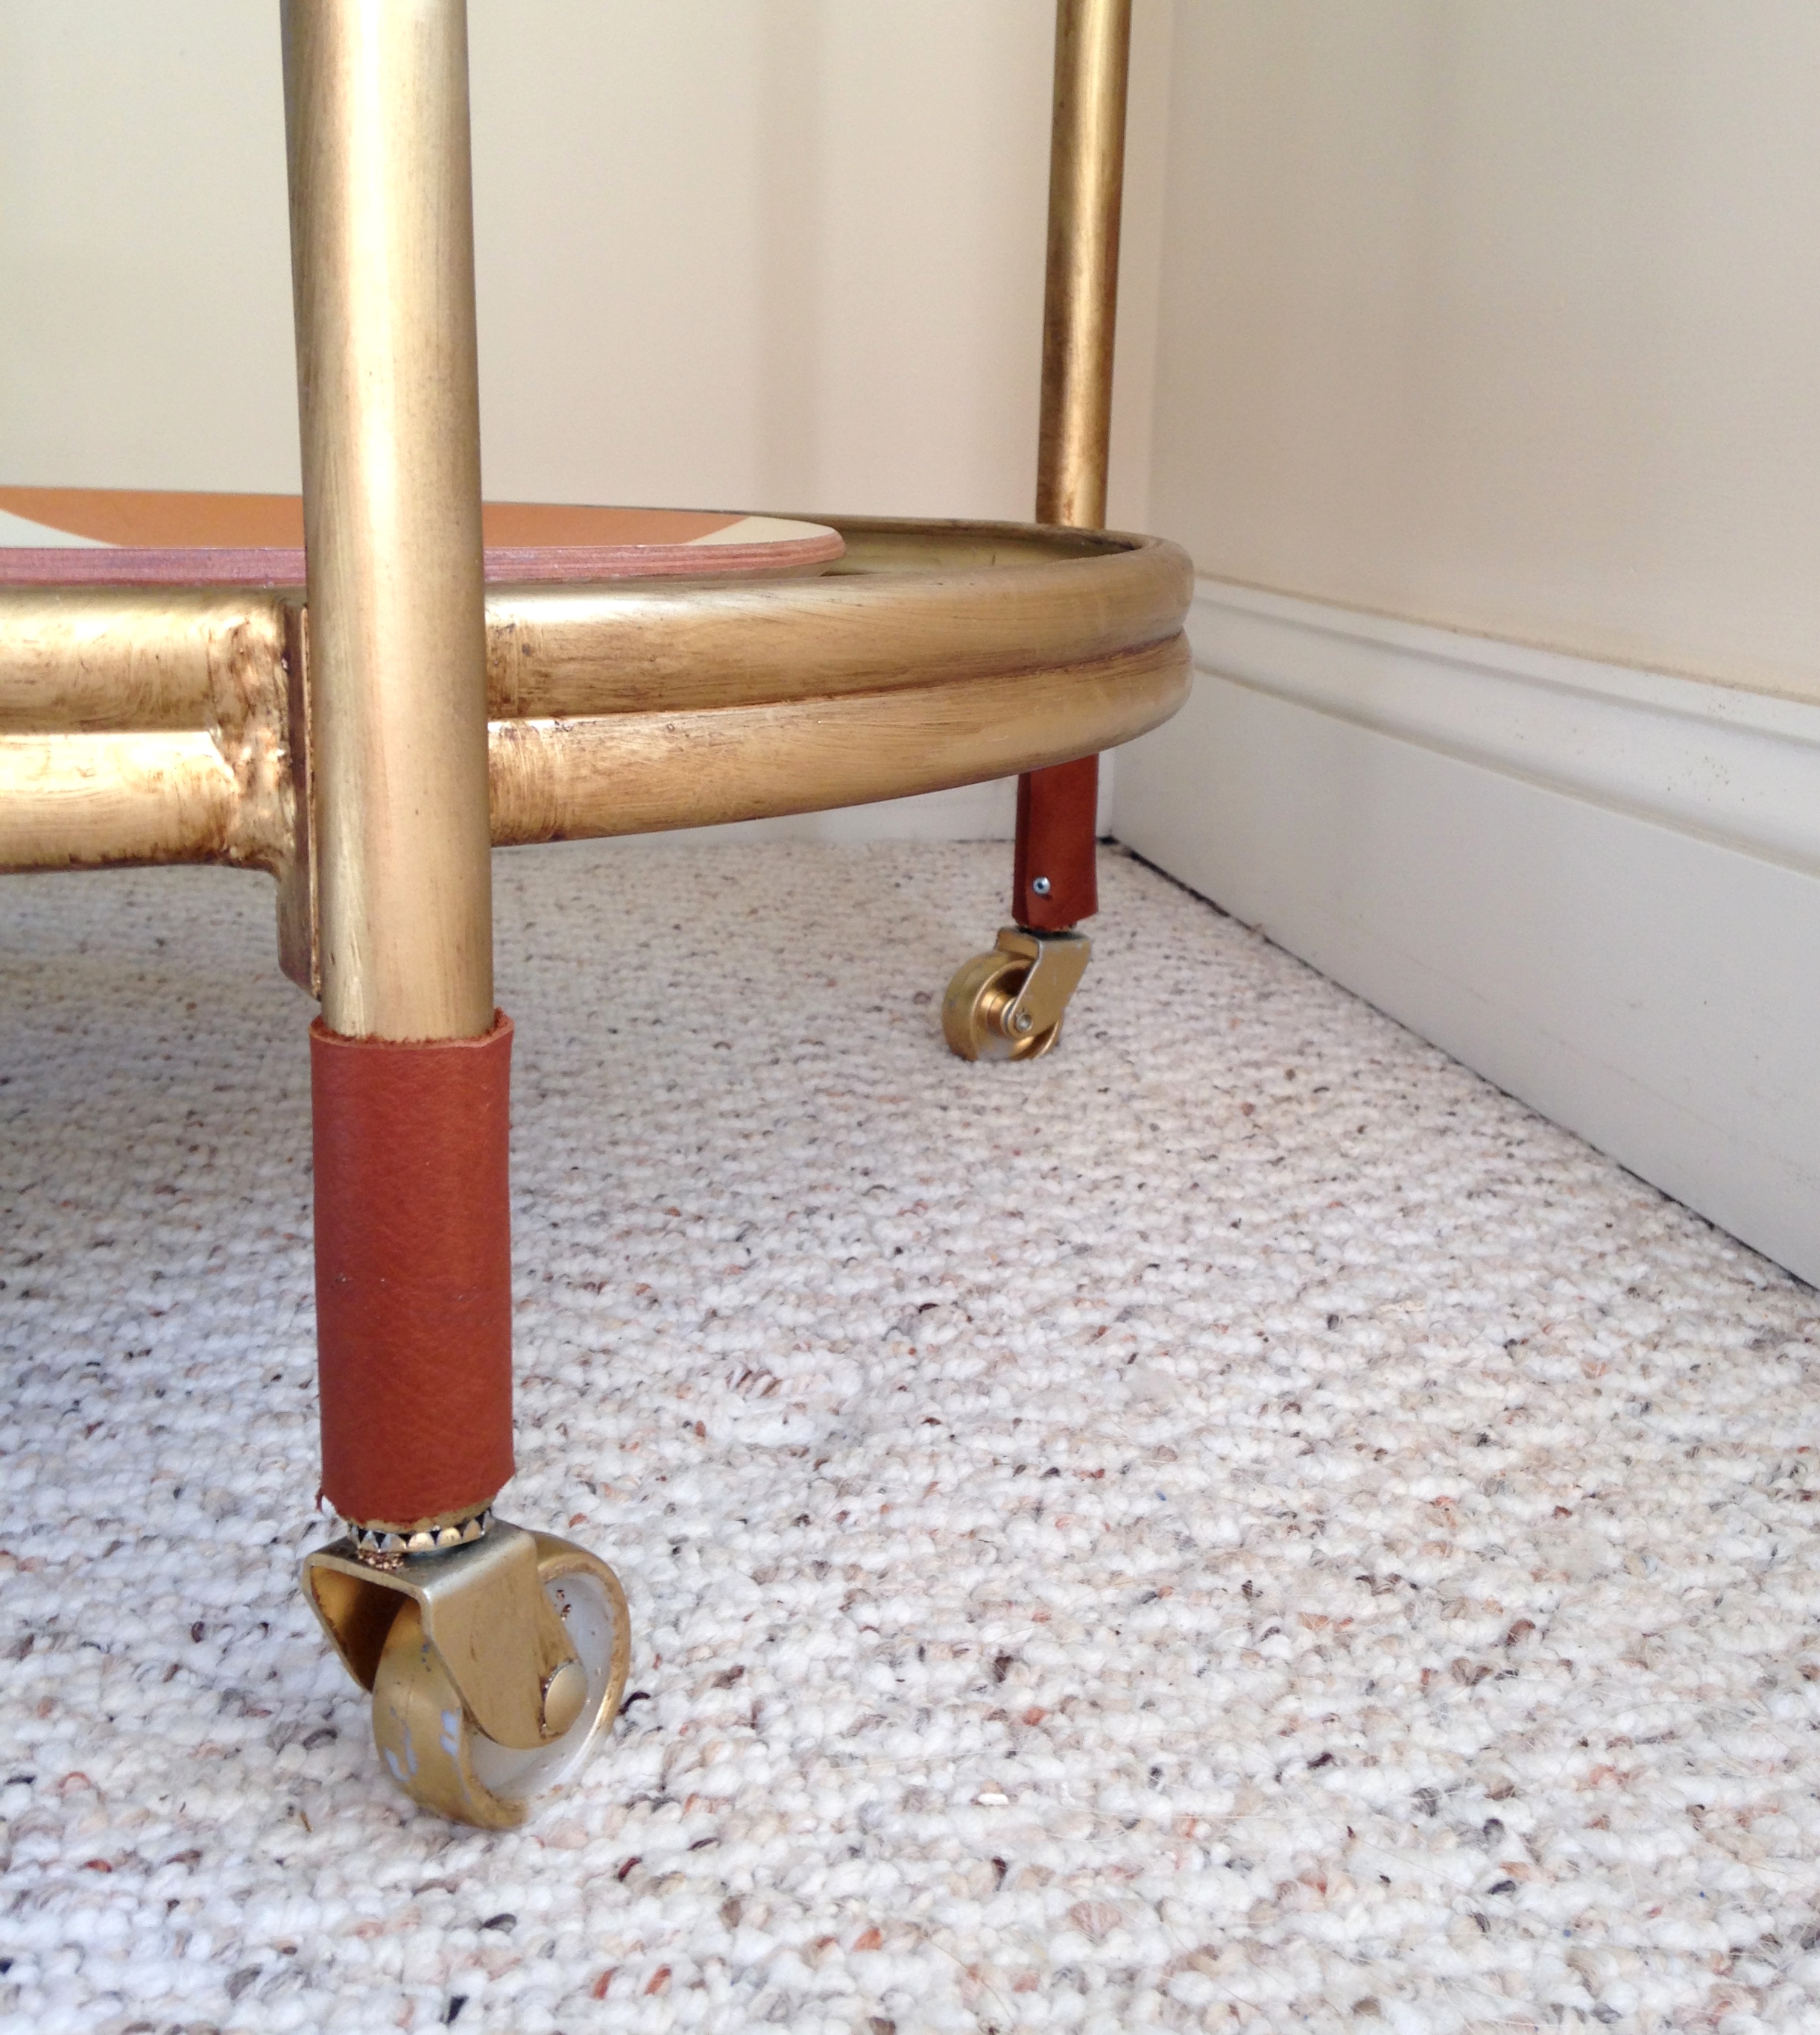

I love the two tiers of textured glass.


Leather Wrapped Bar Cart
$160
SOLD

And hey friends! We are looking for fellow leather-lovers to share more leather decor crafts on StyleMutt Home. If you have a project to share, tag your pics with #stylemuttsloveleather and let's get this party started!


