NY-Bound Custom Order

There's a lot about this little business that has blown me and Chelsea away.  We've accrued clients from across the US (and even Canada!), designed for a battery of dream spaces, and even shipped pieces out of state!  That's crazy to think about - I mean, we're just two women working out of our homes!  In our garages, at our dining room table, late at night or the wee small hours of the morning.  And God is still growing us!

Recently I was commissioned for a custom order for delivery to New York.  And I gotta say - it makes me feel swanky to have a piece in the Big Apple *sheepish grin.*  The client wanted something similar to my brass finger pull tall boy but needed a lot more storage. 

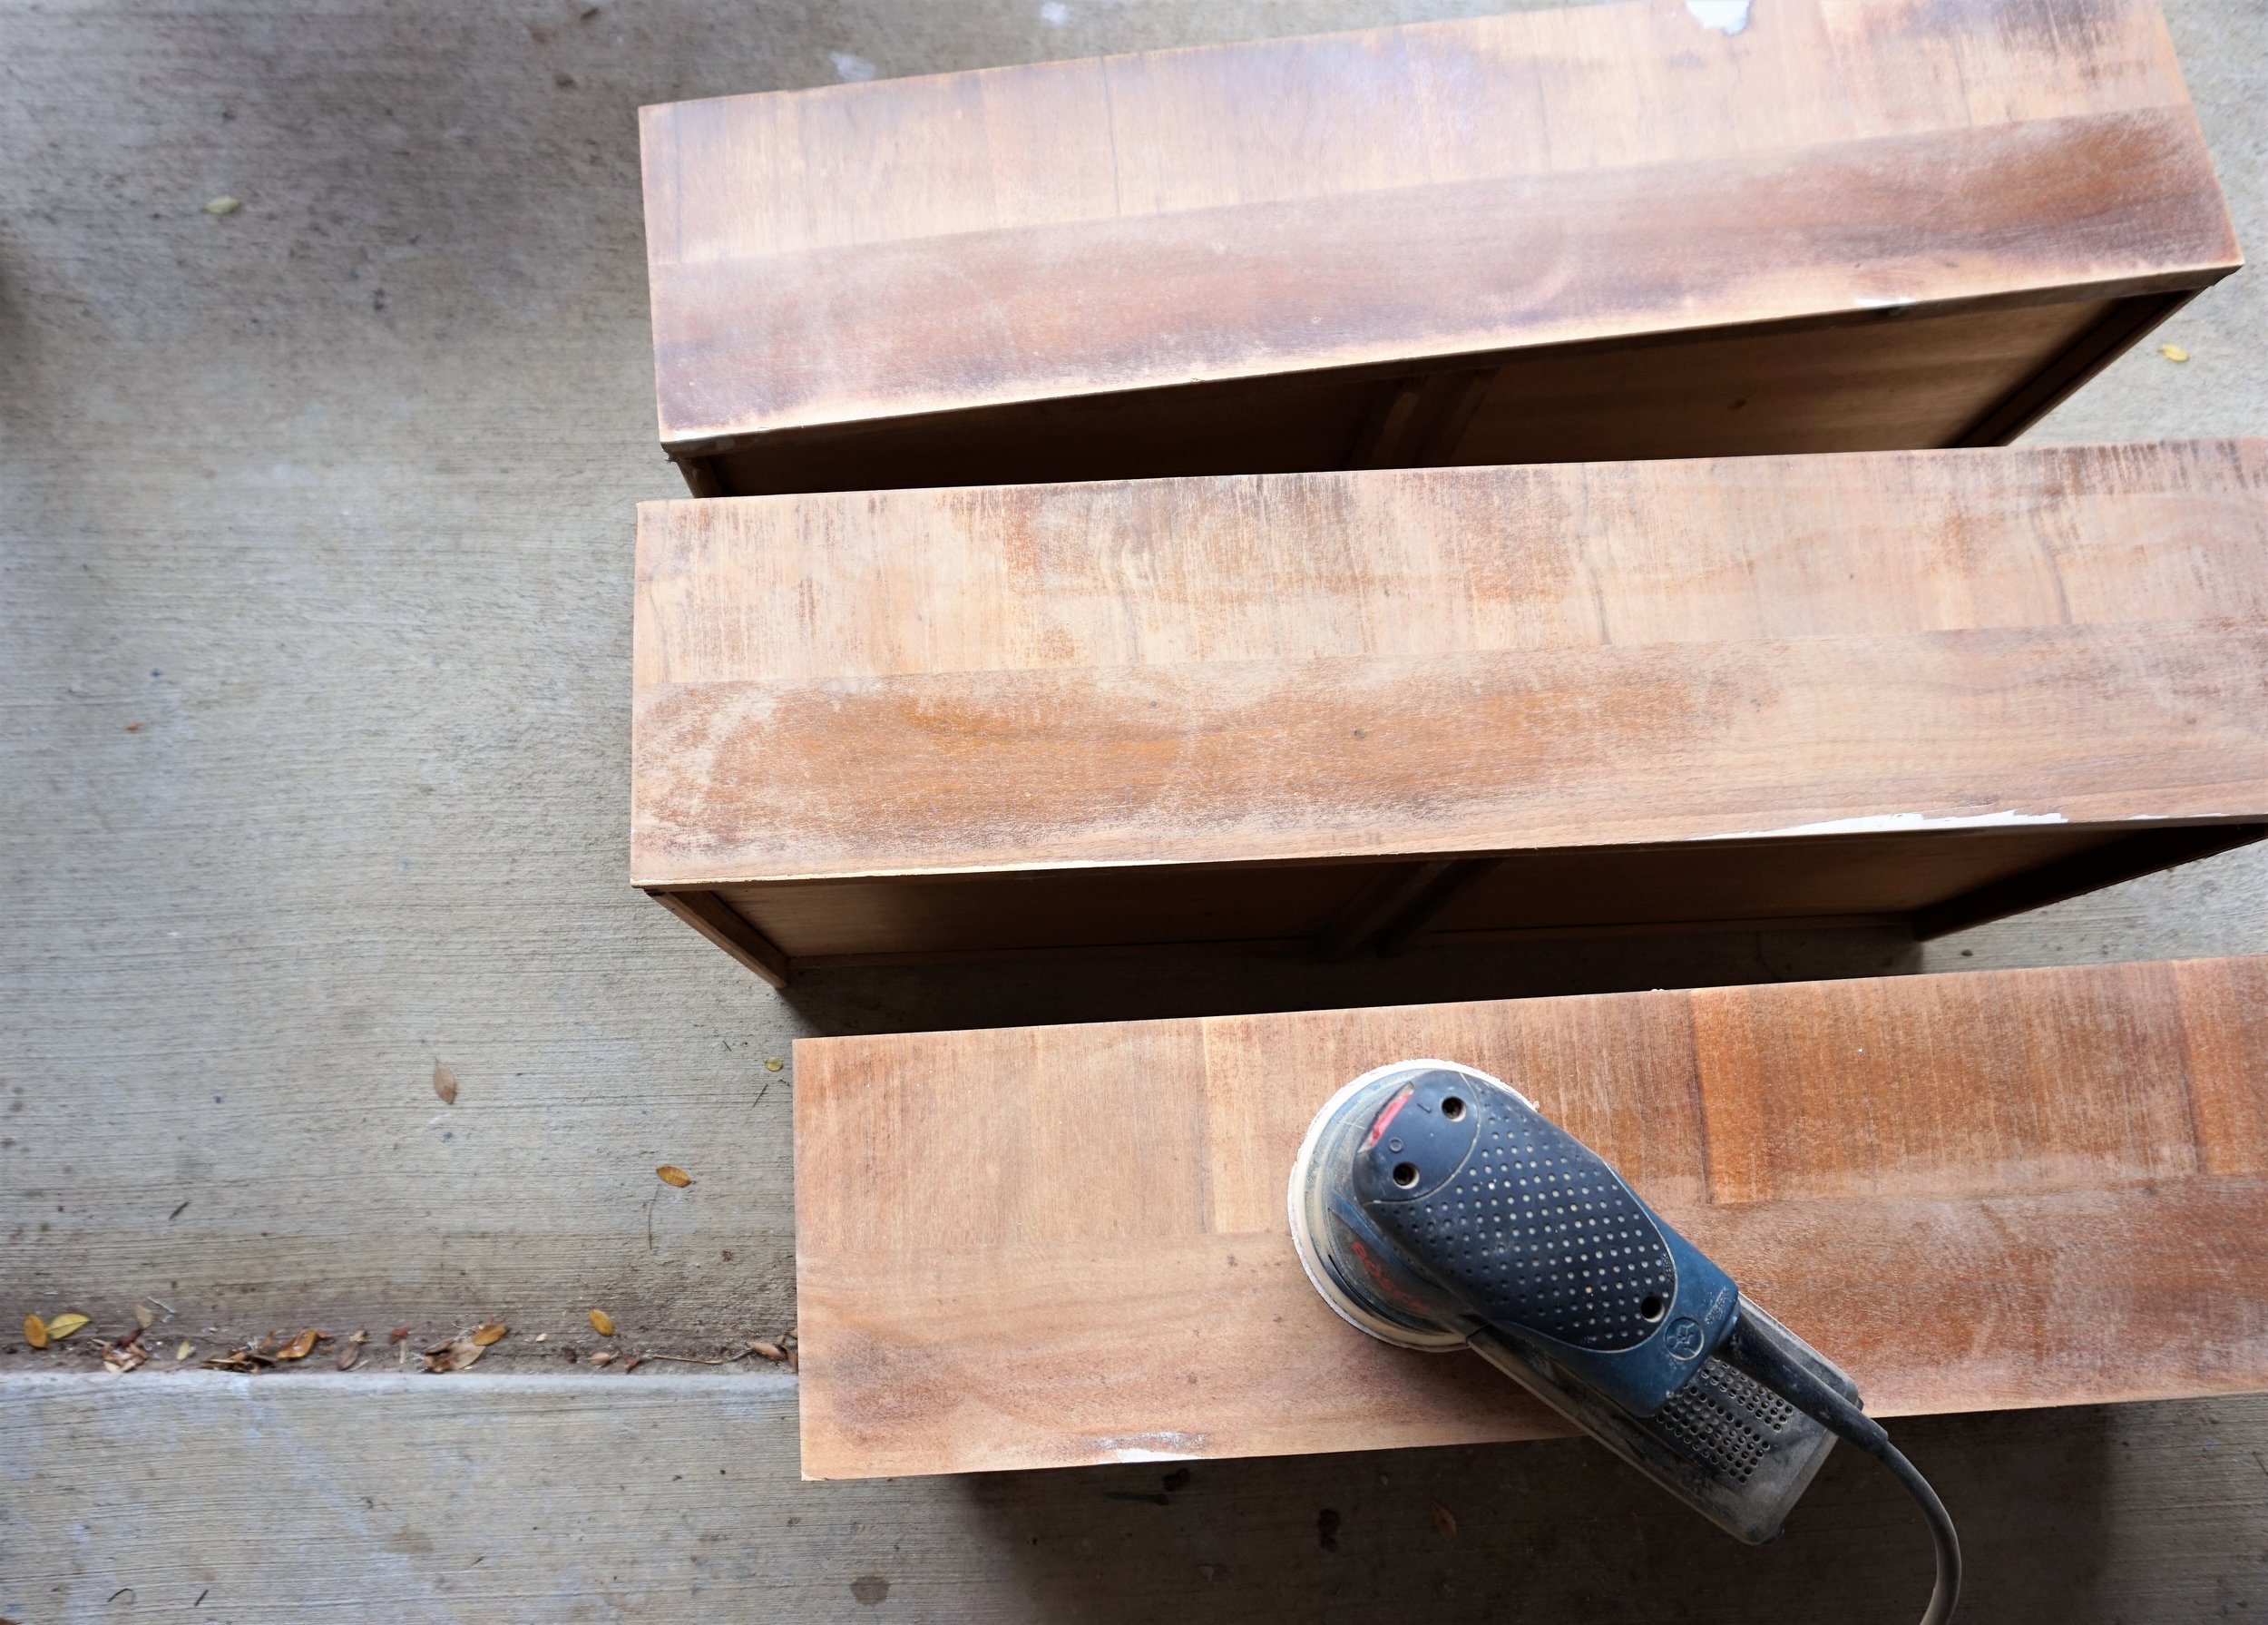
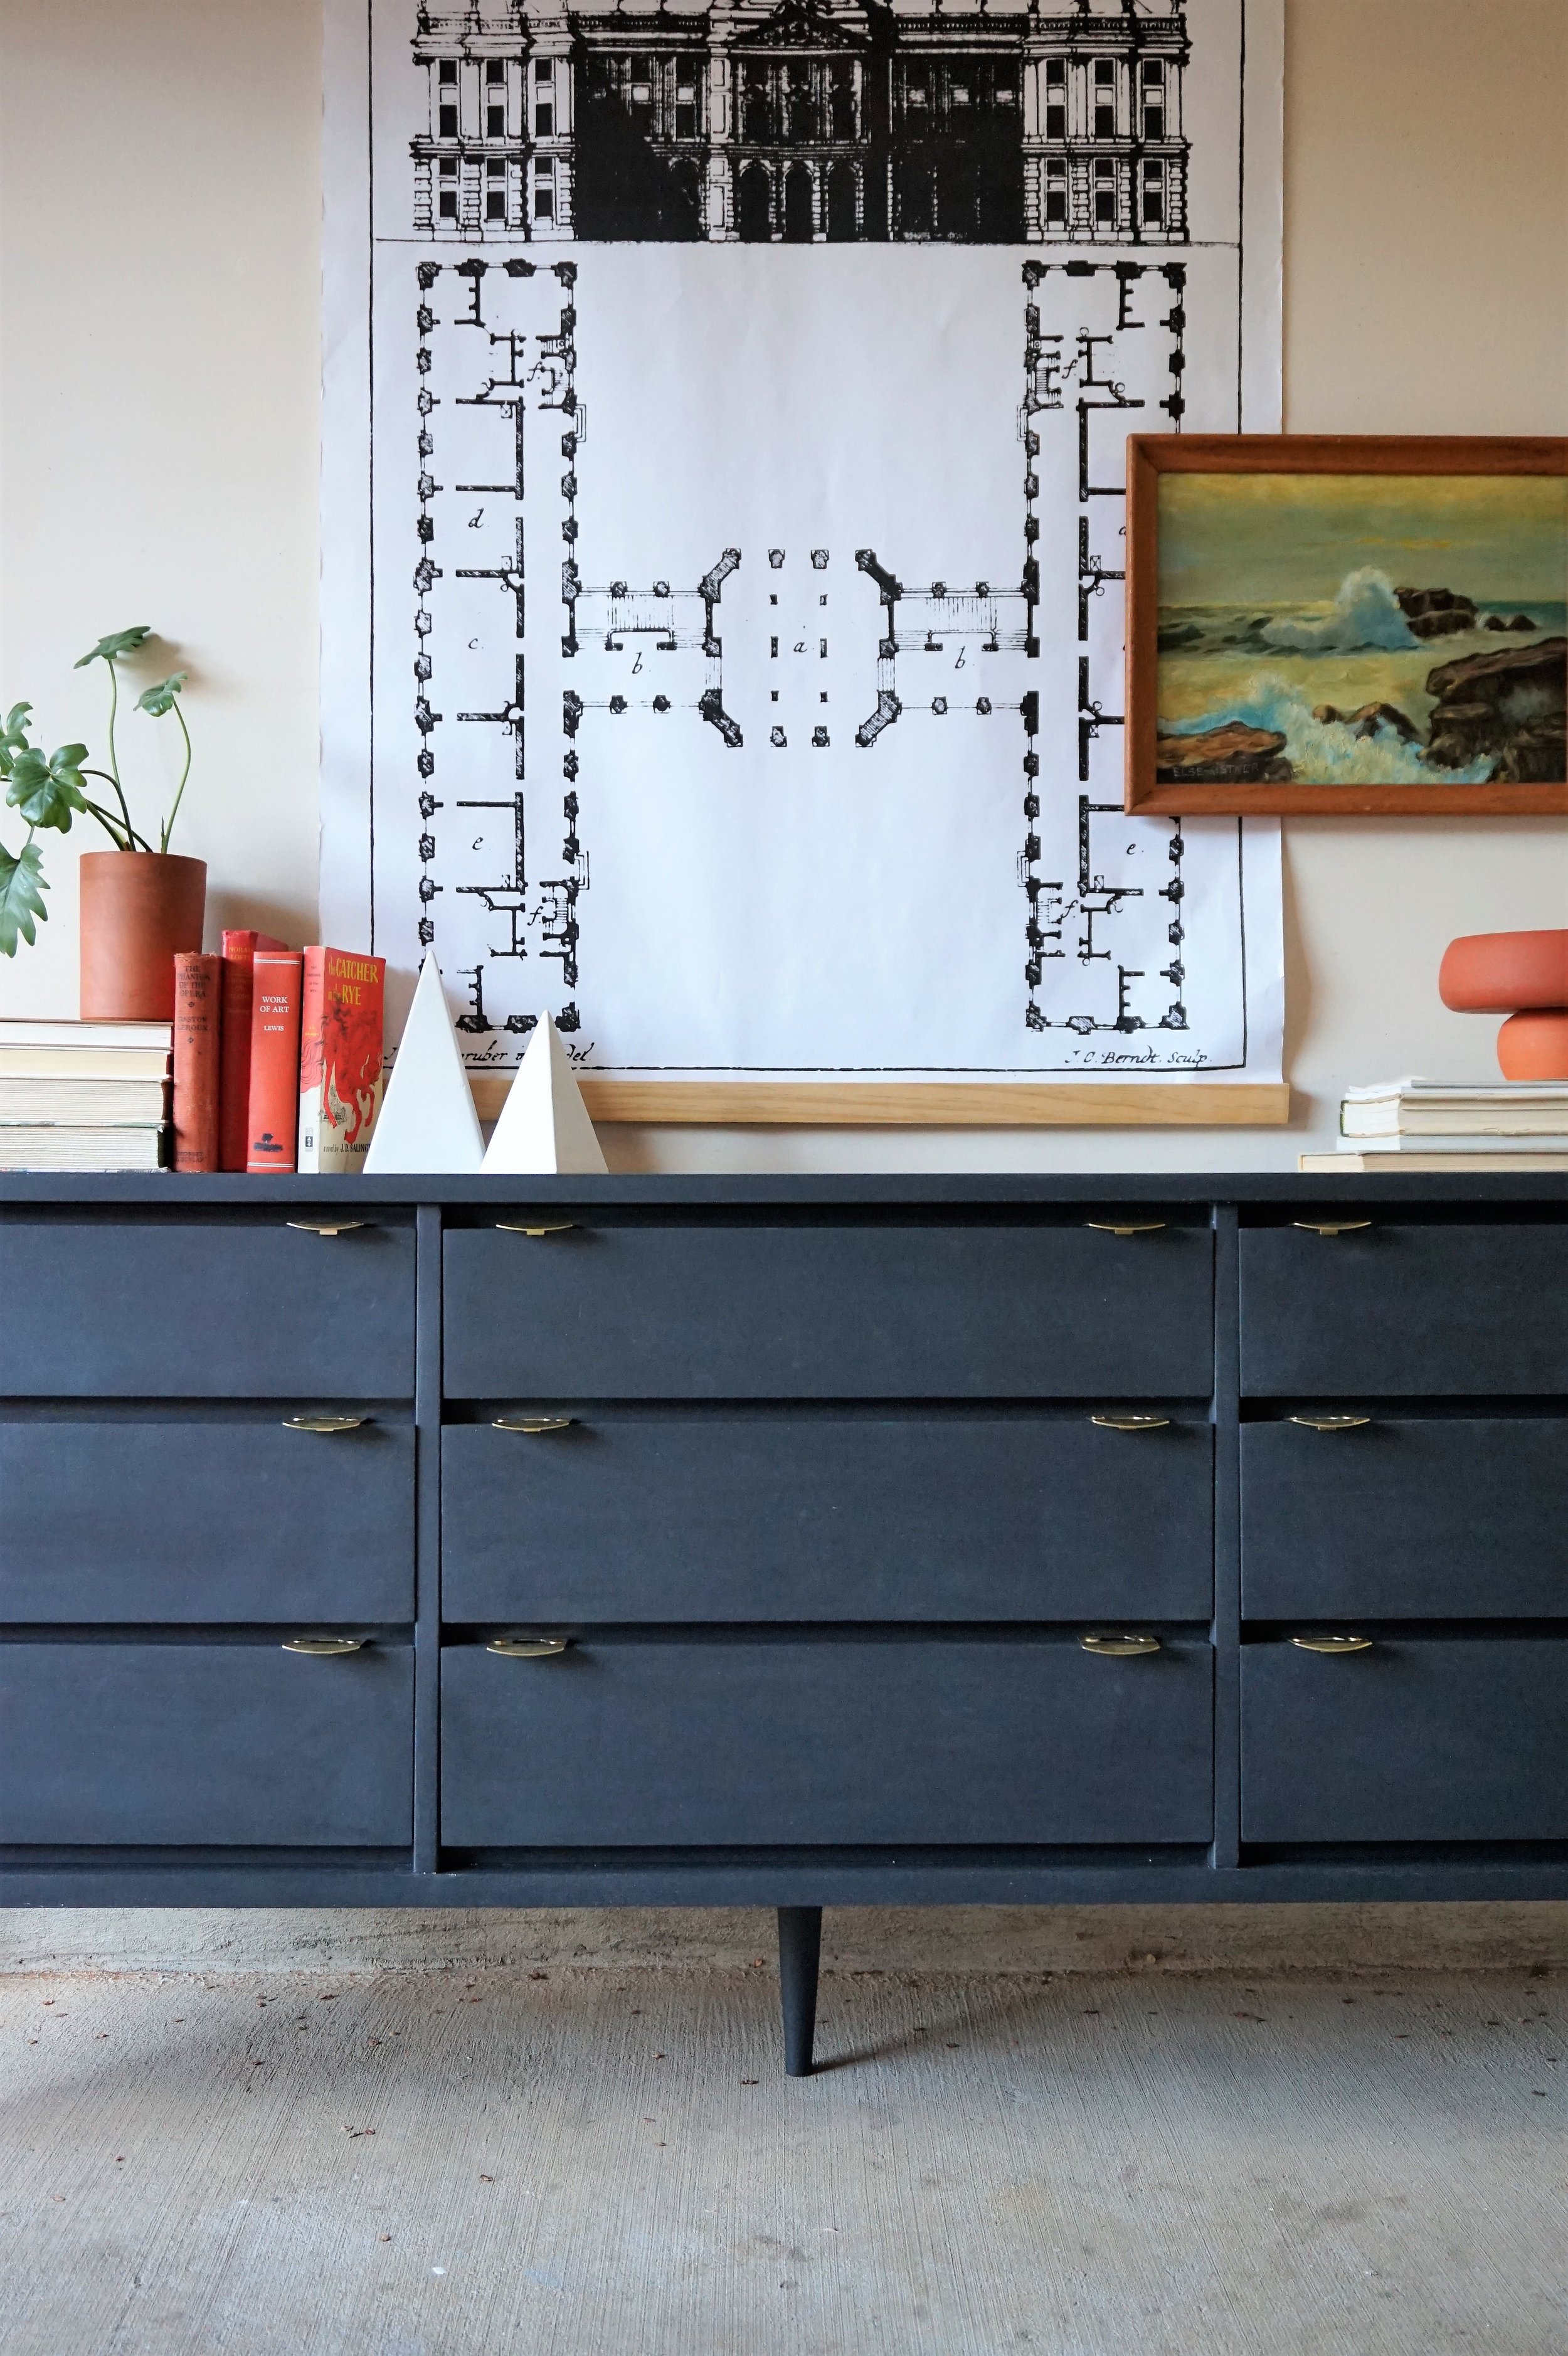
I did some hunting on my local craigslist and found the perfect low boy (from the same furniture line no less - how does that happen?!?).

IMG_8283.JPG

Her design aesthetic was simple: she wanted a matte color that could go with anything and a touch of brass.  After seeing some photos of her space and discussing her vision, I worked up 3 renderings for her to review:

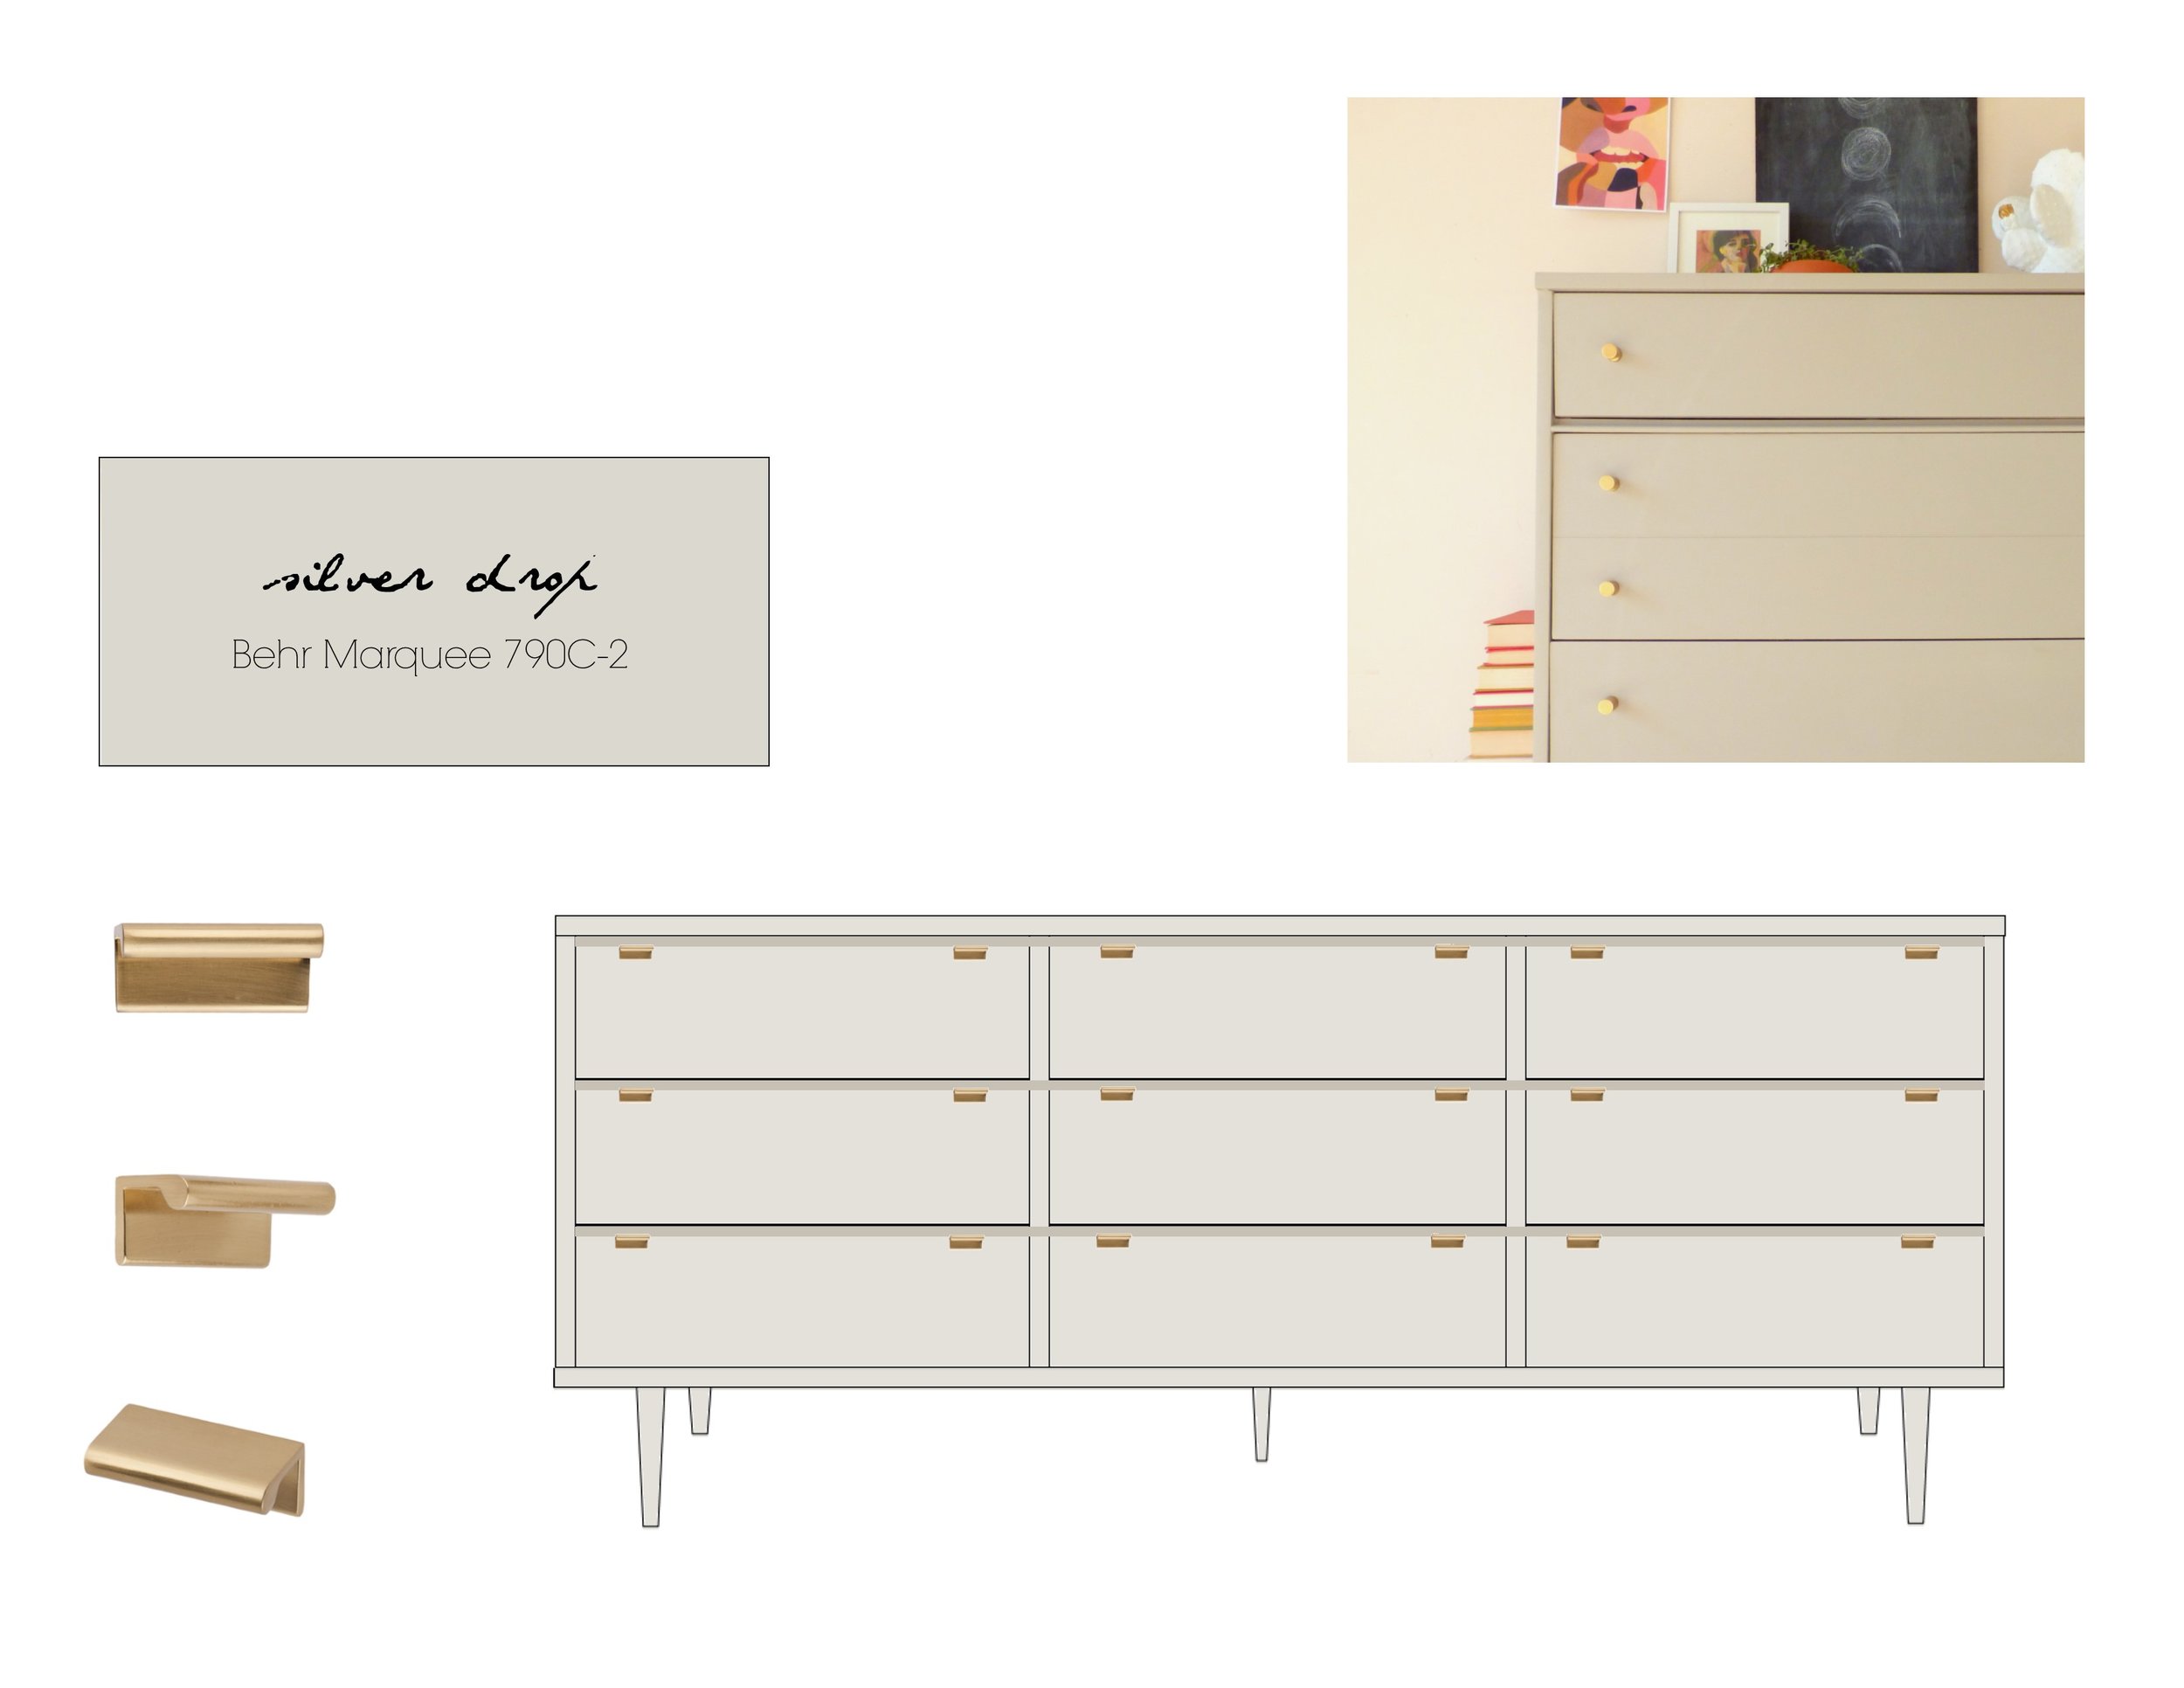
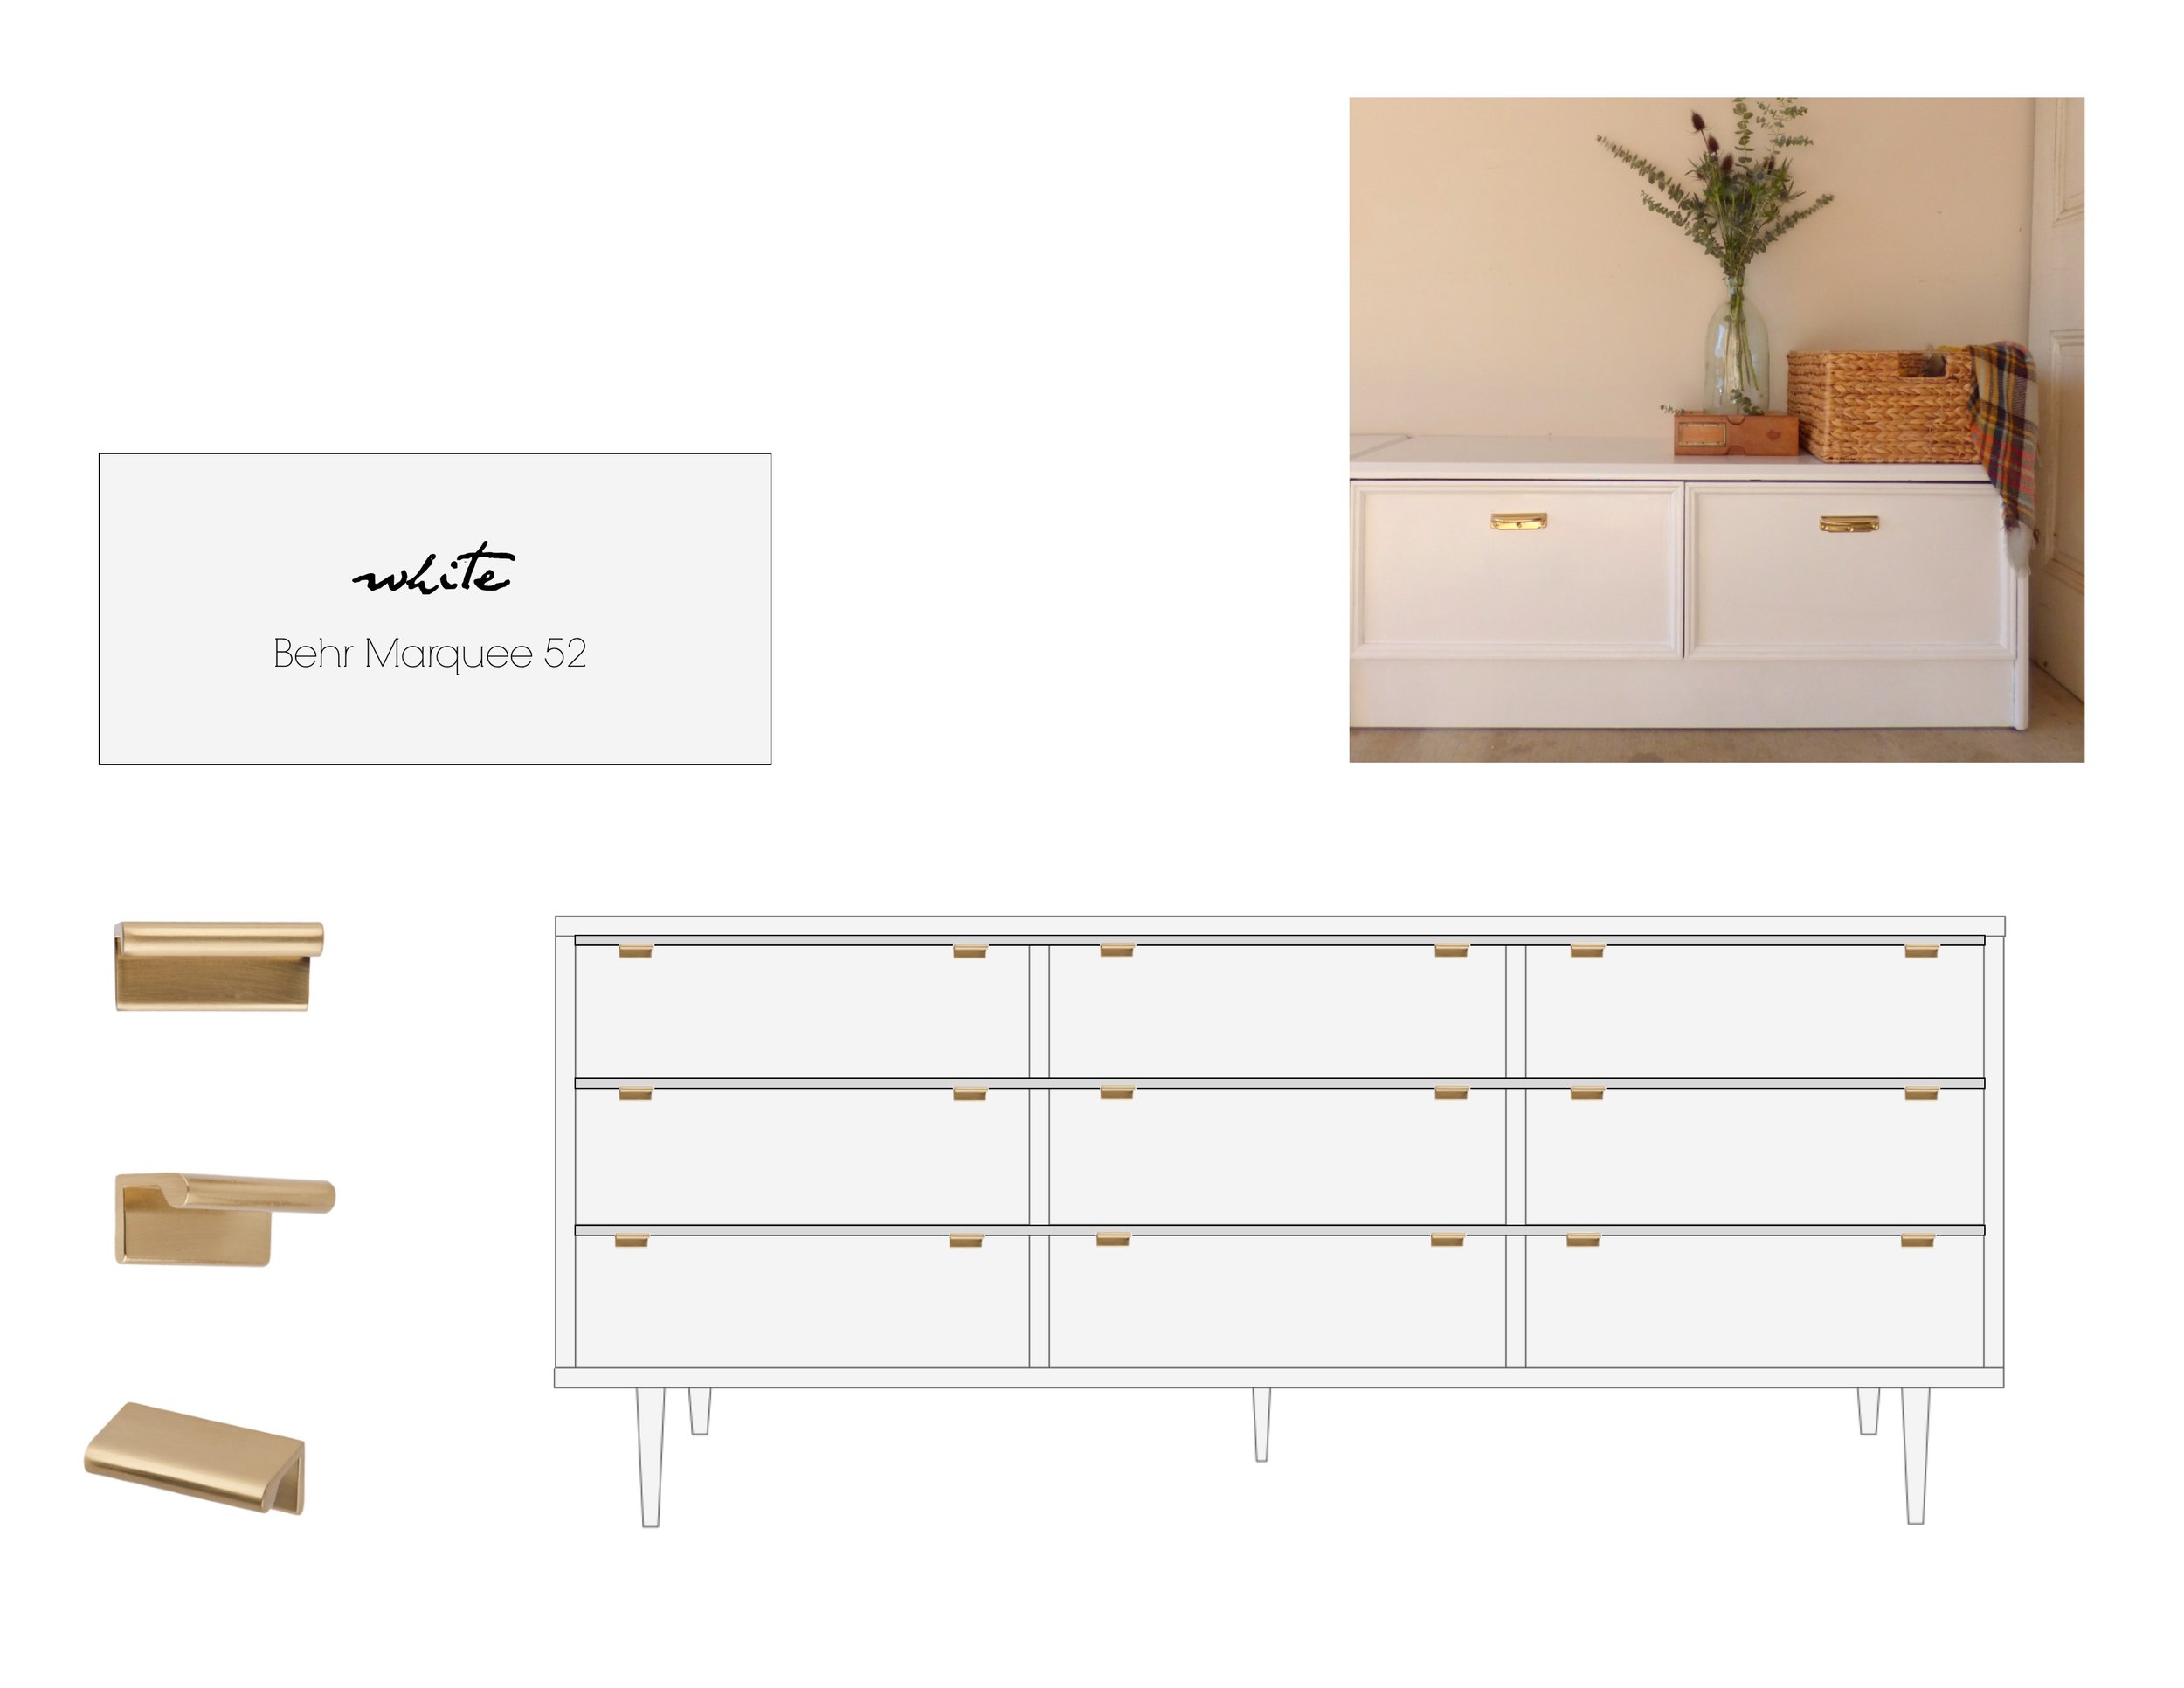
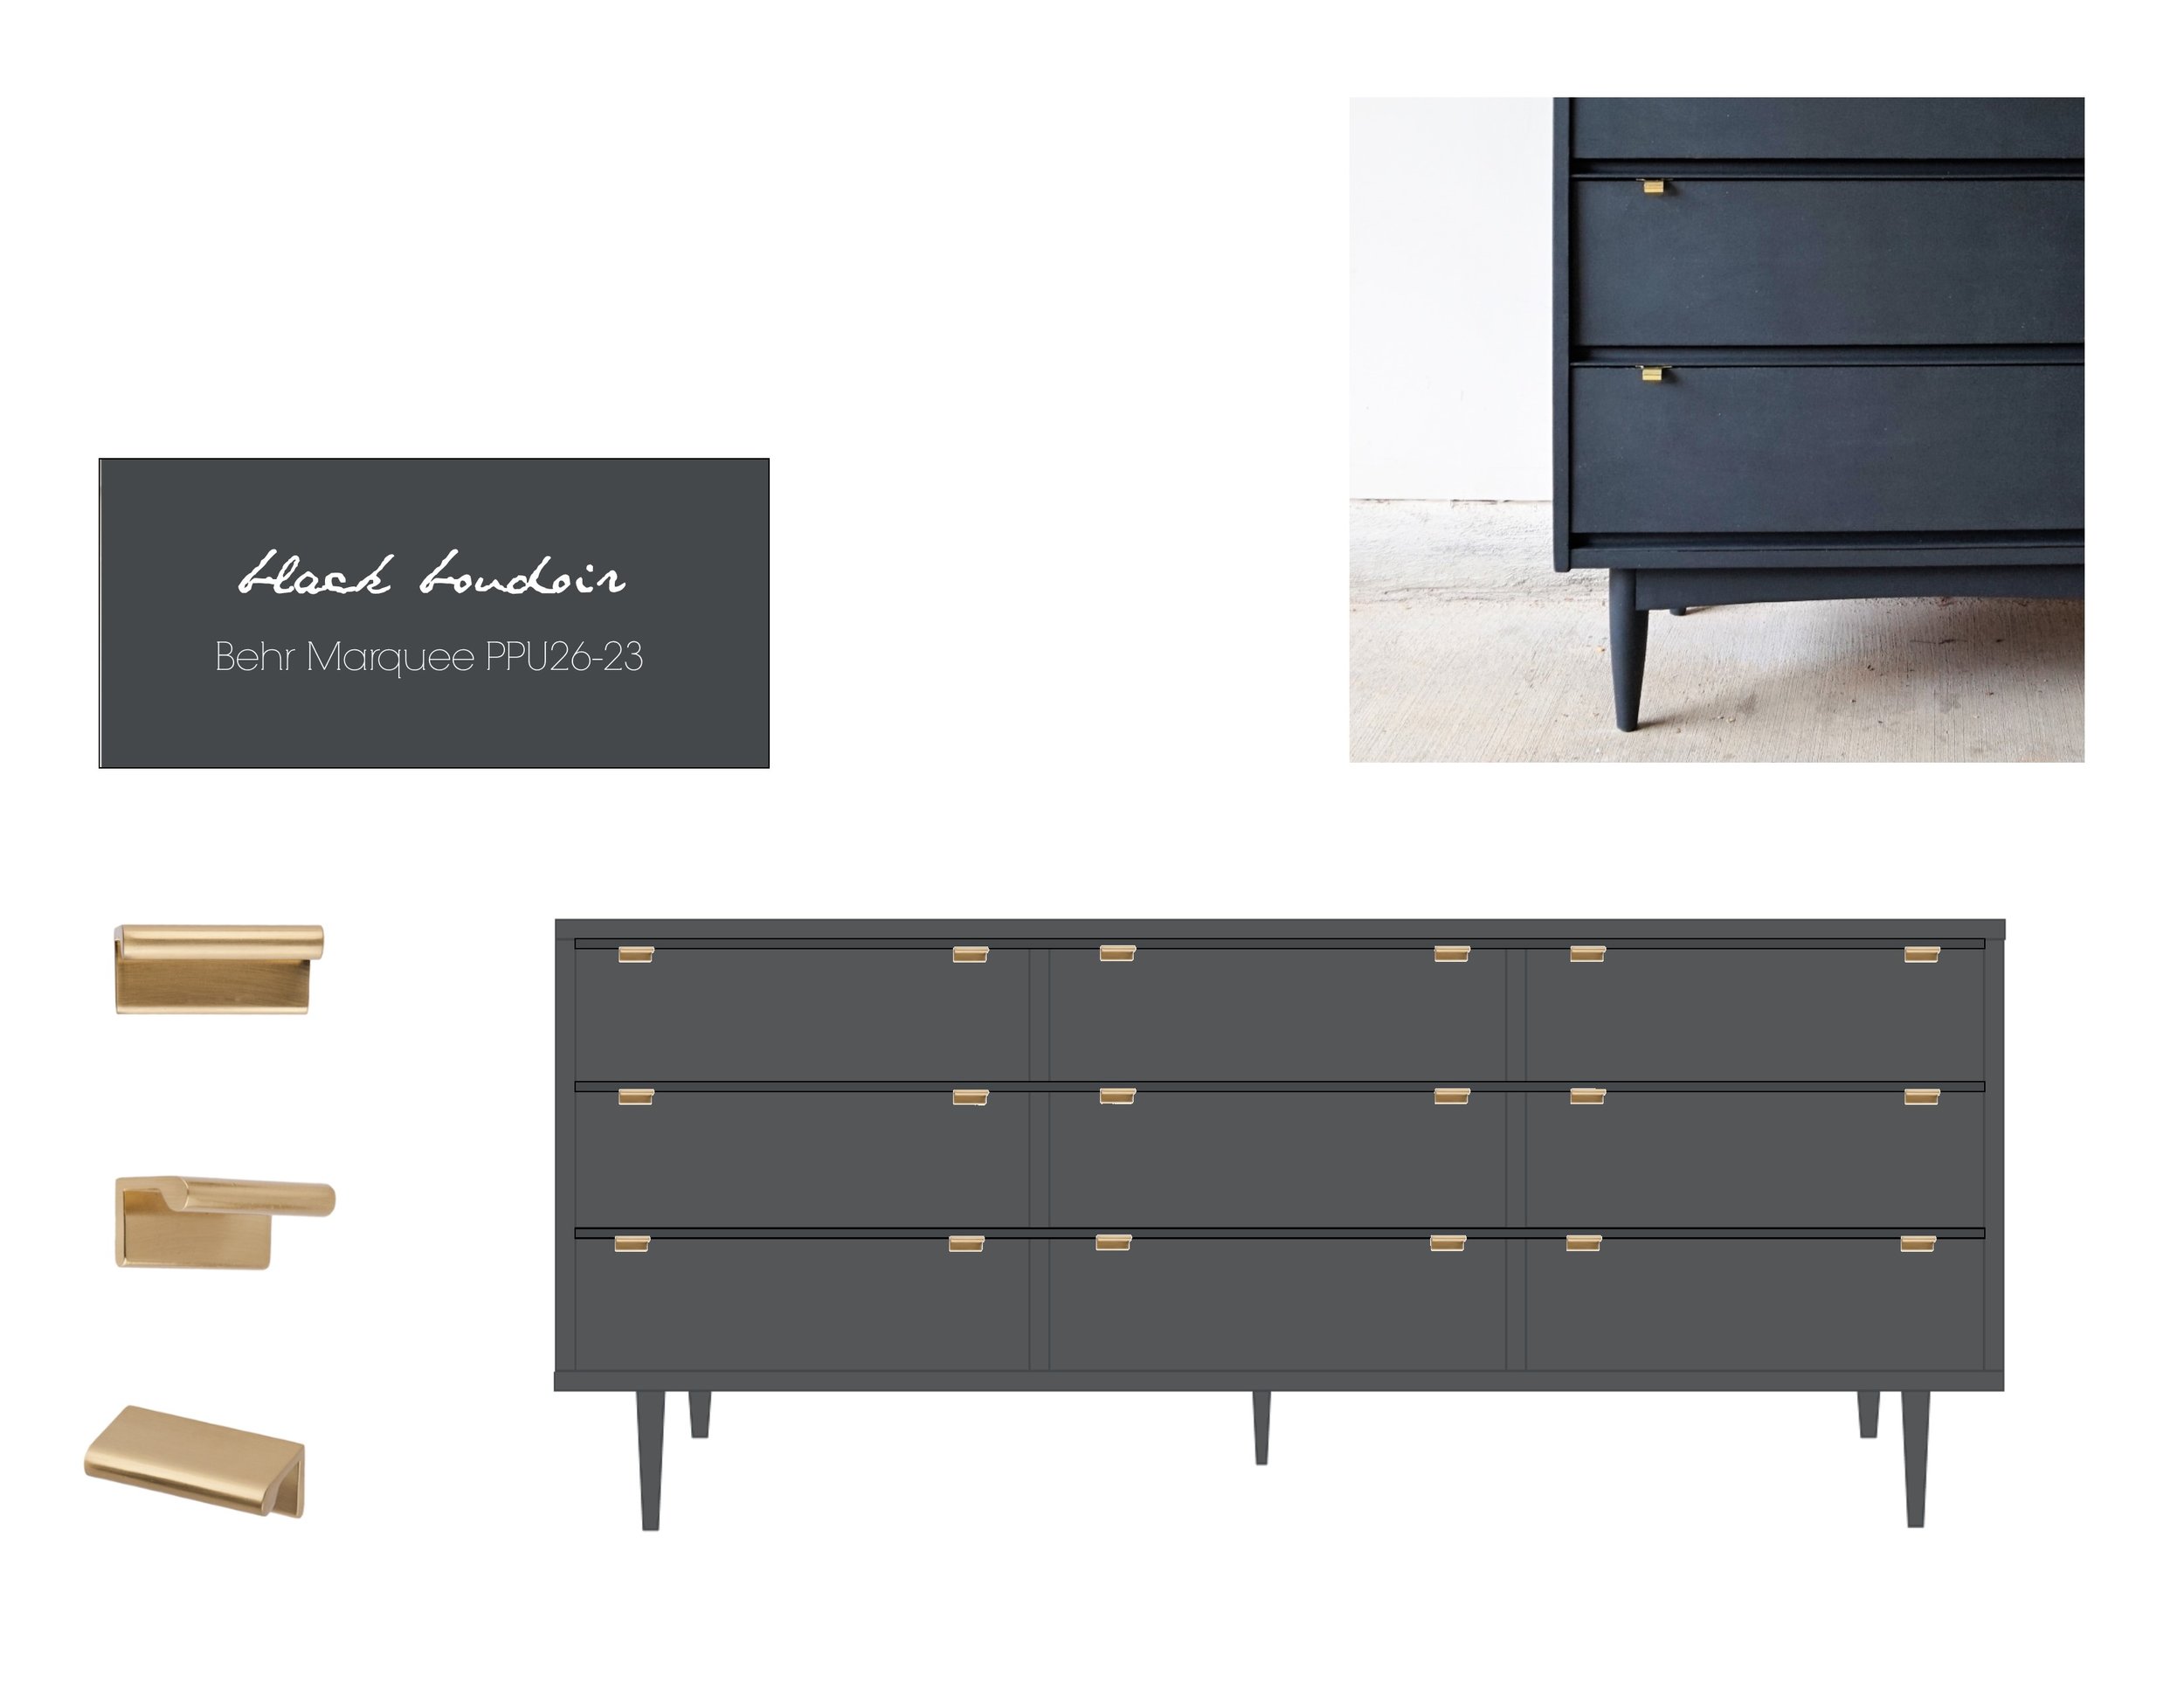
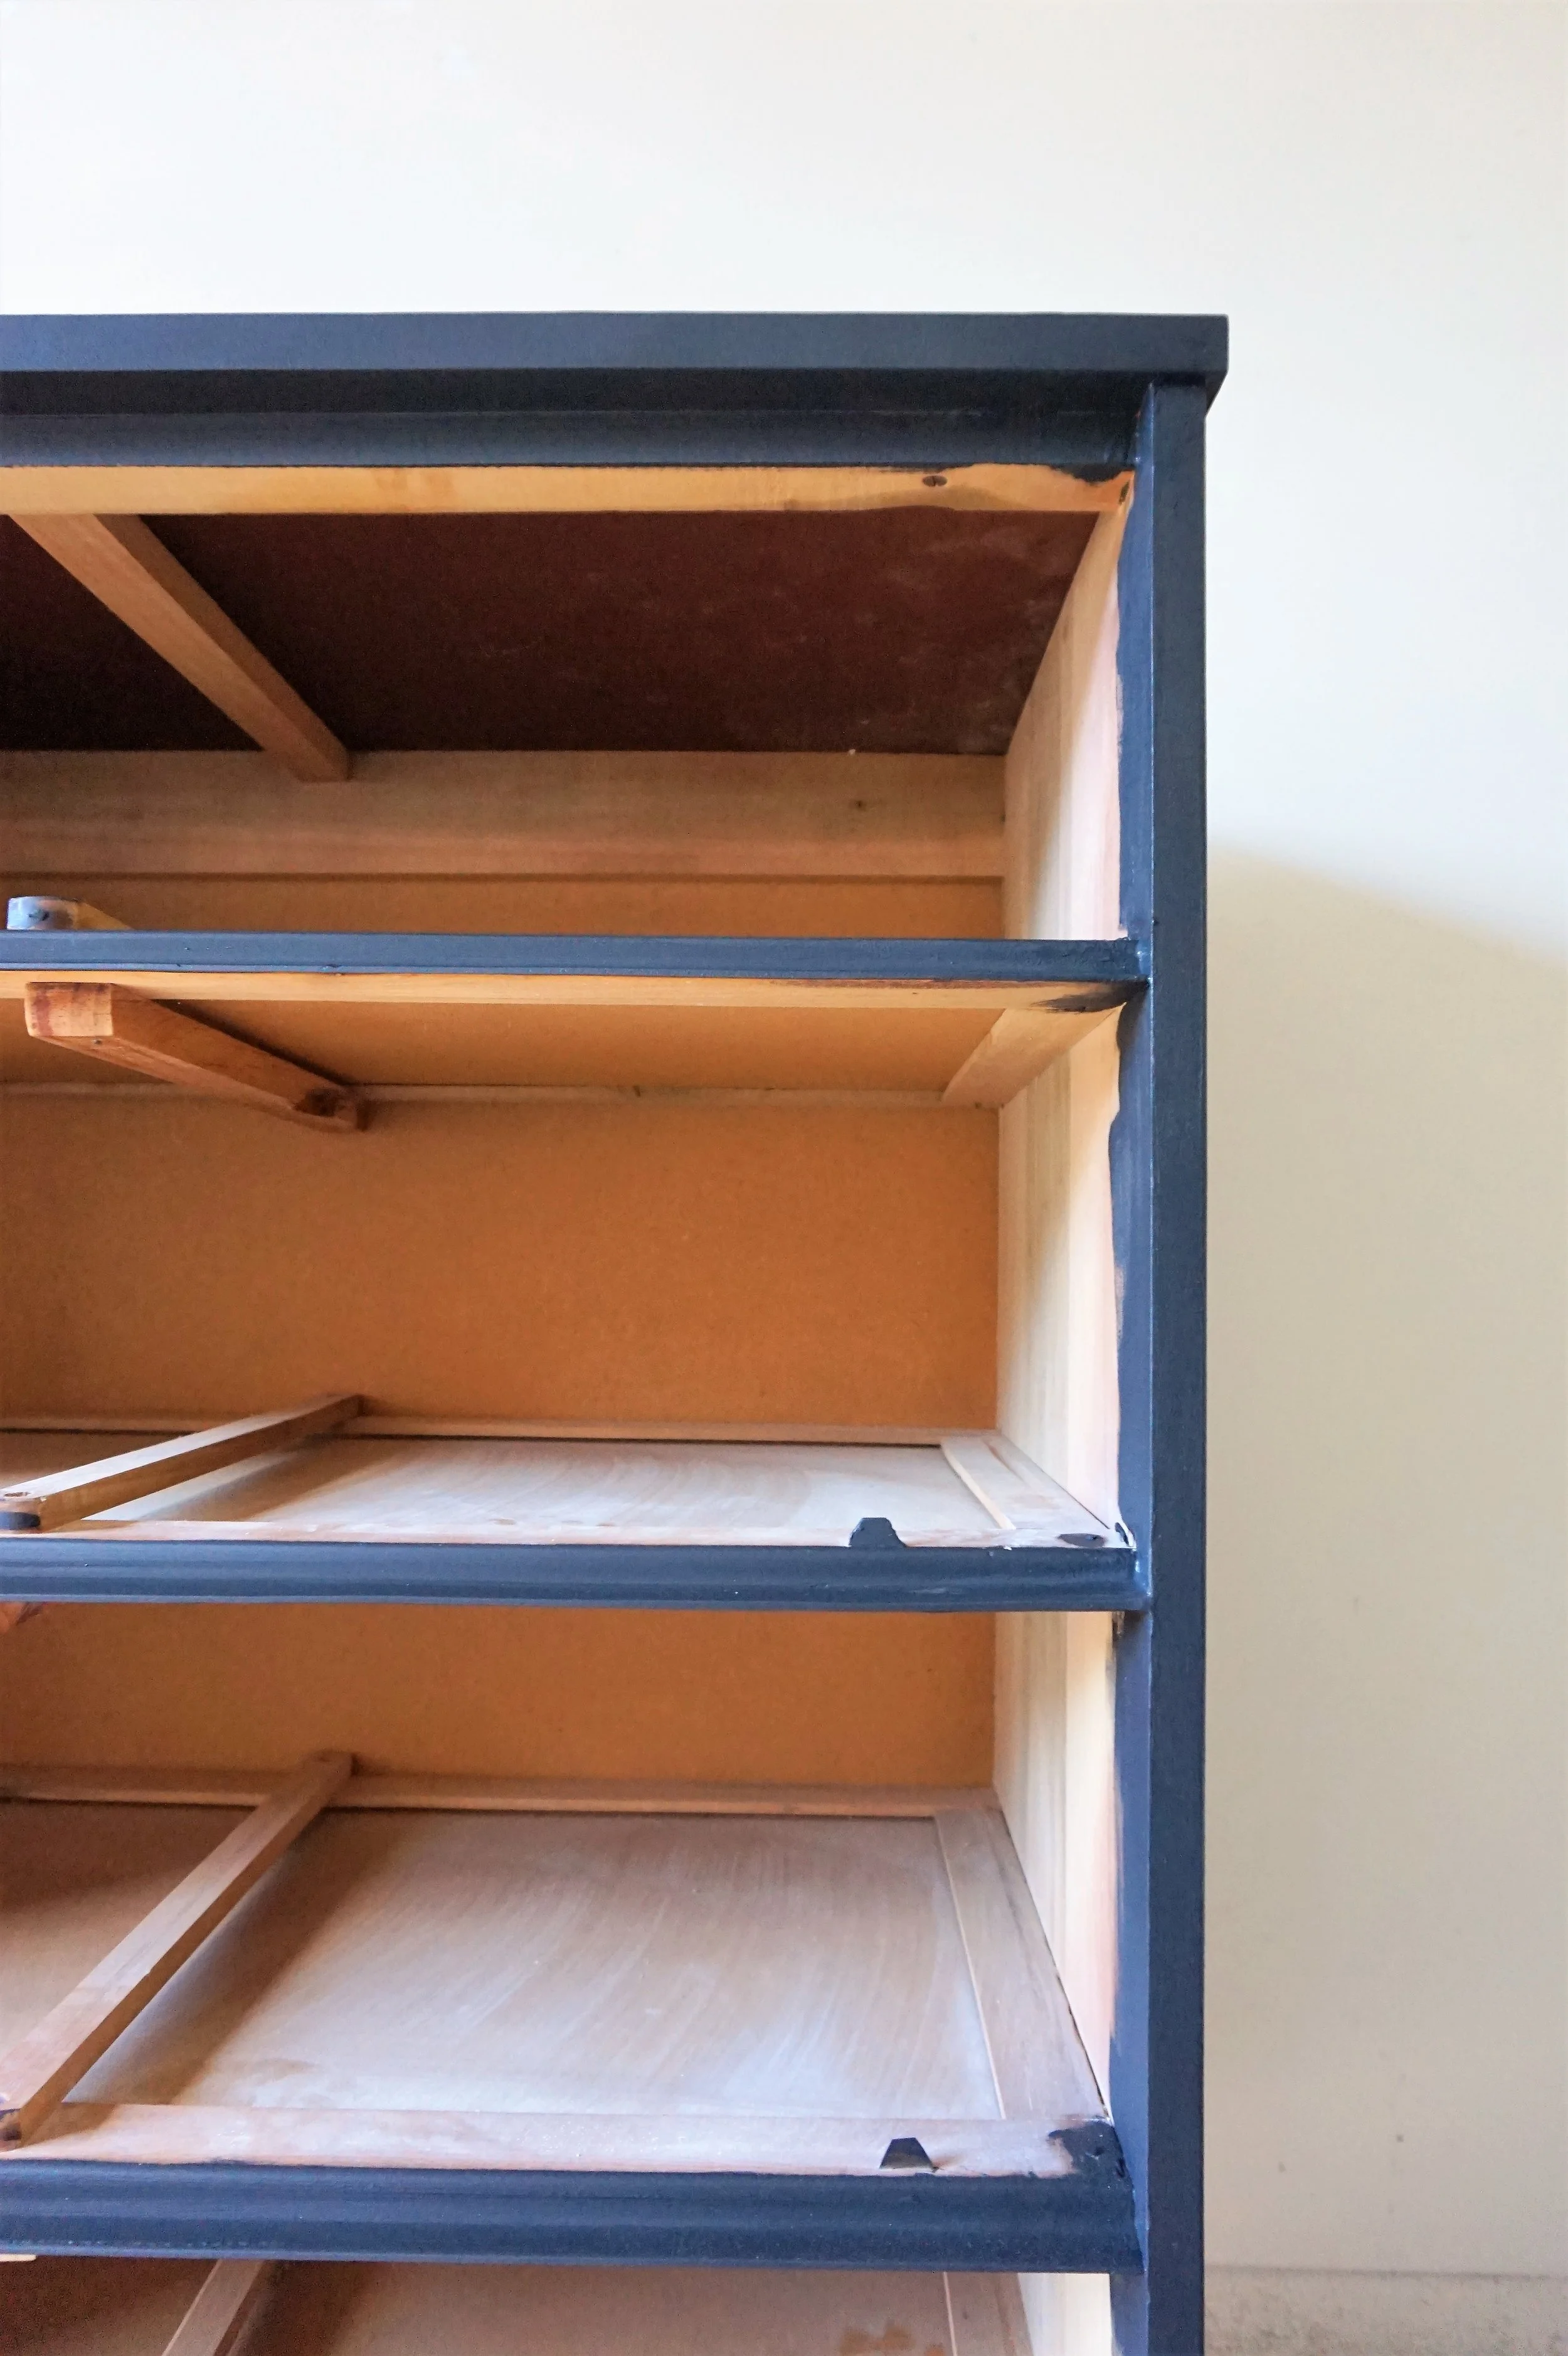
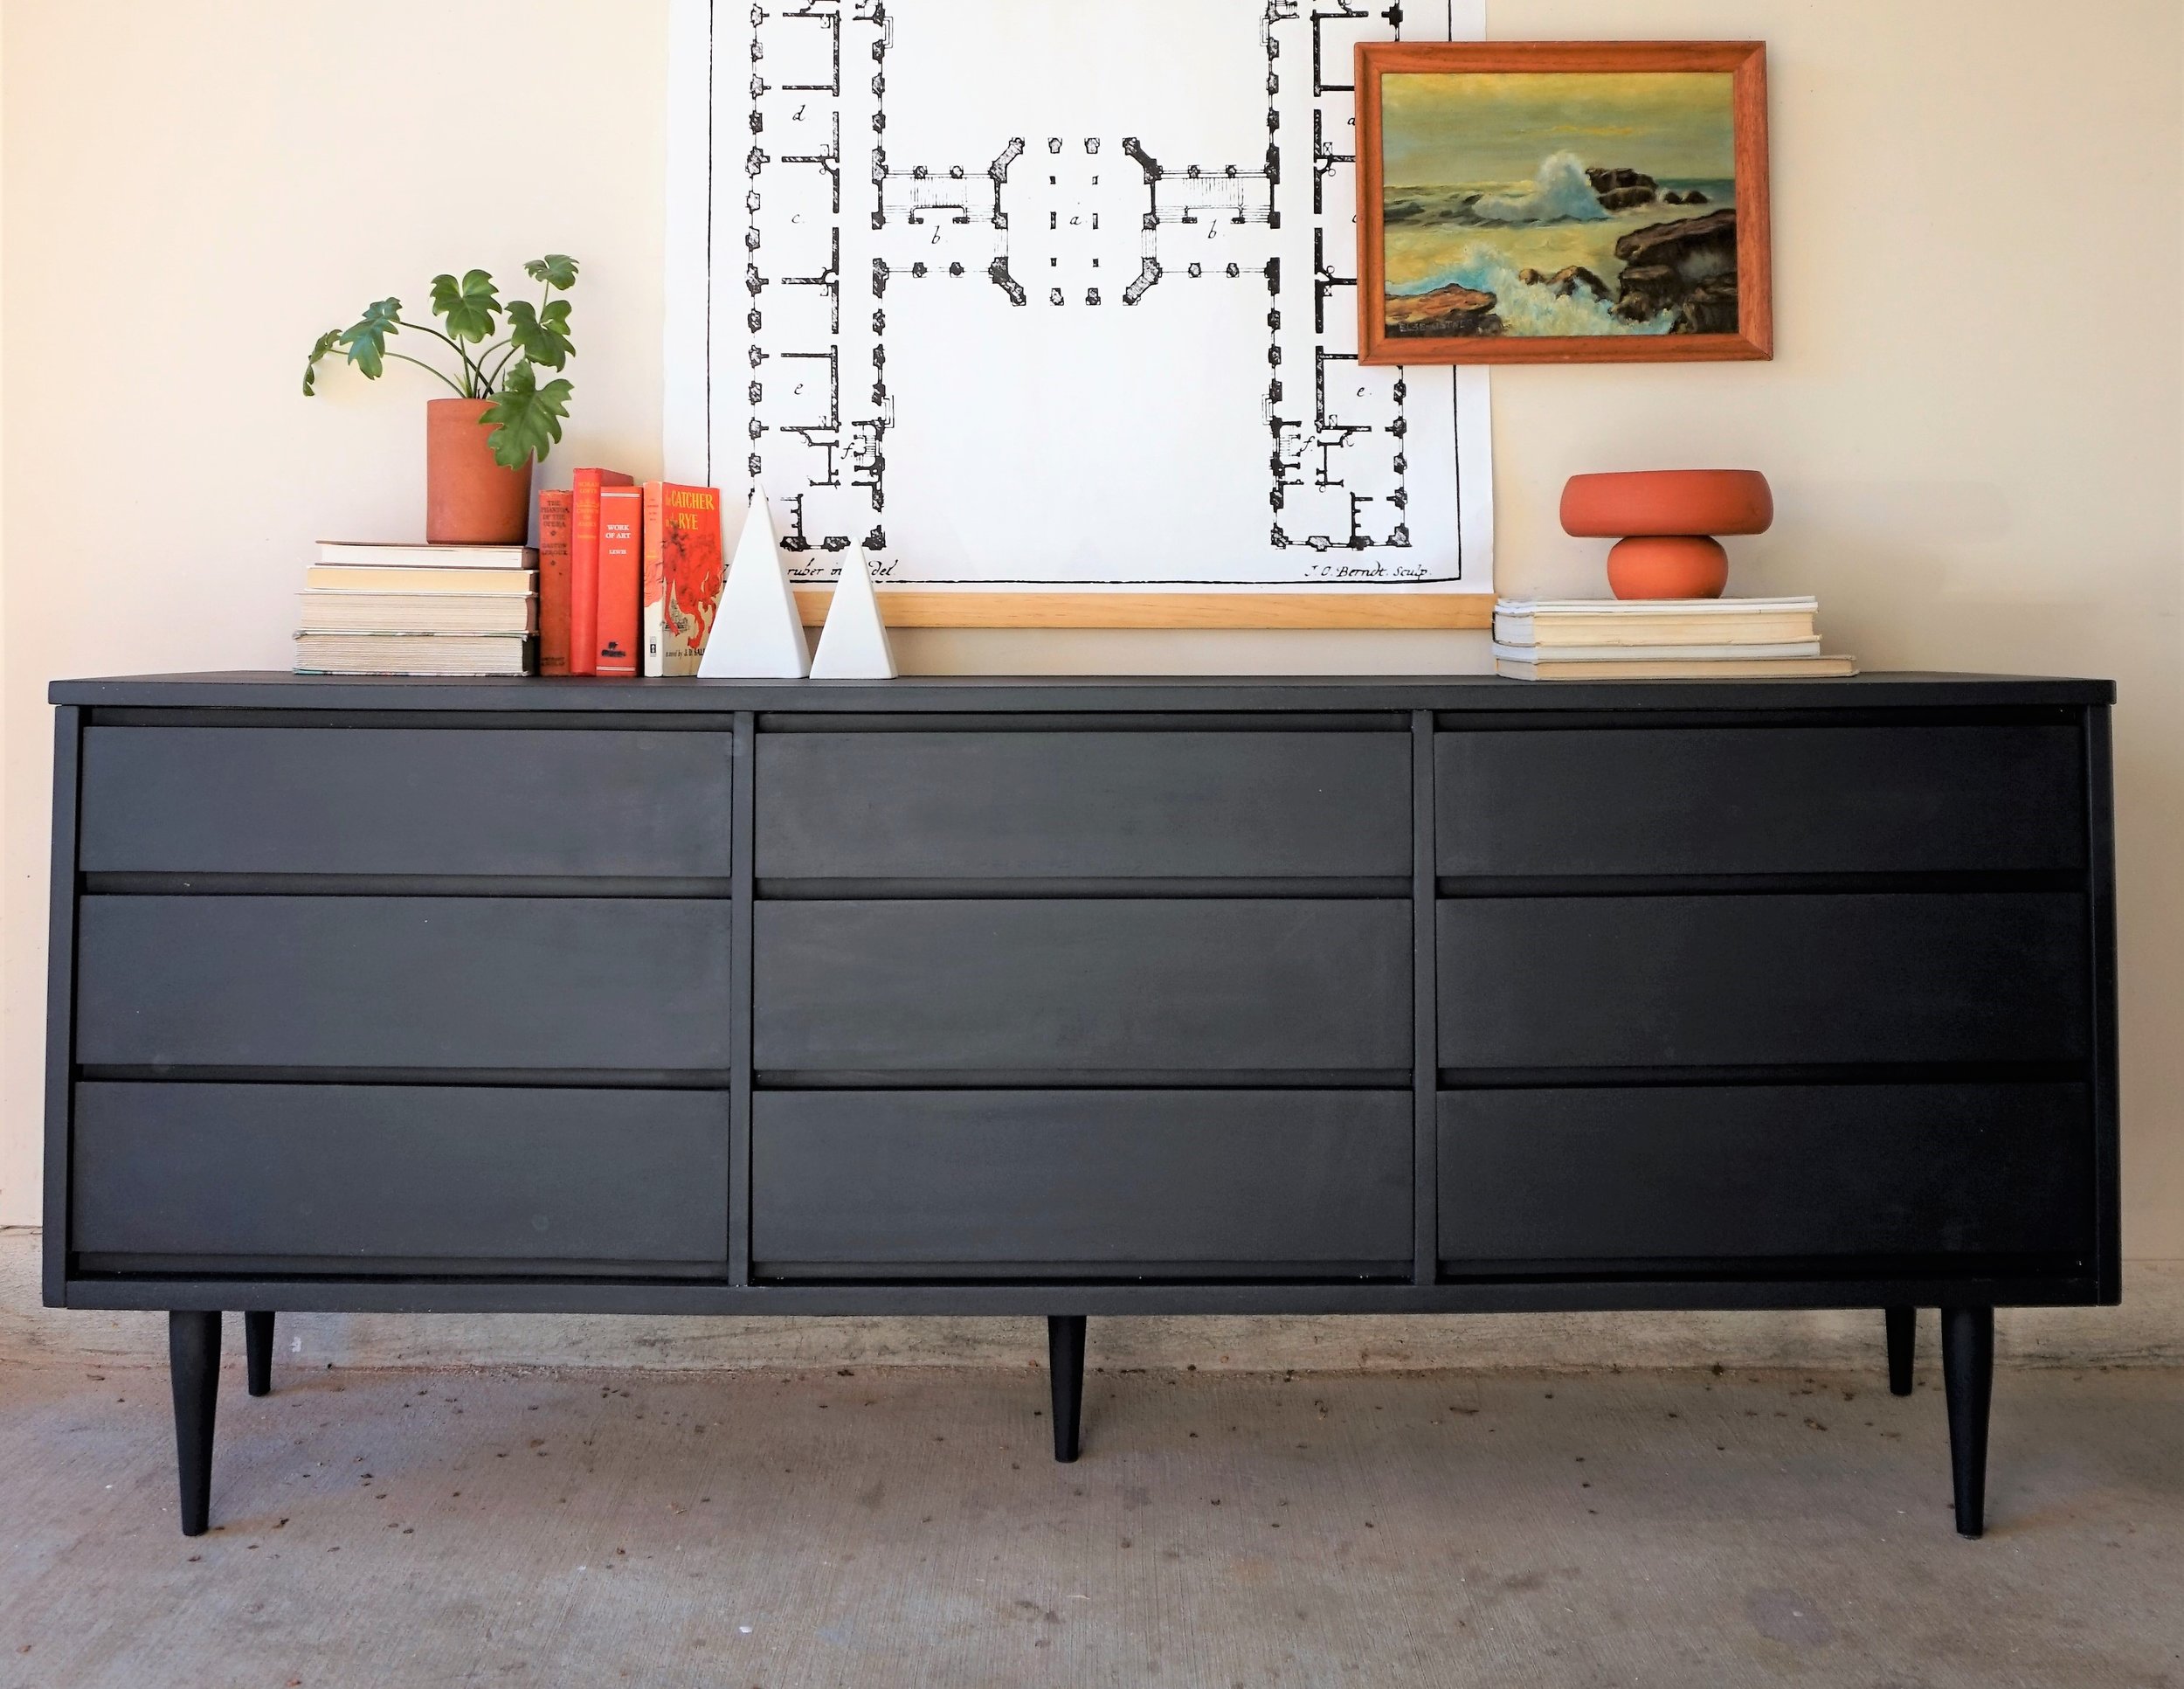
She liked the idea of a warm gray or white in her space, but in the end she kept coming back to her first love: the moody dark finish from my finger pull tall boy.  My client had a tight deadline so I immediately set about painting.  But T-minus a few days until our scheduled for pick up, I ran into a bit of a problem...

IMG_8468.JPG

Where was the brass hardware?

 
IMG_8469.JPG
 

I had ordered these yummy brass finger pulls a week prior and had selected 2-day shipping.  7 days later, my tracking number was reporting that it was bouncing between distribution centers in the vicinity but never “out for delivery.”


What the?!?

IMG_8372.JPG

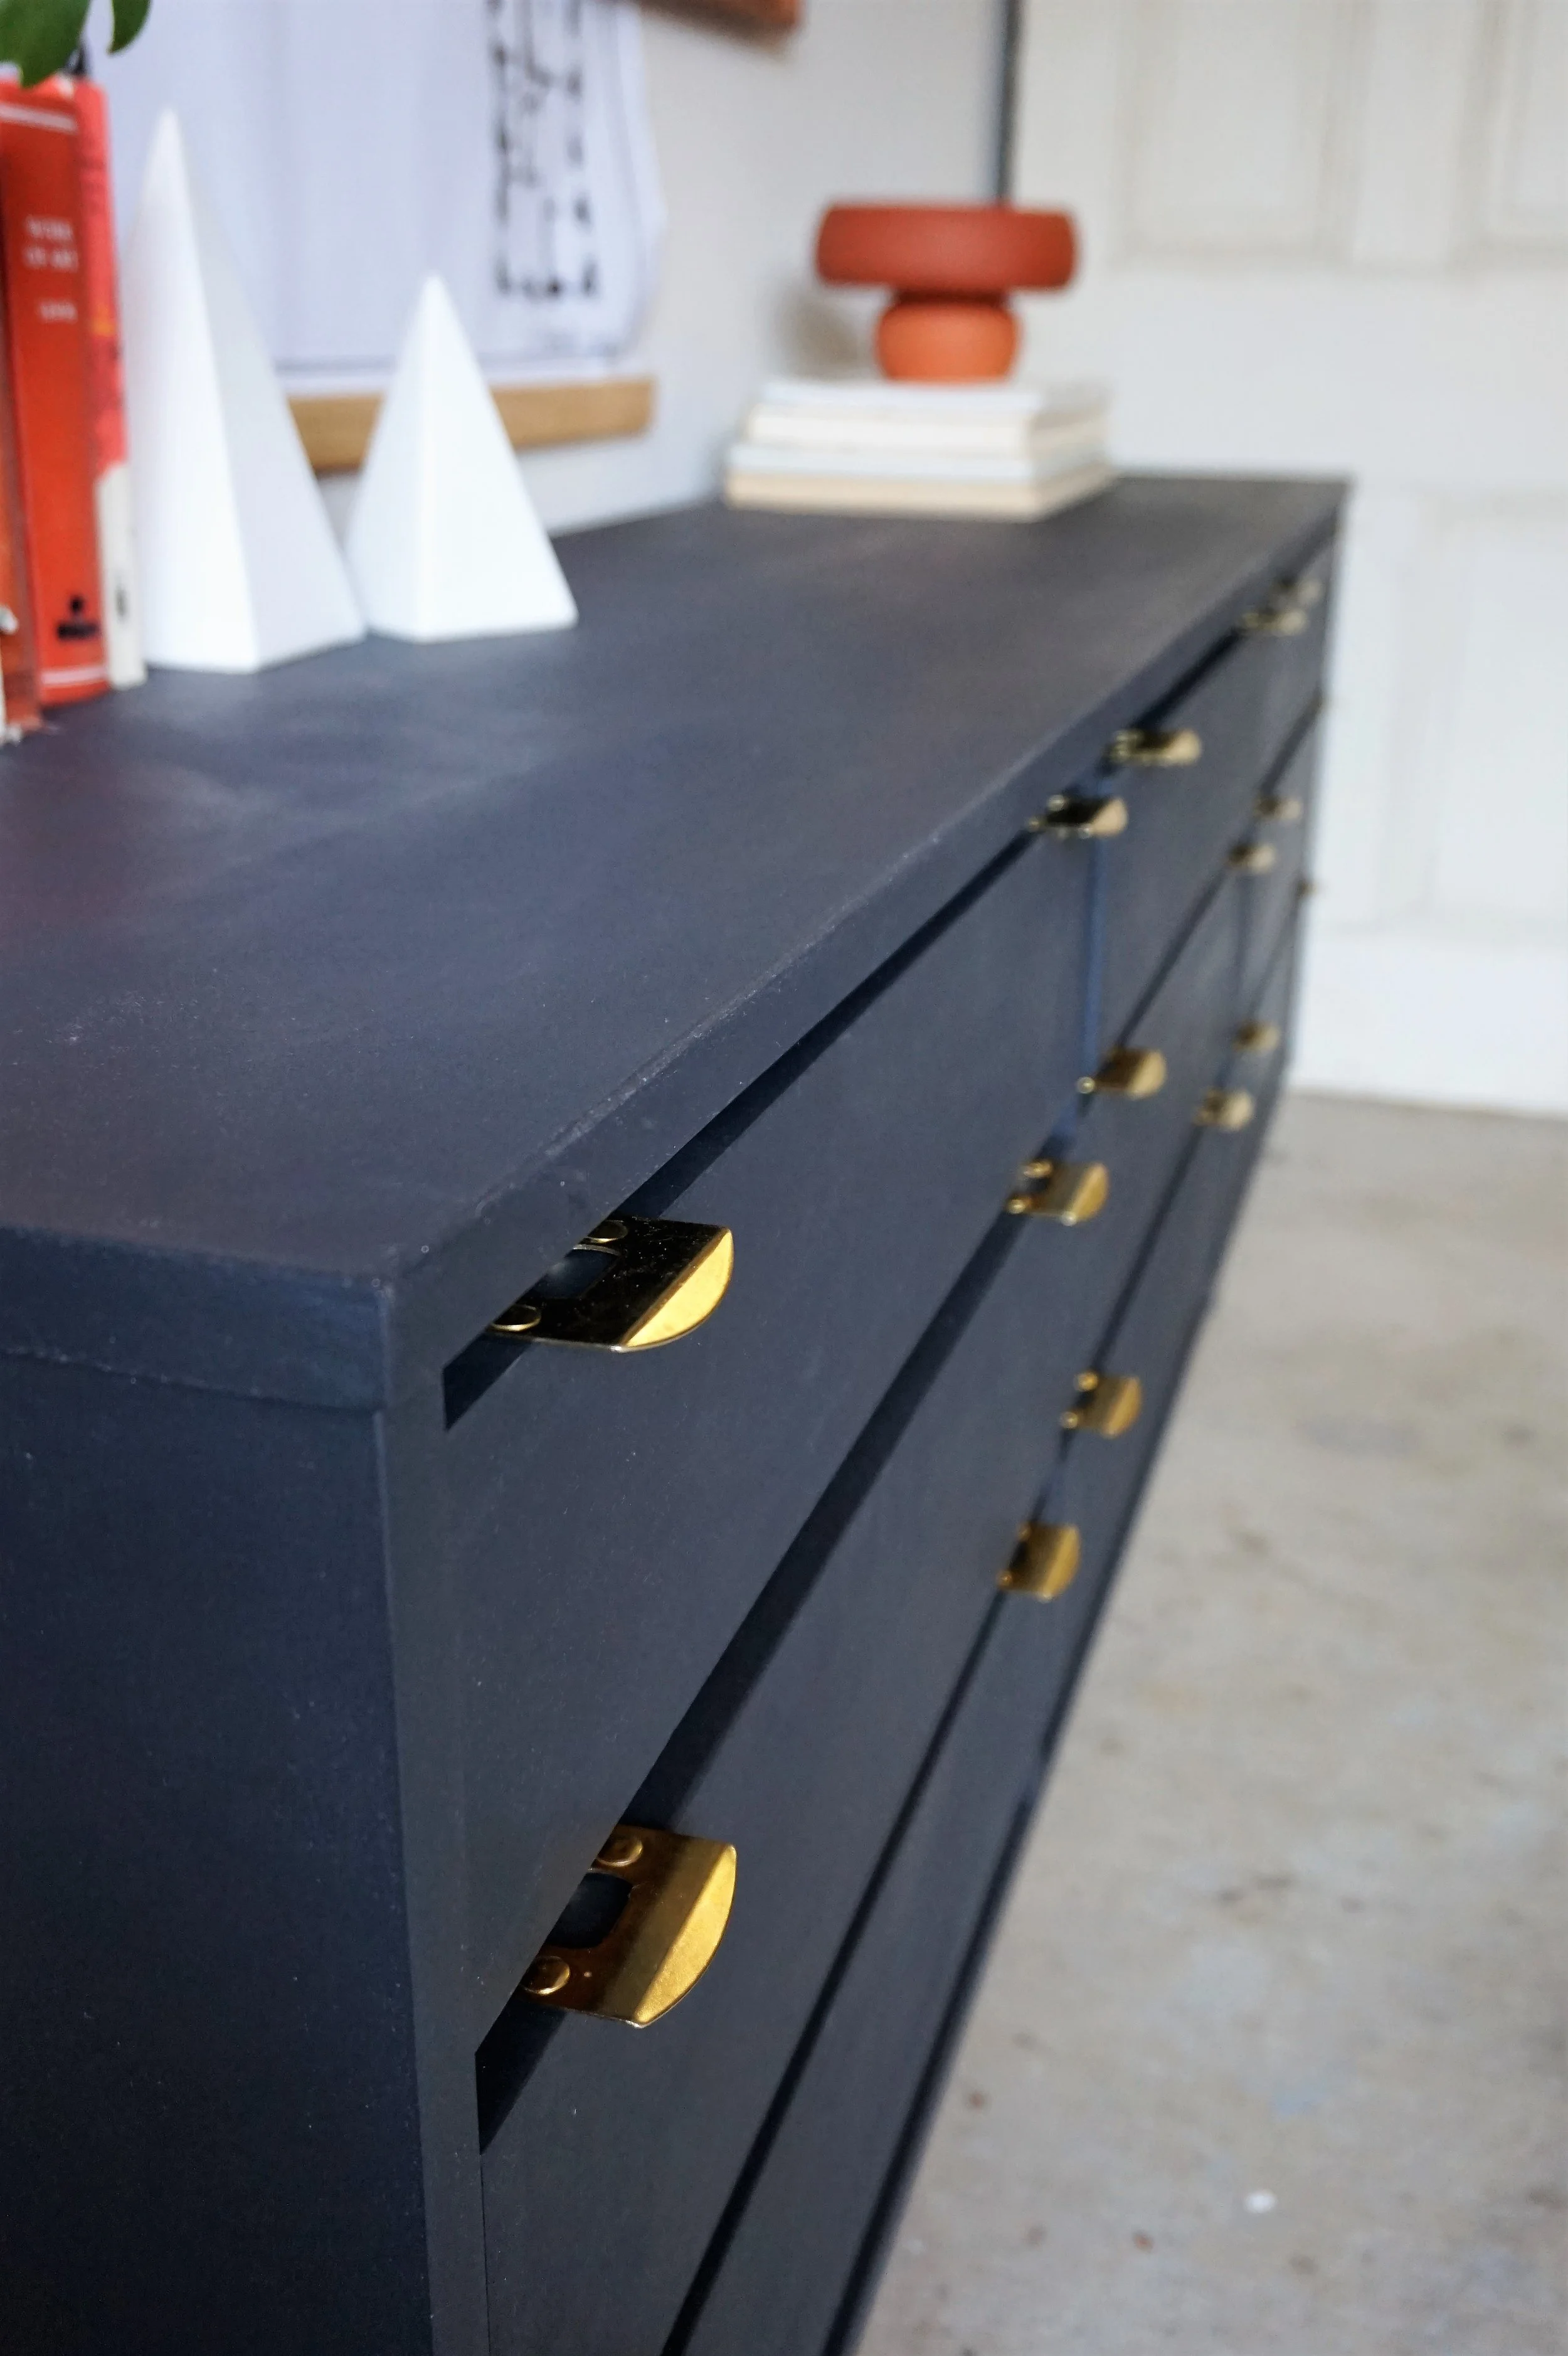
Stupid hardware.  Why you got to play me like that?!?  I looped the client in on the conundrum and she gave me the green light to get creative in order to meet our deadline.  She only wanted a “peek” of brass anyways so I combed through my local hardware store to see if there was something outside-the-box that would work.  And I found... 

IMG_8390.JPG

Strike plates! 

IMG_8391.JPG

ould you tell?

IMG_8389.JPG

Strike plates are those metal plates that you attached to a threshold to correspond to the bolt of the door.  Much like the library pulls I reconfigured for my original tall boy, the strike plates had a subtle lip that could protrude off the drawer top like a true finger pull.  I used the same brass tacks as my other piece for a low-profile attachment method that wouldn't interfere with the functionality of the drawers.
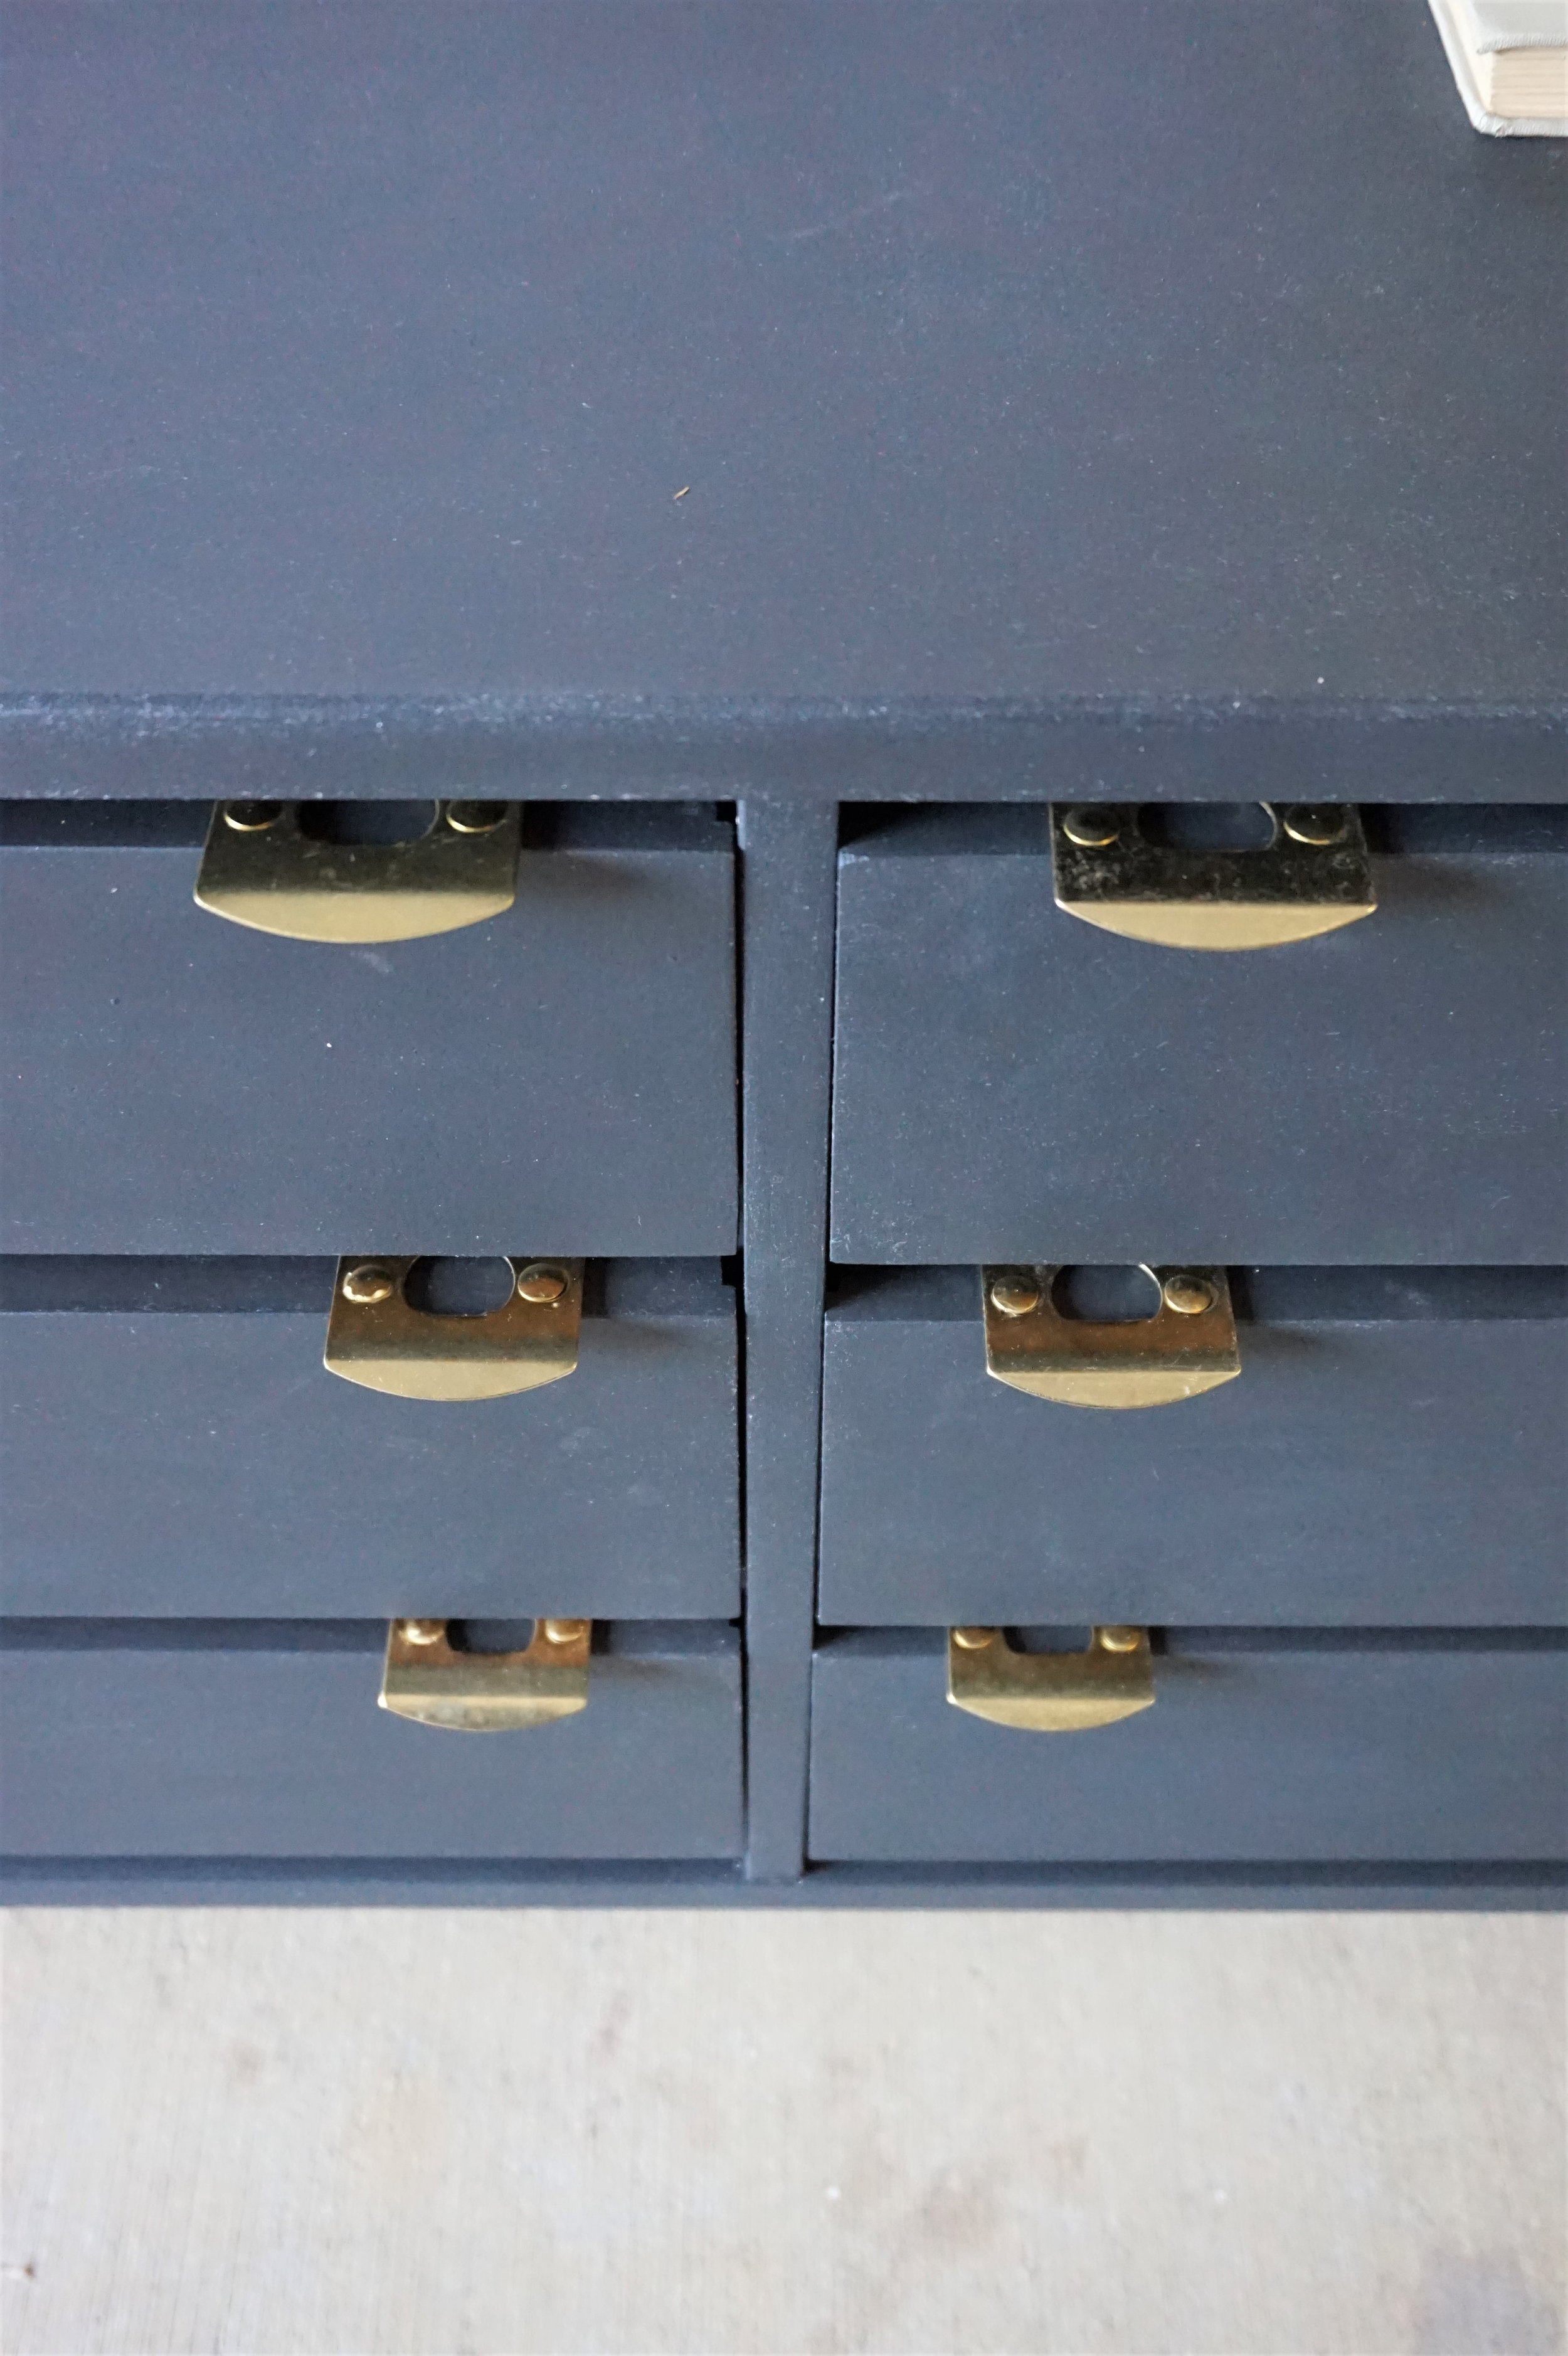
IMG_8392.JPG

Recognize them now?

IMG_8393.JPG

I showed my alternative idea to the client and she was all for it!  So I attached the hardware right-quick and had the piece ready for pick-up in the NICK of time.

IMG_8394.JPG

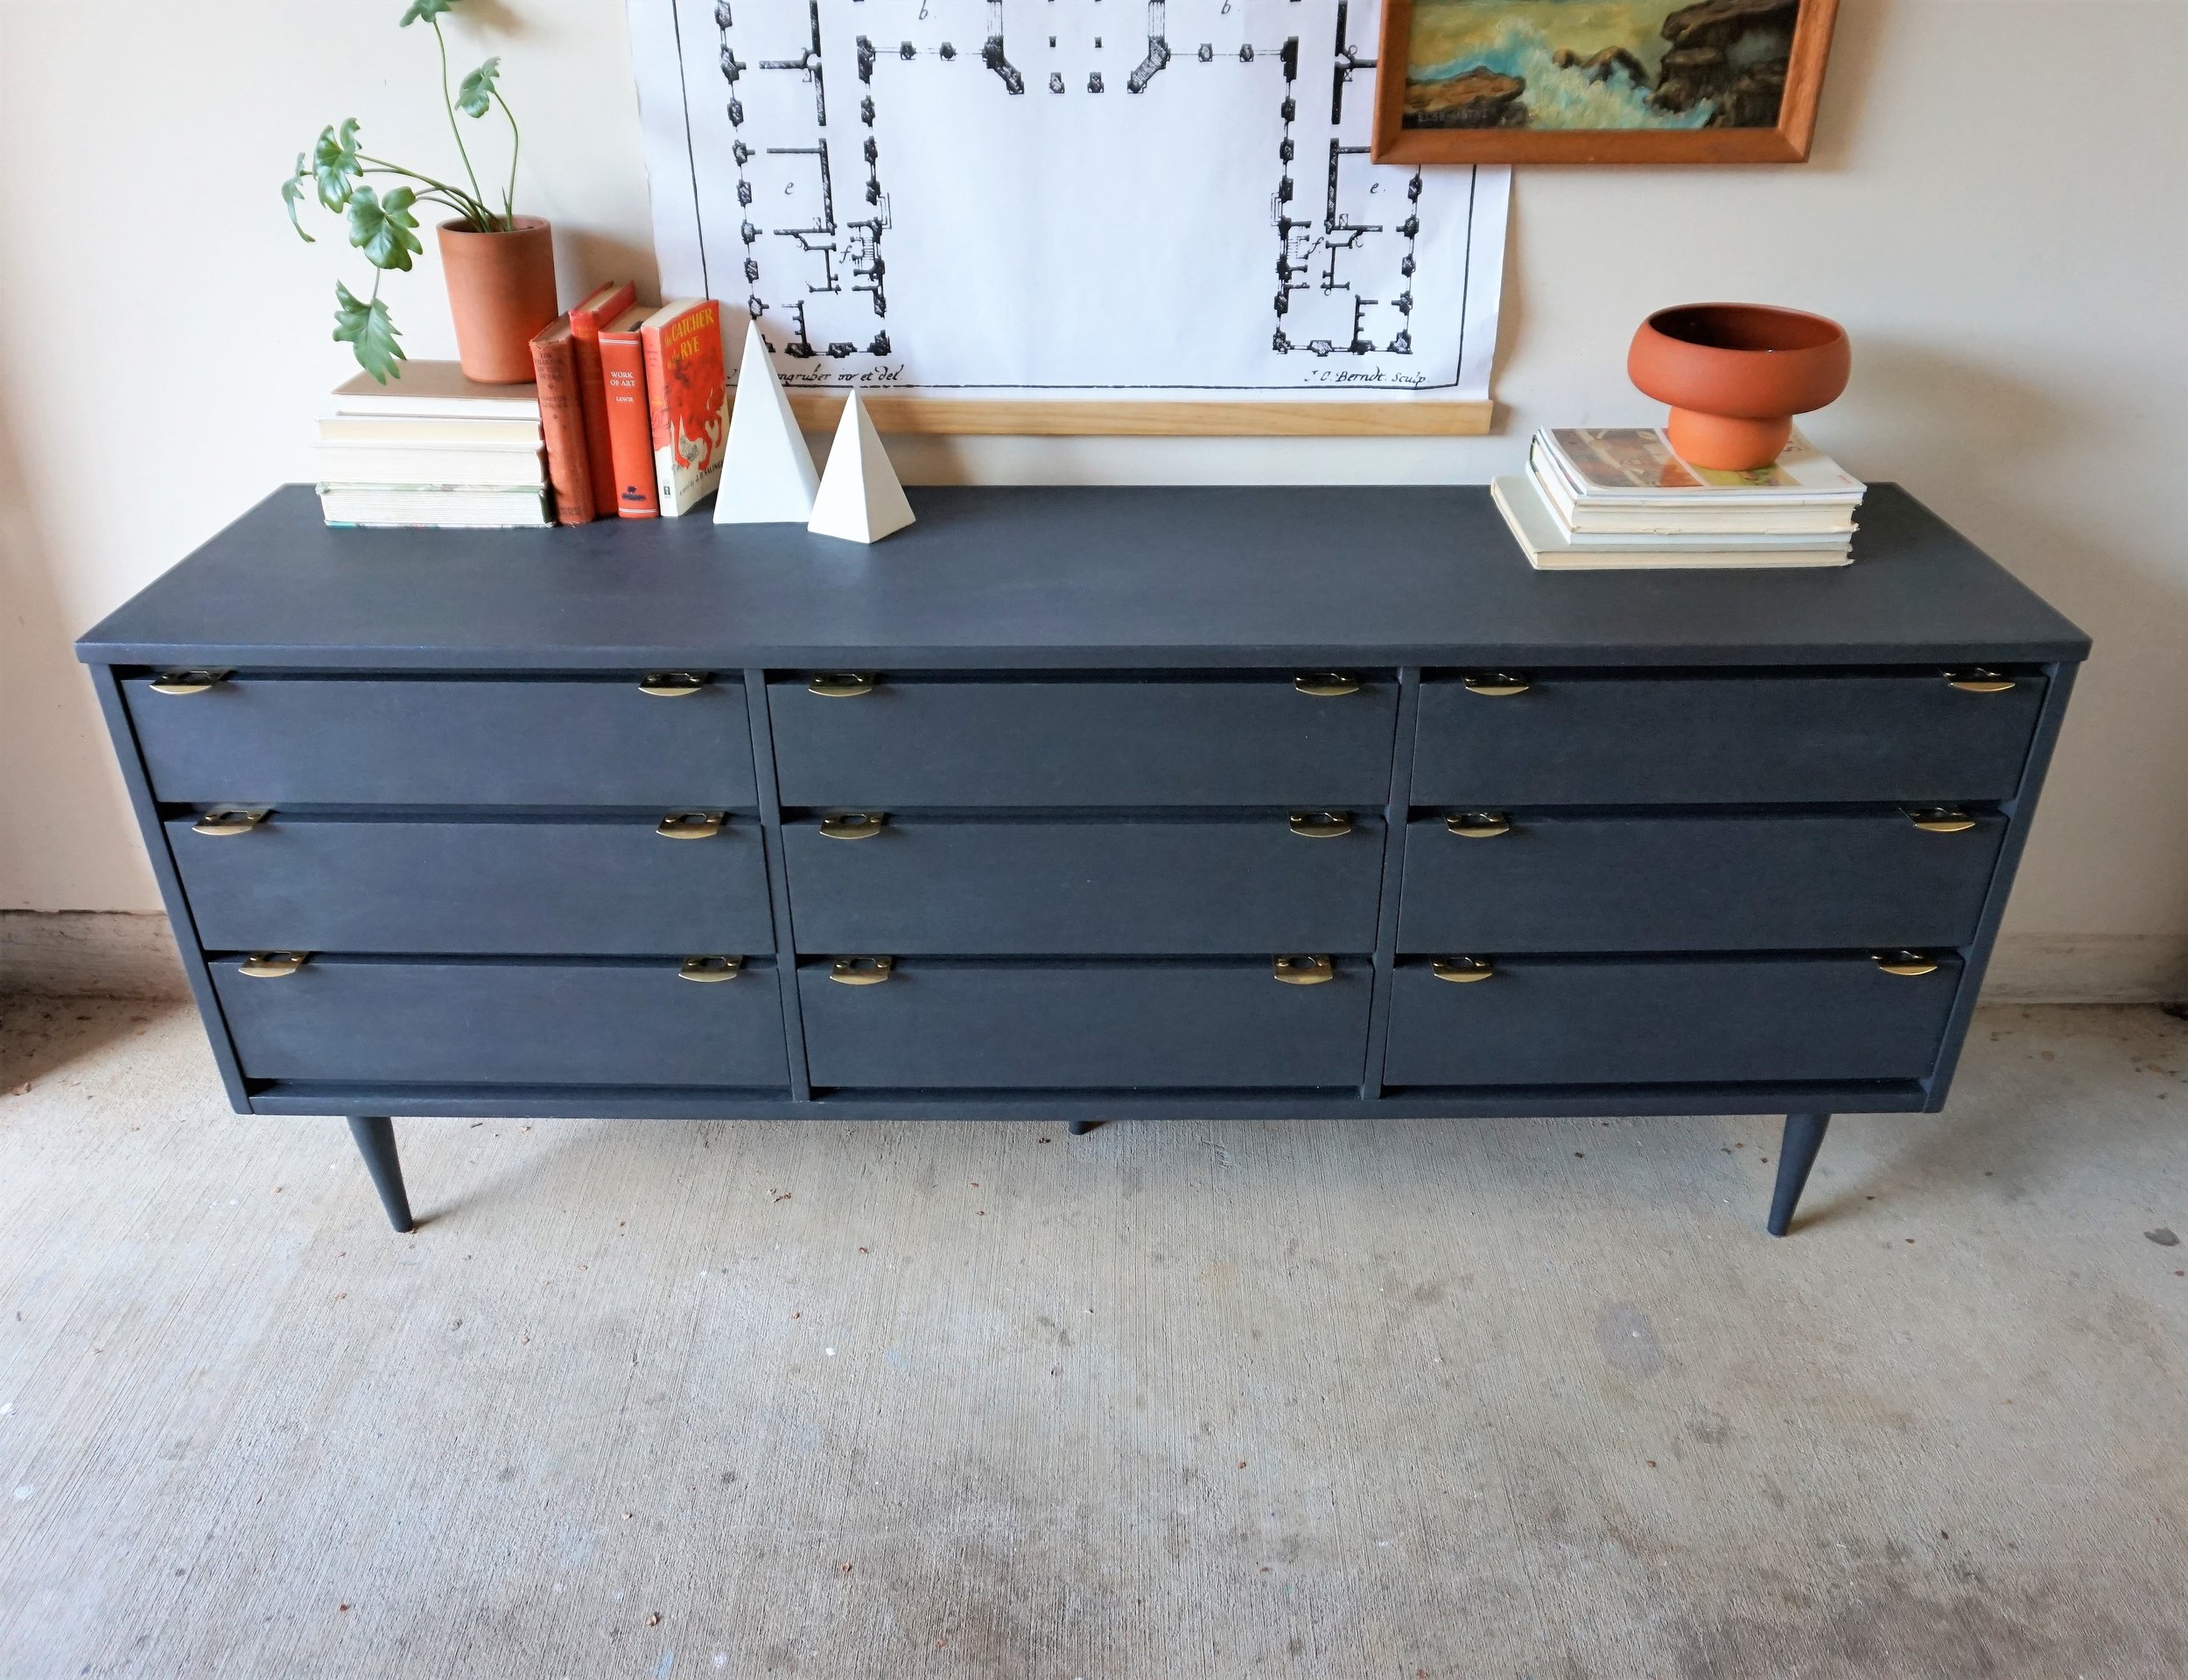
The piece arrived at my client’s NYC walk-up the next day and after the delivery guys fenagled it up the stairs (Pivot! Pivot!), it is safely in its new home with minimal wear and tear from the harrowing out-of-state journey.  

And I can officially say I have big city clientele ;)  *Eek!*


If you’re interested in a custom order like this piece or how we can work with you out-of-state, check out our helpful FAQ guide or email me at cate@stylemutthome.com

IMG_4088.JPG

Want to see what we can do?  Check out what's in stock or view more of our past work on Instagram.

Gallery Block
This is an example. To display your Instagram posts, double-click here to add an account or select an existing connected account. Learn more

Fashion Guide From Someone Who Has To Wear Clothes Now

Hello there, friends! I know, this is crazy. A fashion post on a home decor site - it's nuts. I've had this post in my head for a while but kept pushing it back thinking what in the universe do I have to share about clothes. Because that's a thing now - sharing about clothes. And there are some seriously well qualified people out there doing a darn good job of helping us all get ourselves dressed in the morning! But I've discovered a new perspective on my wardrobe that maybe some of you can relate to. You see,

I work from home. Like this guy:

meme3.jpg

Yup. I can work with anyone anywhere in the world right from my own living room, and it doesn't matter a squawk what I wear.

But there's been a changing wind comin' around since the Fall started! Seems this is the season for a decorating refresh as the StyleMutt Home team has been busily responding to daily inquiries about our design services. I've been scheduling and handling each consultation and lunch meeting on behalf of the team and its been almost one every day. And sometimes the clients are individual home owners/renters, other times they're an entire production network, building management company or corporation. As someone who's first post college job was personal training, followed by staying home to raise our three babies, followed by this work which my soul LOVES, I haven't had a lot of need over the past decade plus for particularly nice clothes. I LOVE fashion and being creative with putting outfits together, but I've never ever had a need for 'creative professional' attire. So, to all you friends recently entering a different kind of workforce - the work from home and sometimes in front of people force - I'm sharing a quick round-up of 5 days worth of presentable, not too businessy, comfortable, multi-functional outfits.

1. Casual Networking

I'm easy, guys - it takes one hand to count the number of individual pieces I leave the house wearing on a typical day, (I count the hair as one), and social-professional gatherings aren't much different for me. We get invited to a lot of local events at some of our favorite shops and meet-and-greets with other designers in the area, so it's helpful to have easy-on outfits like this that I can comfortably mingle in.

1.JPG
10.jpg

2. Laid Back Client Consult

By laid back, I mean the client. If the client is a fellow casual bohemian, I let my earth Mama come out. This one is my favorite and feels the most 'me'. It's my natural style; simple pieces, simply styled, let the hair down and namaste. LOL! Seriously though. This is my comfort zone.

12.jpg

3. Get In the Game

Moving on, this is my least favorite outfit of the bunch. It just doesn't feel 'me'. But in this day and age of "You do you!", I'm calling BS. If you own a business, particularly a creative business where you are virtually selling your own self, you have to be willing to play the game, or at least ride the bench. Hear me out - Yes, you want to represent you, and your individuality and unique style. But if your unique style is so far out there, it can push people back a bit. This wouldn't be such a big deal if you didn't need those people to trust where their money is going. Your presentation, personality, pricing and portfolio, (I swear I didn't intend the 'p' thing), aren't strong enough to stand on their own. It doesn't matter who you are or how amazing your work is, (unless you're Lady Gaga); you must look like you care. You must appear to be a responsible adult who knows how to show up and get stuff done. If I don't know a lot about the potential client I'm meeting, this is what I'm wearing, or some variation of it. It's safe, which perhaps is the problem I have with it, but I doubt anyone else will so I'll wear it.

2.JPG
8.jpg

4. Step It Up Client Consult

If I'm ever facing a potential design project that challenges my confidence, this is what I'm wearing. Because I know I can deliver what the client is looking for, I just need their trust. And nothing says "trust me, I can get the job done" like a shift. I mean, if Hillary Clinton had just shimmied herself in a shift...But seriously, a well fitting shift helps me lift my head a little higher. And well fitting, by the way, doesn't necessarily mean stiff. This one's made of jersey!

4.jpg
11.jpg

5. Installation/Photoshoot Day

And you'd better believe there are snacks packed in that satchel! Unhealthy ones, no less. This is a tricky one because on installation day, (and even when I'm just taking pictures!), I sweat. It's usually fast paced work and I don't want to intrude on a client's space any longer than is necessary! I'd rather wear an old race tee and running pants, to be honest. But the next best thing is trusty jeans and a tee. Denim with a bit of a stretch so I can move free is a must, and a couple layers up top so I can pare down when I start getting warm.

5.jpg
9.jpg

That's a wrap, folks! I don't know if this was helpful for anyone but it sure was fun for me! Hah! I think photographing a few favorite outfits and defining out loud how they are a useful tool for this business has helped me at least get a clearer sense of my own professional style. If nothing else I would highly recommend this exercise yourself, even for private documentation, so you can find a comfortable direction for your professional style.

Thank you all so much for coming by today! This was by far my most vulnerable post, but you guys are a fun group and I thought we could AT LEAST laugh about the dude in the first picture together!

Chelesa.jpg

How to Repair A [Seemingly] Hopeless Dresser

As I mentioned on Monday, I finally found the perfect dresser for the next item on my 2017 Furniture Flip Bucket List.  


There's just a few little problems...

 
Damage 2.jpg
 

And one big one.

See what I mean? Gasp!  There's a huge chunk missing from the decorative trim molding.  

Up until this point in my furniture refinishing career, I have only re-attached existing splintered pieces.  I've never conjured missing pieces of a dresser before.  I mean do I whittle it?  Cut the whole section of molding out and replace it with as close a match as I can find?  No my friends.  I am here to tell you today - there is another way.  And all you need is a few items from the hardware store:

A can of minwax wood filler with hardening agent
A wood shaver
A plastic putty knife
Scrap wood
screws
Some sandpaper

After watching a couple helpful videos, I learned that step one is to attach a piece of scrap wood underneath the damaged area with a few screws.

Following the instructions on the Minwax can, I mixed the wood putty with the hardener and applied it quickly to the effected area.

And I applied some to the chips in the veneer on the drawers while I was at it.

After letting it set, I gingerly detached the scrap wood - first by unscrewing it from the dresser, then by cutting away the excess hardened wood filler.

Now comes the fun part - sanding the hardened wood to match the contours on the molding as close as possible.

To get those clean lines, I used a wood shaver on the bottom until the wood filler felt flush with the underside of the drawer frame.

And also on the front edge since sanding would have rounded the edges too much.

After that, it was a matter of sanding the entire body of the piece to prep for paint.

And sanding the drawers to smooth out the repaired areas of the veneer too.

Now it's time to paint.  

Can you spot the repair?

How about now?

Once painted, the damaged areas are virtually undetectable!

I am so pleased to find that such a seemingly "big" problem can be fixed by such a small can of wood filler!

I hope this little tutorial saves a dresser or two from the dump.  And if you end up giving this repair method a try, feel free to share your experience with us!

P.S. Read more about this dresser's transformation on Apartment Therapy!