Moody Blue Dresser

NEW DRESSER! That’s right - I’m finally breaking my radio silence to bring you a fresh flip. A lot has happened since I last debuted a piece so I am WELL overdue to get back on here. Let’s do a quick bottle episode to recap what’s been keeping me from workshop all year:

Jan 2021 Took a new role at my day job and found out we were pregnant with No.2
March 2021 Started house hunting
May 2021 Kicked-off a string of unexpected health challenges culminating with my husband’s mysterious partial hearing loss
July 2021 Moved into the new house
Oct 2021 Had another baby

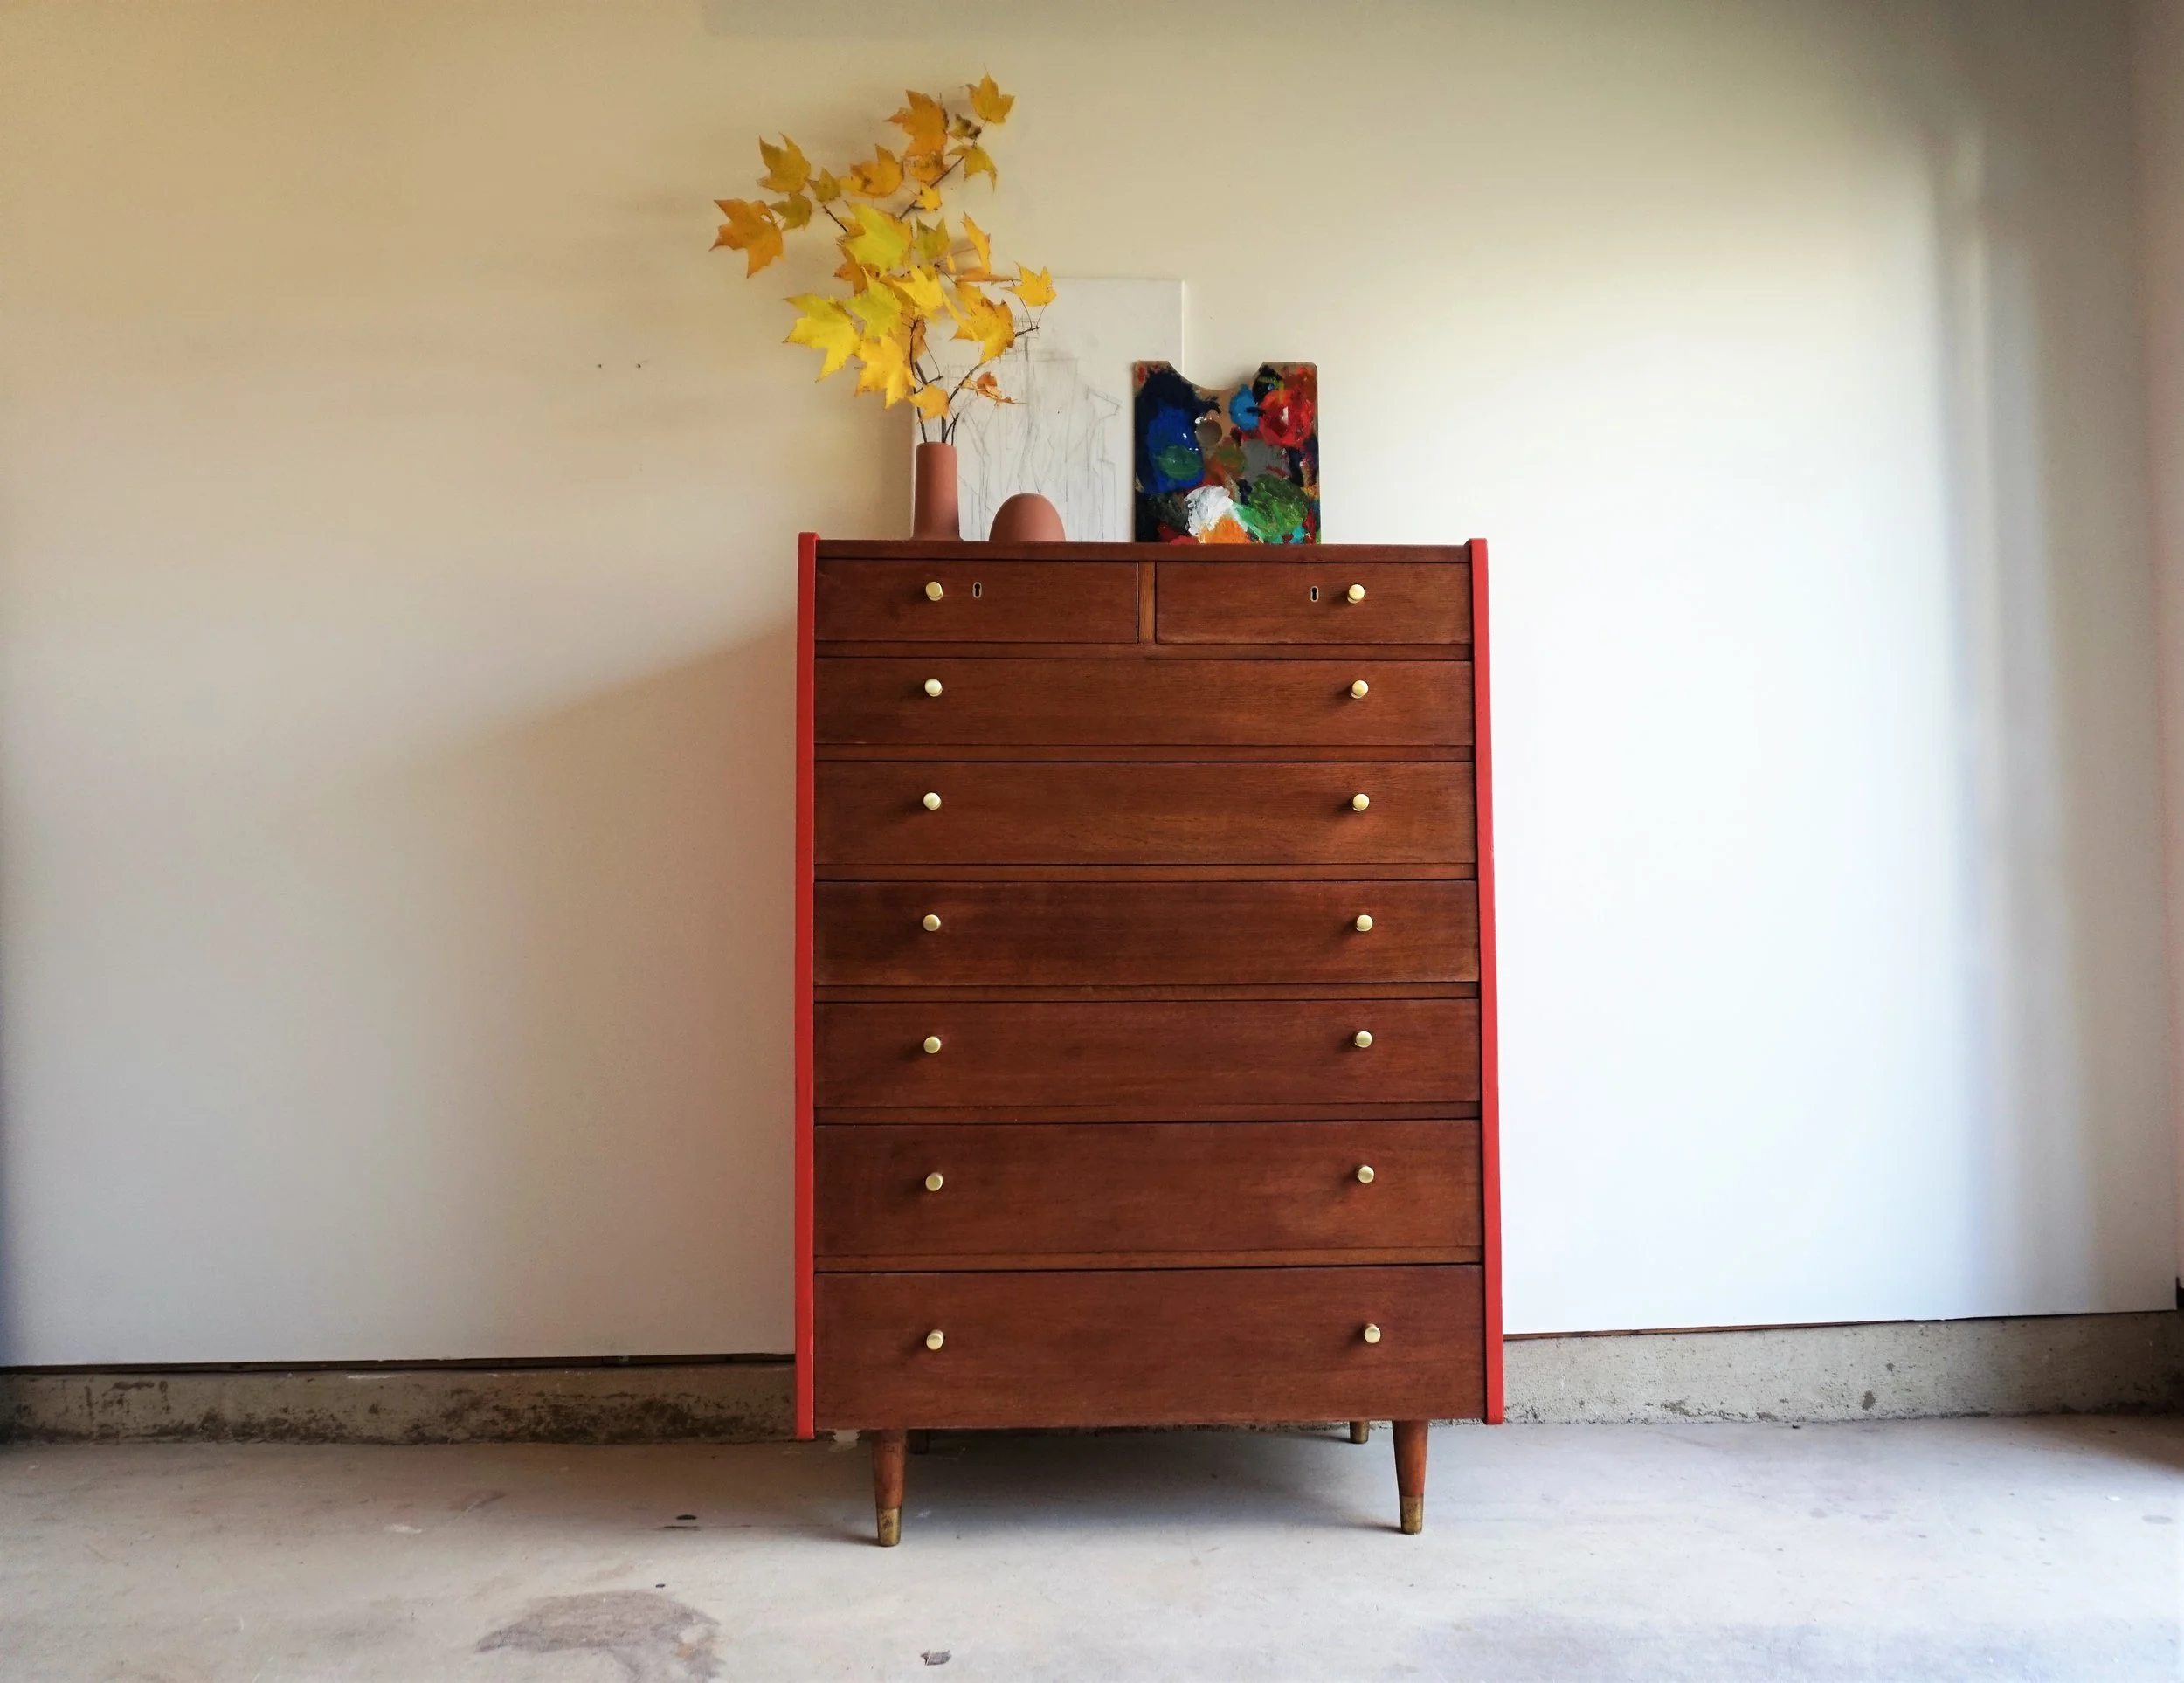
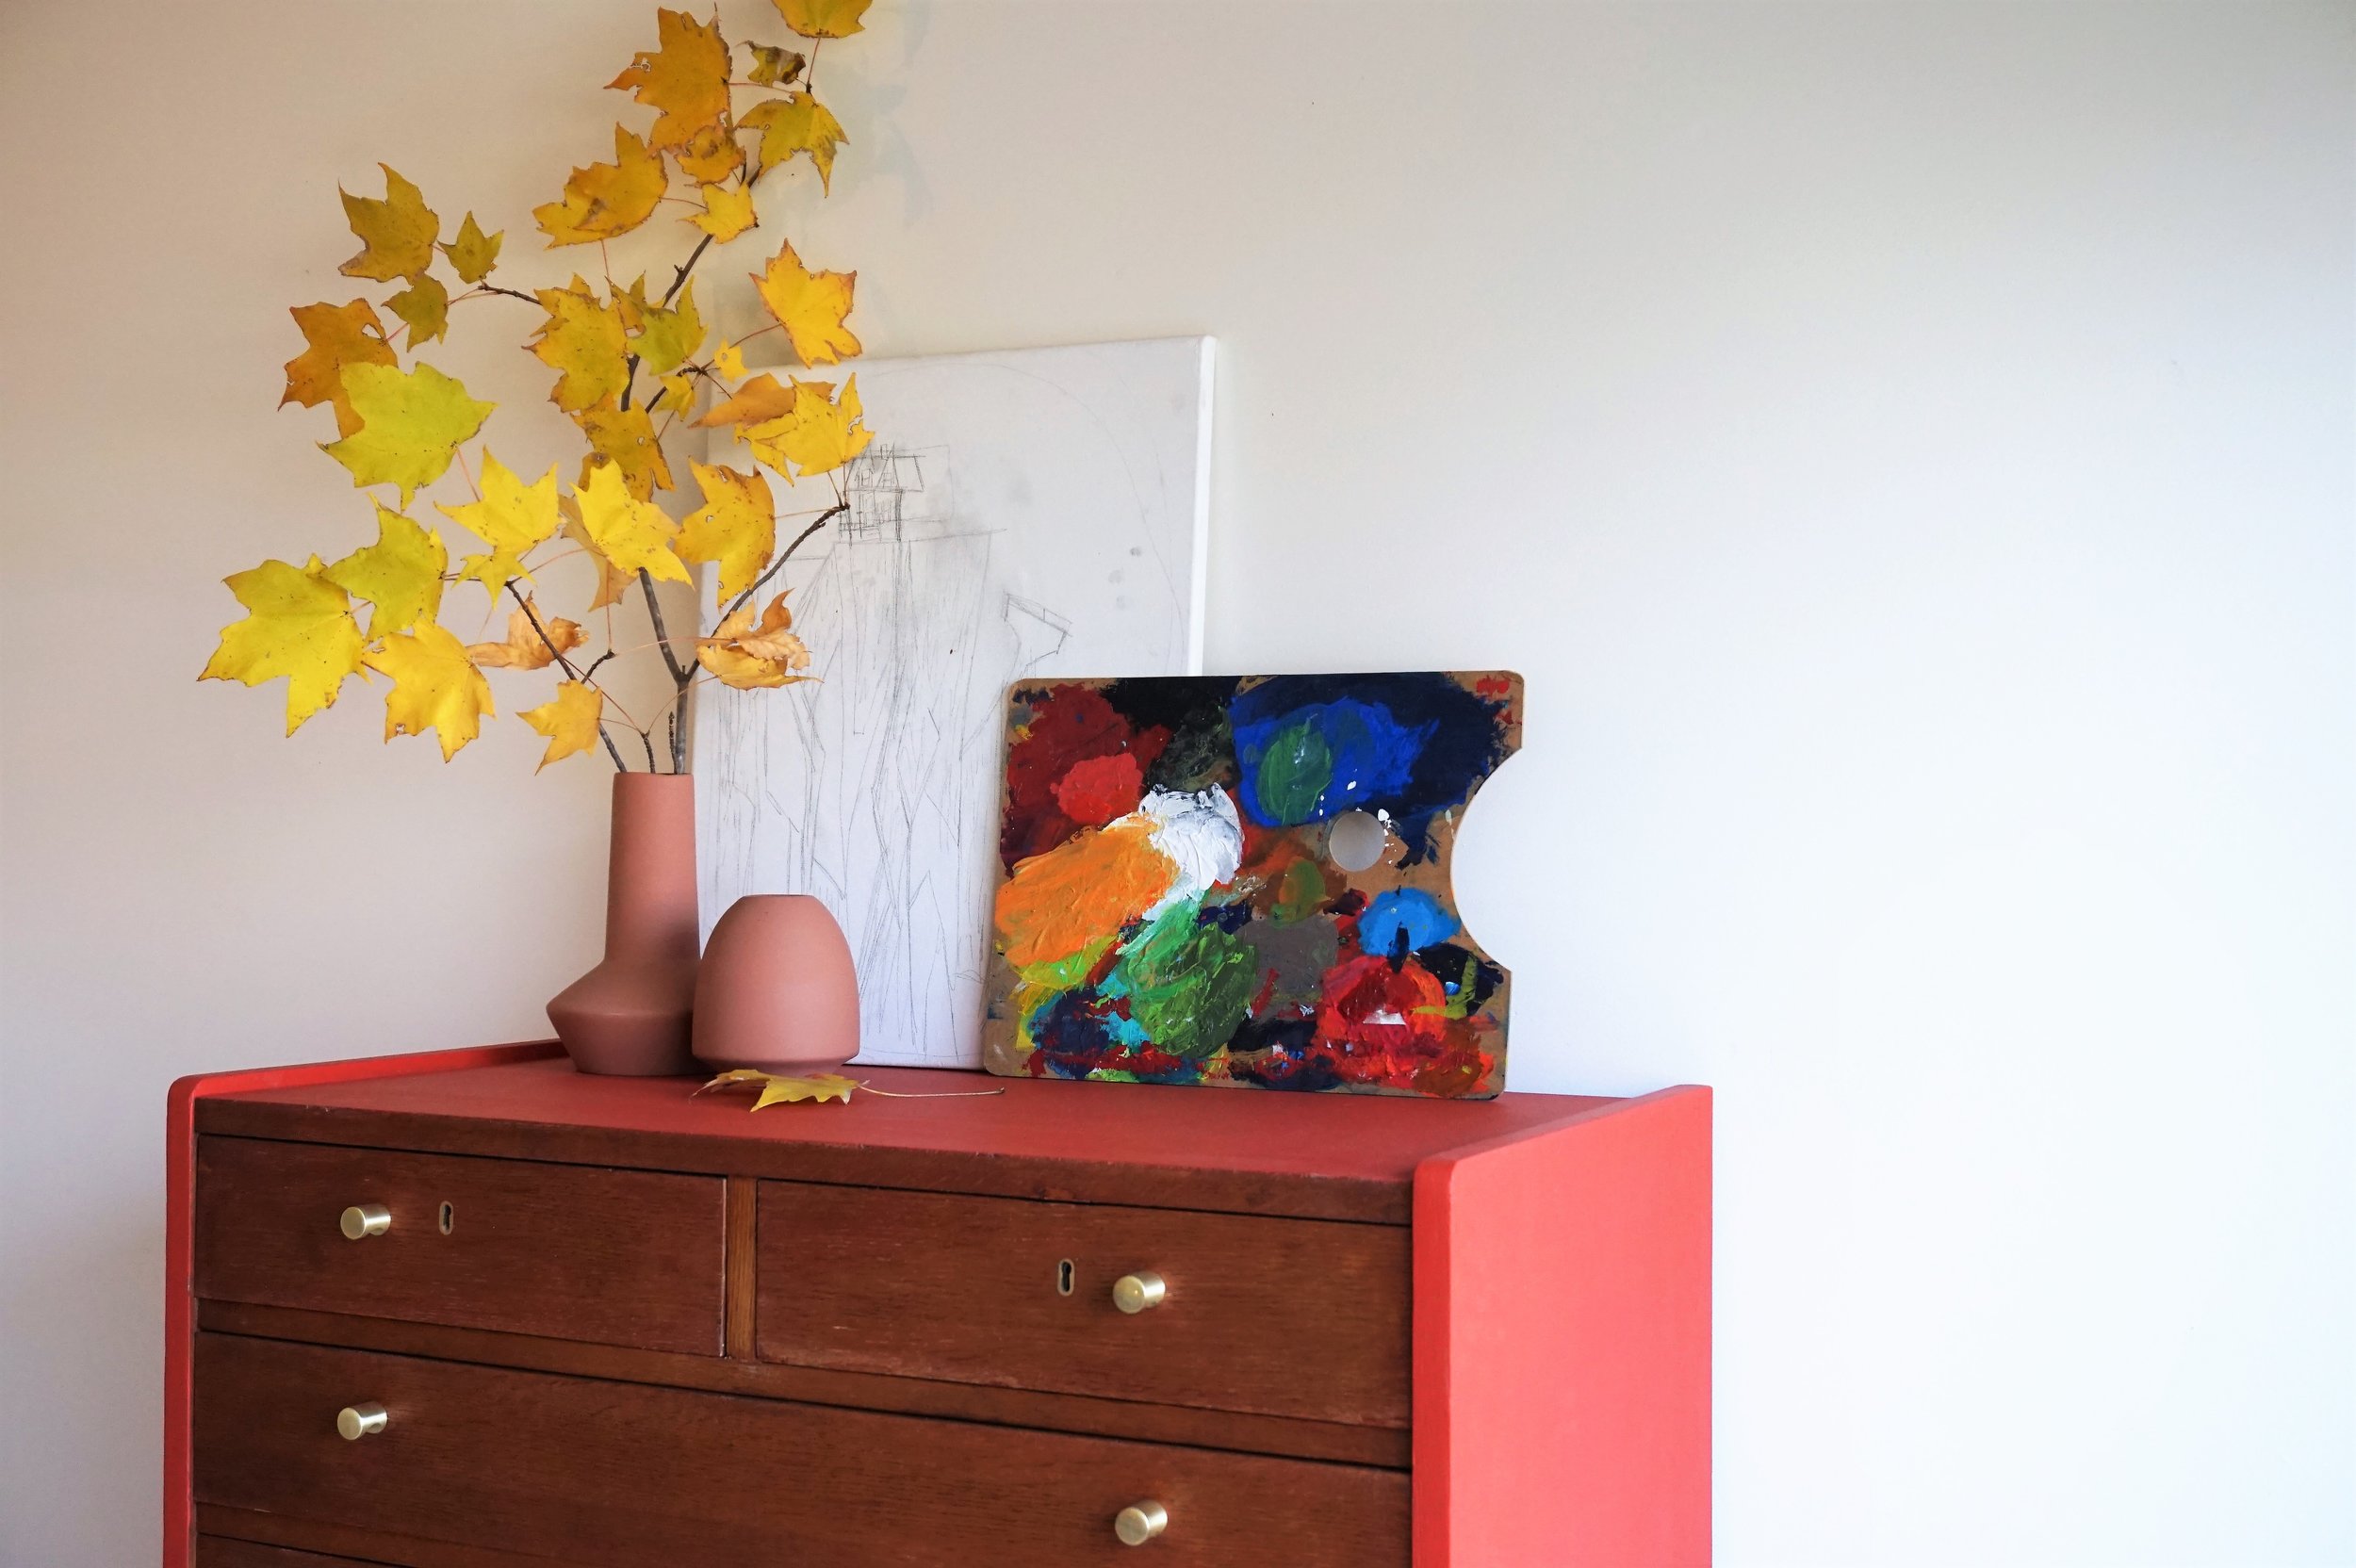
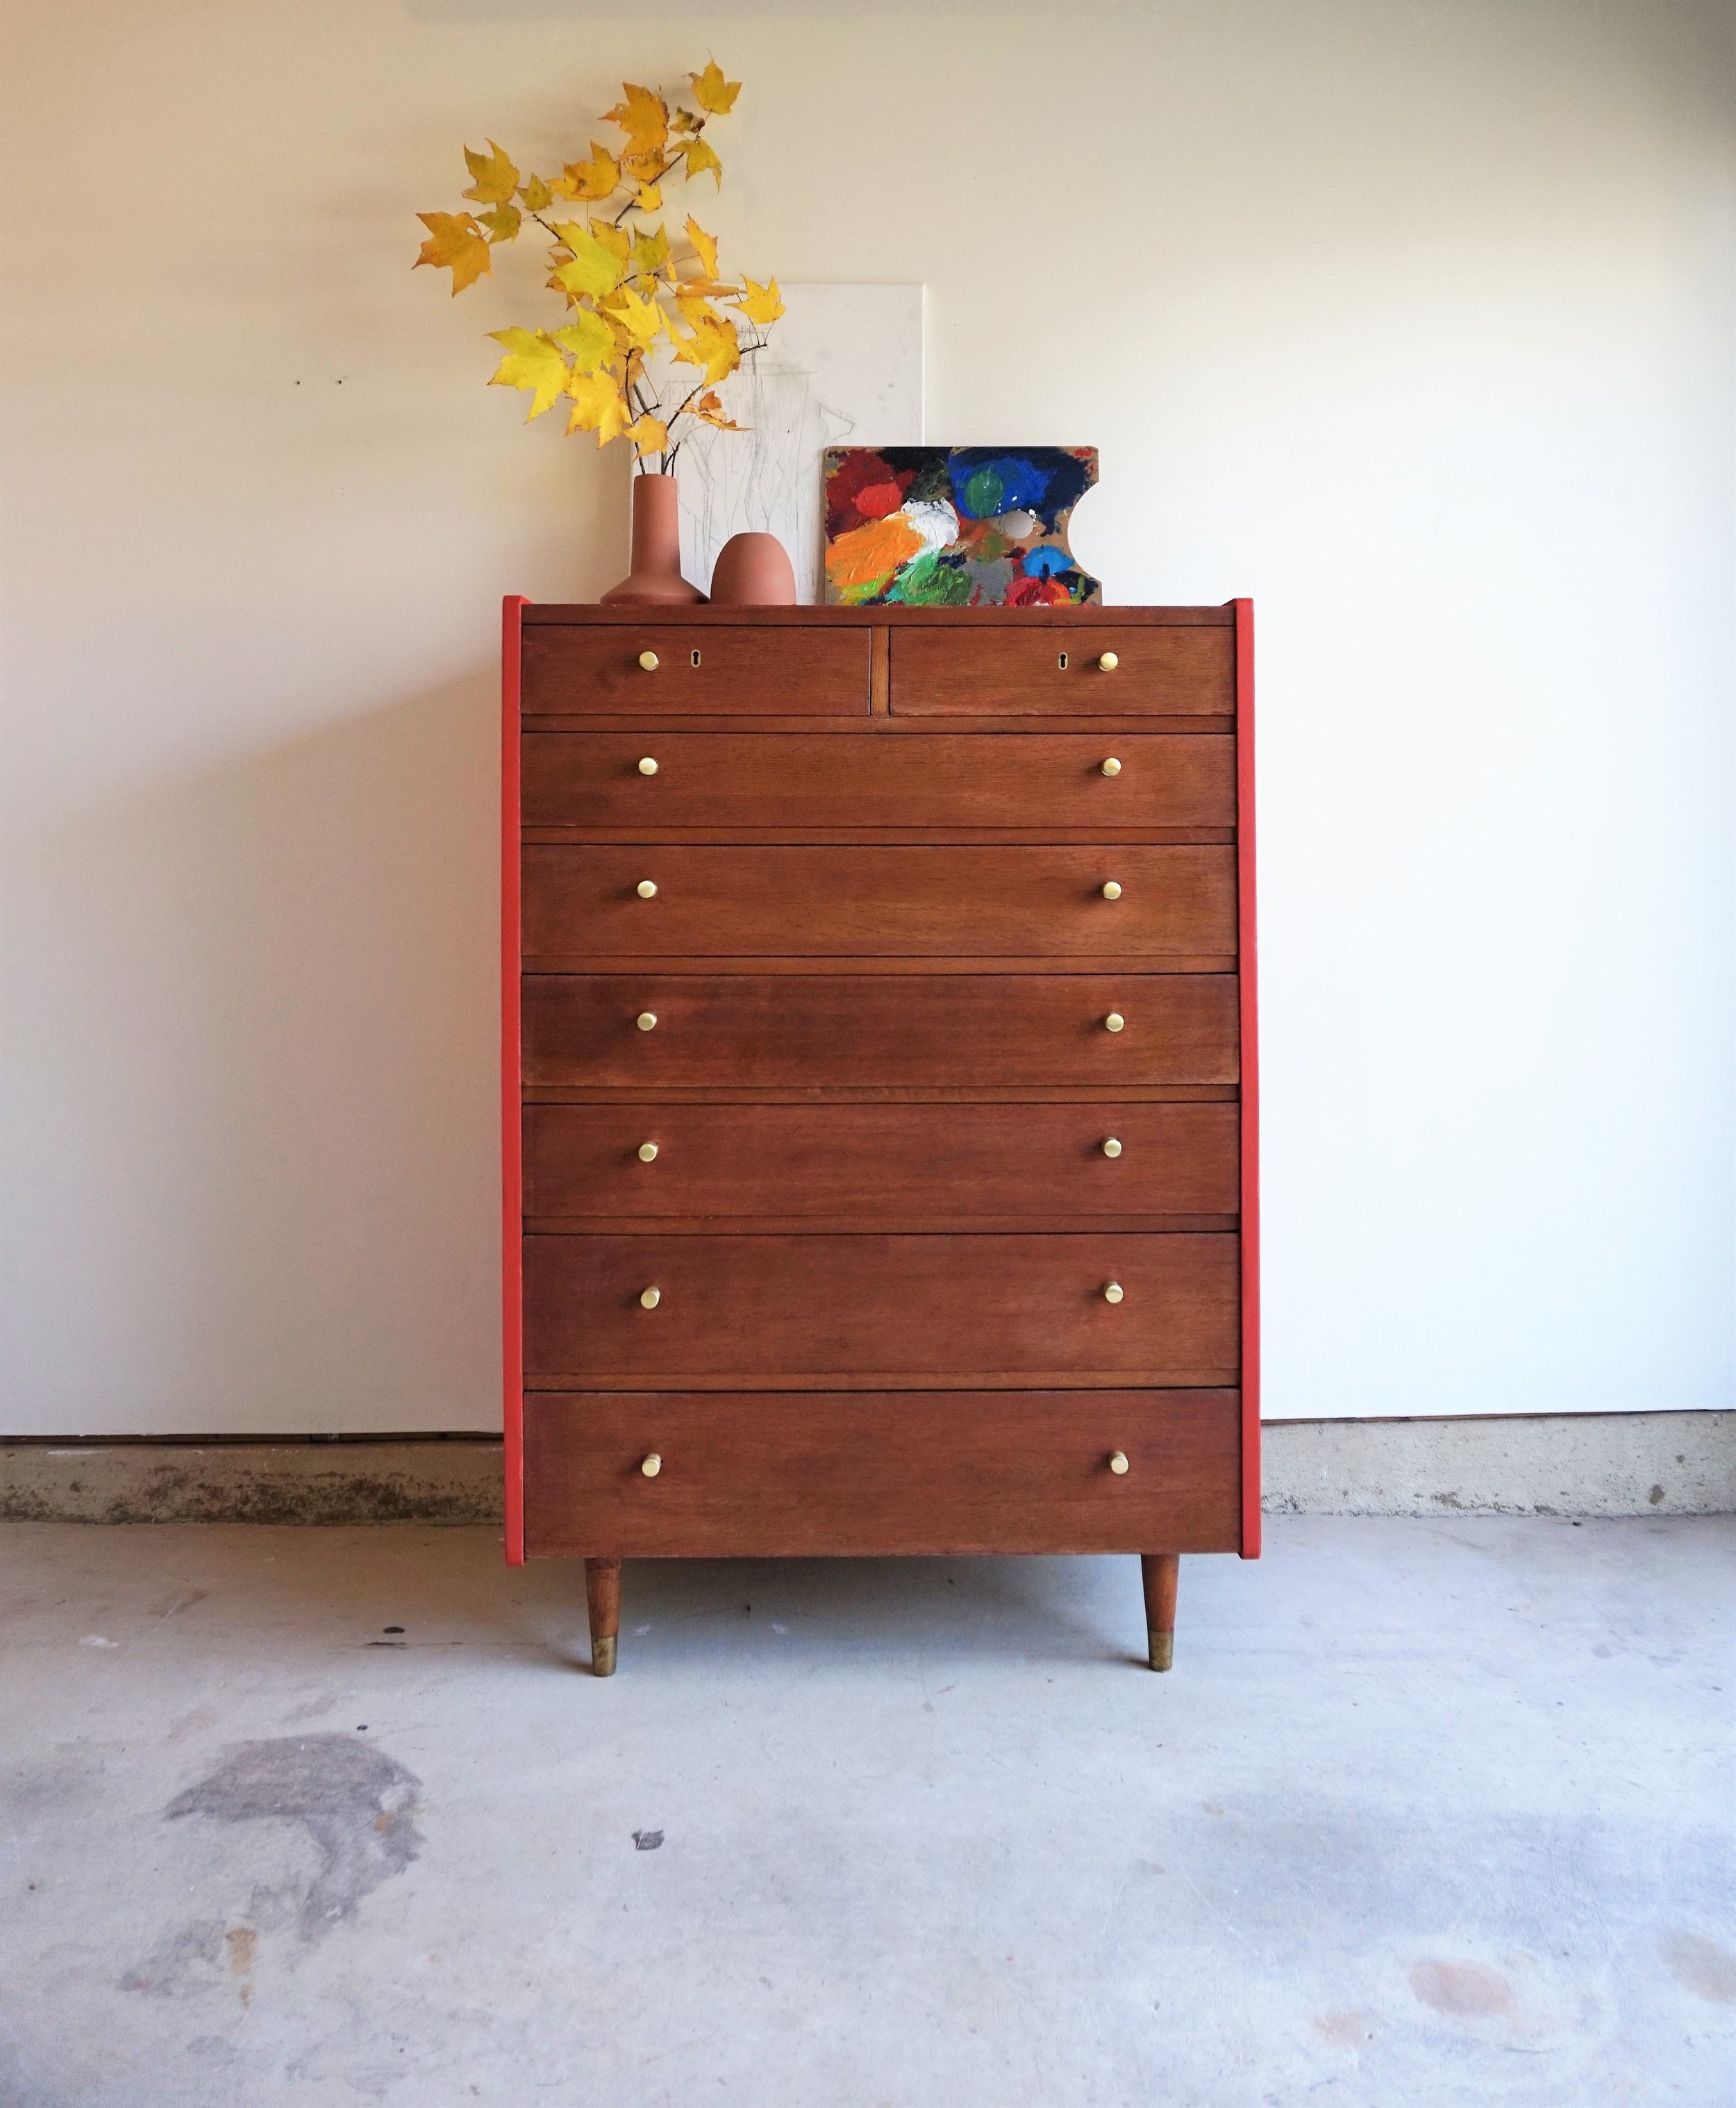
Whew. It’s doesn’t seem like much when you distill it down to bullet points but it was enough to keep me from tackling many new projects or sharing any of the ones I did. Maybe I’ll get around to posting about those before the new year, but in the meantime I at least have a pop of color to splash on here. Dusting off my old MO, let’s start with a quick before:


If you thought that dresser looked familiar, then good eye!

It is from the same line as the one and only 2020 Flip List Item I shared in August of last year.


Yup, in the turbulence of the pandemic, I shared one flip list item and then completely abandoned my furniture goals of 2020. I didn’t even pick up the mantle to set any goals for 2021. But, I am trying to be gentle with myself. And as I have stated from the get-go, my annual Flip List comes with automatic grace if I fail or falter.

If you’ve been following my work for a while, you may already know that I often like to preserve wood finishes as often as I can. I’ve been painting furniture since 2013 and have come to appreciate a beautiful wood grain over time - mostly because I can appreciate how much work it is to strip a painted piece to restore it back to its wooden skivvies. I typically choose what to paint on a piece and what to leave alone based on repairs. If the veneer is damaged or a drawer chipped, they I am likely using a high-performance wood filler which will never blend in perfectly if left un-painted.


Inspired by MCM Furniture Designer Arne Vodder,

I chose a moody blue. This dresser is serving as a pop of color in our guestroom/ nursery.


And this piece had all that and a laminate top. So I painted the body in Nocture Blue by Behr - adding wood legs to match the sculpted divots for the finger pulls which I left in the original wood finish.

To me, a dresser without legs feels like you might as well leave your clothes in a box on the floor. I think the leg-lift allows a piece to not feel as heavy in a space and for-sure makes vacuuming the dog hair easier (if that’s your vice).

I ordered the same legs as it’s 5-drawer sibling but had some challenges upon install. These legs require the mounting hardware to be inset. Which means I need to drill a hole big enough to sink in a threaded brace that I can screw the leg into. I didn’t want the brace or the attachment screws to poke through the bottom of the dresser and compromise the bottom drawer’s functionality so I tried to inset them as close to the corners as possible where the inner frame of the dresser would provide more wood to screw in to.


A lot about what I do is trial and error

which is all part of the creative process. Fun fact, I accidentally screwed shut the bottom drawer of this map chest by installing the legs with the wrong length screws. I didn’t realize until the buyer came to pick up - which was t-minus 10 minutes before I was supposed to leave for the airport to go visit my sis. I had NO TIME to fix it and was mortally embarrassed. Luckily the buyer was handy and wasn’t intimidated by the quick fix and was willing to still buy it with a discount.


This dresser had a slight lip that prevented the wide legs I chose from screwing in flush to the base.

Leaving the legs like this would completely compromise their stability so I ended up cutting some scrap wood to recess into base.

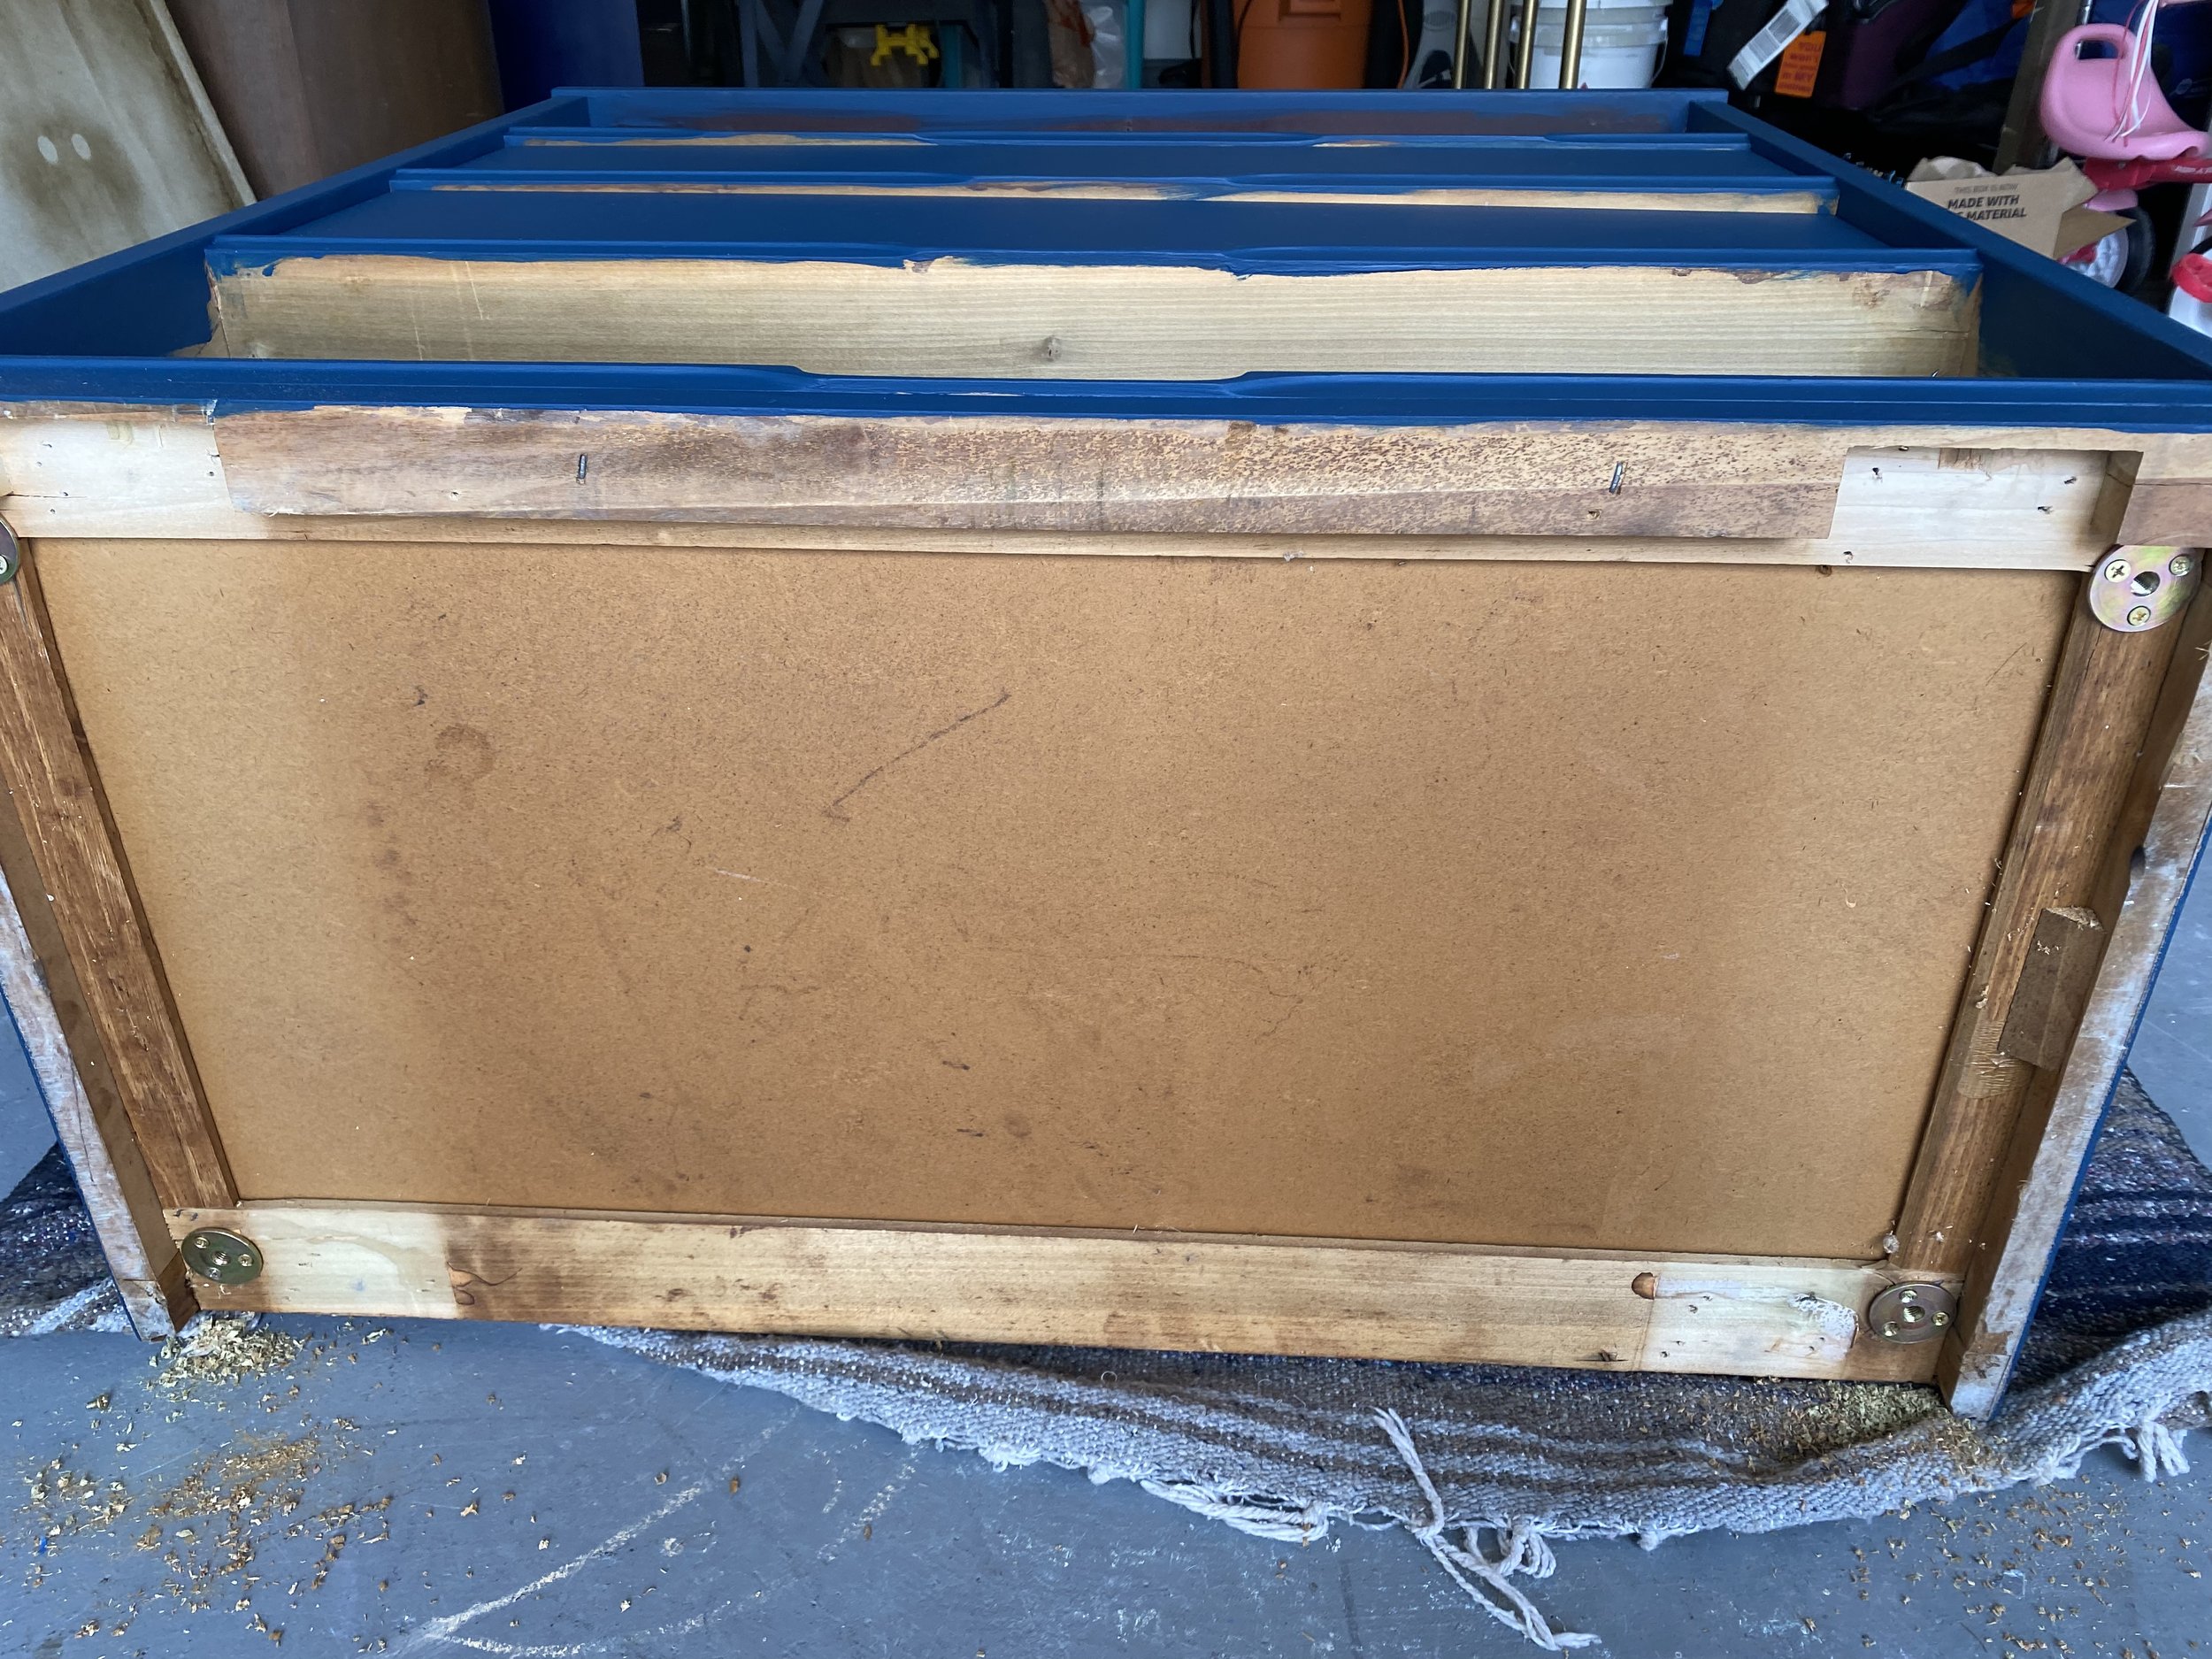
I could then sink the mounting hardware into the scrap wood and attach the legs safely.

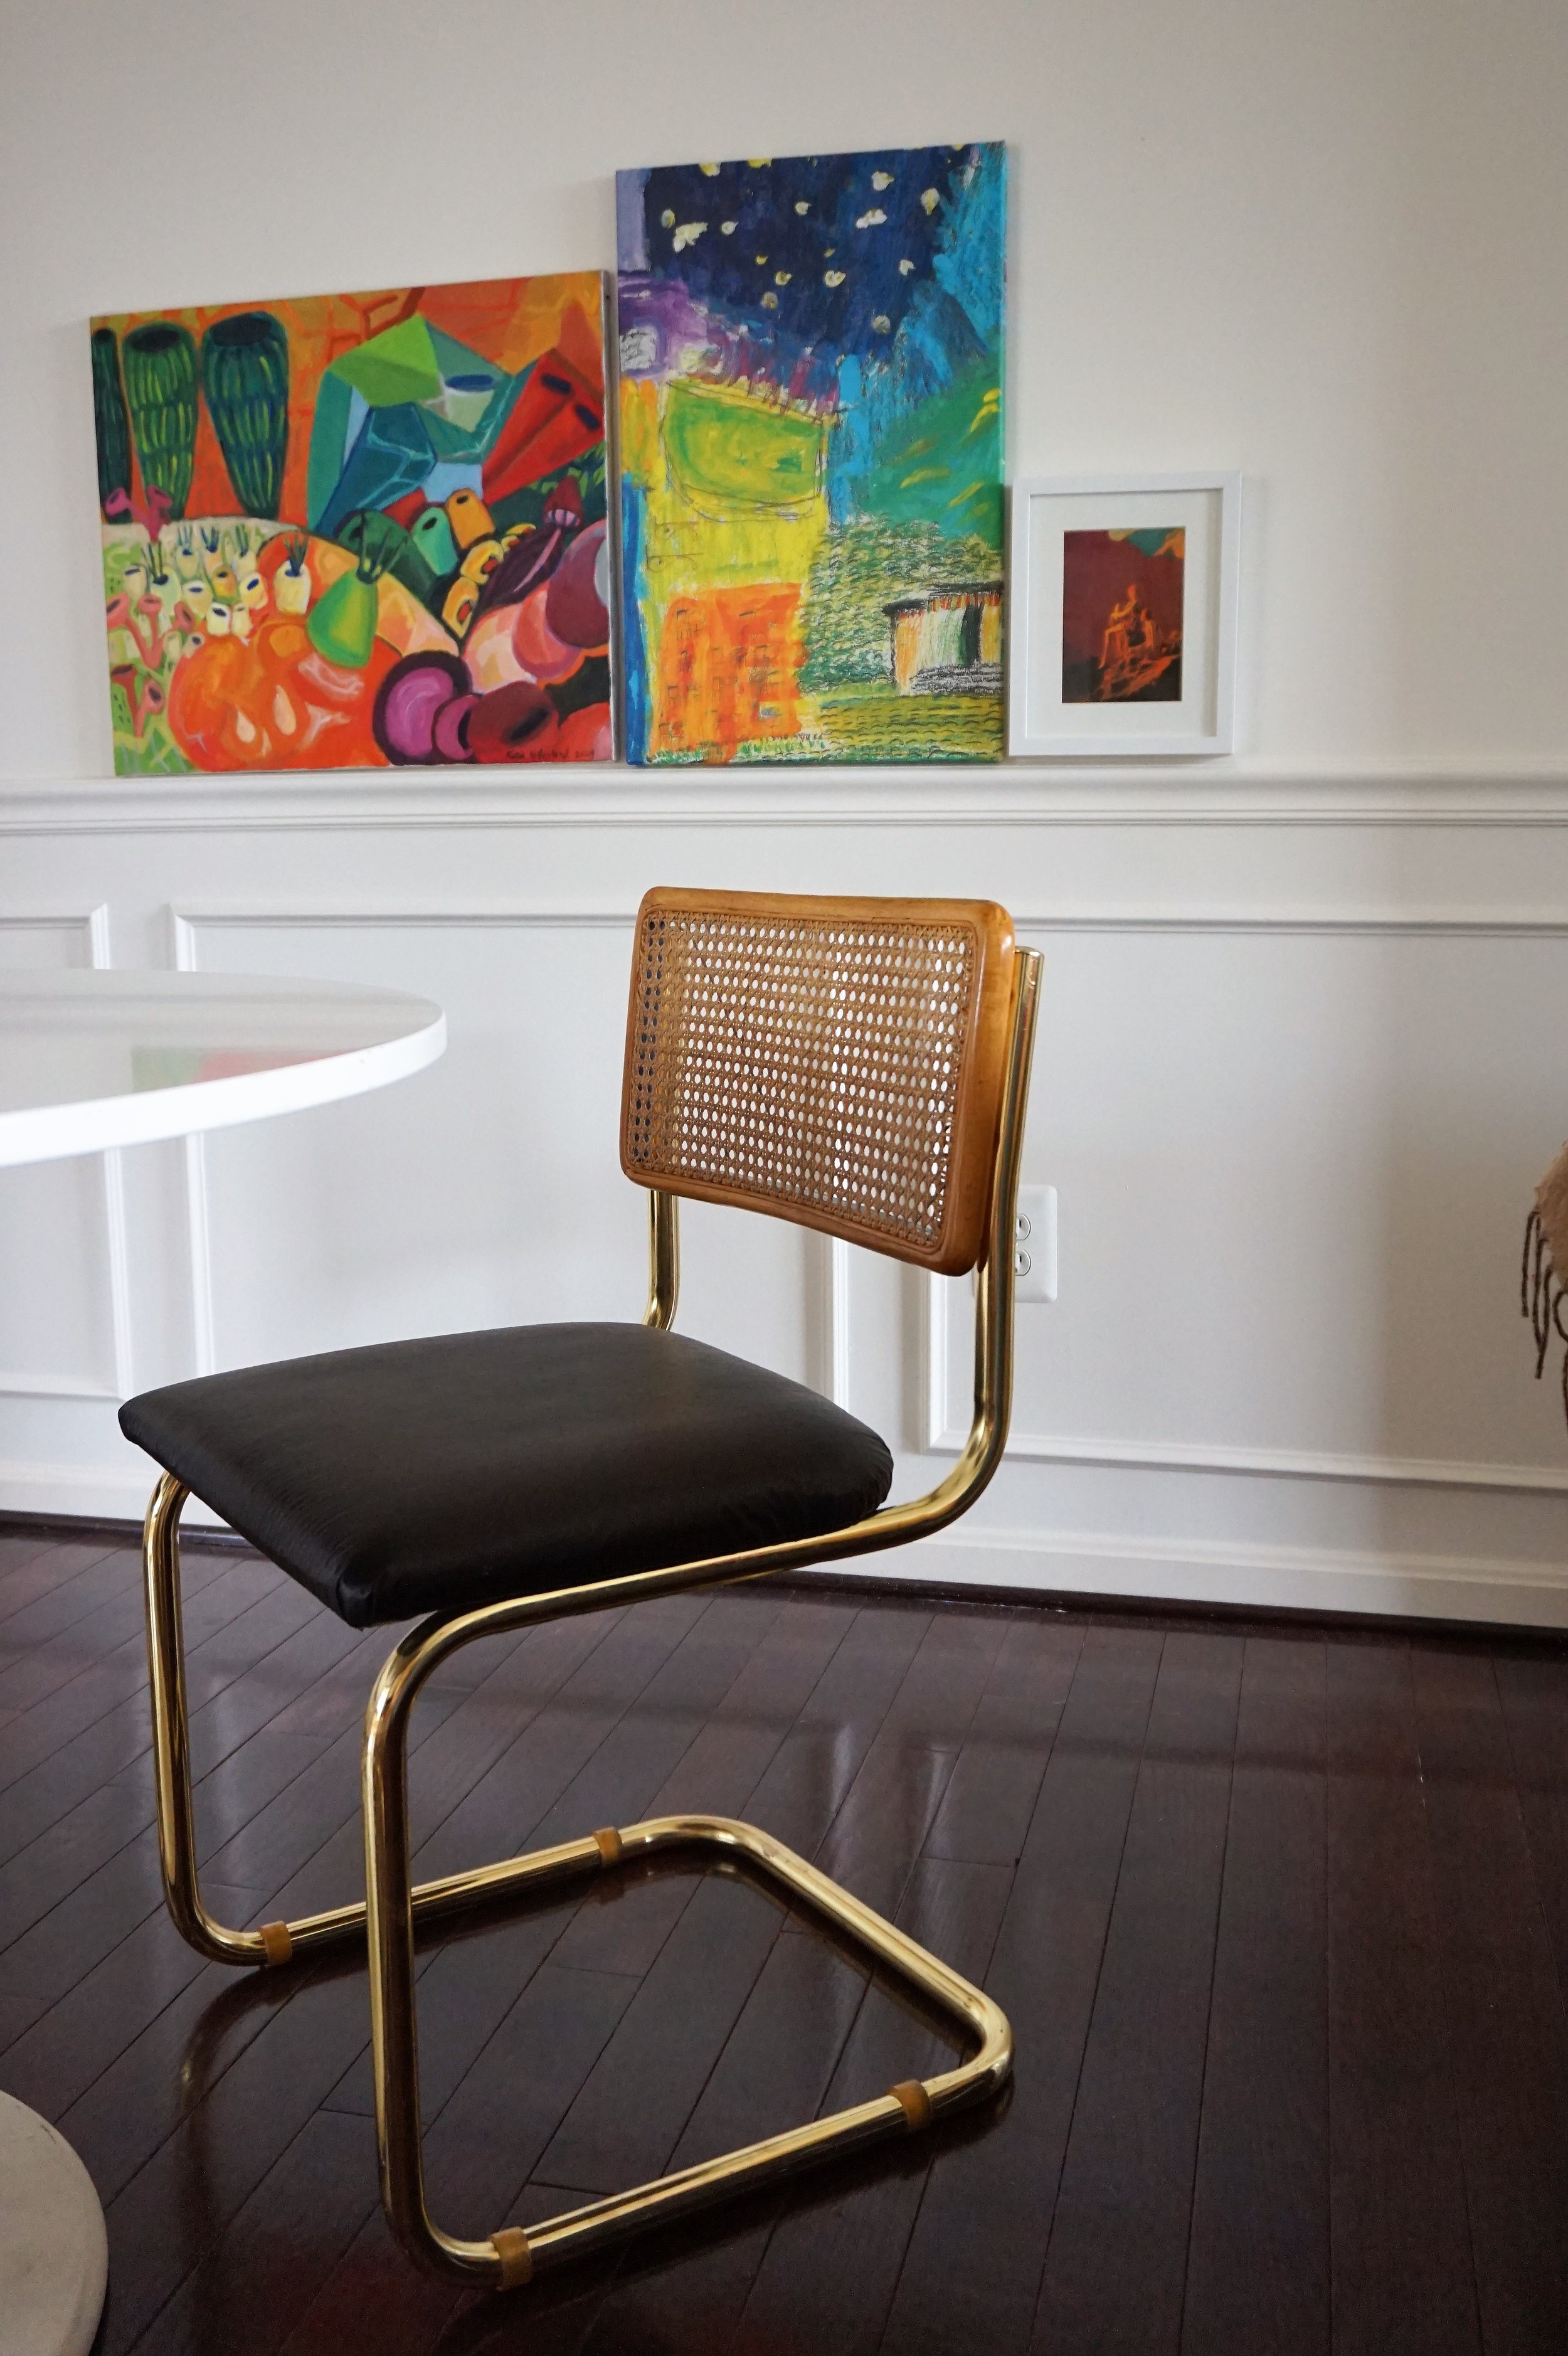
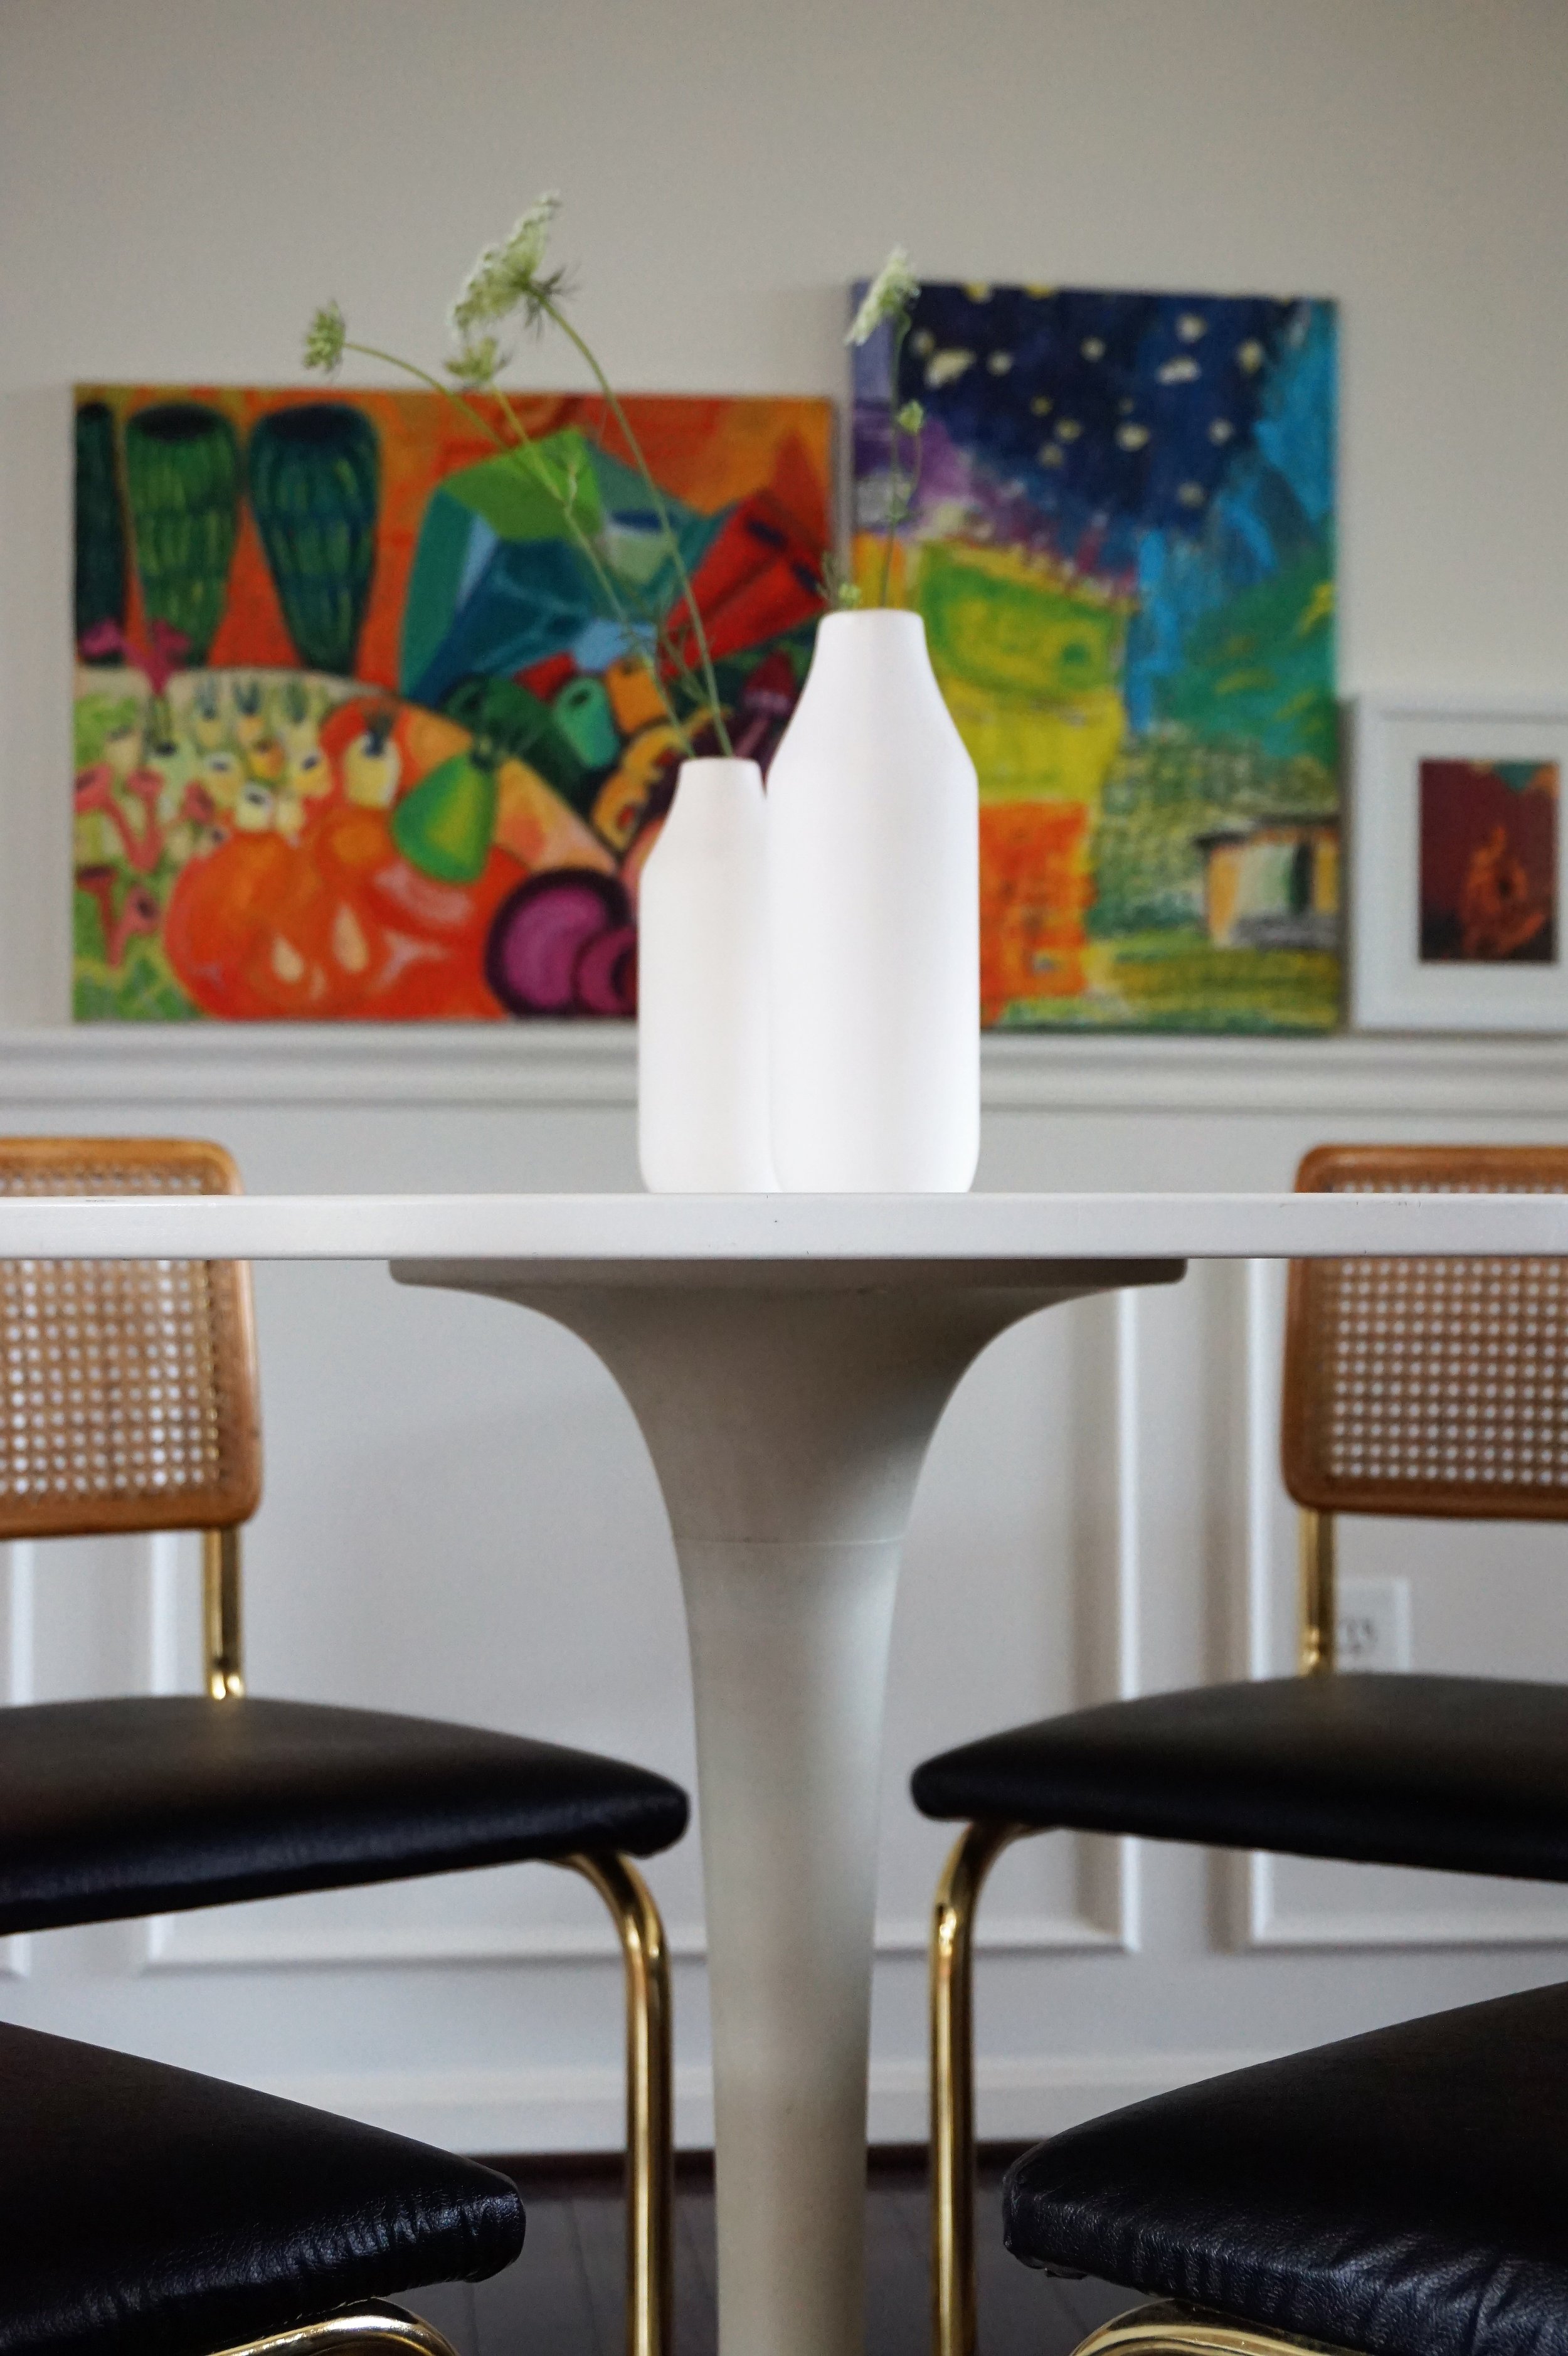
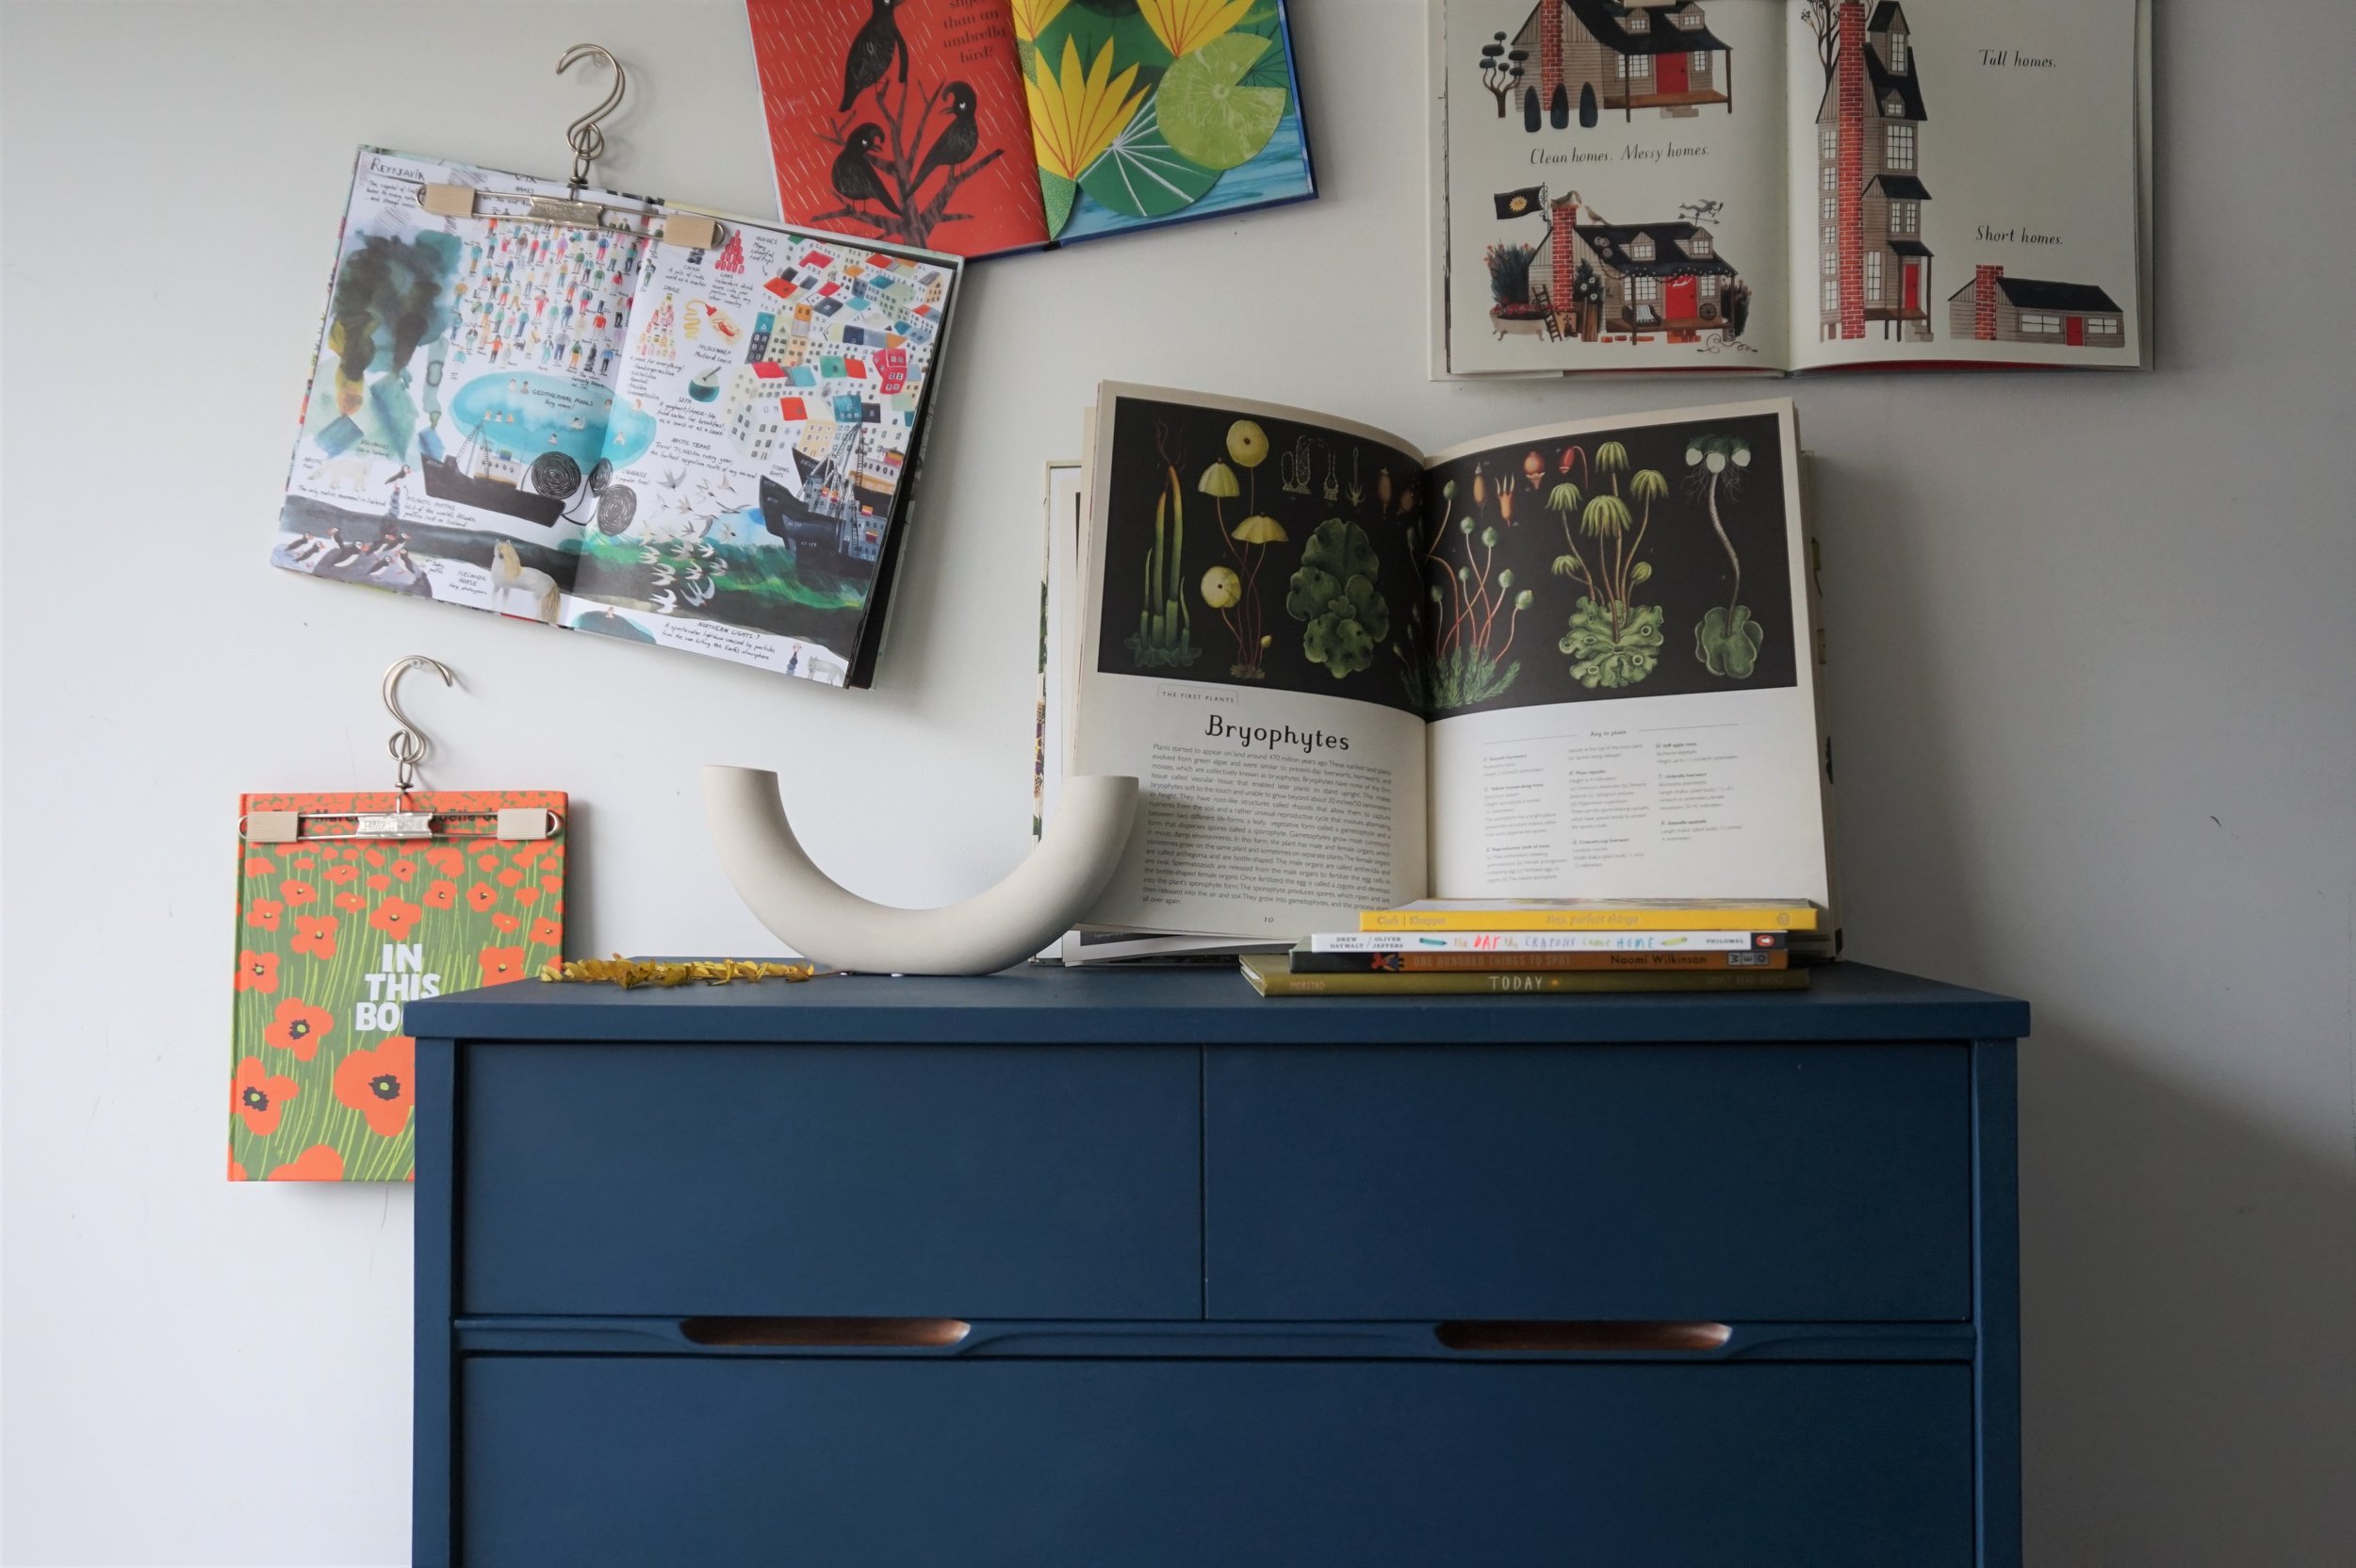
Since our guestroom is doing double duty as a nursery, I styled this piece with some of my favorite children’s books.

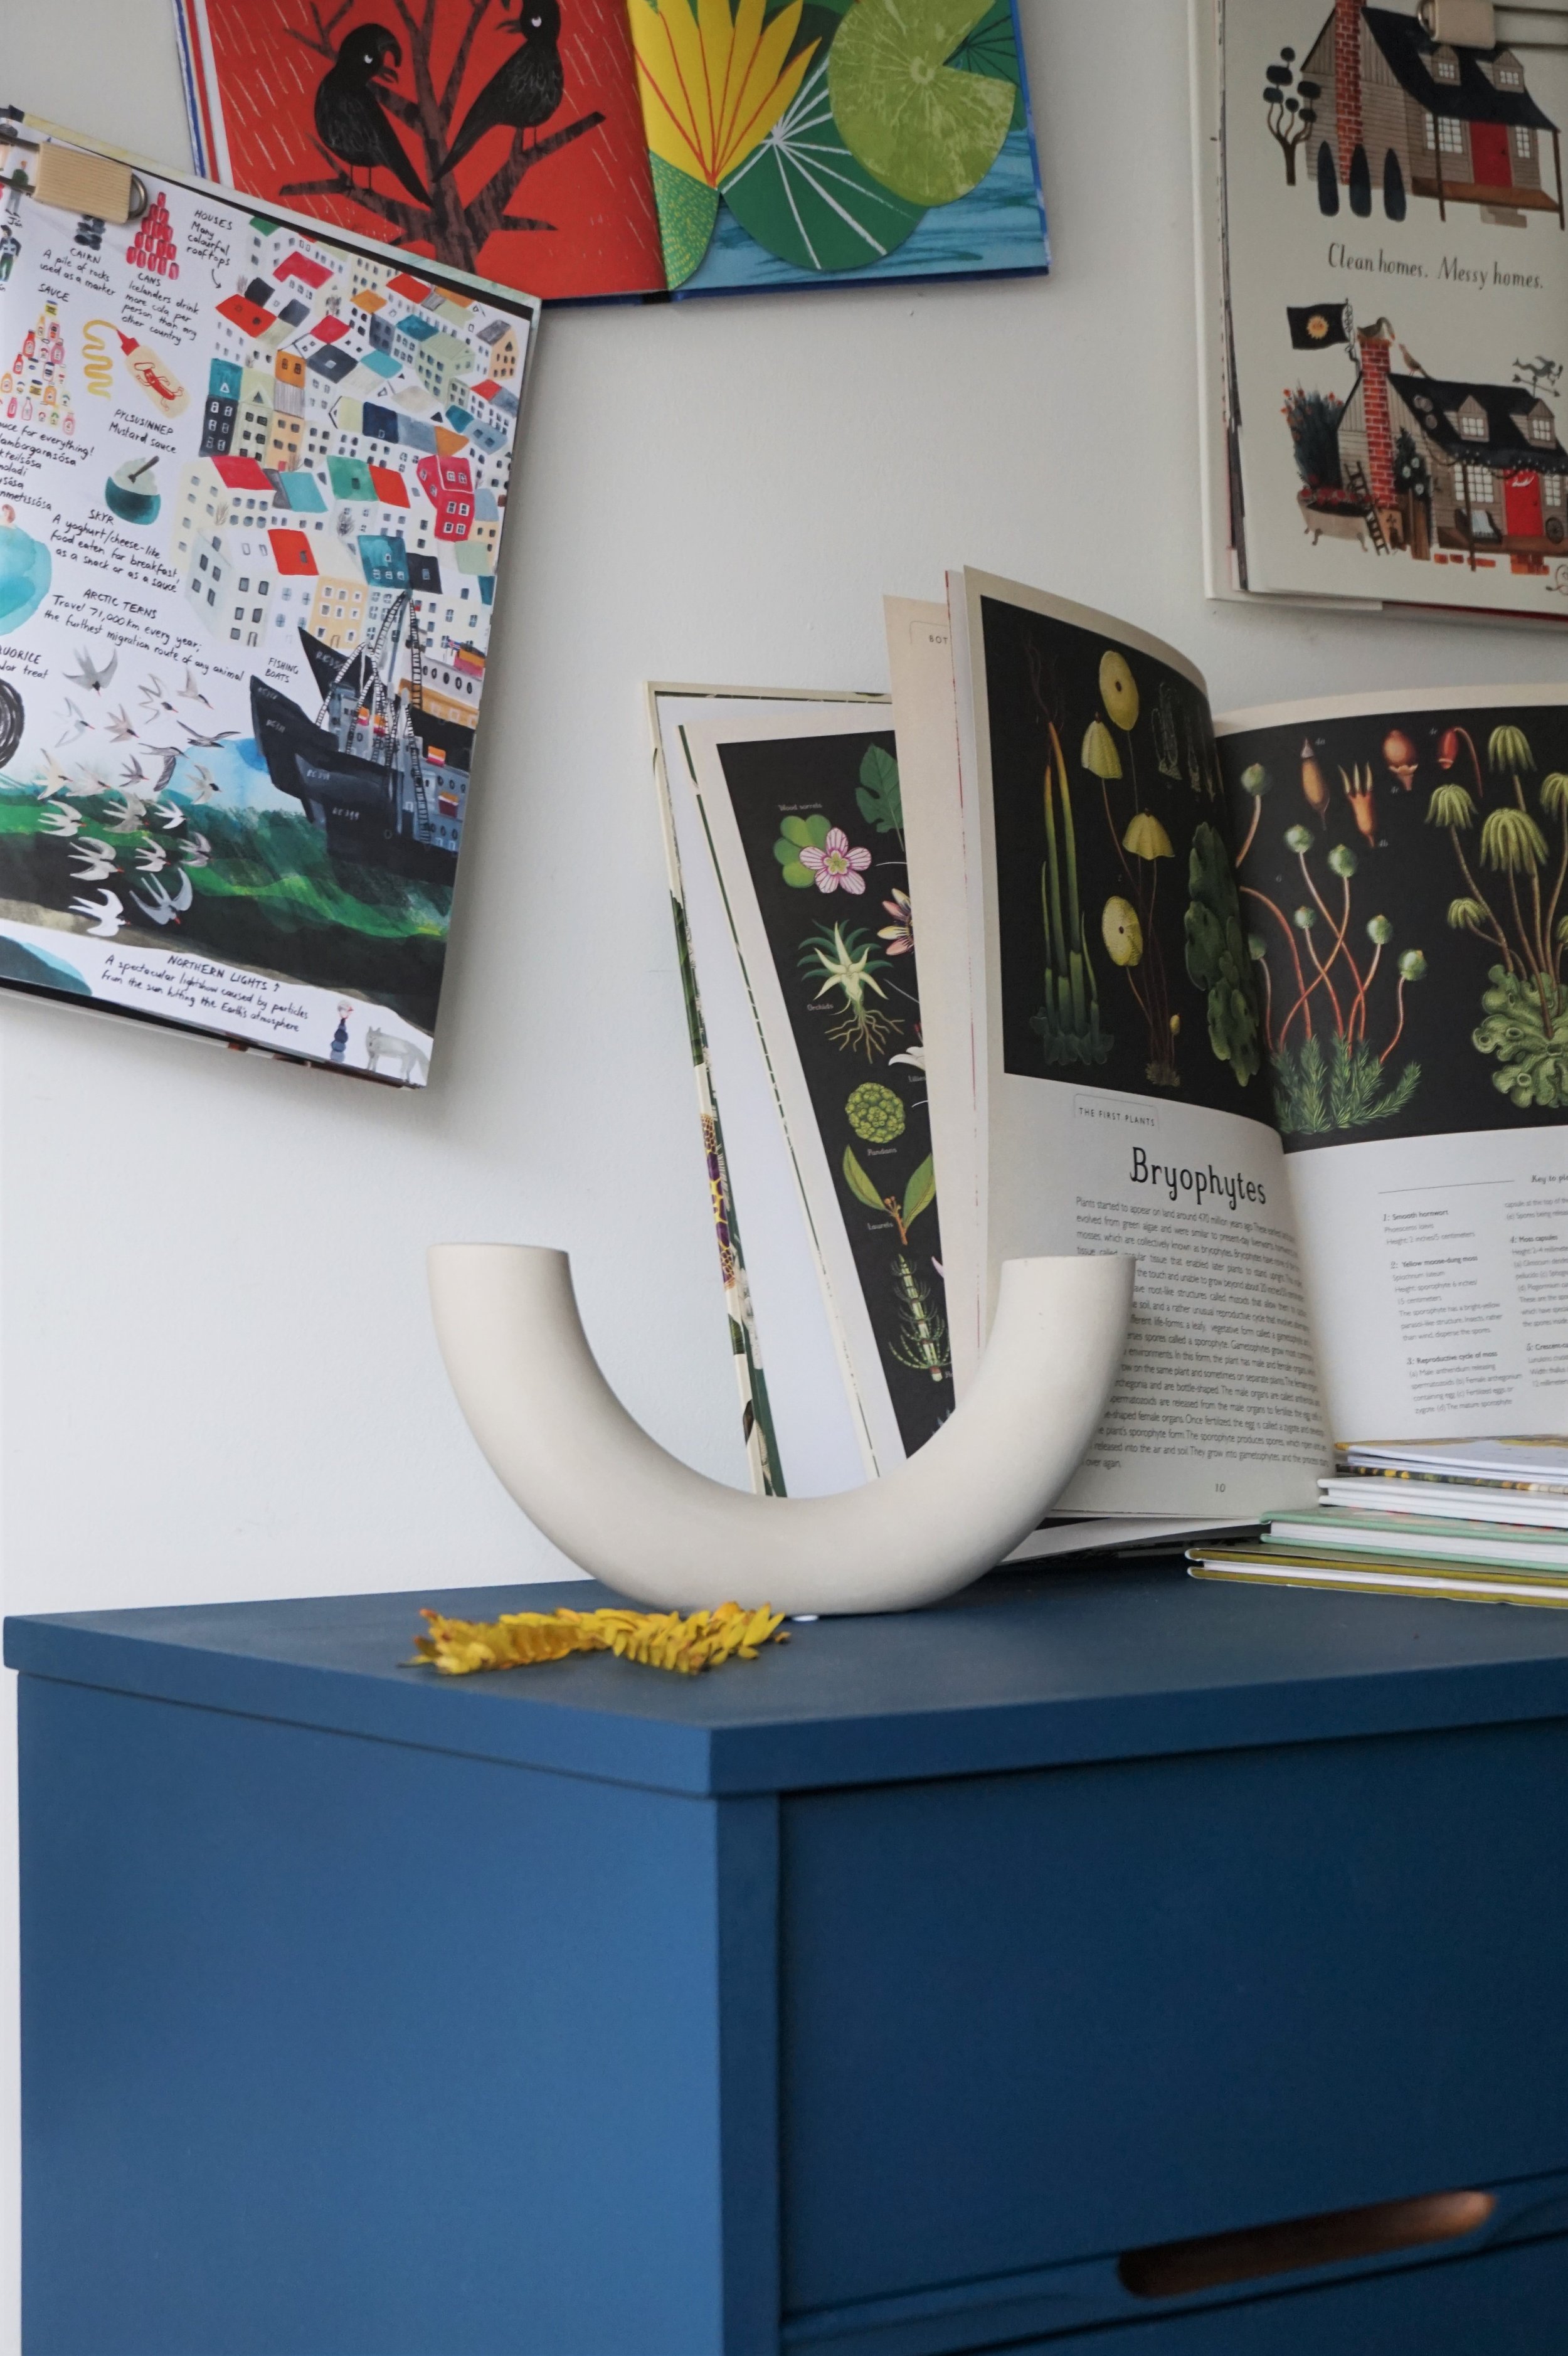
The illustrations are so beautiful that I put them on display using pant hangers (another frequently deployed trick of mine).

And in case you’re pondering the dimensions of this piece for scale, it’s a smidge taller than Huntleigh.

I’m a little rusty, but happy to be in the workshop again. As I mentioned earlier, I do have a few retro-active projects to share that got lost in flurry of house-hunting/ moving/ baby-birthing. I hope you all are well and will pop by again for more reveals.

CF0663CC-AF67-4B33-9762-F67E765E30A2.jpeg

Pop of Red Dresser

When it comes to repairing old dressers, I’ve seen quite the spectrum of original conditions.  Water damage, bent hardware, chunks missing, splitting veneer, broken legs, and even dog pee.

But this piece...

IMG_1872.JPG

…this piece might take the cake. 

The previous owners had been keeping it practically unsheltered in their carport for who knows how long.  Exposed to the elements, every inch of the cherry veneer was clinging on for dear life.  As soon as I touched it, the veneer started flaking off like bad dandruff.  Poor thing. The state of this thing meant I couldn’t restore all of it back to its former glory. The drawer fronts, although in need of excessive touch-ups, were mostly salvageable.  But the sides were an irrestorable tragedy that would have to succumb to a good coat of paint. But this meant I had a fun opportunity on my hands… a chance to play with color:

DSC04816.jpg

So if paint had to be on the agenda, I chose a sassy red-orange to play off the red cherry tones in the drawers.

DSC04792.jpg
DSC04799.jpg

The drawers had a lot of chipped veneer around the edges which I painstaking patched and painted to match by hand.  Then I reoiled the wood to bring it back to health like a good moisturizer for cracked hands in winter.

DSC04826.jpg

The original wooden pulls were also too damaged to keep so I replaced them with brass whistle knobs that match the brass keyholes in the top drawers.

DSC04836.jpg

I was able to keep the original gold capped tapered legs however!

DSC04815.jpg
DSC04790.jpg

To style it, I used my painter’s pallet and the most exquisite golden foliage I could find.

DSC04823.jpg
DSC04834.jpg

GAH! This is why it’s my favorite time of year to style with tree branches!!! (I can’t help myself - just see here and here and here).

DSC04805.jpg
DSC04819.jpg
 

Pop of Red 8 Drawer Dresser
Now Available for Sale
33.5”W x 18”D x 48”H
$495


If you are interested in this piece or a custom order like it, email me at cate@stylemutthome.com

Cate.jpg

Cantilever Chairs || Plus a Dining Room Reveal!

Today is the day.  I finally have a room in our new place to share: our dining room!

3. Dining Before, Tan.jpg

Ok so it didn’t look like much when we moved in.  Basically three things had to happen to get us to this reveal day: 

1) The dining room HAD to be painted something a little less light-sucking
2) We needed to find some chairs - because what is a dining room without chairs amiright? 
3) I needed to decide what art to feature in here!

We (I mean er my familial paint crew - thanks again guys!) knocked out the painting on week one but finding some chairs that could really make a statement was proving more difficult.  But eventually, I found them:

Brass... Breuer... CANE... Cantilever chairs.

Photo Jul 07, 12 15 00 PM.jpg

Up until I found these, I didn't even know Marcel Breuer chairs came in anything but chrome.  But when I saw these glittering gold chairs, I scooped them up - carrying two at a time through the maze of dusty furniture at the thrift store, slightly panicked that the other two wouldn't still be there while the check-out clerk waited for me to navigate them safely out. 

My original plan was to flip and sell them. But I wasn't sure what direction to take them in.  My gut wanted me to recover the seats in leather but I was having some doubts.  Between the warm cane and bright brass, I feared that richly-toned leather would stick out like a sore thumb.  It needed something to tie it all together.

Photo Jul 07, 12 17 05 PM.jpg

I sought council from my favorite sounding board Chelsea.  She actually suggested a soft, light velvet instead - wouldn't that be lovely?!  But after more research at the fabric store, I realized velvet was out of my price range.  Plus, I already had some yardage of leather in black and didn't want that to go to waste - but what could I do to marry the look?  

Photo Jul 14, 2 31 52 PM.jpg

Eventually, I landed on adding an unexpected touch of black on the back of the cane.  Suddenly, this discreet black lip is what I needed to realize I was in love!  Alrighty - let's see it all together shall we?

IMG_1226.JPG

Ah the paint color already makes a WORLD of difference in this space.

IMG_1222.JPG

And these chairs are the stuff my dreams are made of!

IMG_1223.JPG

Can you see the touch of black on the inside lip?

DSC04432.jpg

At certain angles it even peaks through the cane.

IMG_1218.JPG

It’s funny to me that rooms with molding used to always read really "traditional" to me.  But when we toured this rental, it was the idea of making this space a fresh take on traditional is what sold me on this house in the first place - despite the dingy tan walls.

IMG_1224.JPG
IMG_1221.JPG

As for the art, I tried hanging all sorts of arrangements in this dining nook and was despondent to all of them.  I had wanted something long and low to lean a cluster of art on but the dining room didn't have space for a buffet or credenza.  But when I hung the art low and along the chair rail I realized it created the same effect that I love without the added furniture footprint!

IMG_1220.JPG
IMG_1228.JPG
IMG_1225.JPG
IMG_1217.JPG

Even though they were originally supposed to be for sale, once I brought them in around our table - I was done.  These babies were mine.  And the perfect crowning jewel to our freshly finished space.  Hoping to have more of our new place to share over the coming months so stay tuned friends!

IMG_4088.JPG