DIY Nightstands || Flip List Item No.7 ||

Remember in 2015 when I vowed to build my own bakers rack and then flaked out?  Or when I tried again in 2016 and this happened:

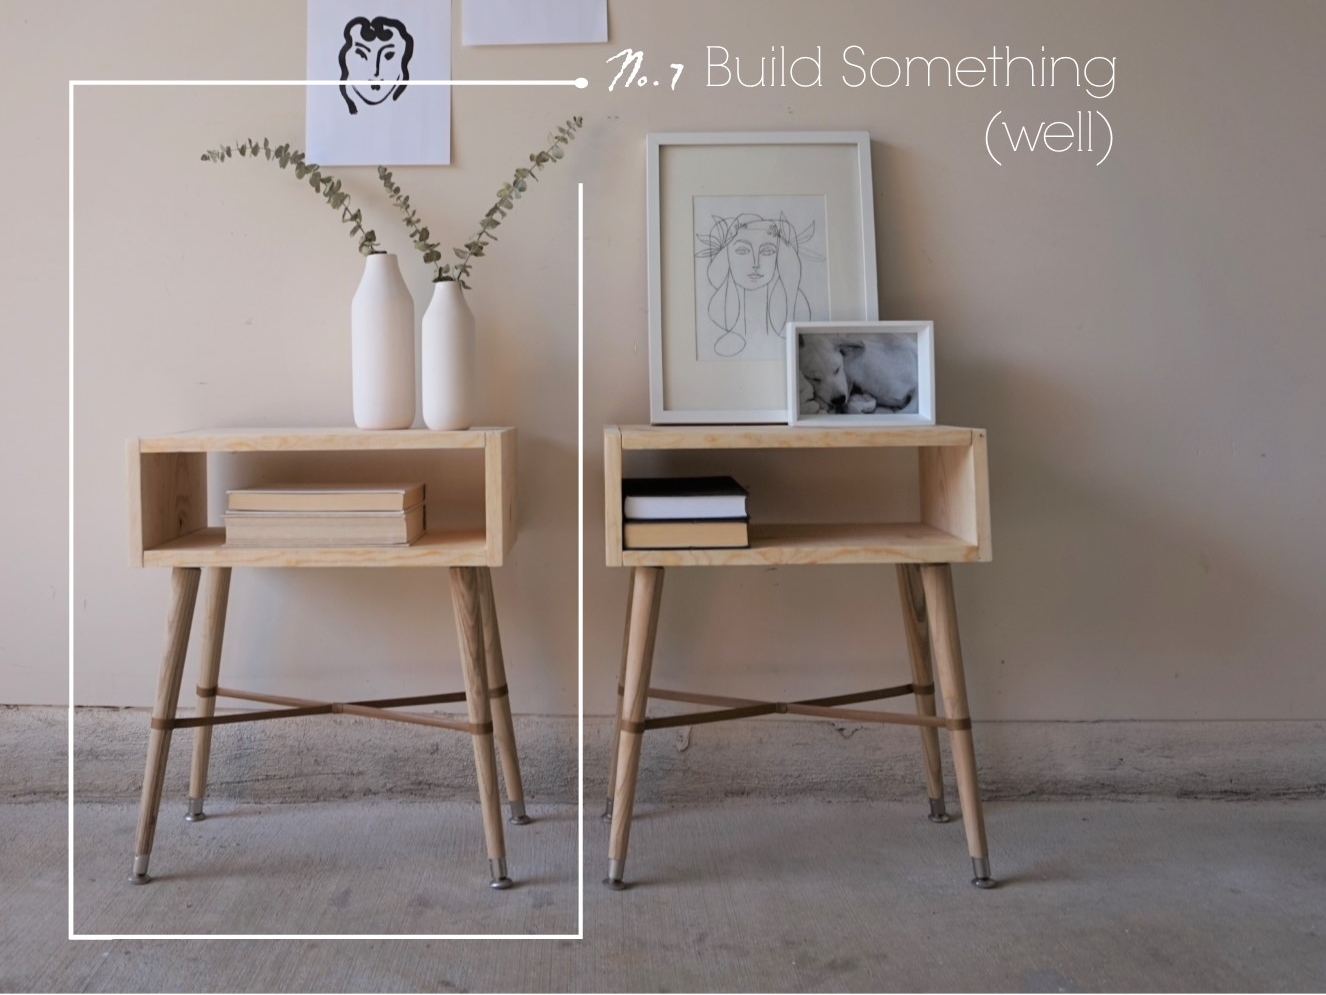
Well after this unfortunate fail, I realized lofty goals are all well and good but I should really build my carpentry skills from the ground up.  Hence item No.7 on my 2017 Furniture Flip Bucket List.


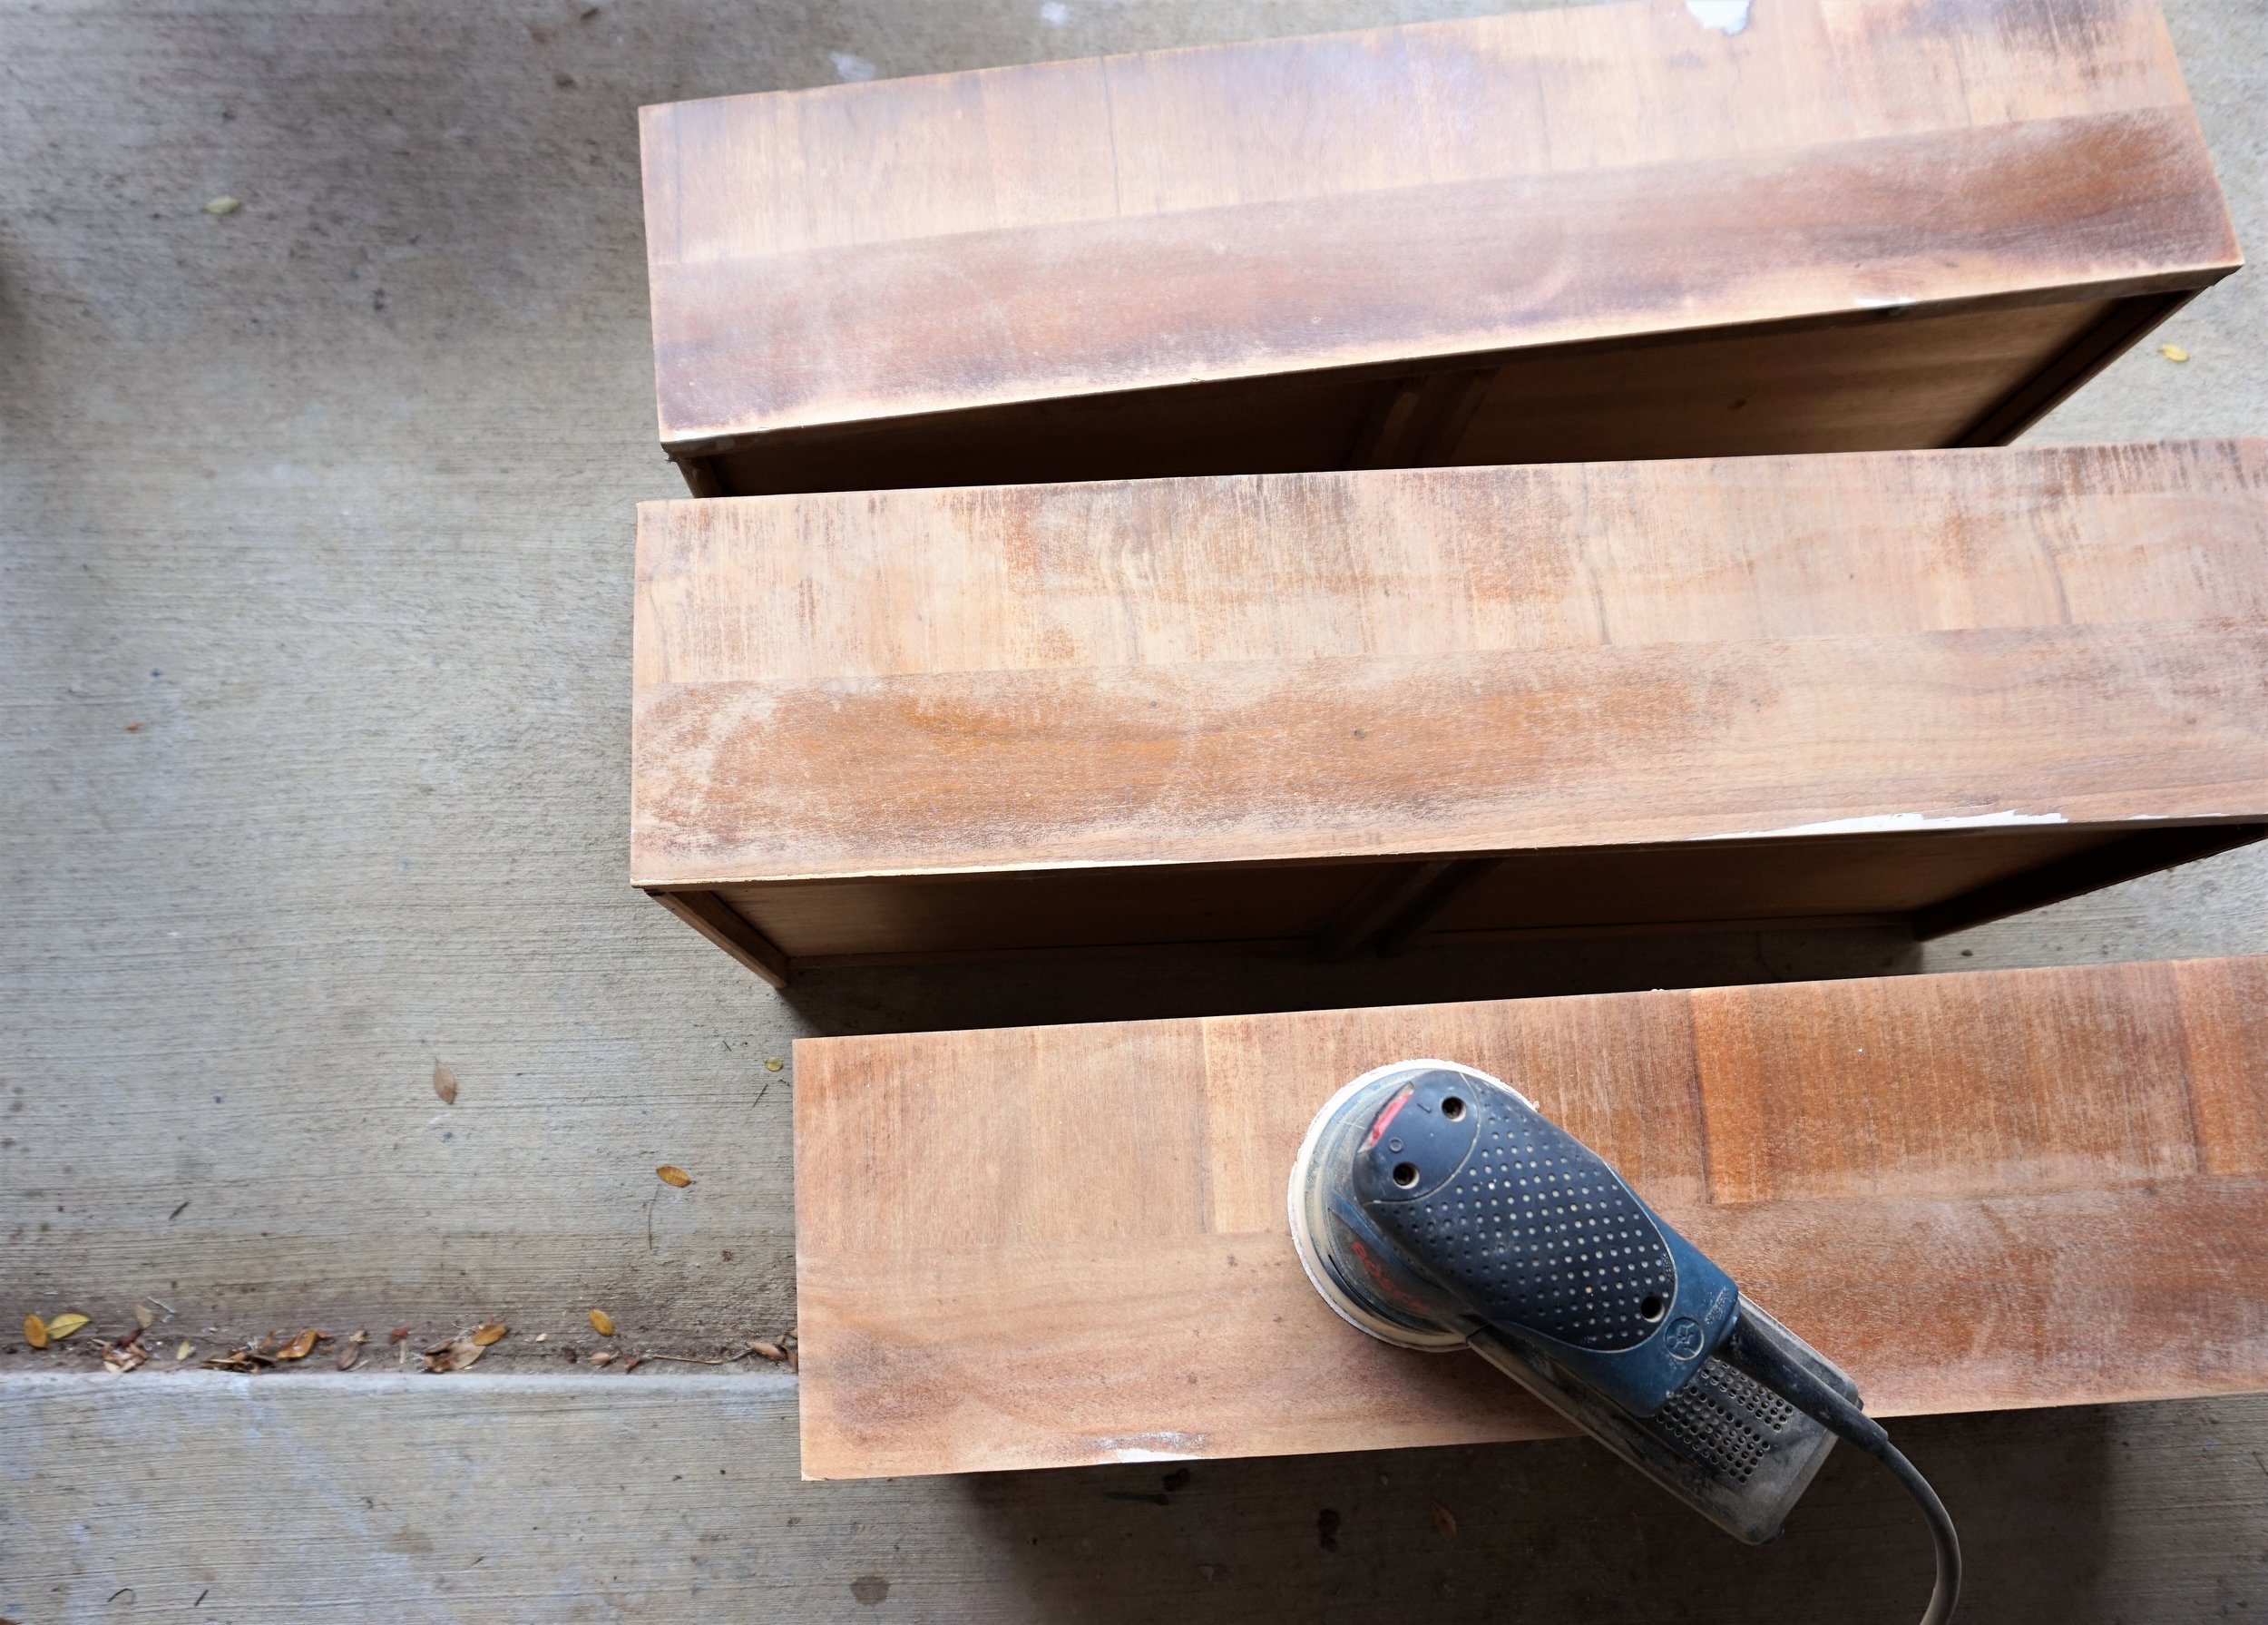
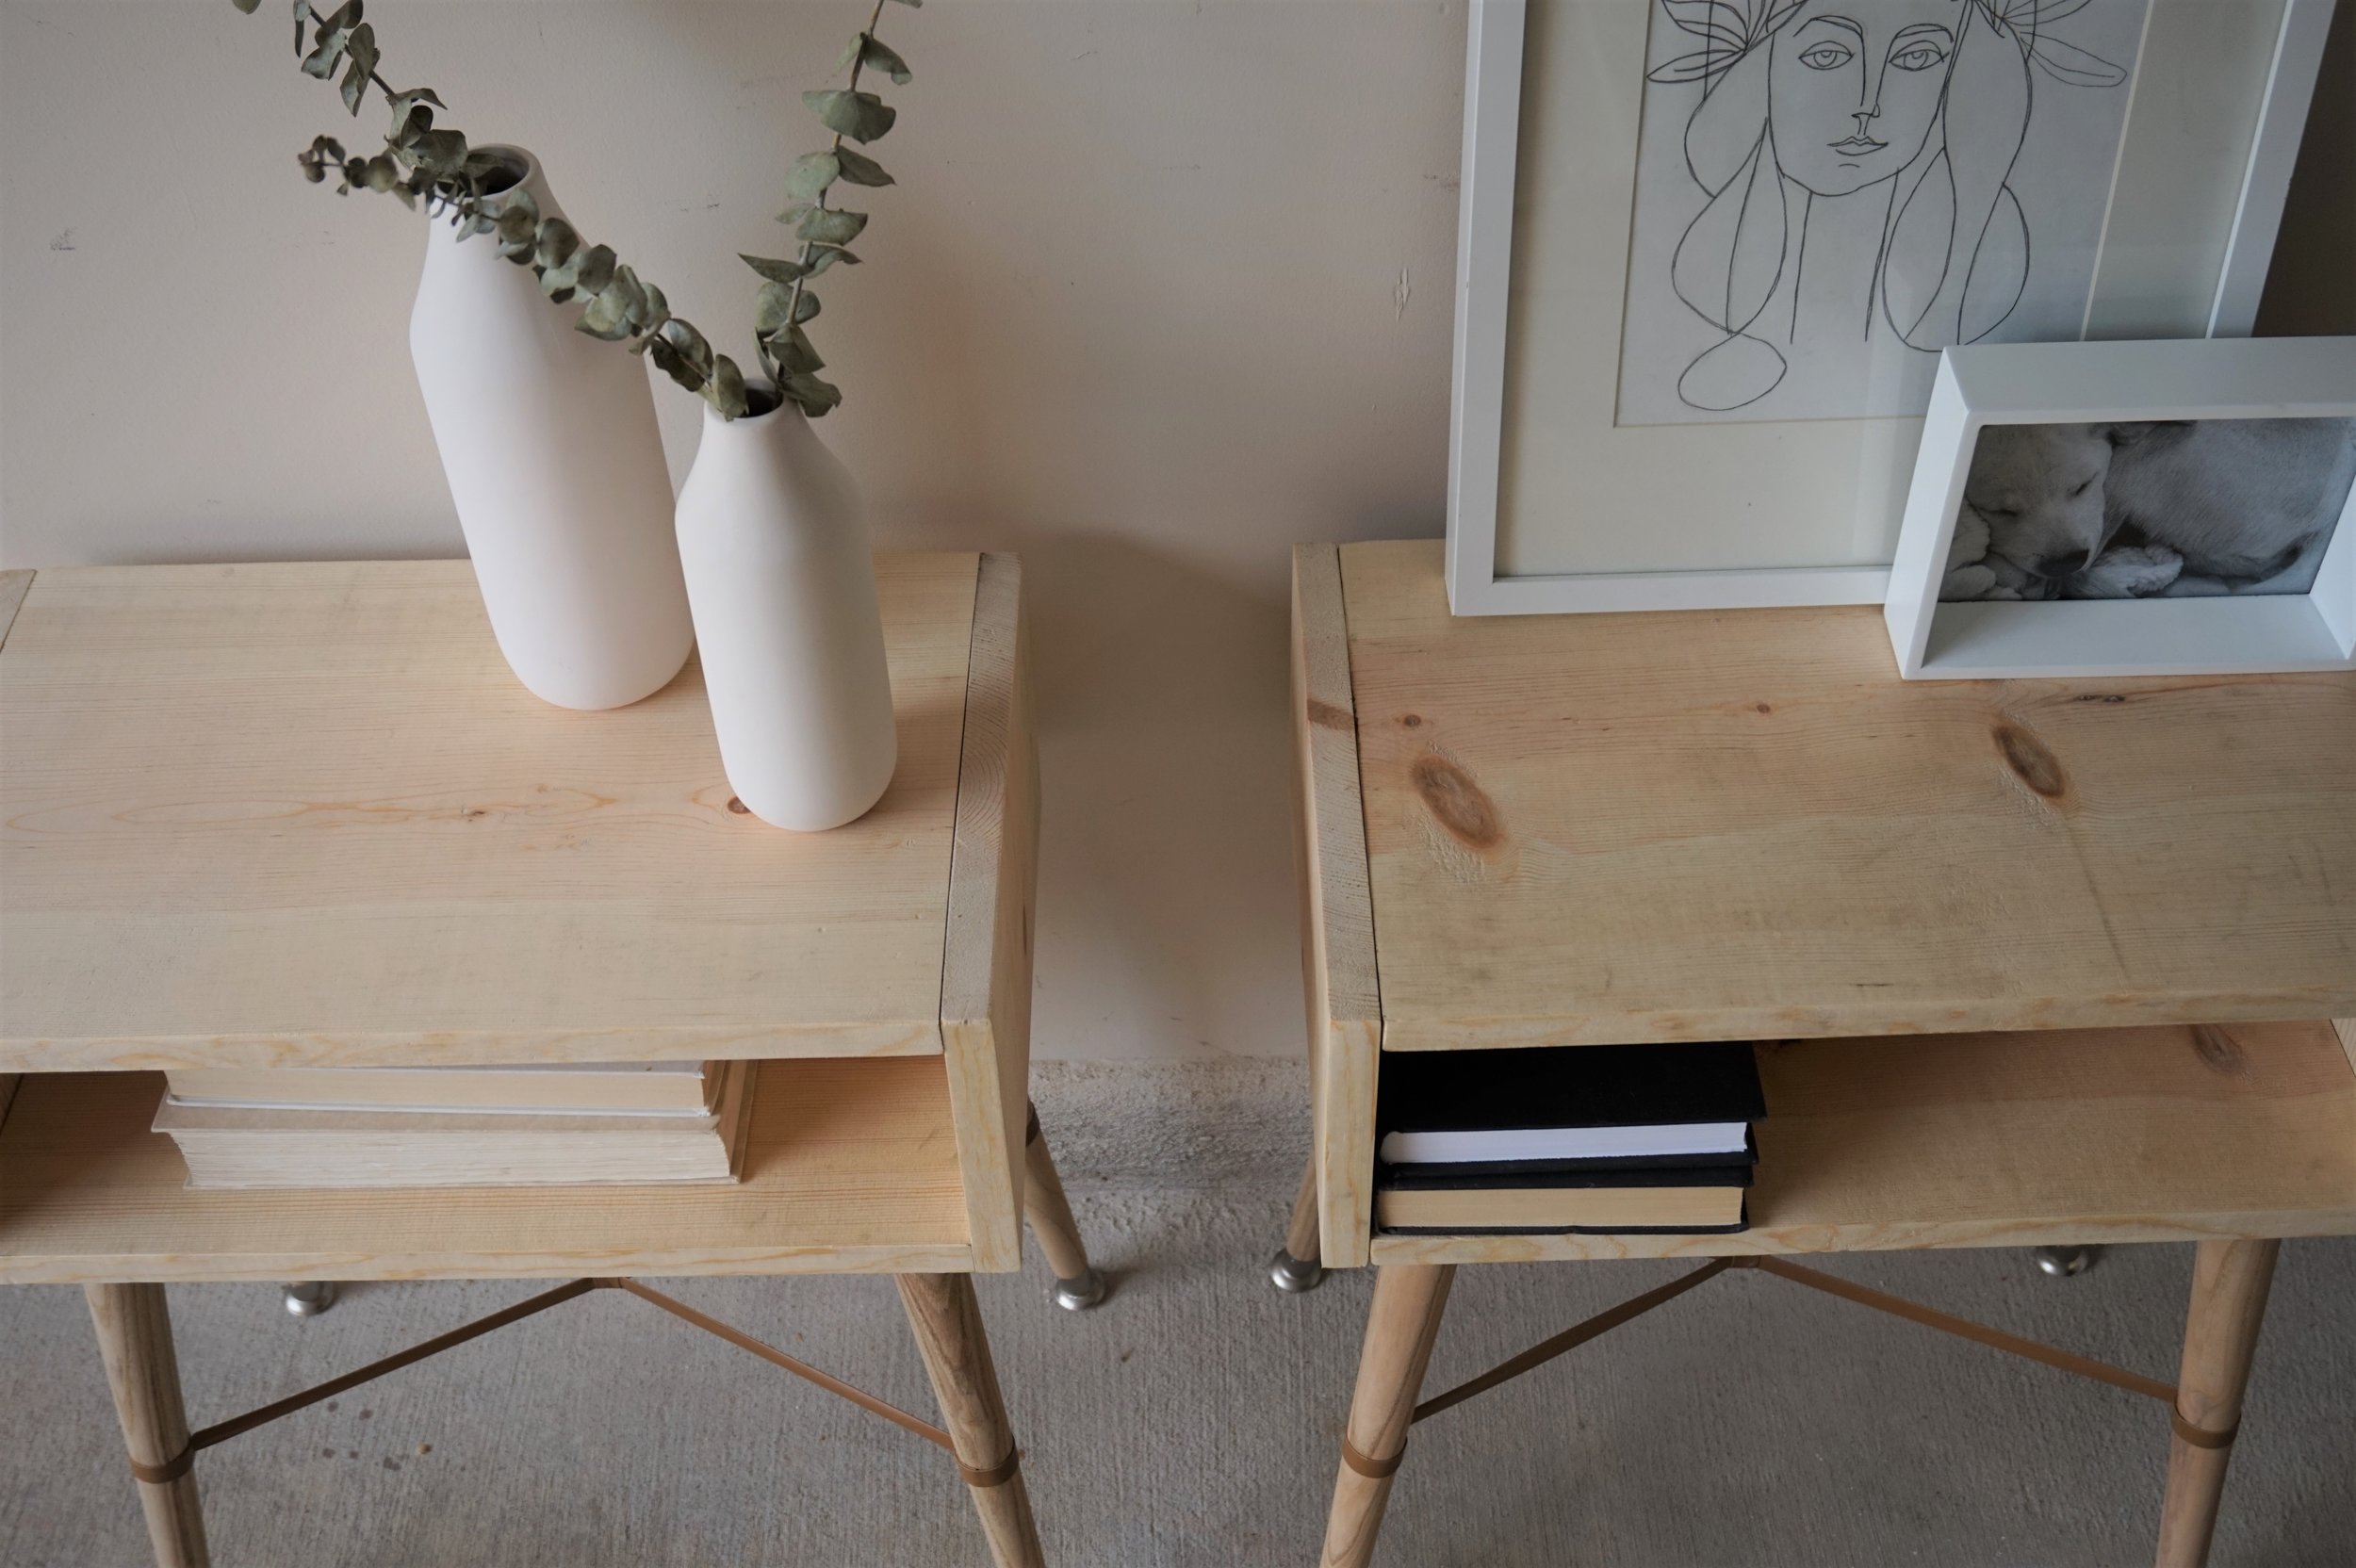
 But guess what guys...  I built something!  No really - I BUILT something (well).

No.7.jpg

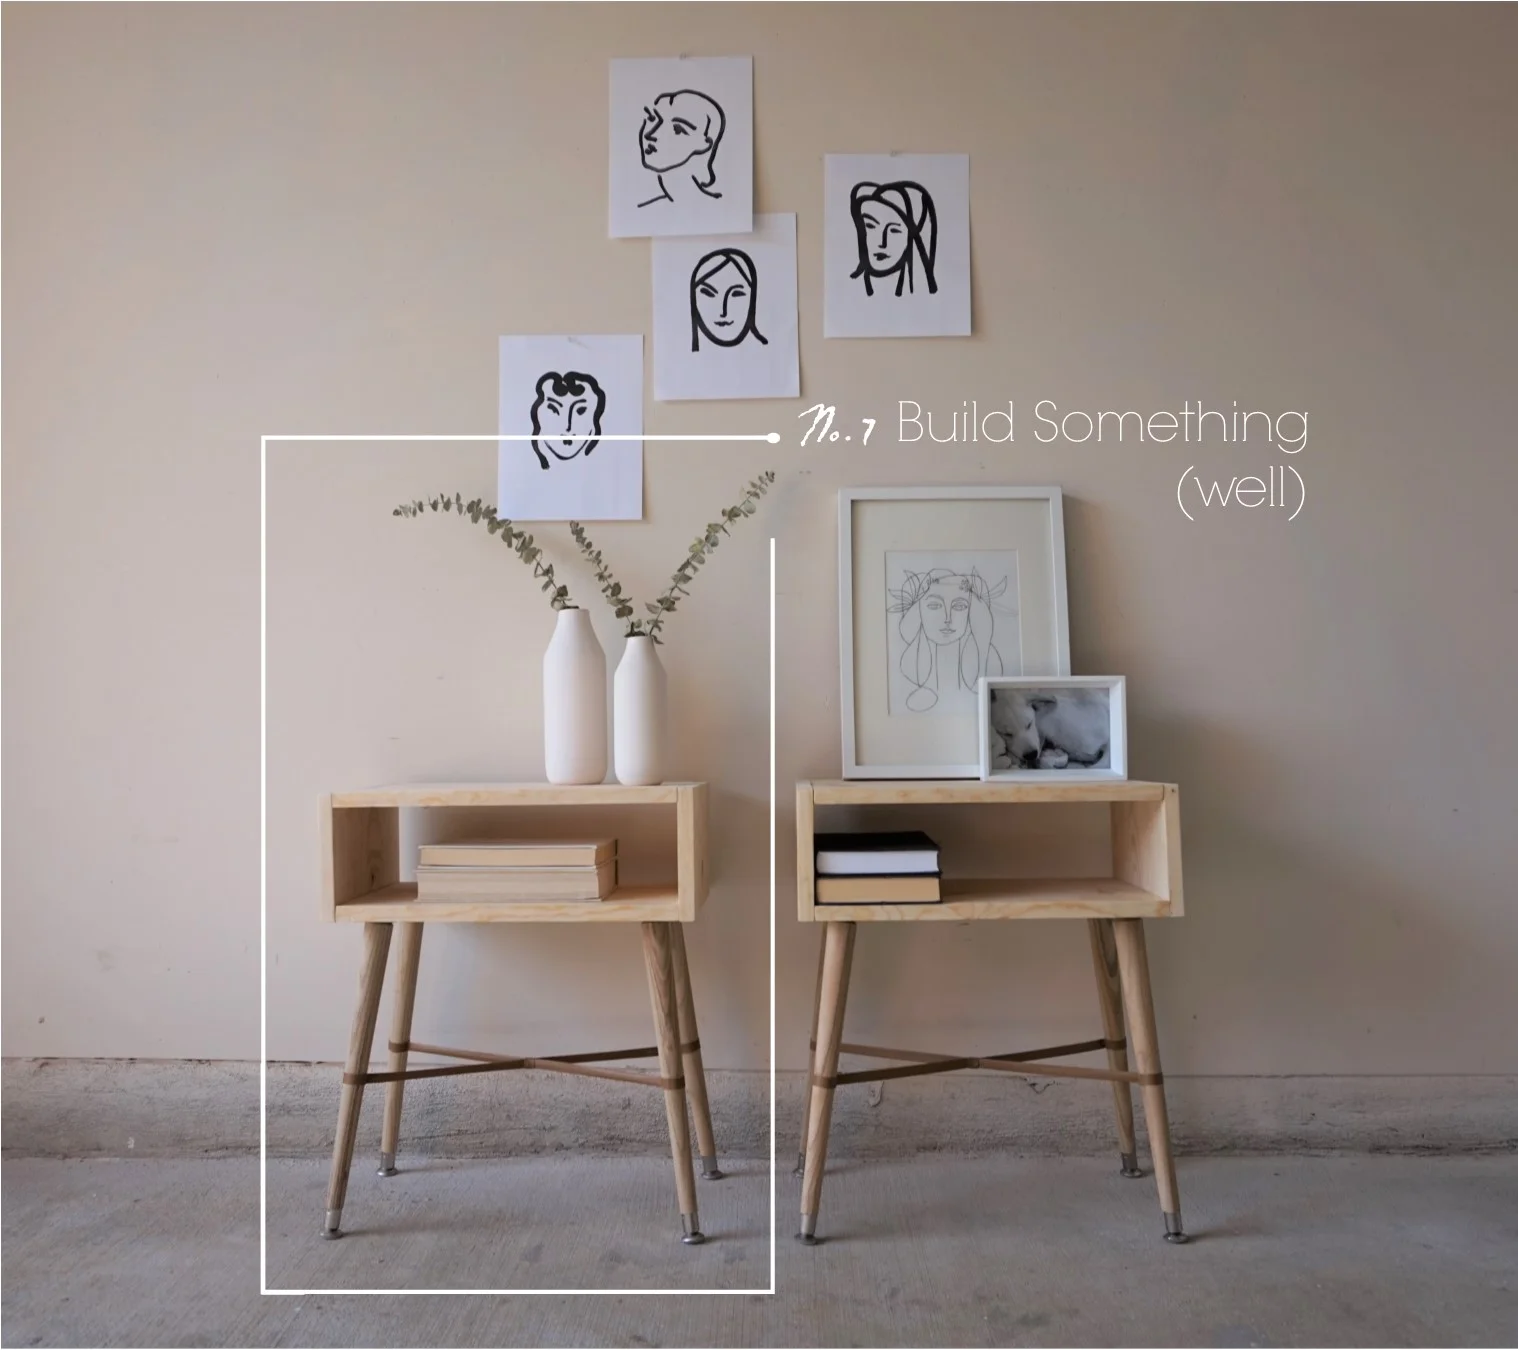
I used all the right tools in all the right places and I can't help but be so proud of how they turned out!  And the best part is, you can build these bad boys too.  I'm sharing the full tutorial over on Apartment Therapy today if you're game to hone your carpentry skills too.

Final 3.jpg
DSC02123.jpg
DSC02091.jpg

And if you're local to the DC Metro area (but not quite ready to roll up your sleeves and build your own), this pair is available for purchase!

Final 1.jpg

Pair of Scandi-Style Nightstands
Now Available for Sale
19"W x 11"D x 22"H each
$345 for the pair

If you are interested in this pair or a custom order like it, please contact me at cate@stylemutthome.com.

Cate.jpg

Six down, one to go.  Catch up on the 2017 Furniture Flip Bucket List.

How to Repair A [Seemingly] Hopeless Dresser

As I mentioned on Monday, I finally found the perfect dresser for the next item on my 2017 Furniture Flip Bucket List.  


There's just a few little problems...

 
Damage 2.jpg
 

And one big one.

See what I mean? Gasp!  There's a huge chunk missing from the decorative trim molding.  

Up until this point in my furniture refinishing career, I have only re-attached existing splintered pieces.  I've never conjured missing pieces of a dresser before.  I mean do I whittle it?  Cut the whole section of molding out and replace it with as close a match as I can find?  No my friends.  I am here to tell you today - there is another way.  And all you need is a few items from the hardware store:

A can of minwax wood filler with hardening agent
A wood shaver
A plastic putty knife
Scrap wood
screws
Some sandpaper

After watching a couple helpful videos, I learned that step one is to attach a piece of scrap wood underneath the damaged area with a few screws.

Following the instructions on the Minwax can, I mixed the wood putty with the hardener and applied it quickly to the effected area.

And I applied some to the chips in the veneer on the drawers while I was at it.

After letting it set, I gingerly detached the scrap wood - first by unscrewing it from the dresser, then by cutting away the excess hardened wood filler.

Now comes the fun part - sanding the hardened wood to match the contours on the molding as close as possible.

To get those clean lines, I used a wood shaver on the bottom until the wood filler felt flush with the underside of the drawer frame.

And also on the front edge since sanding would have rounded the edges too much.

After that, it was a matter of sanding the entire body of the piece to prep for paint.

And sanding the drawers to smooth out the repaired areas of the veneer too.

Now it's time to paint.  

Can you spot the repair?

How about now?

Once painted, the damaged areas are virtually undetectable!

I am so pleased to find that such a seemingly "big" problem can be fixed by such a small can of wood filler!

I hope this little tutorial saves a dresser or two from the dump.  And if you end up giving this repair method a try, feel free to share your experience with us!

P.S. Read more about this dresser's transformation on Apartment Therapy!