A Wink of Leather || First Flip of 2019

Welcome back StyleMutts! I hope you had a wonderful holiday season with family, friends, and food-but-not-too-much-so-you-feel-bloated food.

I myself tackled several projects around the house between Christmas and New Years (as I often like to do) and realized something...  It’s not so much the time off I enjoy most this time of year, but the moments leading up to a new year where all the challenges from the past year become eclipsed by the possibilities of the next.  What projects will I tackle? What ways will I surprise myself? What trouble will I get myself in to and then have to figure my way out of?

I like this mixture of hope and possibility.  And I’m not-so-much hoping I’ll become someone new or a better version of myself in 2019, I just want to keep being me. Doing what I love. With the people I love. And I recognize that I’m blessed already for having been doing just that all through 2018.

And I love what I do with you - sharing finished pieces or new ideas and pushing myself to try something I’ve never done before.  Friends, I managed to squeeze in one last project in 2018 to be the first project to share in the new year!
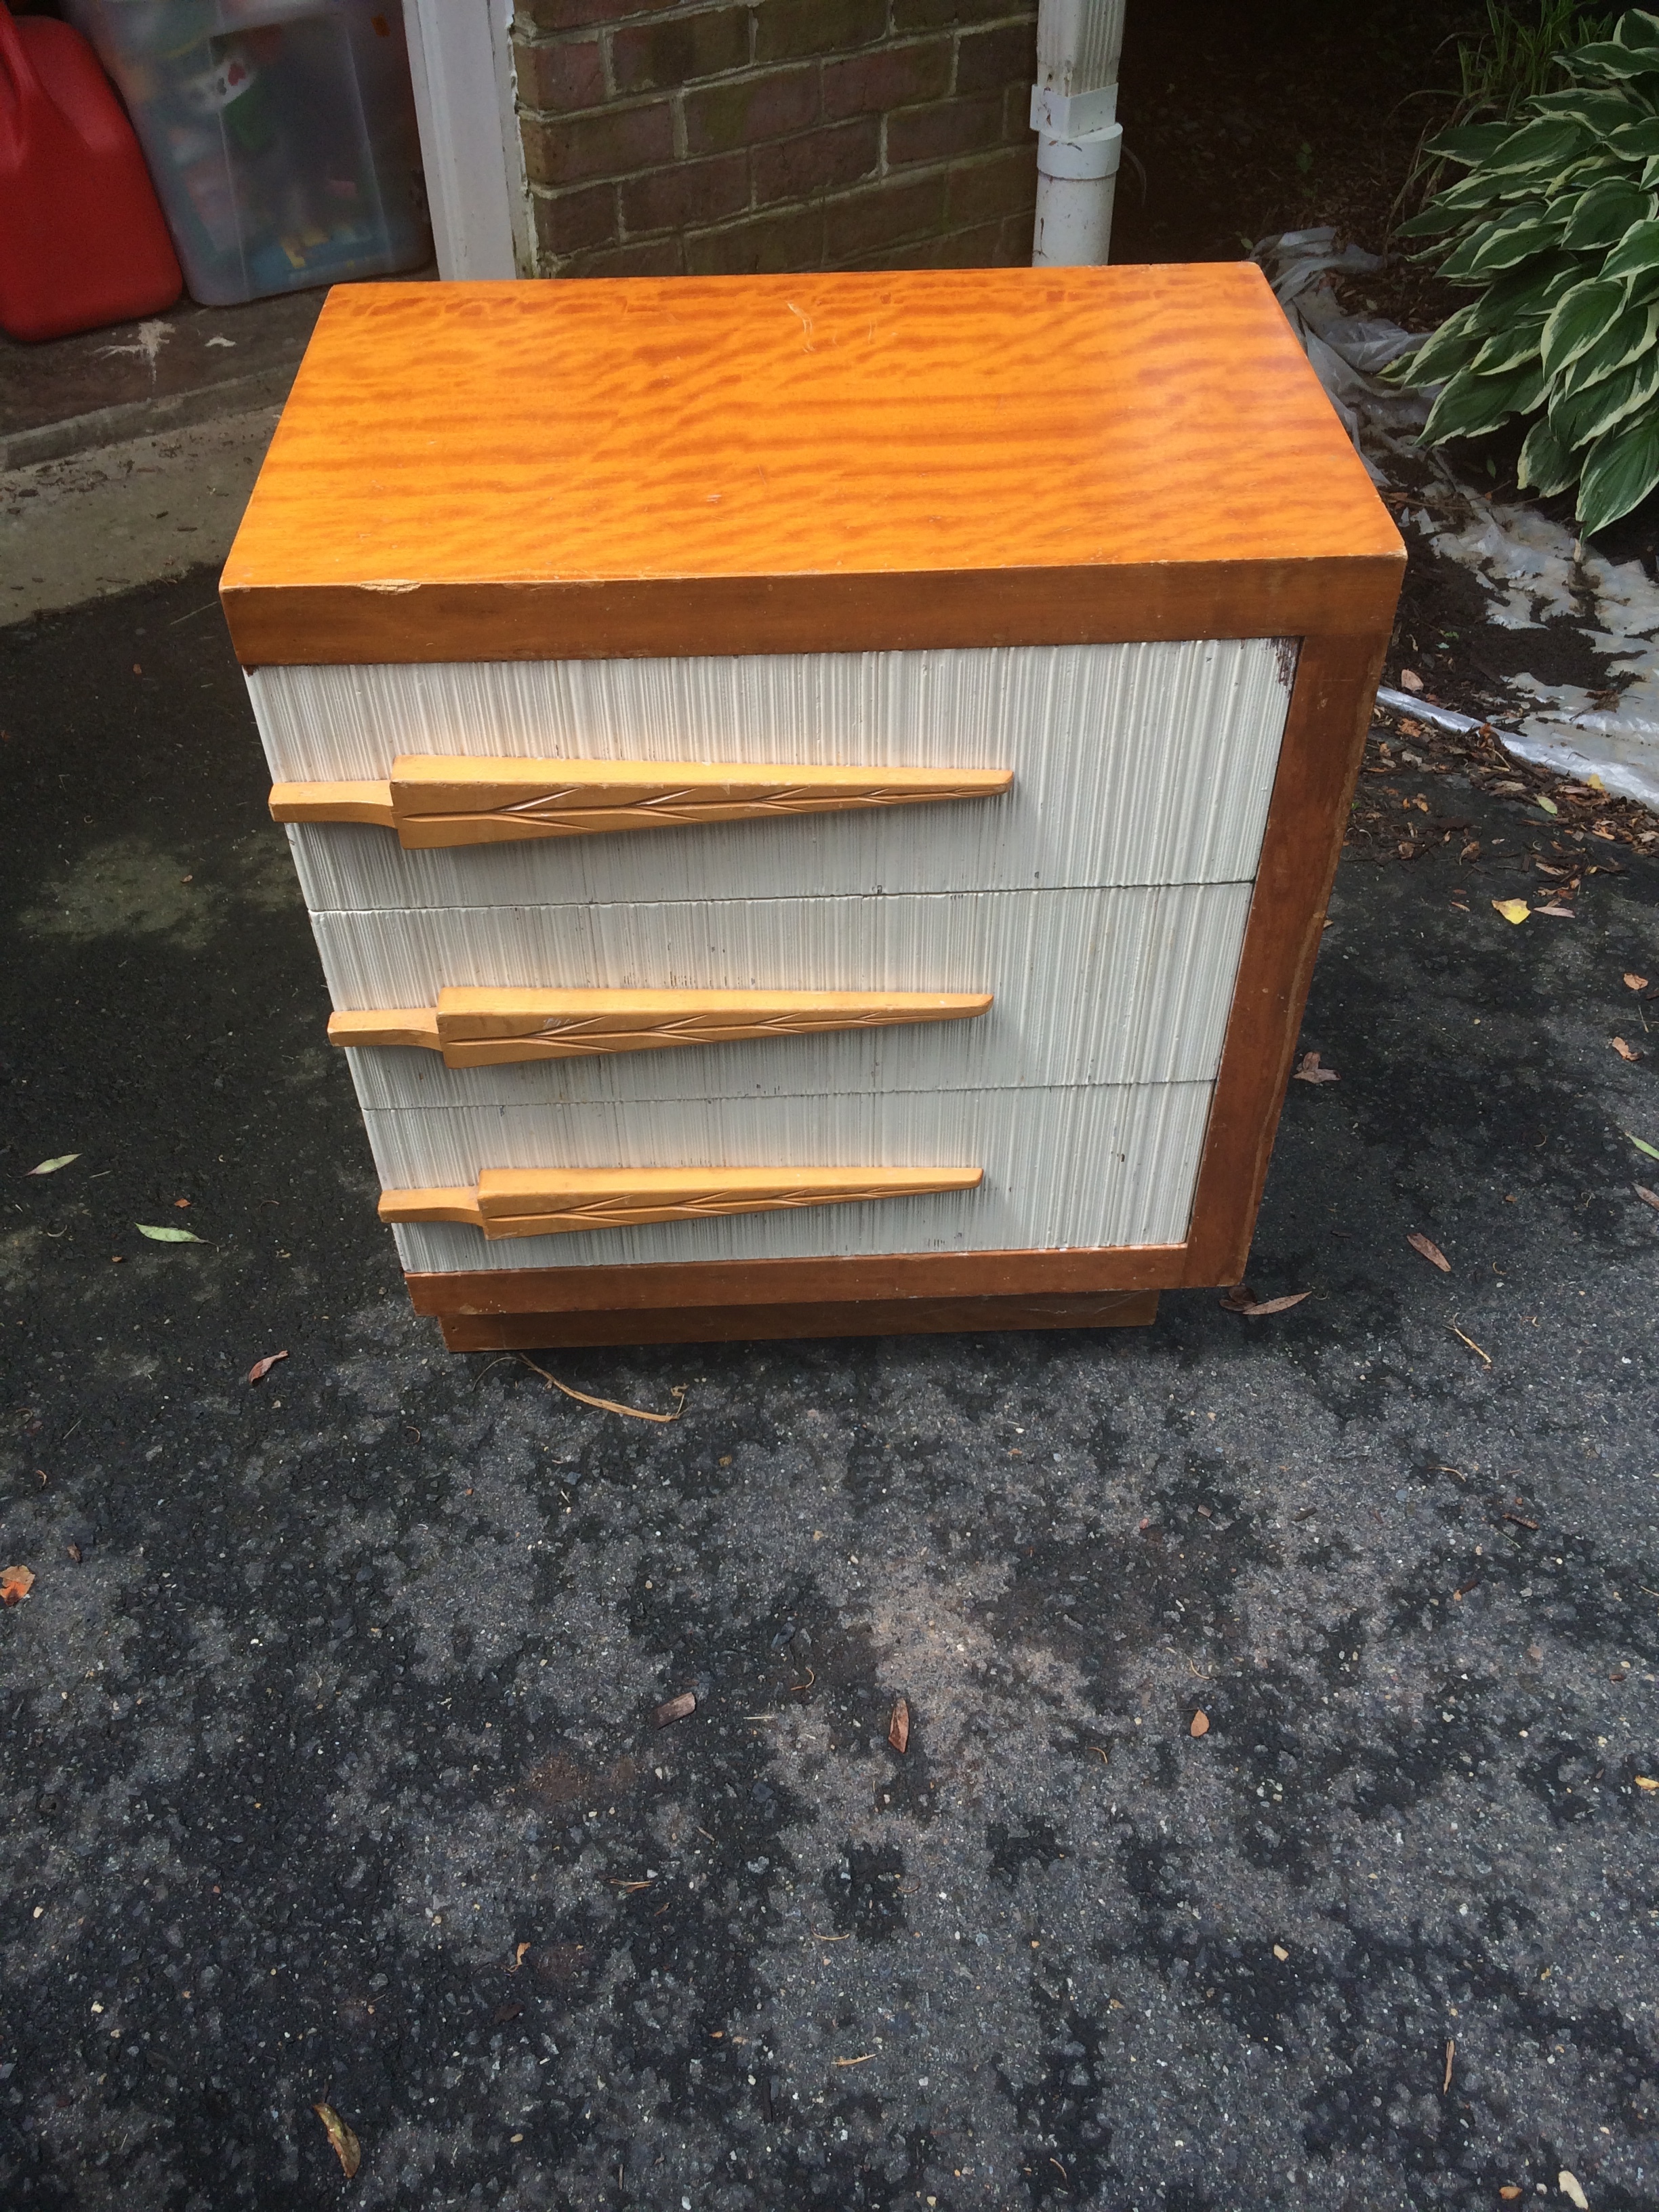
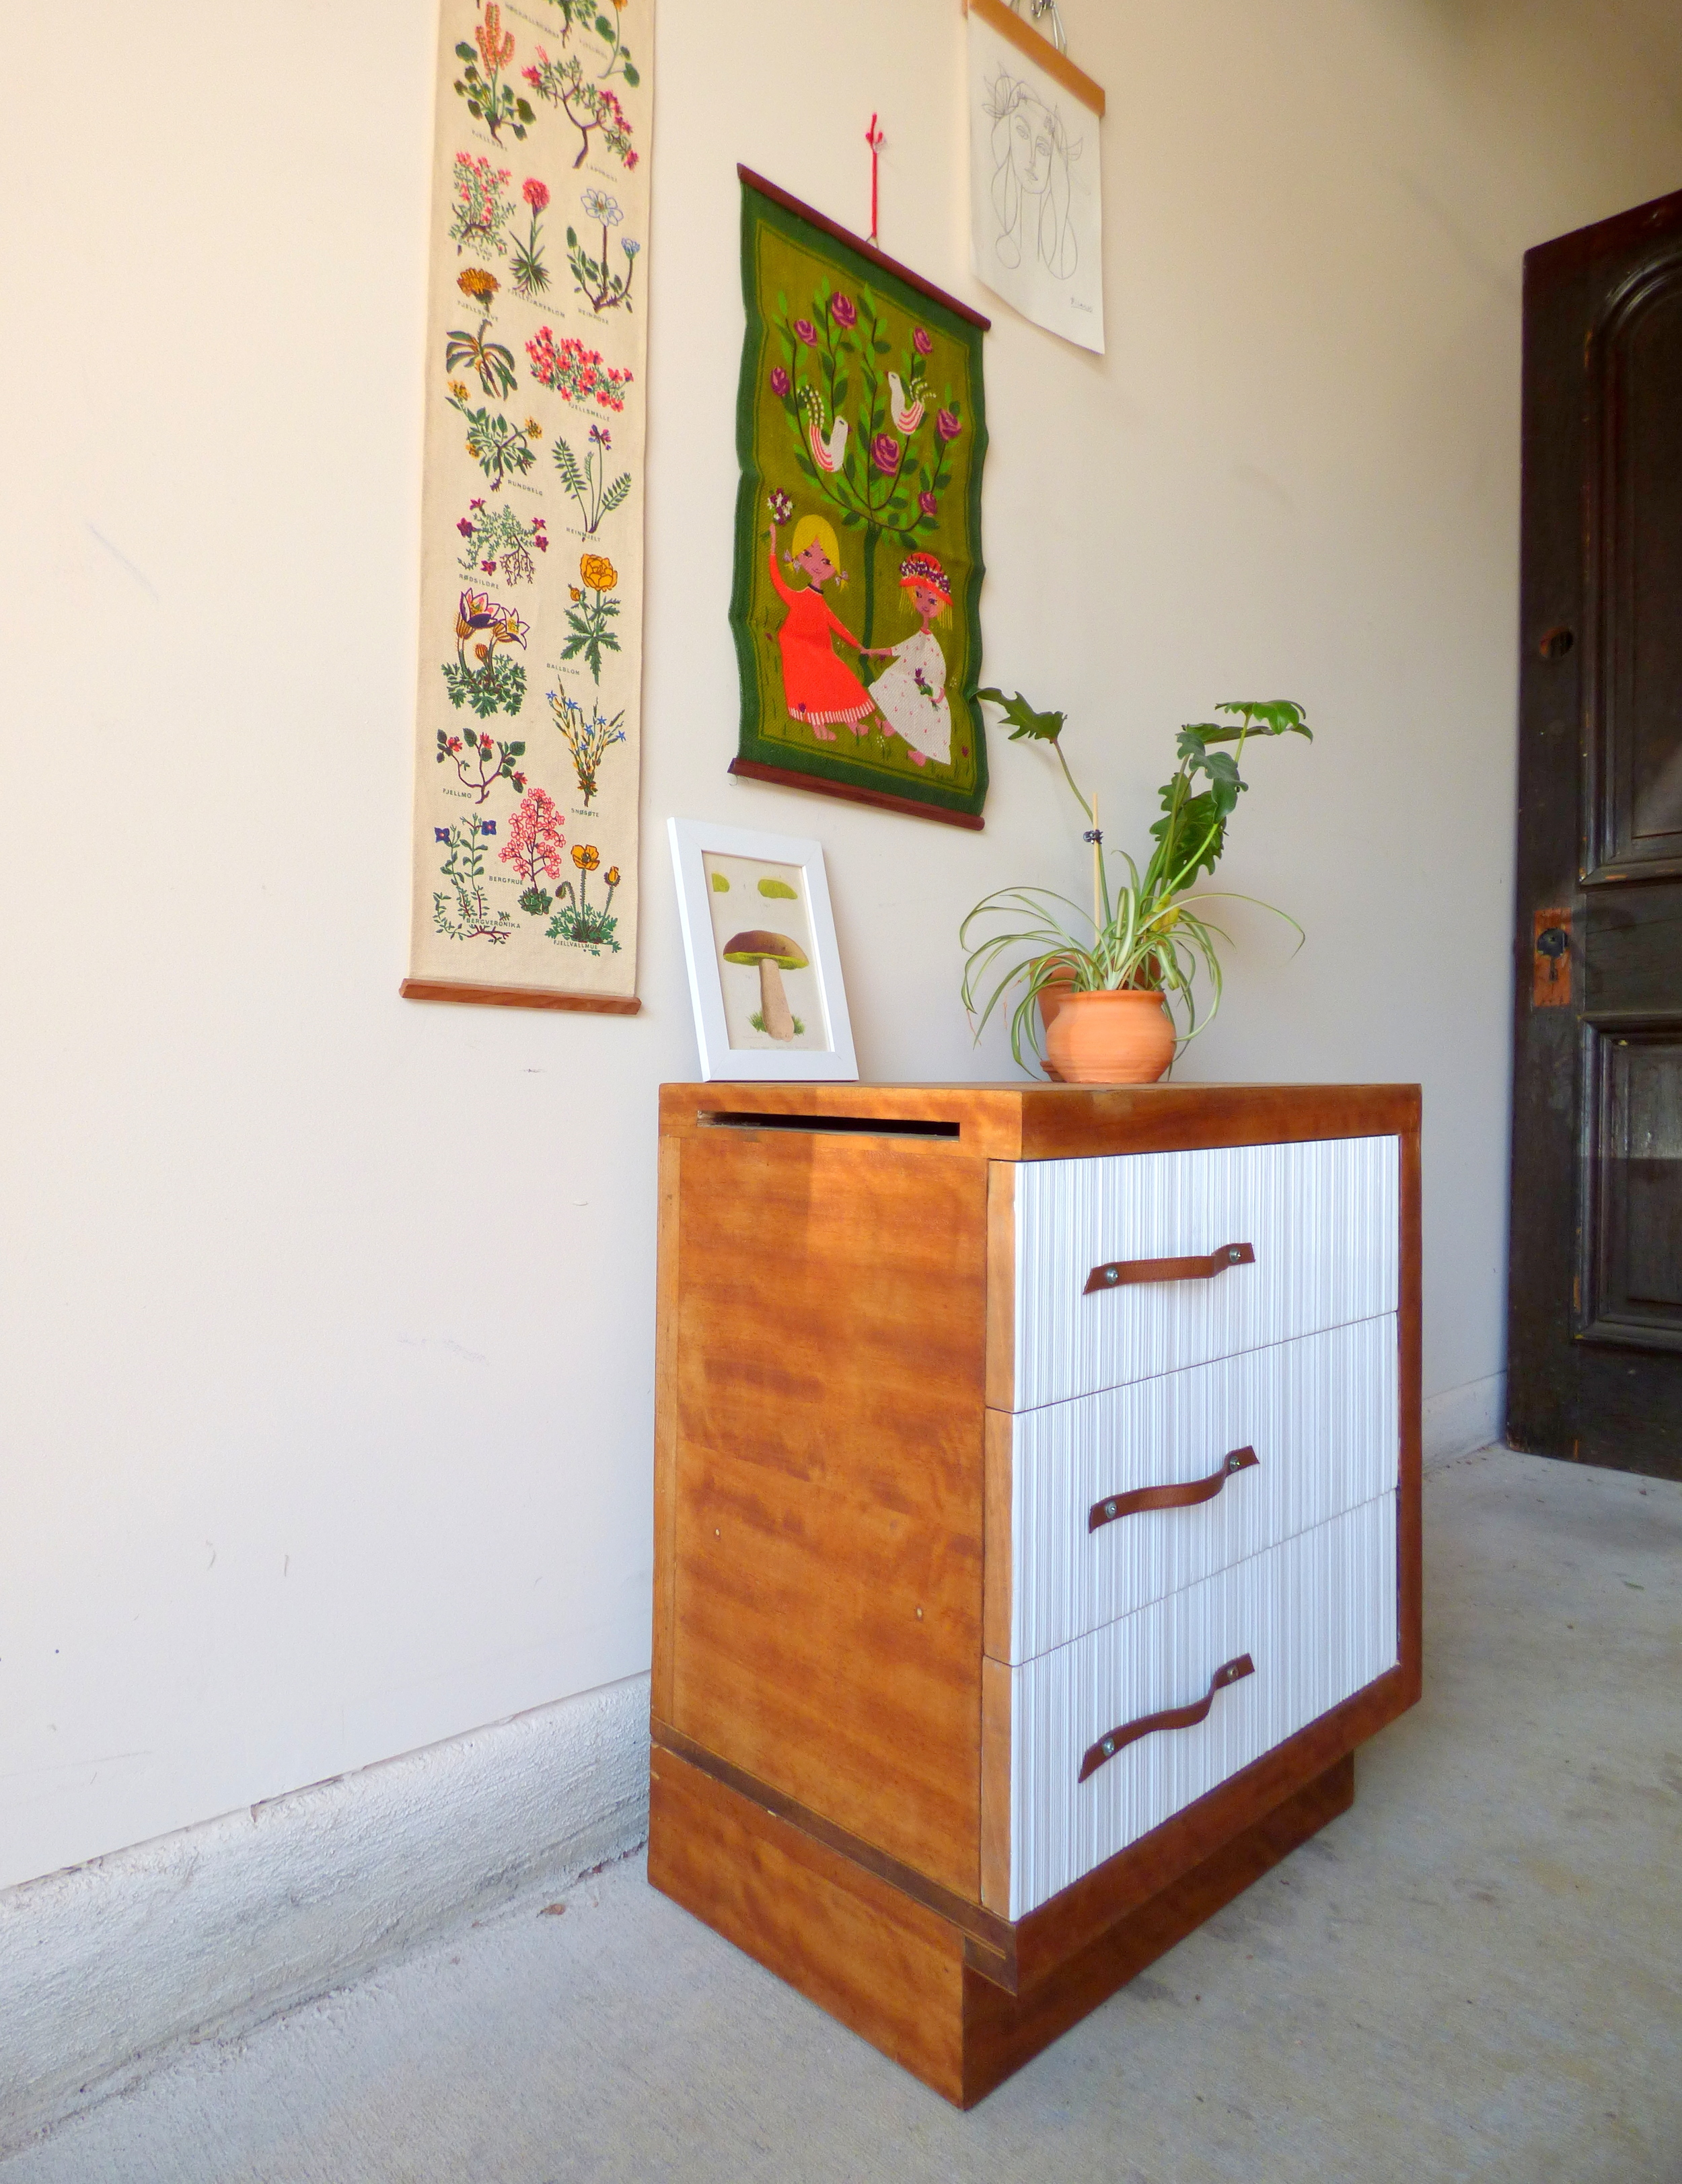
Meet Blondie:

blob

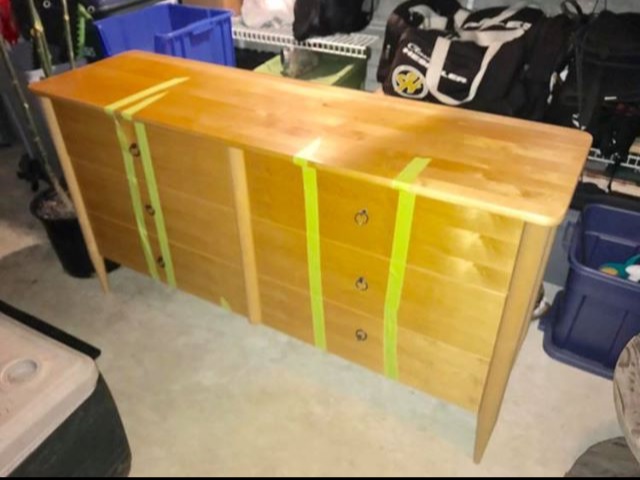
She’s not much too look at - just a neon shade of yellow wood finish but she had great lines so I brought her home to the workshop.  One of the things that stood out to me most was that she had such tall legs - and I got to thinking... I could really have some fun with that.

IMG_2305.JPG

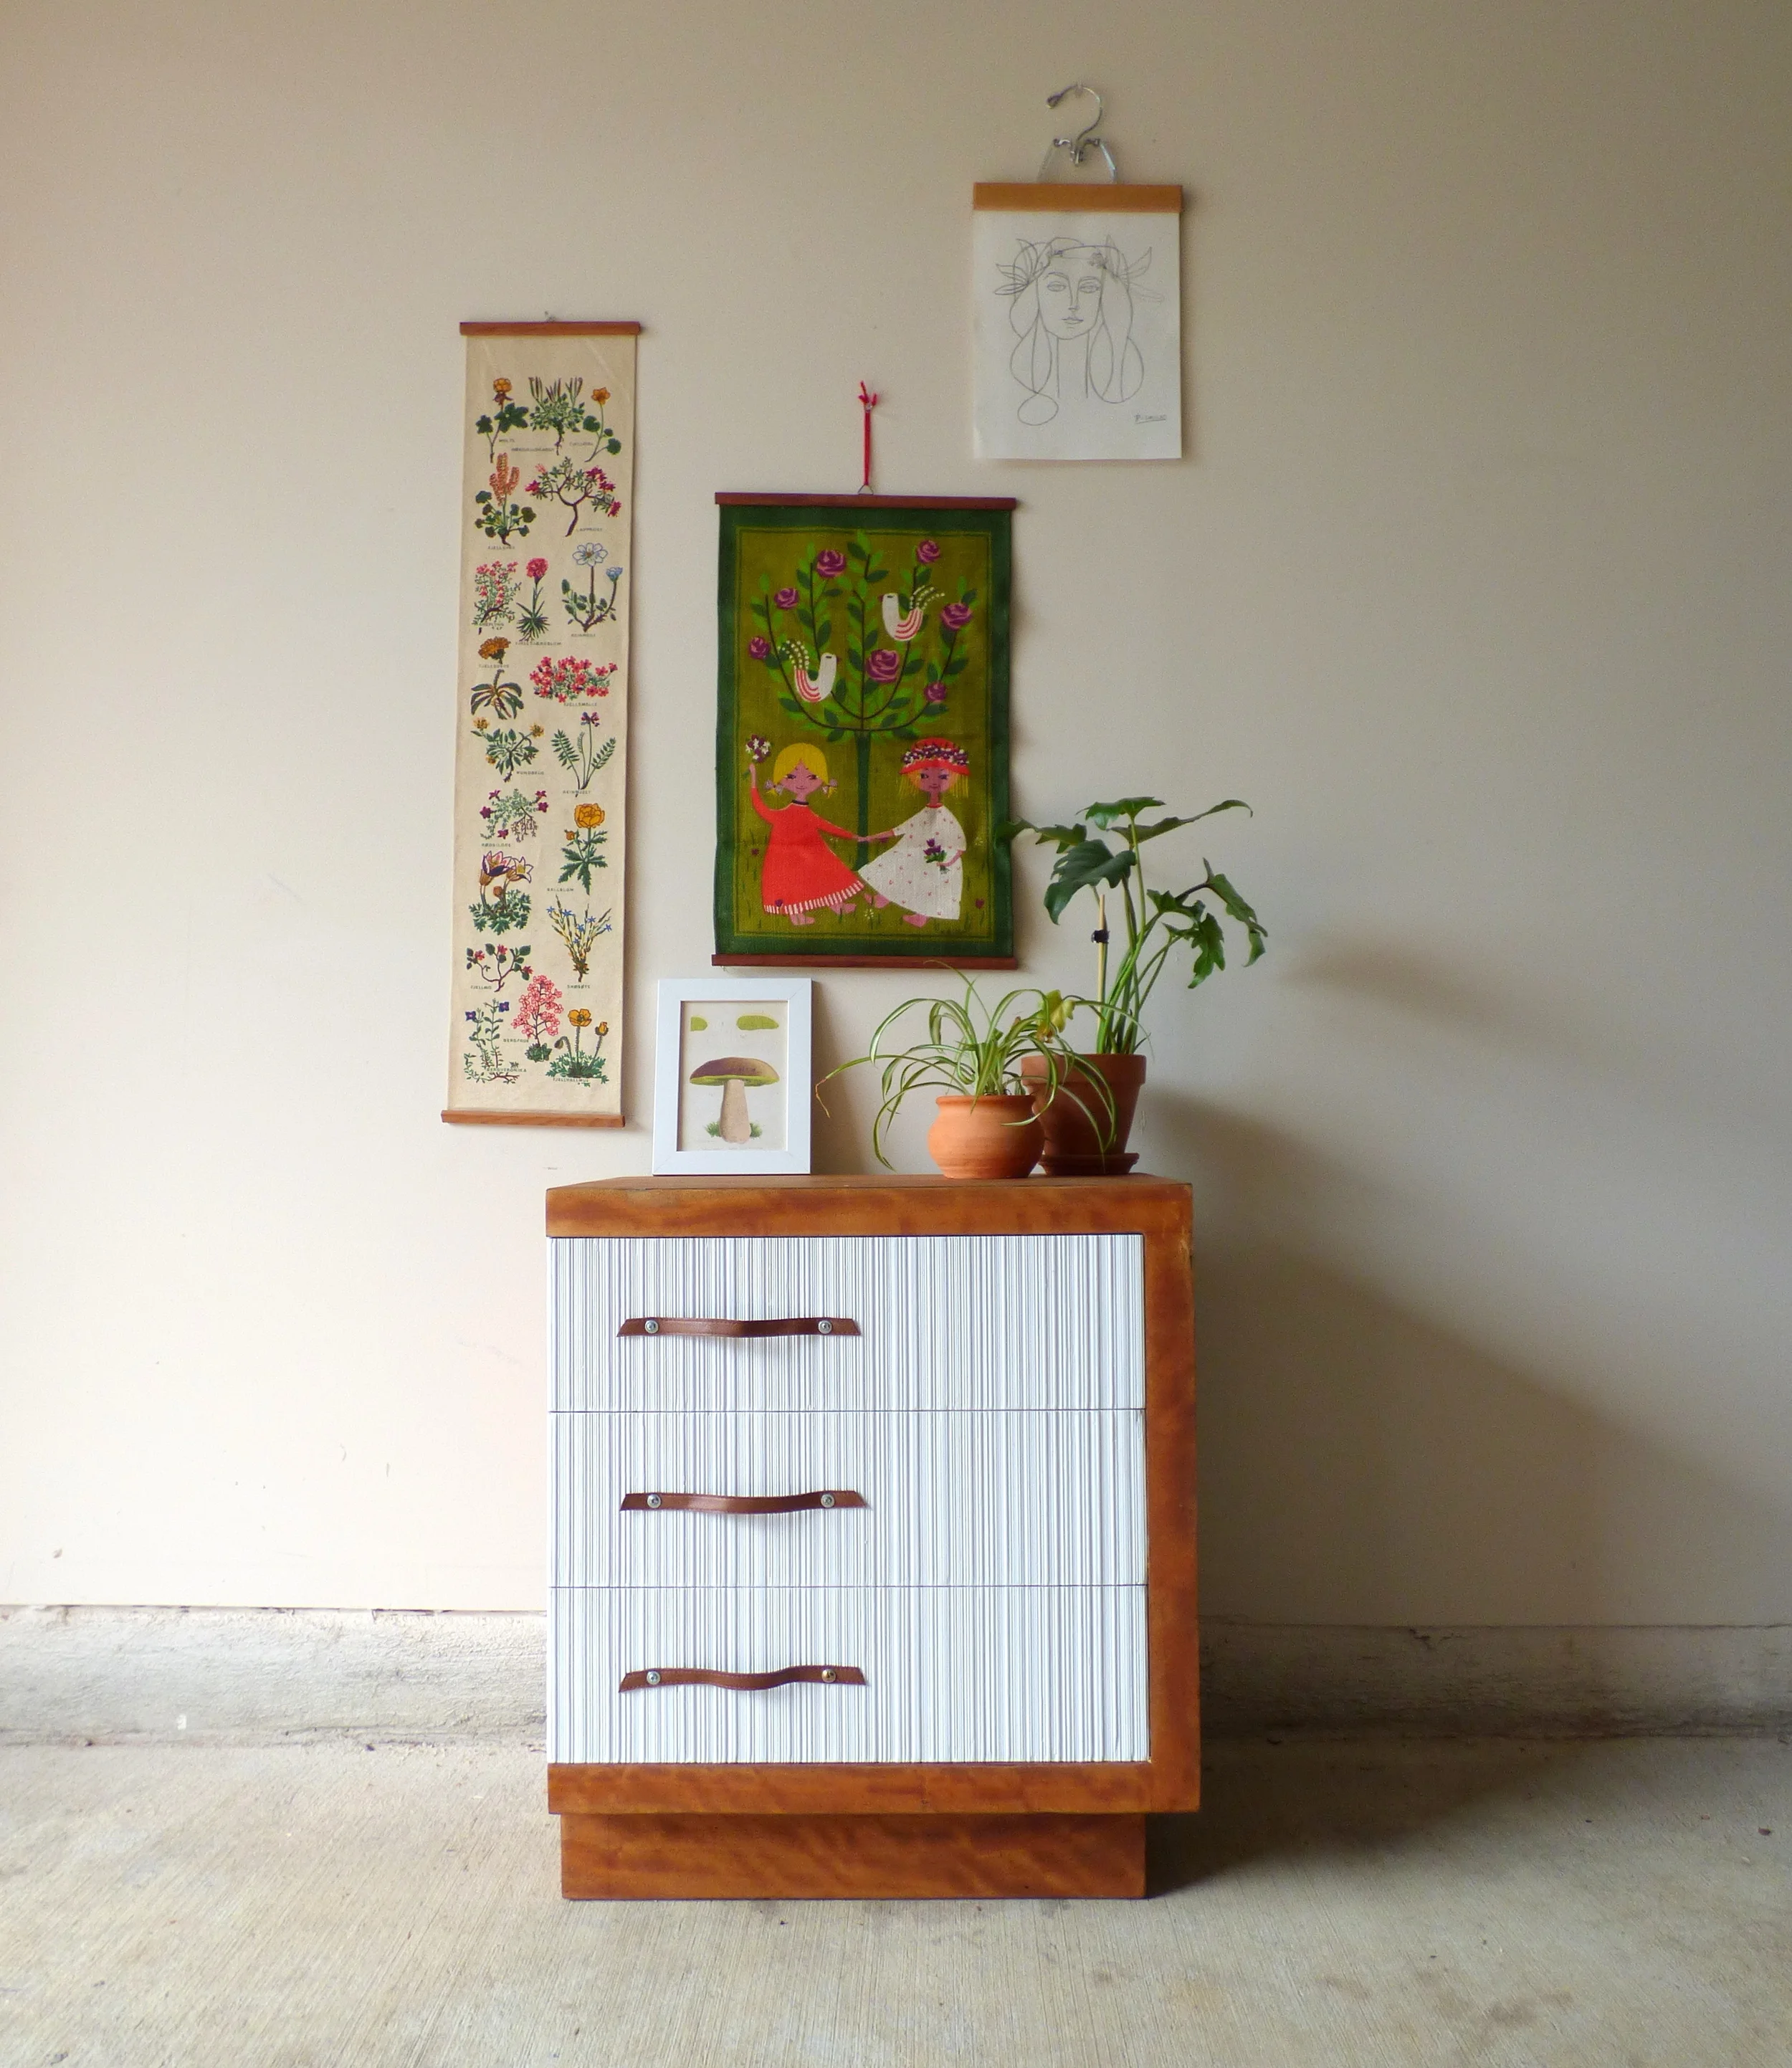
First order of business: paint.  The original buttered wood wasn’t doing her any favors so I went with a good neutral: Silver Drop by Behr.

IMG_2314.JPG

The color is a soft blend of white and a delicate light gray.  It’s not too harsh but still very warm and fresh.

IMG_2306.JPG

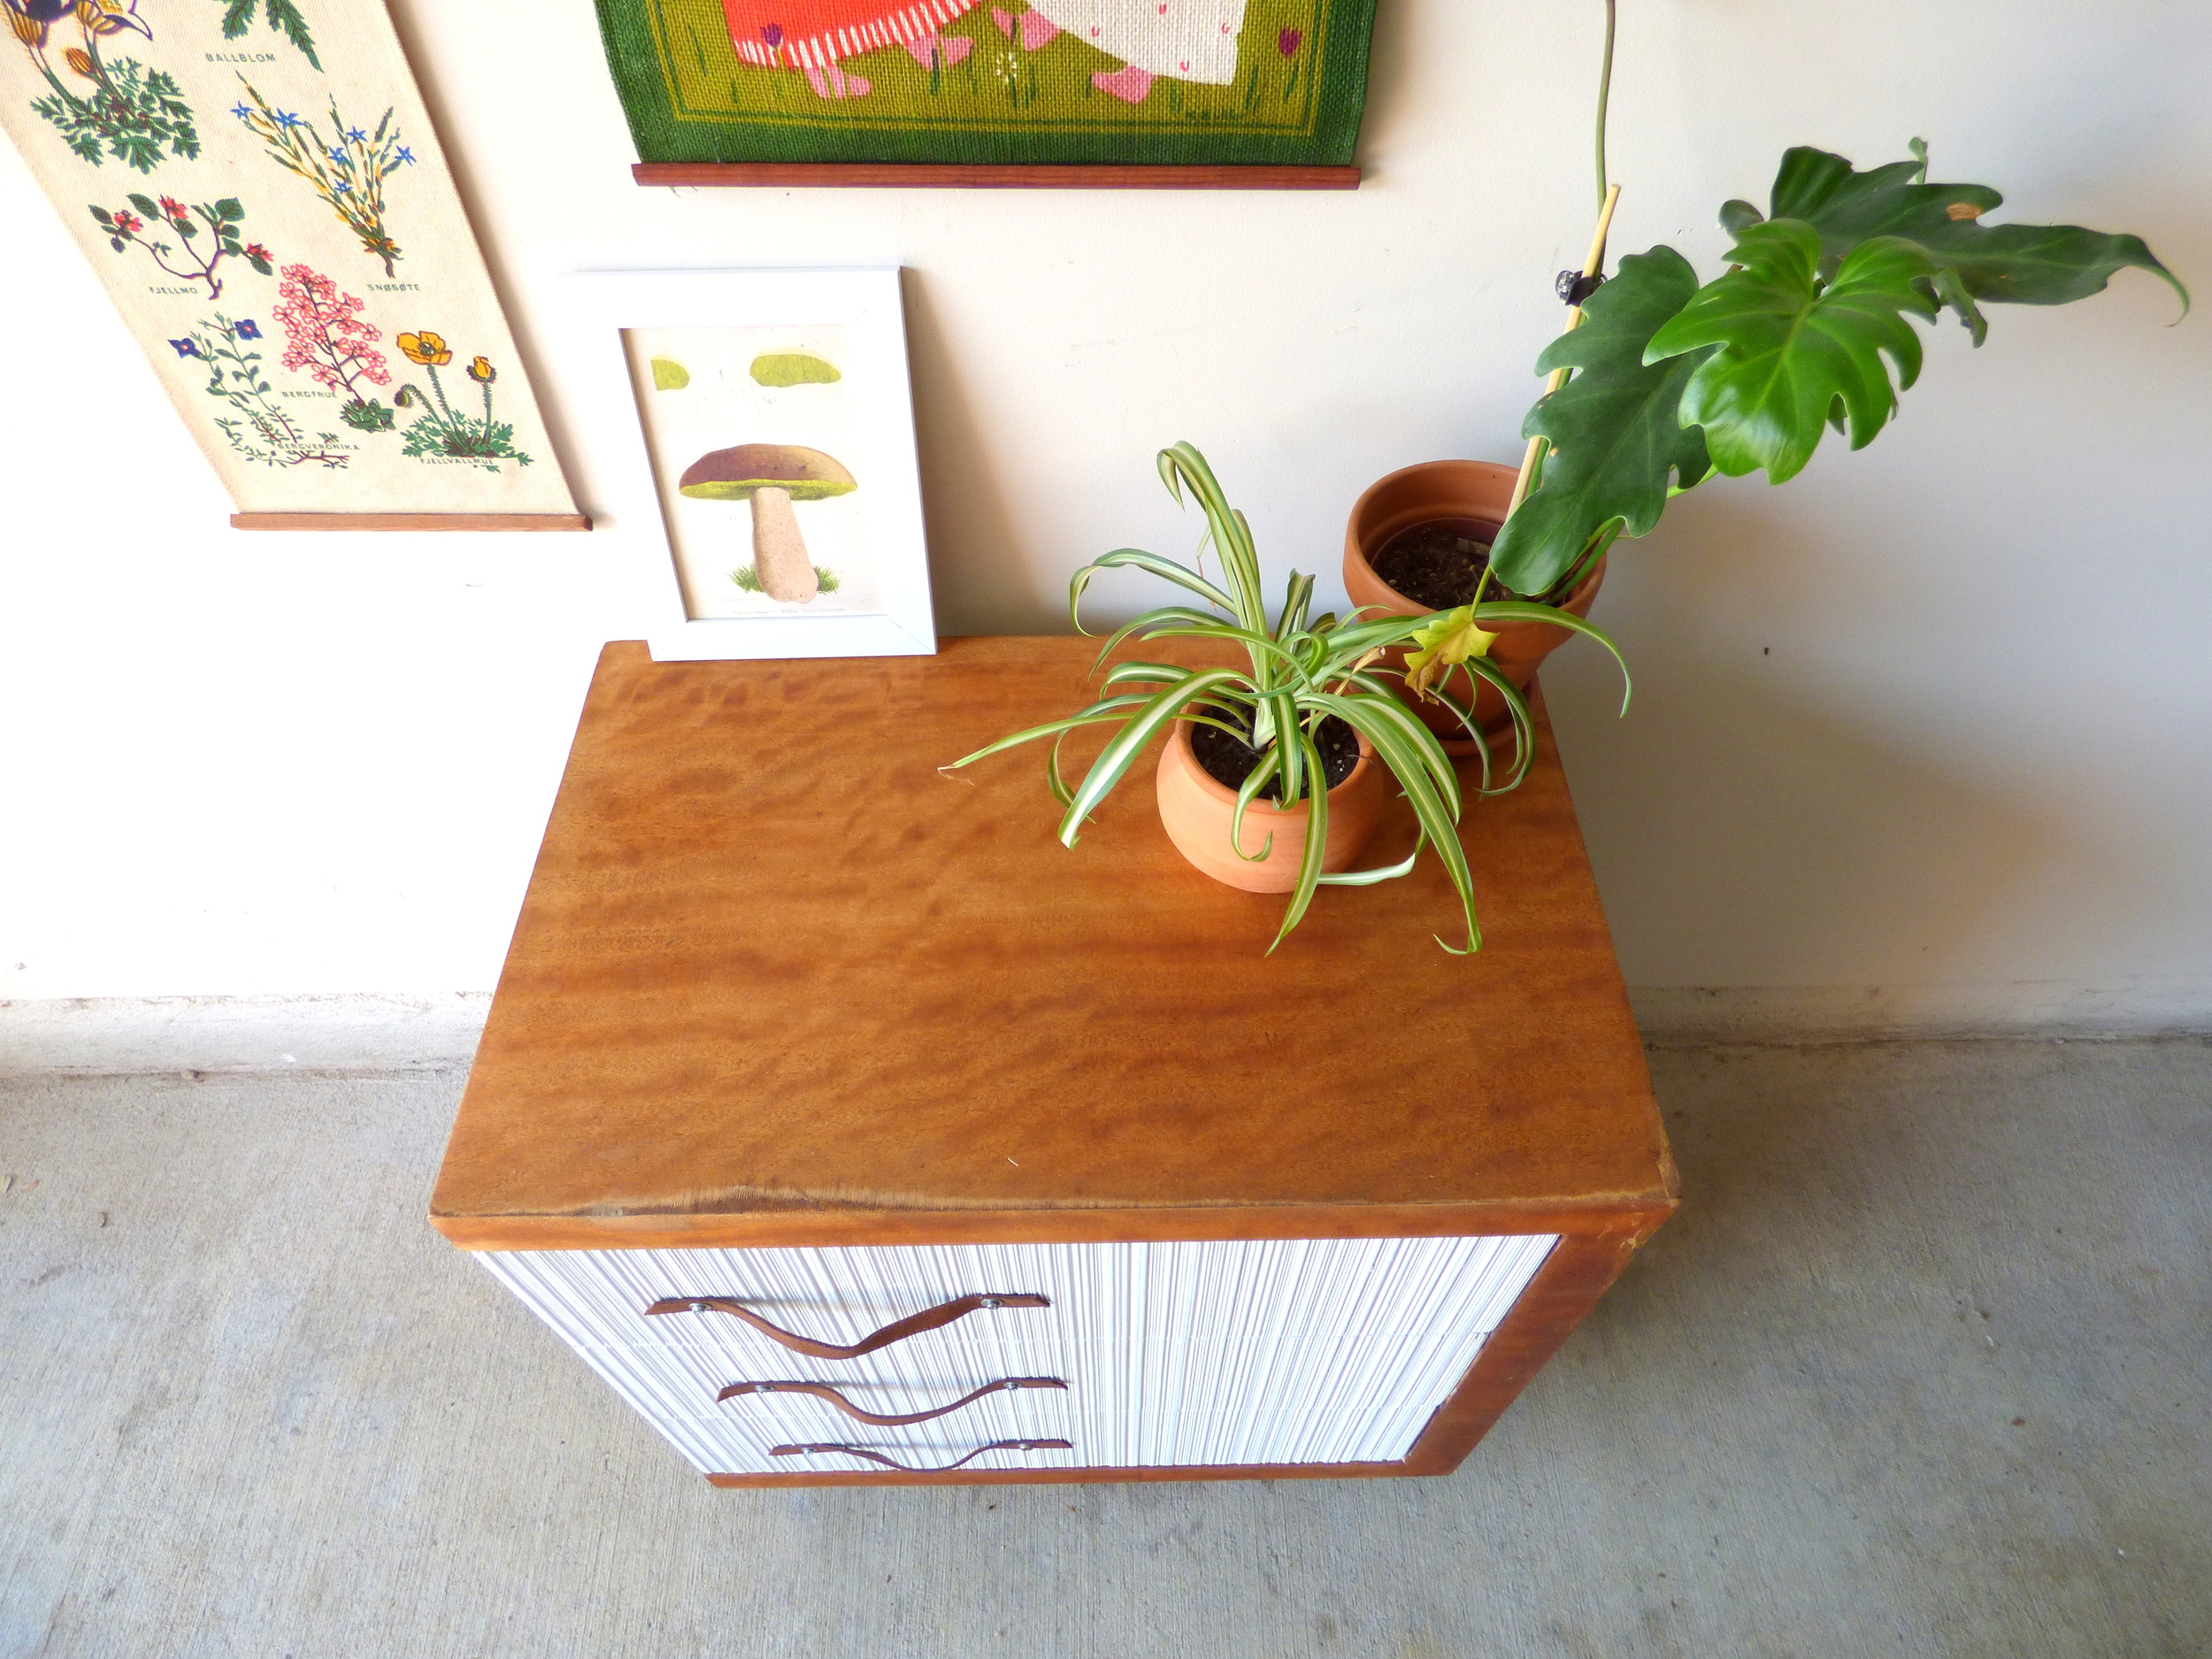
To play up the height of the legs, I decided to add some interest with a “wink of leather” as Chelsea would say.

IMG_2308.JPG

I added crossing leather straps in an X shape that are secured to each leg.  They are completely removable if you need the under dresser storage but add such a fun surprise detail to an otherwise “Plain Jane.”

IMG_2321.JPG

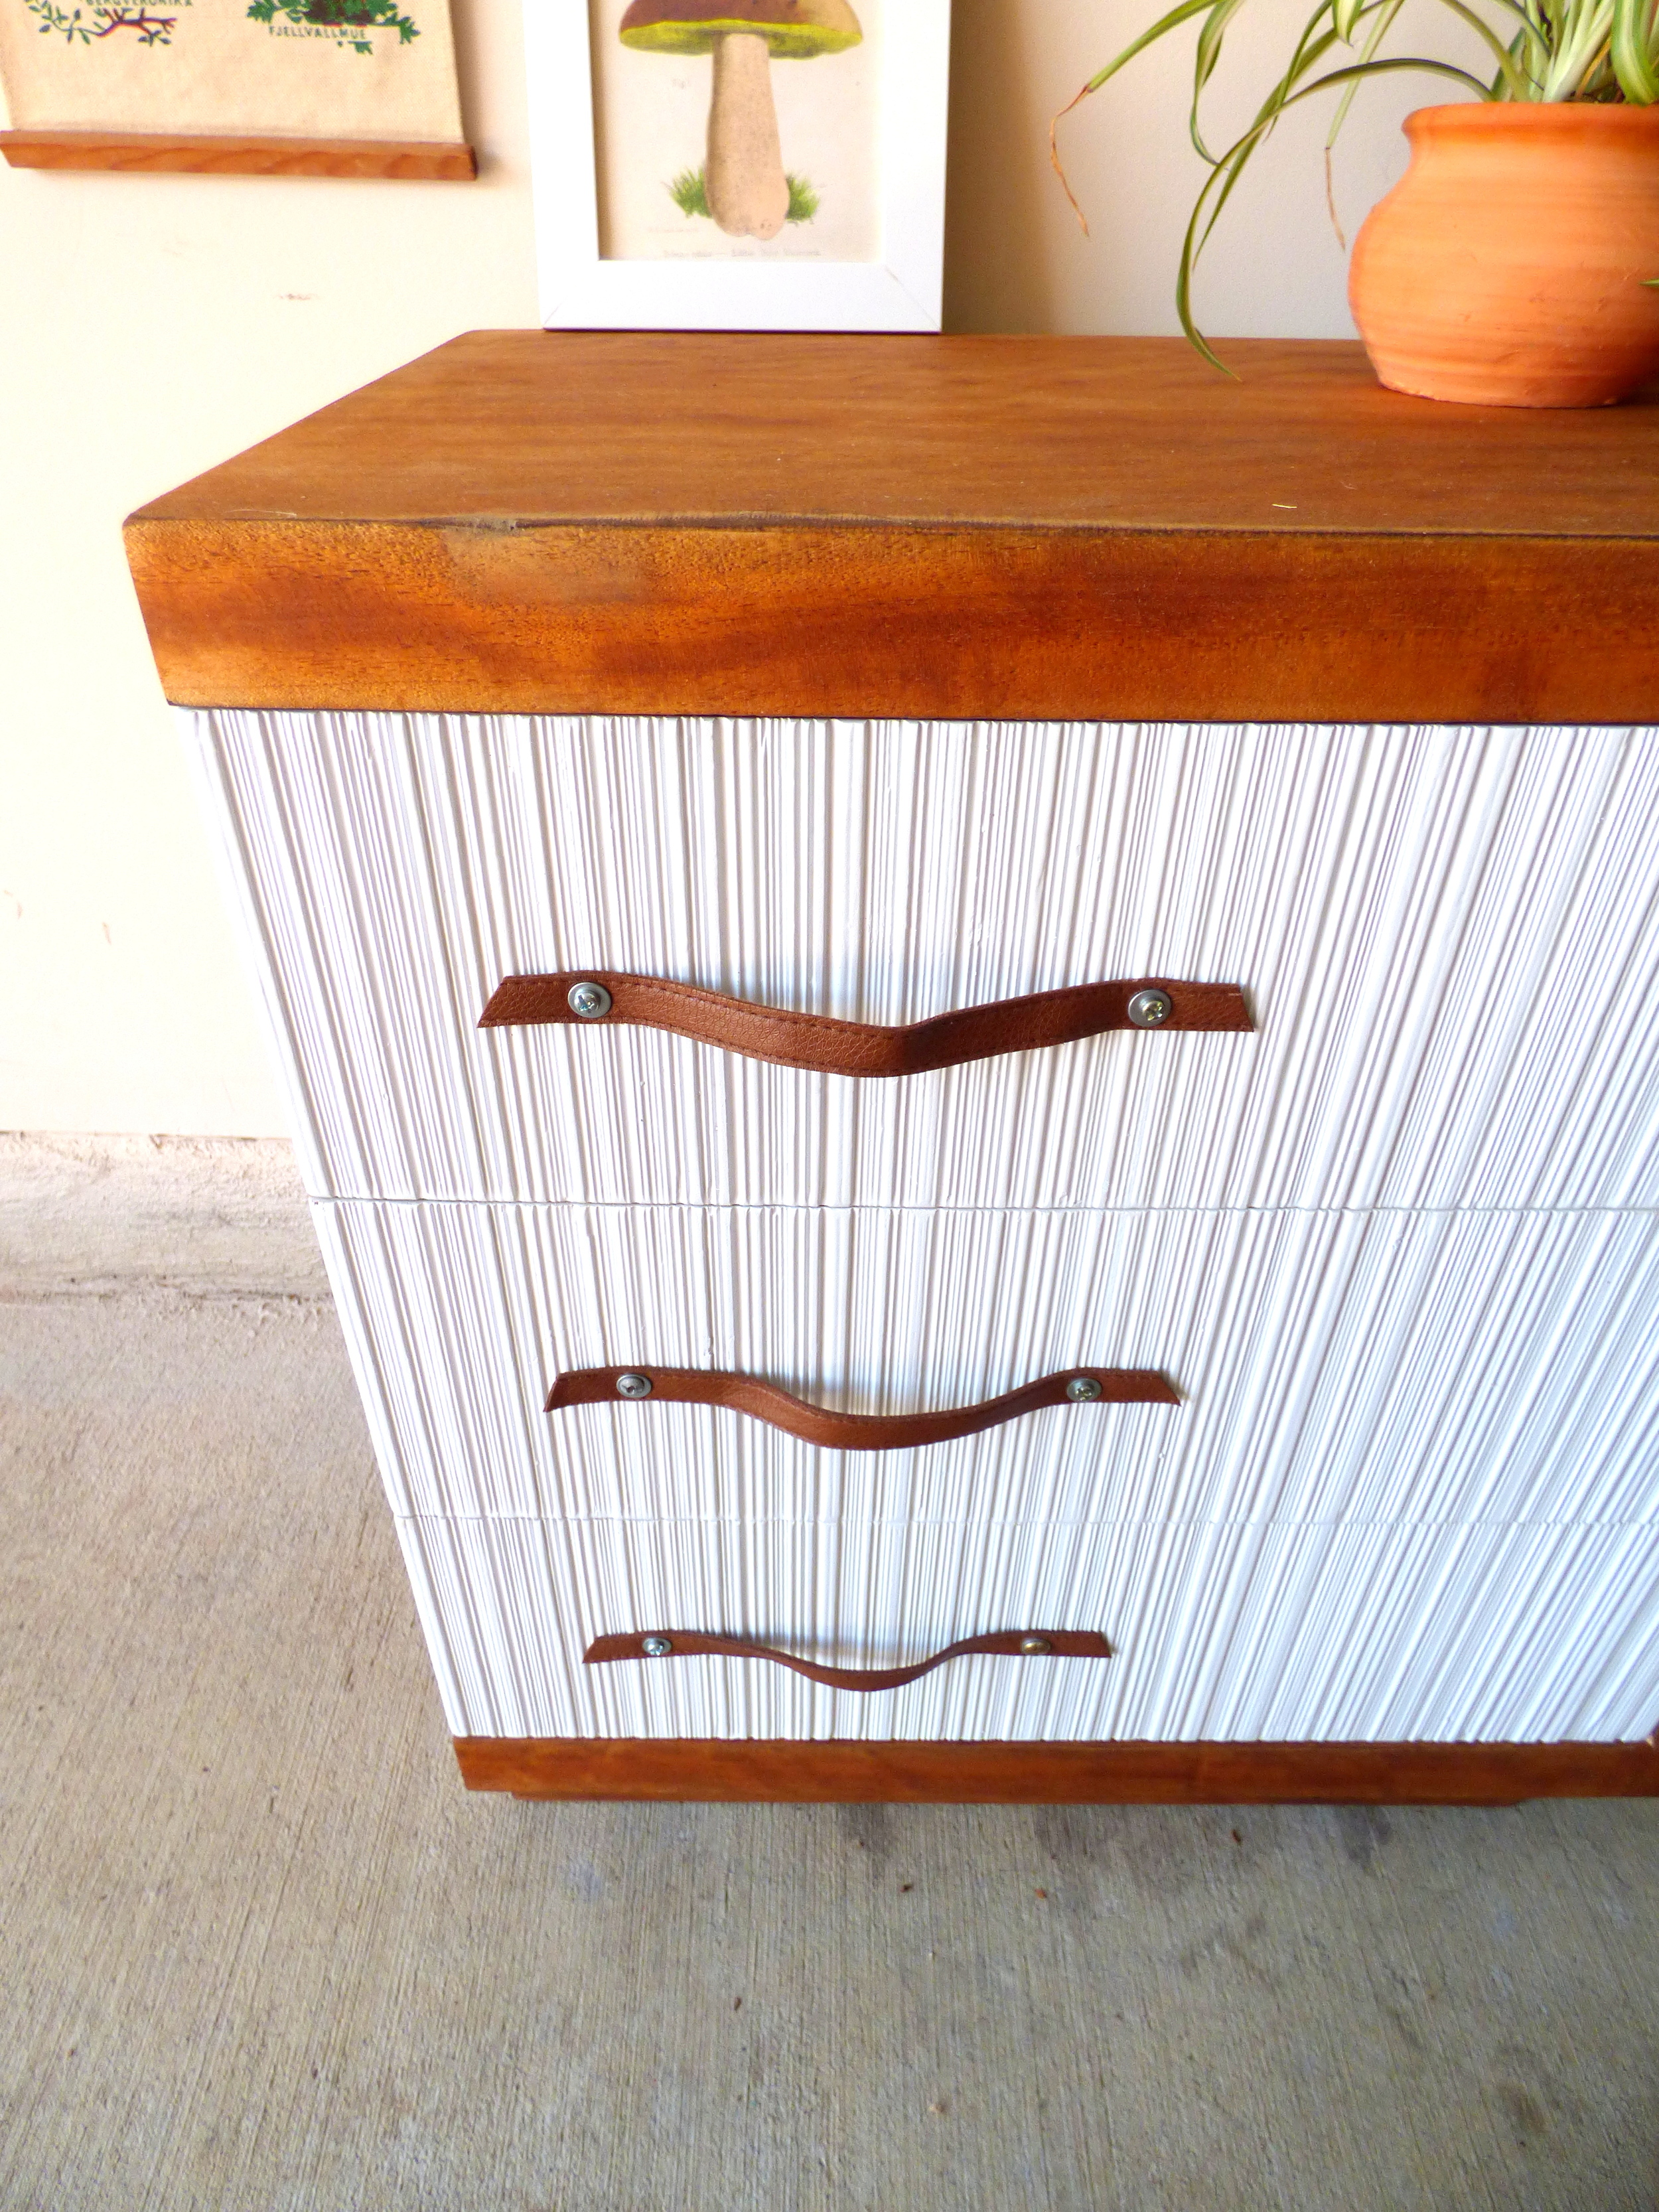
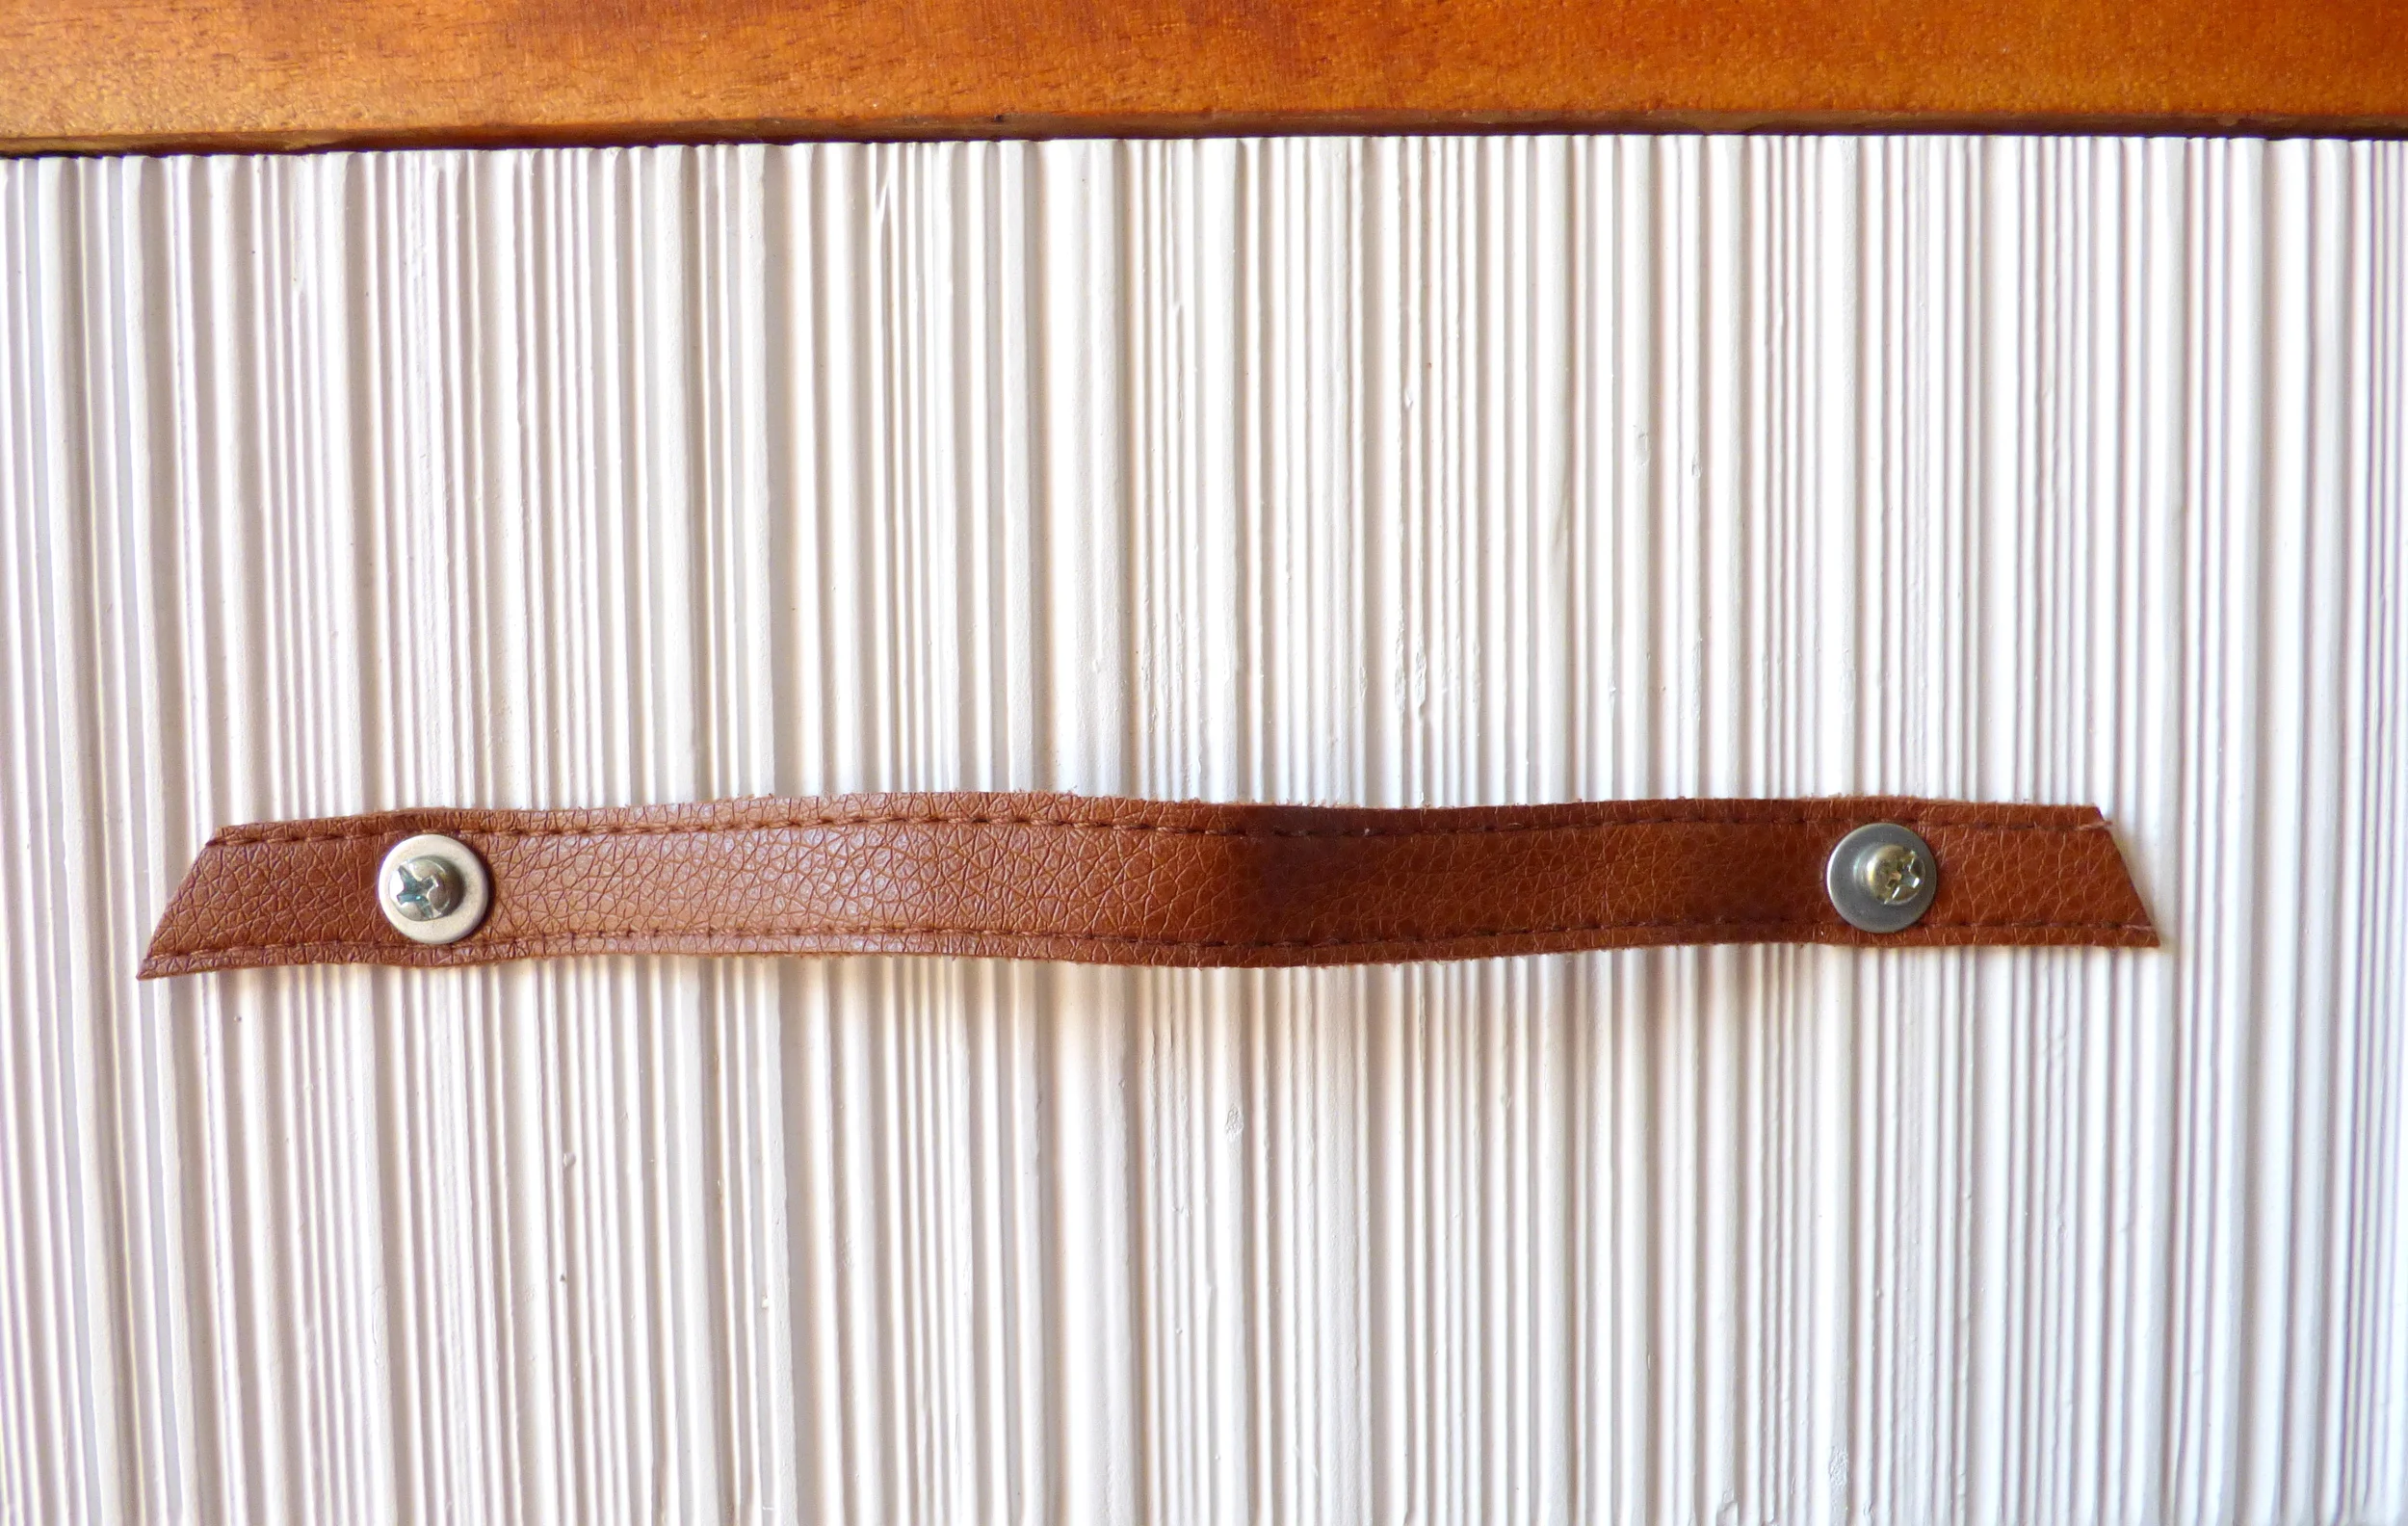
Let’s take a closer look shall we? 

IMG_2322.JPG

Originally I tried riveting the leather together  but couldn’t get the straps to bind so I ended up using brass screws with a nut on the back to hold them taut and in place. 

IMG_2310.JPG

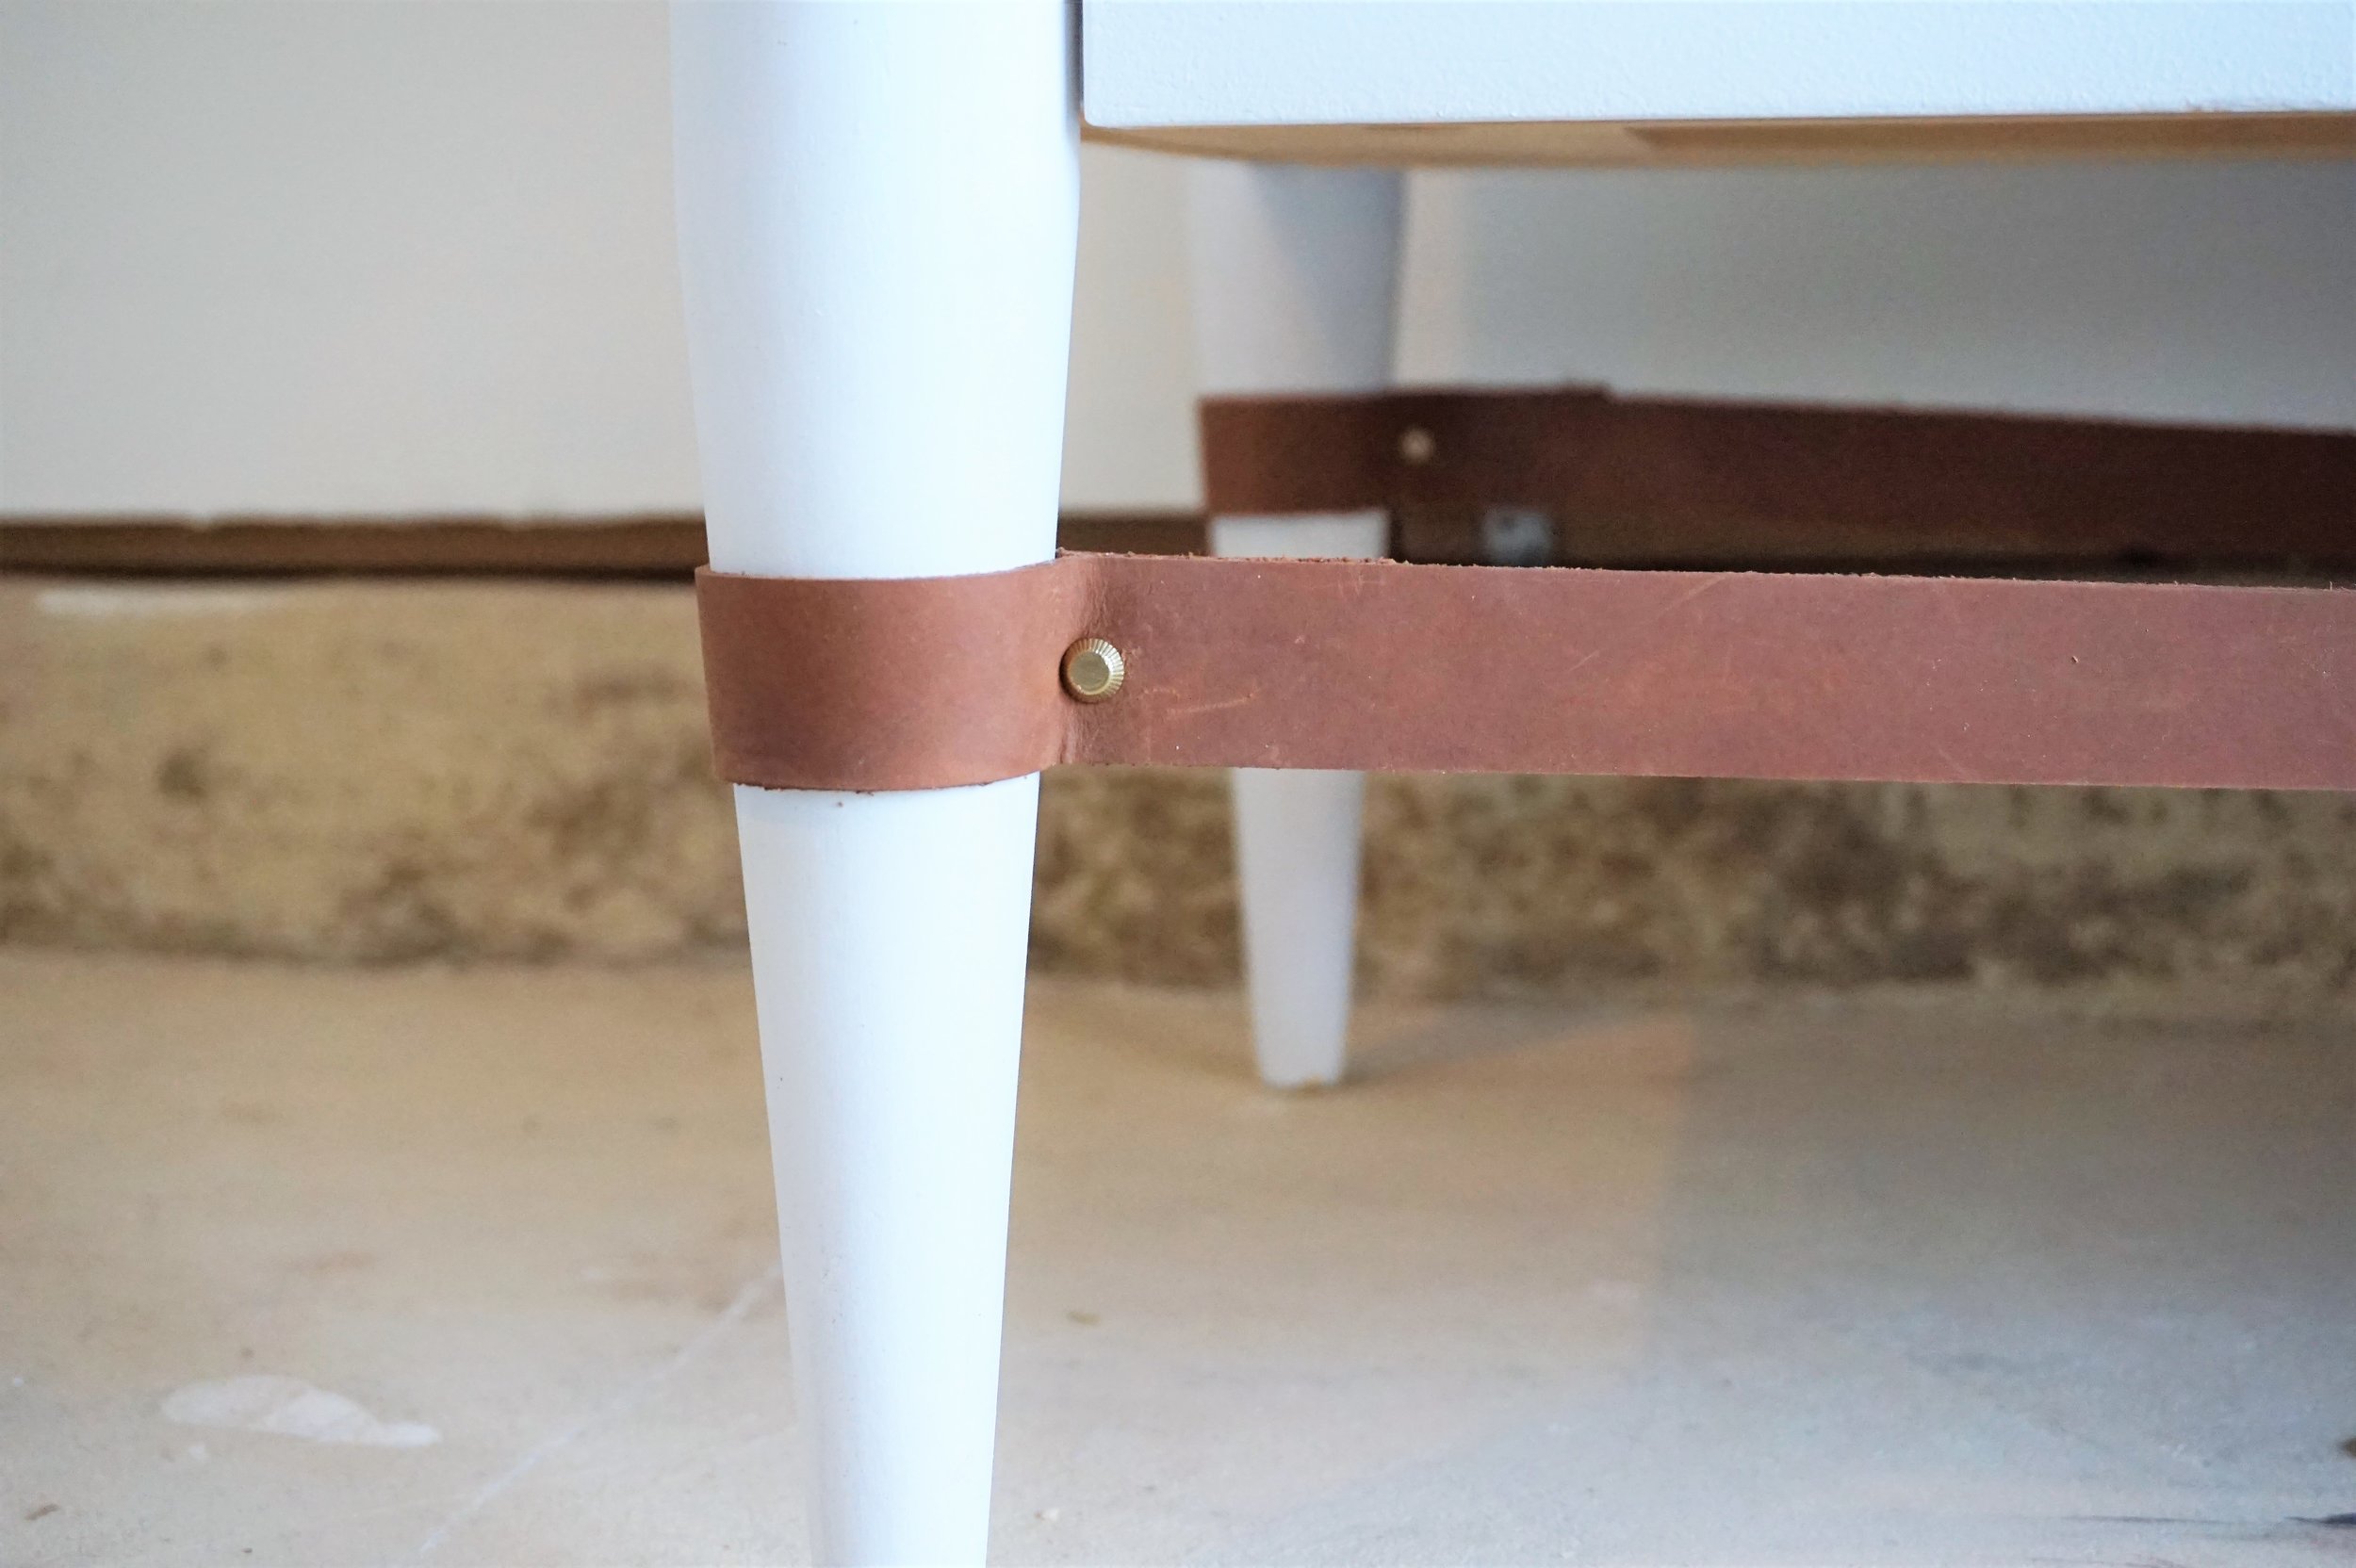
I also replaced the original ring pulls with bright brass whistle knobs.

IMG_2312.JPG

I love using these knobs in projects to give a easy modern upgrade (like here and here).

IMG_2313.JPG

If you’re looking for a one-of-a-kind piece, this White + Leather moment is available for sale!  Email my contact info below for purchasing or third-party shipping options.

IMG_2305.JPG
IMG_4088.JPG
 

White + Leather Dresser
Now Available for Sale
63”L x 18”D x 34”H
$695

 If you are interested in this piece or a custom order like it, email me at cate@stylemutthome.com

Quirky MCM Nightstand

One of the perks of being the furniture flipper in my friend group is sometimes they give me er... presents...  In the form of discarded furniture.  

This asymmetrical wonder came to me when a friend got a fish tank off craigslist that came with a quirky base.  They kept the tank and were about to kick it to the curb when they probably thought, "Waste not: Cate not" and passed it off to me for some hail Mary refurbishing.  

But the good news is, being quirky has its perks.  In fact, mid-century modern furniture is iconic-ly quirky.  Besides making the piece stand out in a space, there's something... endearing about their asymmetrical lines: 

Source: 1st Dibs

Source: 1st Dibs

Upon closer inspection, this little odd-ball was certainly a little worse for wear: deep scratches in the finish, funky Christmas tree pulls, yellowing paint...  It would be undoubtedly be easier to paint the whole thing but that burled wood grain!  So in the end I put in the extra elbow grease and restored him with some repurposed leather pulls.

Yes those stylized tree pulls had to go.  They were easy to unscrew but the awkwardly-placed holes made finding new pulls to fit difficult.  And the textured drawer fronts made filling them in to drill holes for new pulls just as challenging.  So here's where I had to get creative with a touch resourceful: I had an old camel leather string belt lying around and cut three lengths that were long enough to fit the off-center holes with a some extra slack for easy grabbing.  

I punched holes in the belt for the cabinet screws, threaded them through with a washer for extra reinforcement, and secured them on the inside with a nut.

To add to the quirk of this piece, there is a slot cut into the left side of the nightstand.  At first I couldn't make sense of it.  I mean, was the nightstand designer so lazy that he didn't want to have to open the top drawer to put some papers away?  But then I realized, this designer wasn't lazy - (s)he's tech savvy!  This slot turns the top drawer into a charging hub for your personal electronics so instead of having a rats nest of cords cluttering up your bedside surface real estate (like I do), you can stow them away discretely!

Keeping the piece two-toned lets the texture of the drawer fronts play off of the banding in the warm wood grain.

Keeping the burled wood grain did mean I couldn't mask some of the discoloration along the edges.

I'm not sure what caused the "worn" edges but they are completely flush so the surface is still baby-butt smooth.  Plus, I think the markings lend themselves well to the vintage character of the piece.  

As a beloved teacher once told me, you have to earn your wrinkles.  I think the same goes for vintage pieces: they don't get to be this old without collecting some storied markings along the way ;)  

Two-Toned Mid-Century Modern Nightstand
21.5"W x 14"D x 24.5"H
SOLD
$85

If you are interested in this piece or a custom order like it, please contact me at cate@stylemutthome.com.

DIY Belted Wall Clock

Hi guys! Just stopping by today with a really fun DIY that would fit into just about any decor style! This hanging belted clock got a really fun response on Instagram a couple weeks ago and I've been excited to share the deets here on our blog!

We may be on the brink of Spring, but there's never a time that I turn my nose to a touch of leather. It's one of those materials that charms a space with it's sexy edginess! It doesn't follow rules; it pairs well with hard industrial elements as well as softer bohemian touches. It's never inappropriate at a party. :)

The hanging belted clock is just a subtle way to add a little leather into your home without breaking the bank or making a huge commitment. 


Supplies:
Clock - I used an 8" wall clock from Home Depot, (less than $10)
Belt - Find one with a width less than the clock's frame - if the belt is wider, the clock won't hang flush against the wall. Check your local thrift store for a plethora of cheap belts! (less than $4)
Hot glue gun (around $10)
Metallic paint marker, *optional - I used one from AC Moore to cover my face numbers in gold (less than $2)

Step one: Remove the frame of your clock by unscrewing it from the back. Color over the face numbers in the metallic marker, then replace clock frame.

Step two: Trace hot glue around the bottom two thirds of your clock and pull the belt around. Do this with the clock lying flat on a protected surface so that you can make sure the clock and belt are both flush. 

Step three: Thread the belt through the buckle. Remember, you want the buckle to be seen from the side as it hangs, so take that into account when deciding how much hang room you want between the belt and the top of the clock..

Step four: Find a winning spot and hang this gem up!

Step five (IMPORTANT): Invite some friends over and ask them if they know the time so they're sure to notice your kickin' clock.

See, nothing major! It's just a fun little touch that makes a space that much more unique!

IMG_2965.JPG

Thank you so much for stopping by today! 

Do you have any fun leather projects to share? We'd love to see! You can either post your handiwork directly to our Facebook page or tag #stylemutthomeprojects to Instagram!