Only 3 more days until Christmas!!!! Admittedly I am equally counting down to spending time with family as I am to having a real break from my day job. I haven't taken more than 2 days off for over a year so I am really really looking forward to a bit of an extended stay-cation. As we count down to the holidays, I am also wrapping up some overdue flip debuts before getting ready to start rolling out new pieces in the new year.
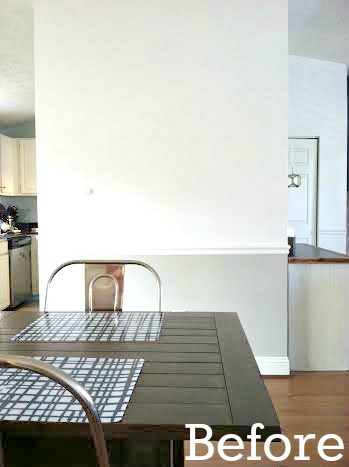
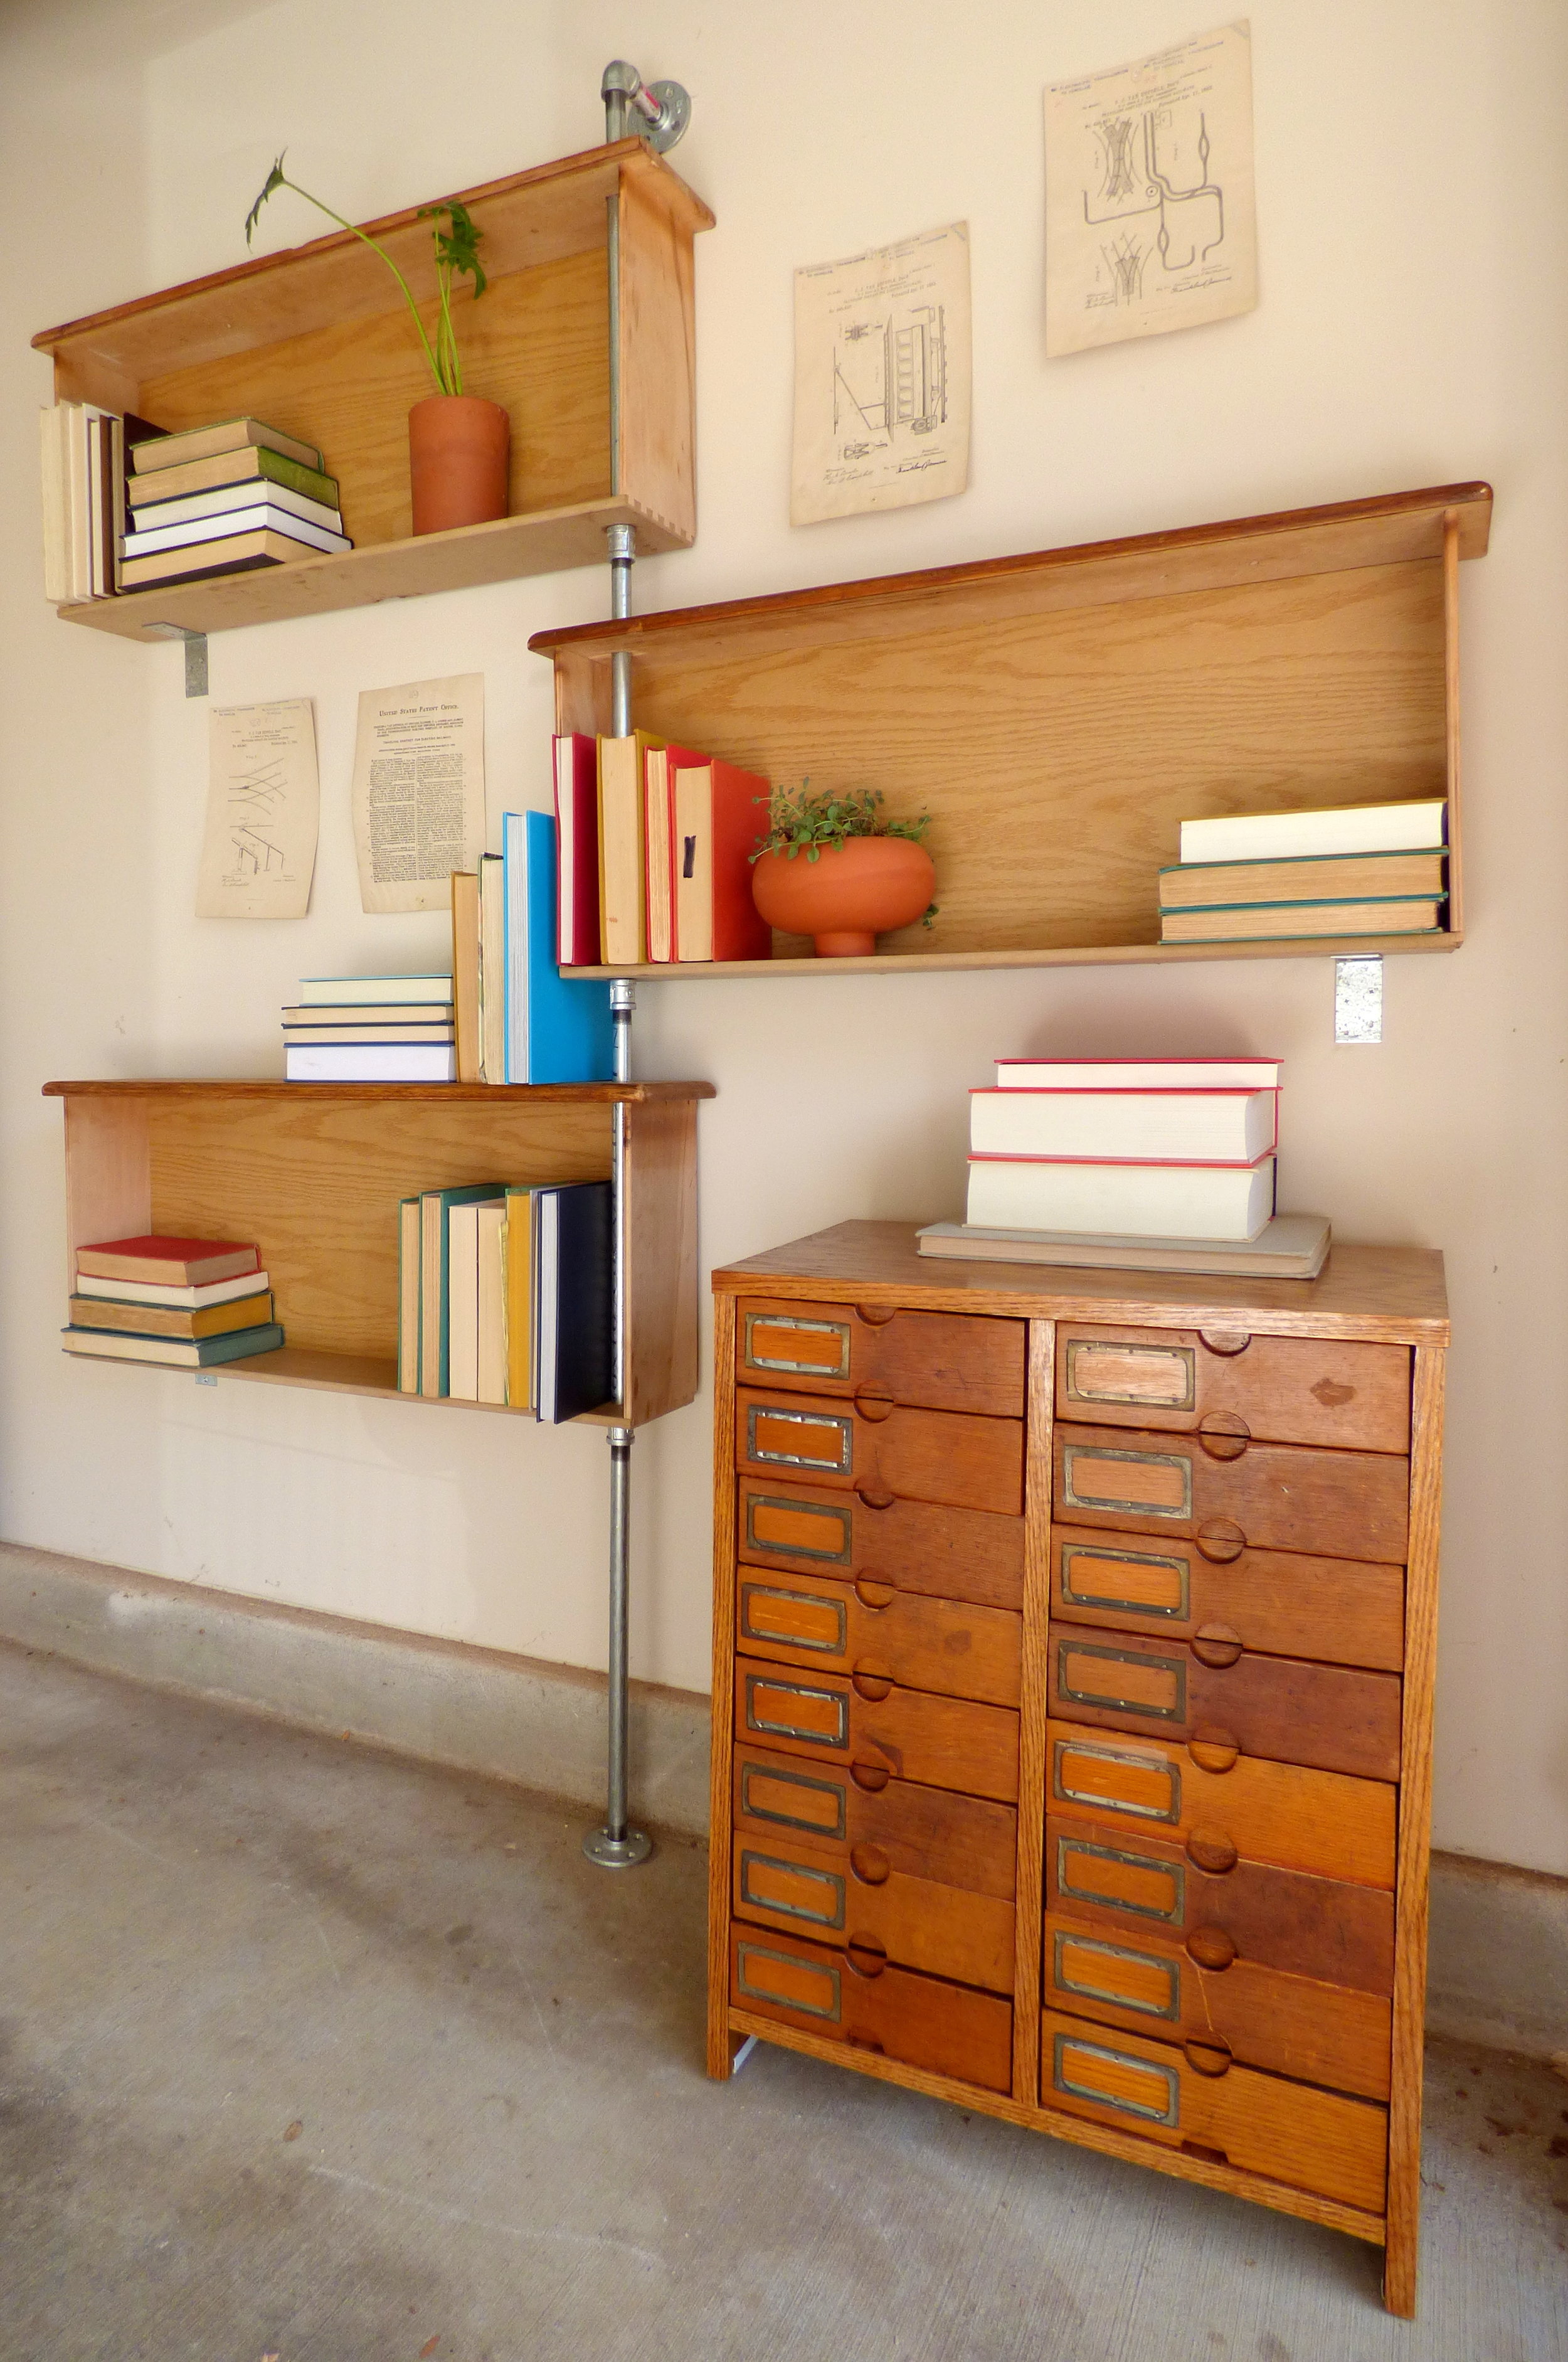
Remember my industrial sawhorse desk? Well when the buyer came to pick it up last fall, it turns out she didn't need the 3-drawer hutch since she planned to float the desk in her office. So she bought the desk, chair and lamp, and left the orphaned hutch drawers behind so I took the opportunity to play around with a new take on industrial-inspired storage.
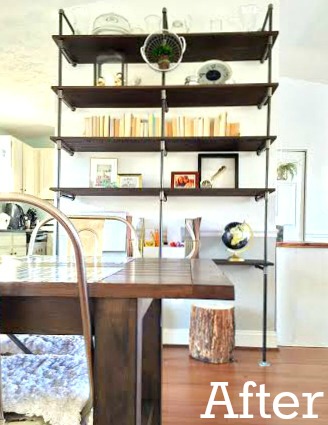
Industrial Pipe Bookshelf

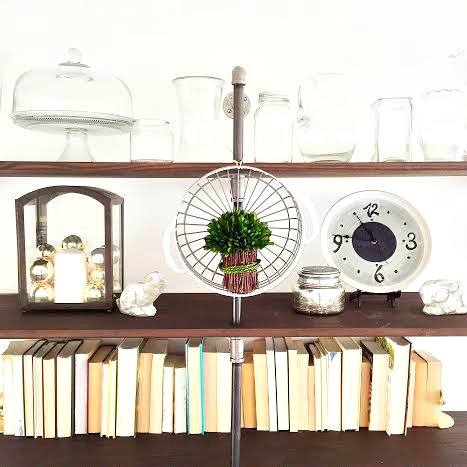
I re-re-used the drawers to make a 3-tiered bookshelf with loads of storage.

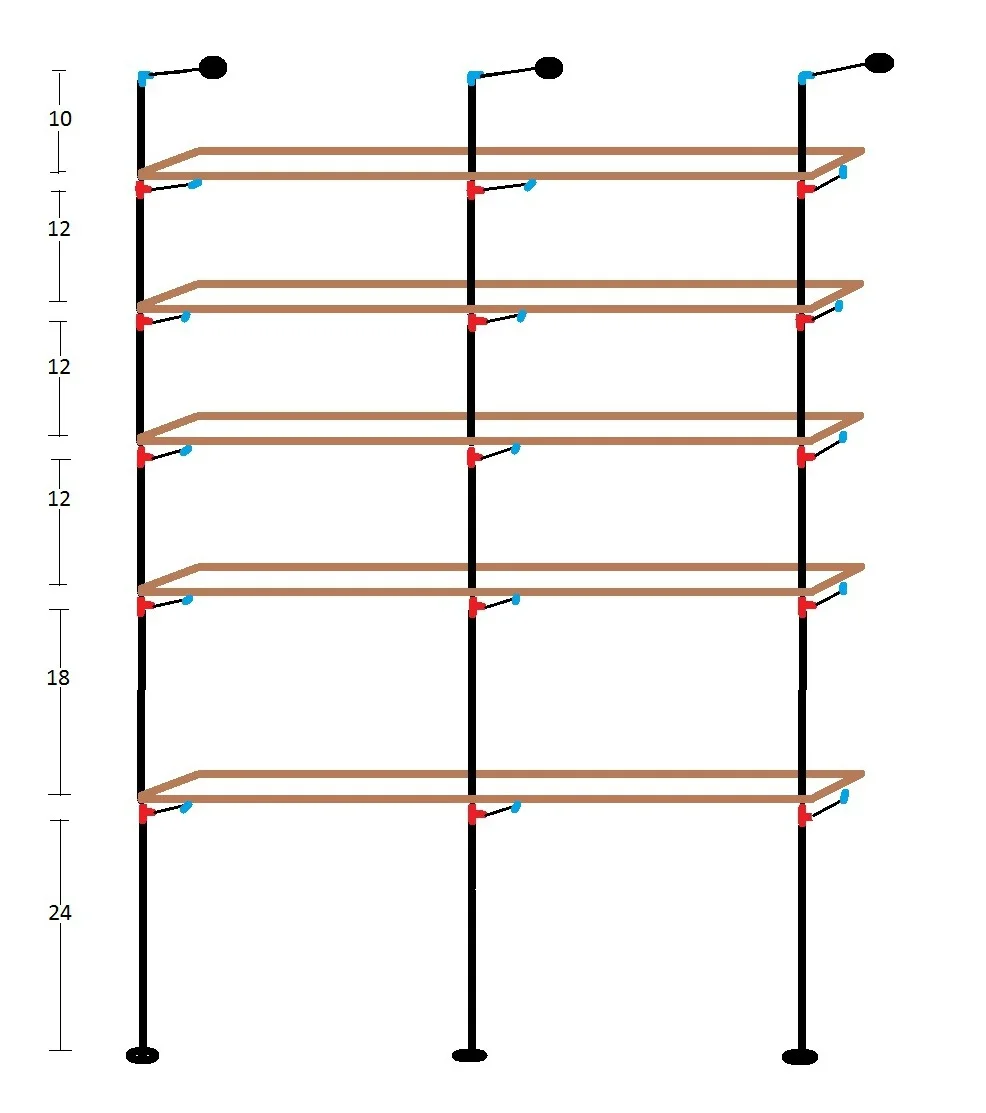
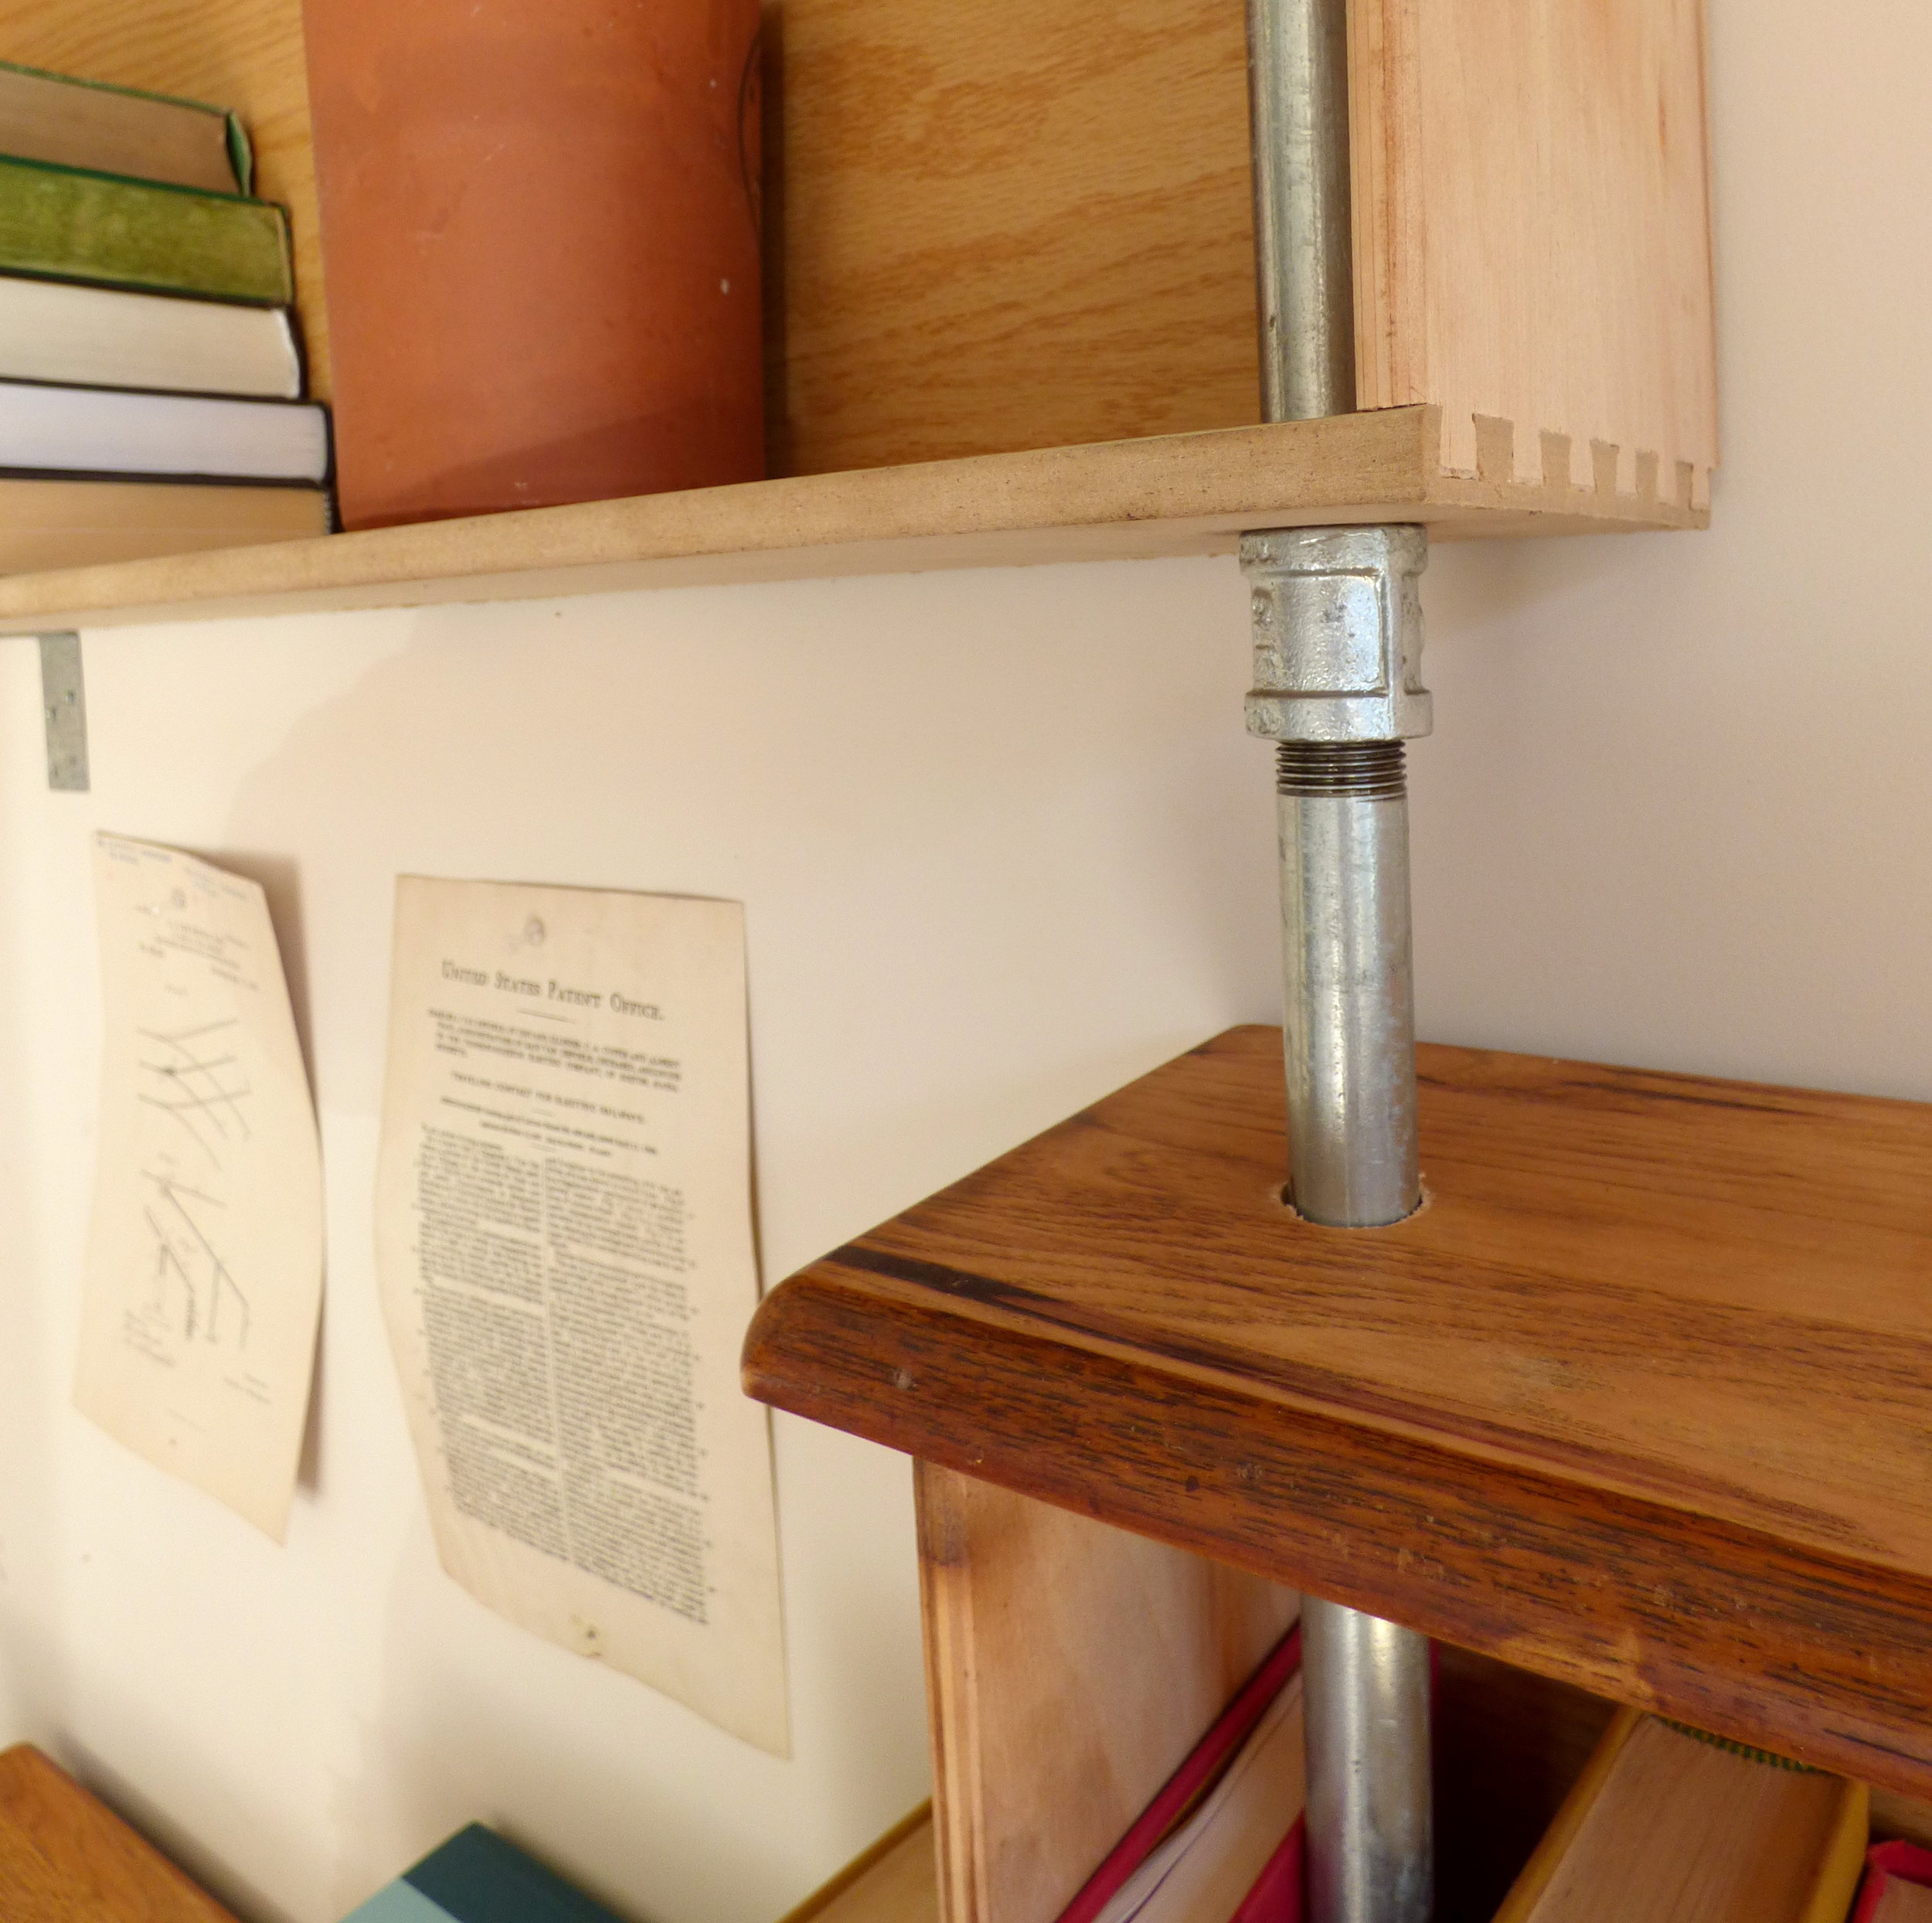
I drilled two holes through the front and back of each drawer and threaded a section of galvanized pipe through. Each dovetailed drawer hangs level and secure by resting on pipe coupling at one end and a heavy-duty wall bracket at the other.
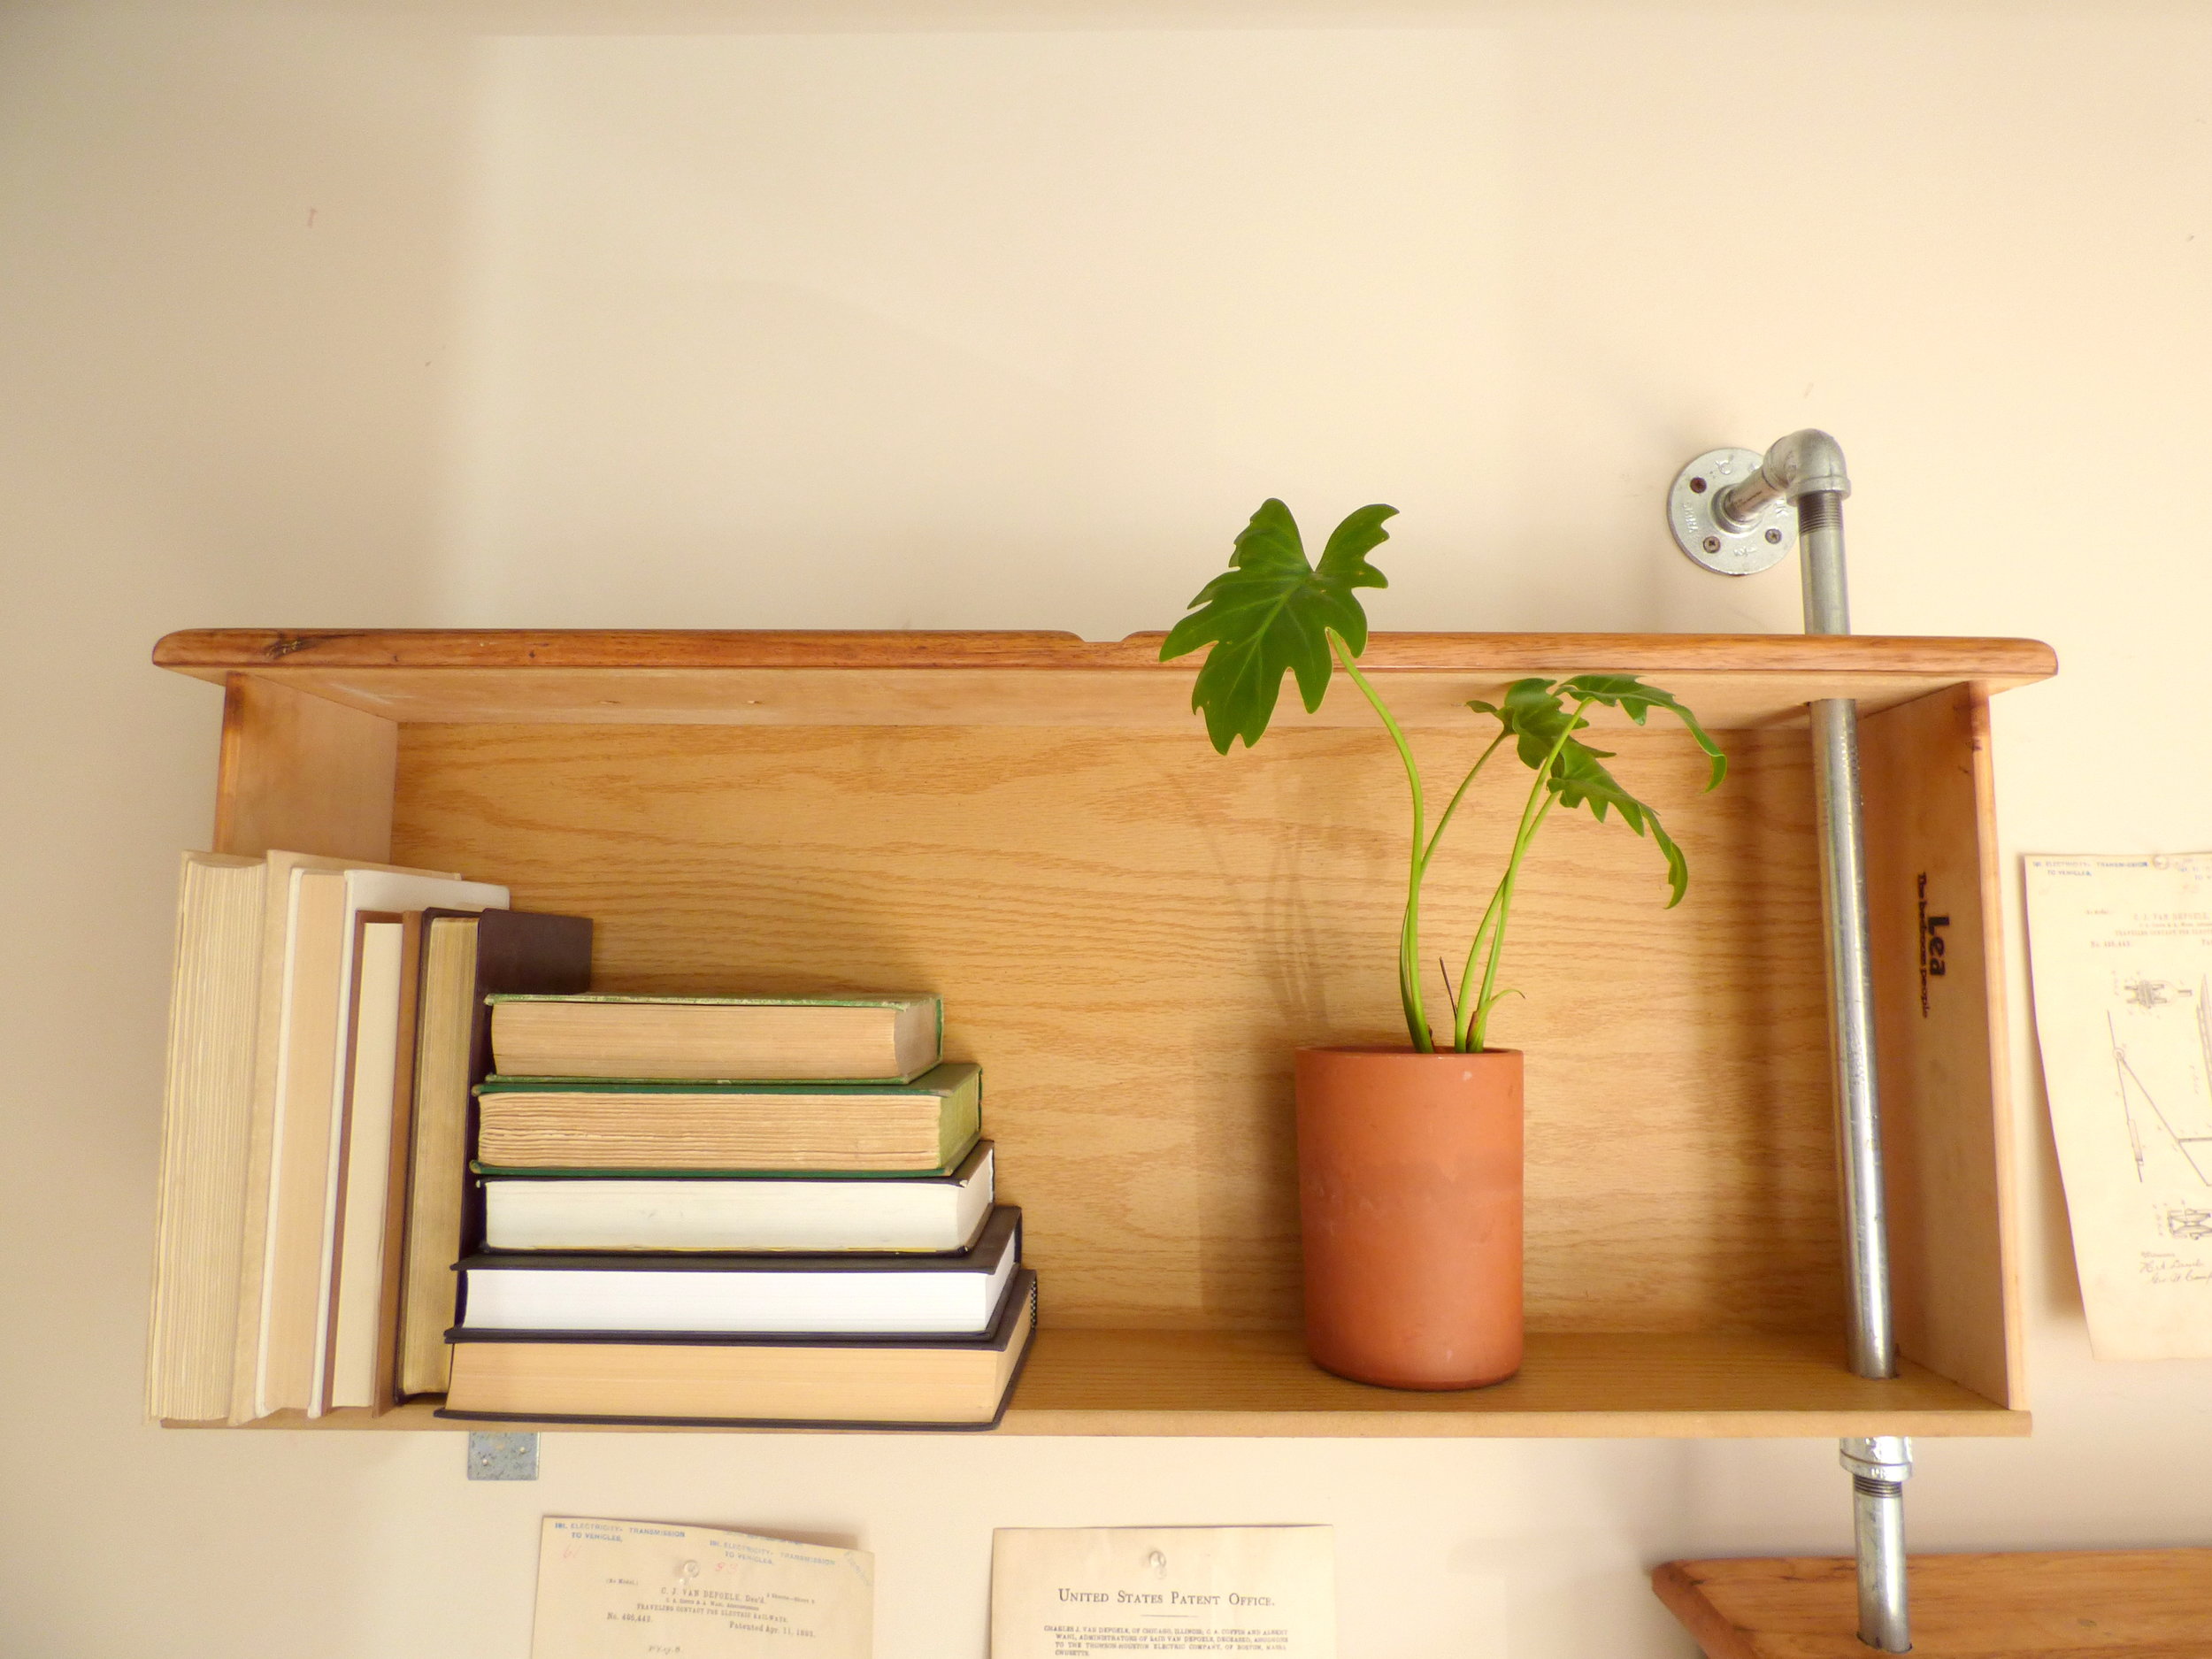
The staggered heights provide visual interest while allowing space for art or plants.

I tested the weight limits of the unit myself by literally loading up every flat surface with all of our hardcover books.


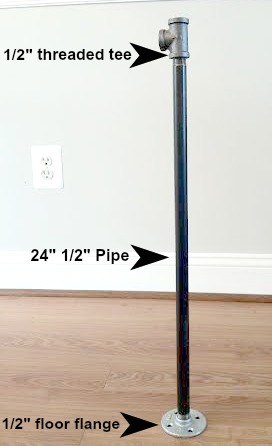
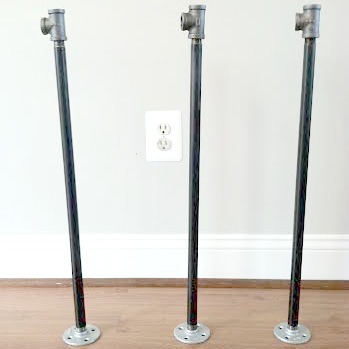
At the top, a small section of pipe also secures to the wall for more stability.
And another flange at the base can be secured to the floor too.

The entire length of pipe disassembles easily into 4 sections for transporting.


You could even swing out the middle drawer and mount the whole unit into a corner for even more versatility.
I would love to see this baby go to a cool loft or some other city space! If you are interested in this piece or a custom order like it, please email cate@stylemutthome.com.

Industrial Pipe Bookshelf
Now Available for Sale
63"W x 7.5"D x 78"H
$395
As we gather together this Christmas, Chelsea and I pray that your holiday is filled to the brim with treasured family time. We hope that the hustle and bustle will fade away and we'll all be able to truly savor the real reason for the season. Merry Christmas to you all!