Reader Design: Megan's Eclectic-Boho Retreat

It's Friday, and I'm on a train to Long Island to witness one of my best friends' marriage. It's the happiest of occasions - so let's keep the good vibes going! 

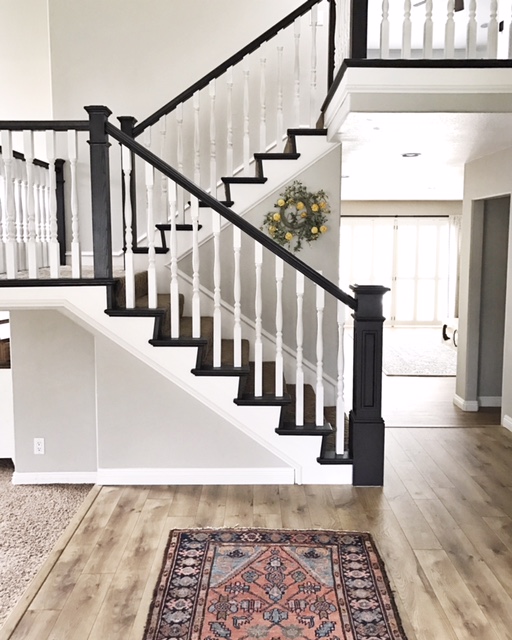
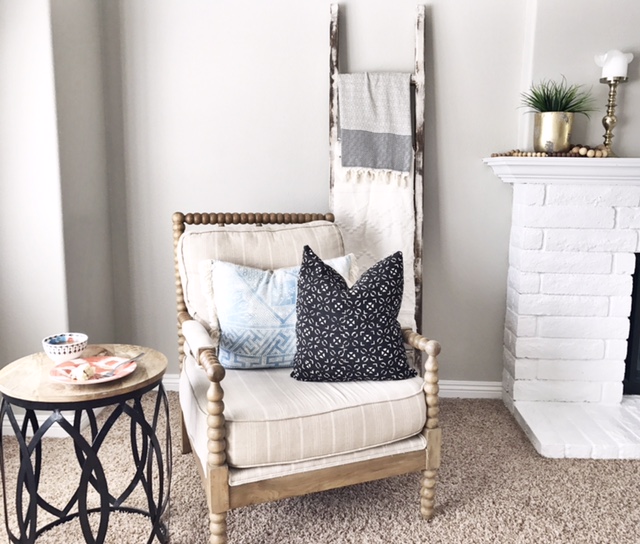
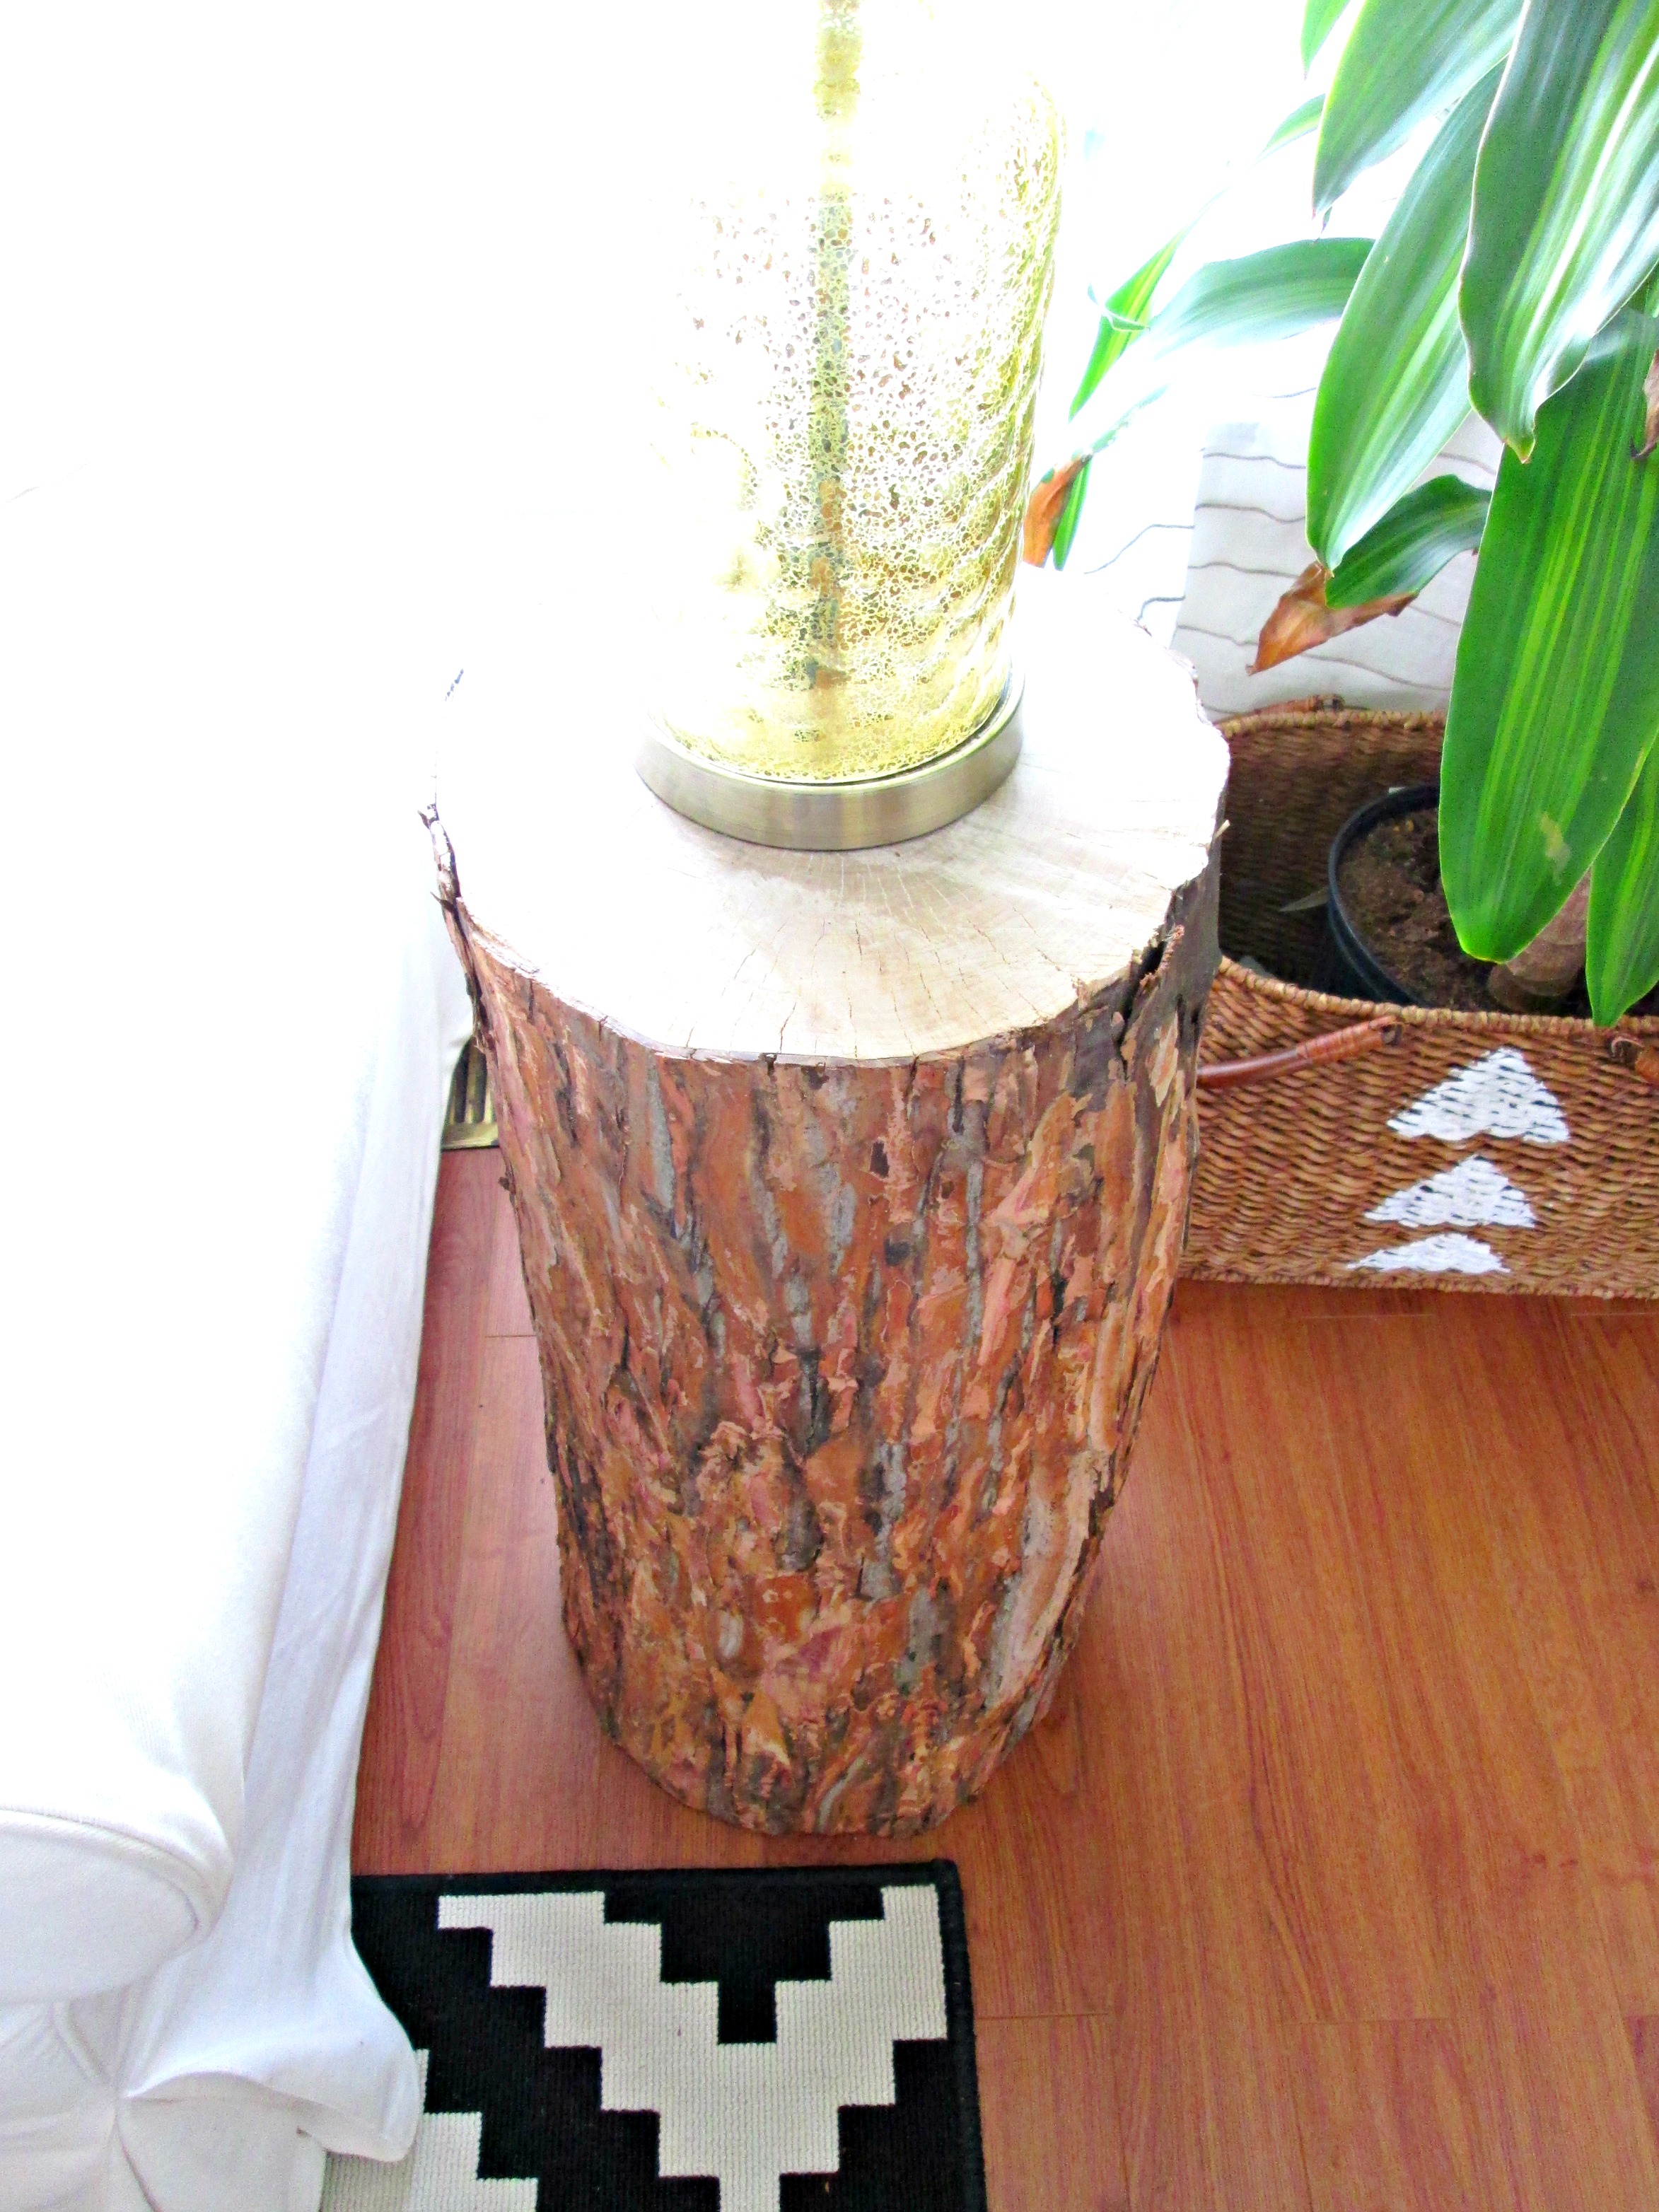
Today, we're touring Megan's California family home, a space which is clearly a sanctuary away from this busy world. Her home is full of neutral bases, like whites, grays, and natural woods, with accents of brass and added texture. 

From Megan:

I like when something in the room is slightly off but just works.

I want our home to feel styled and put together but inviting and lived in. I don’t want things too fussy. I want guests to feel comfortable to grab a drink from our fridge, put their cup down on our table without fussing for a coaster, or even put their feet up on our coffee table.

To achieve that feeling, Megan carefully curated this space, keeping in mind the needs of her family and friends and giving a nod to trends without tying herself to them. 

The big thing I wrestled with was picking large furniture pieces that I wouldn’t fall out of love with, quickly. I don’t want the urge to change out my couch, coffee table or dining room table six months from now. I wanted pieces that would grow with our family for years to come. So, we really avoided making impulse buys for the big items.


That same mindfulness with the big purchases extends to decor too. At least a handful of items, items you see on a daily basis, should have a story and bring you a sense of nostalgia and joy when you see them. For Megan, an example is the collection of photos in the dining room, which were taken by her sister-in-law Anna when she and her husband, Megan's brother, were road tripping down Route 66.

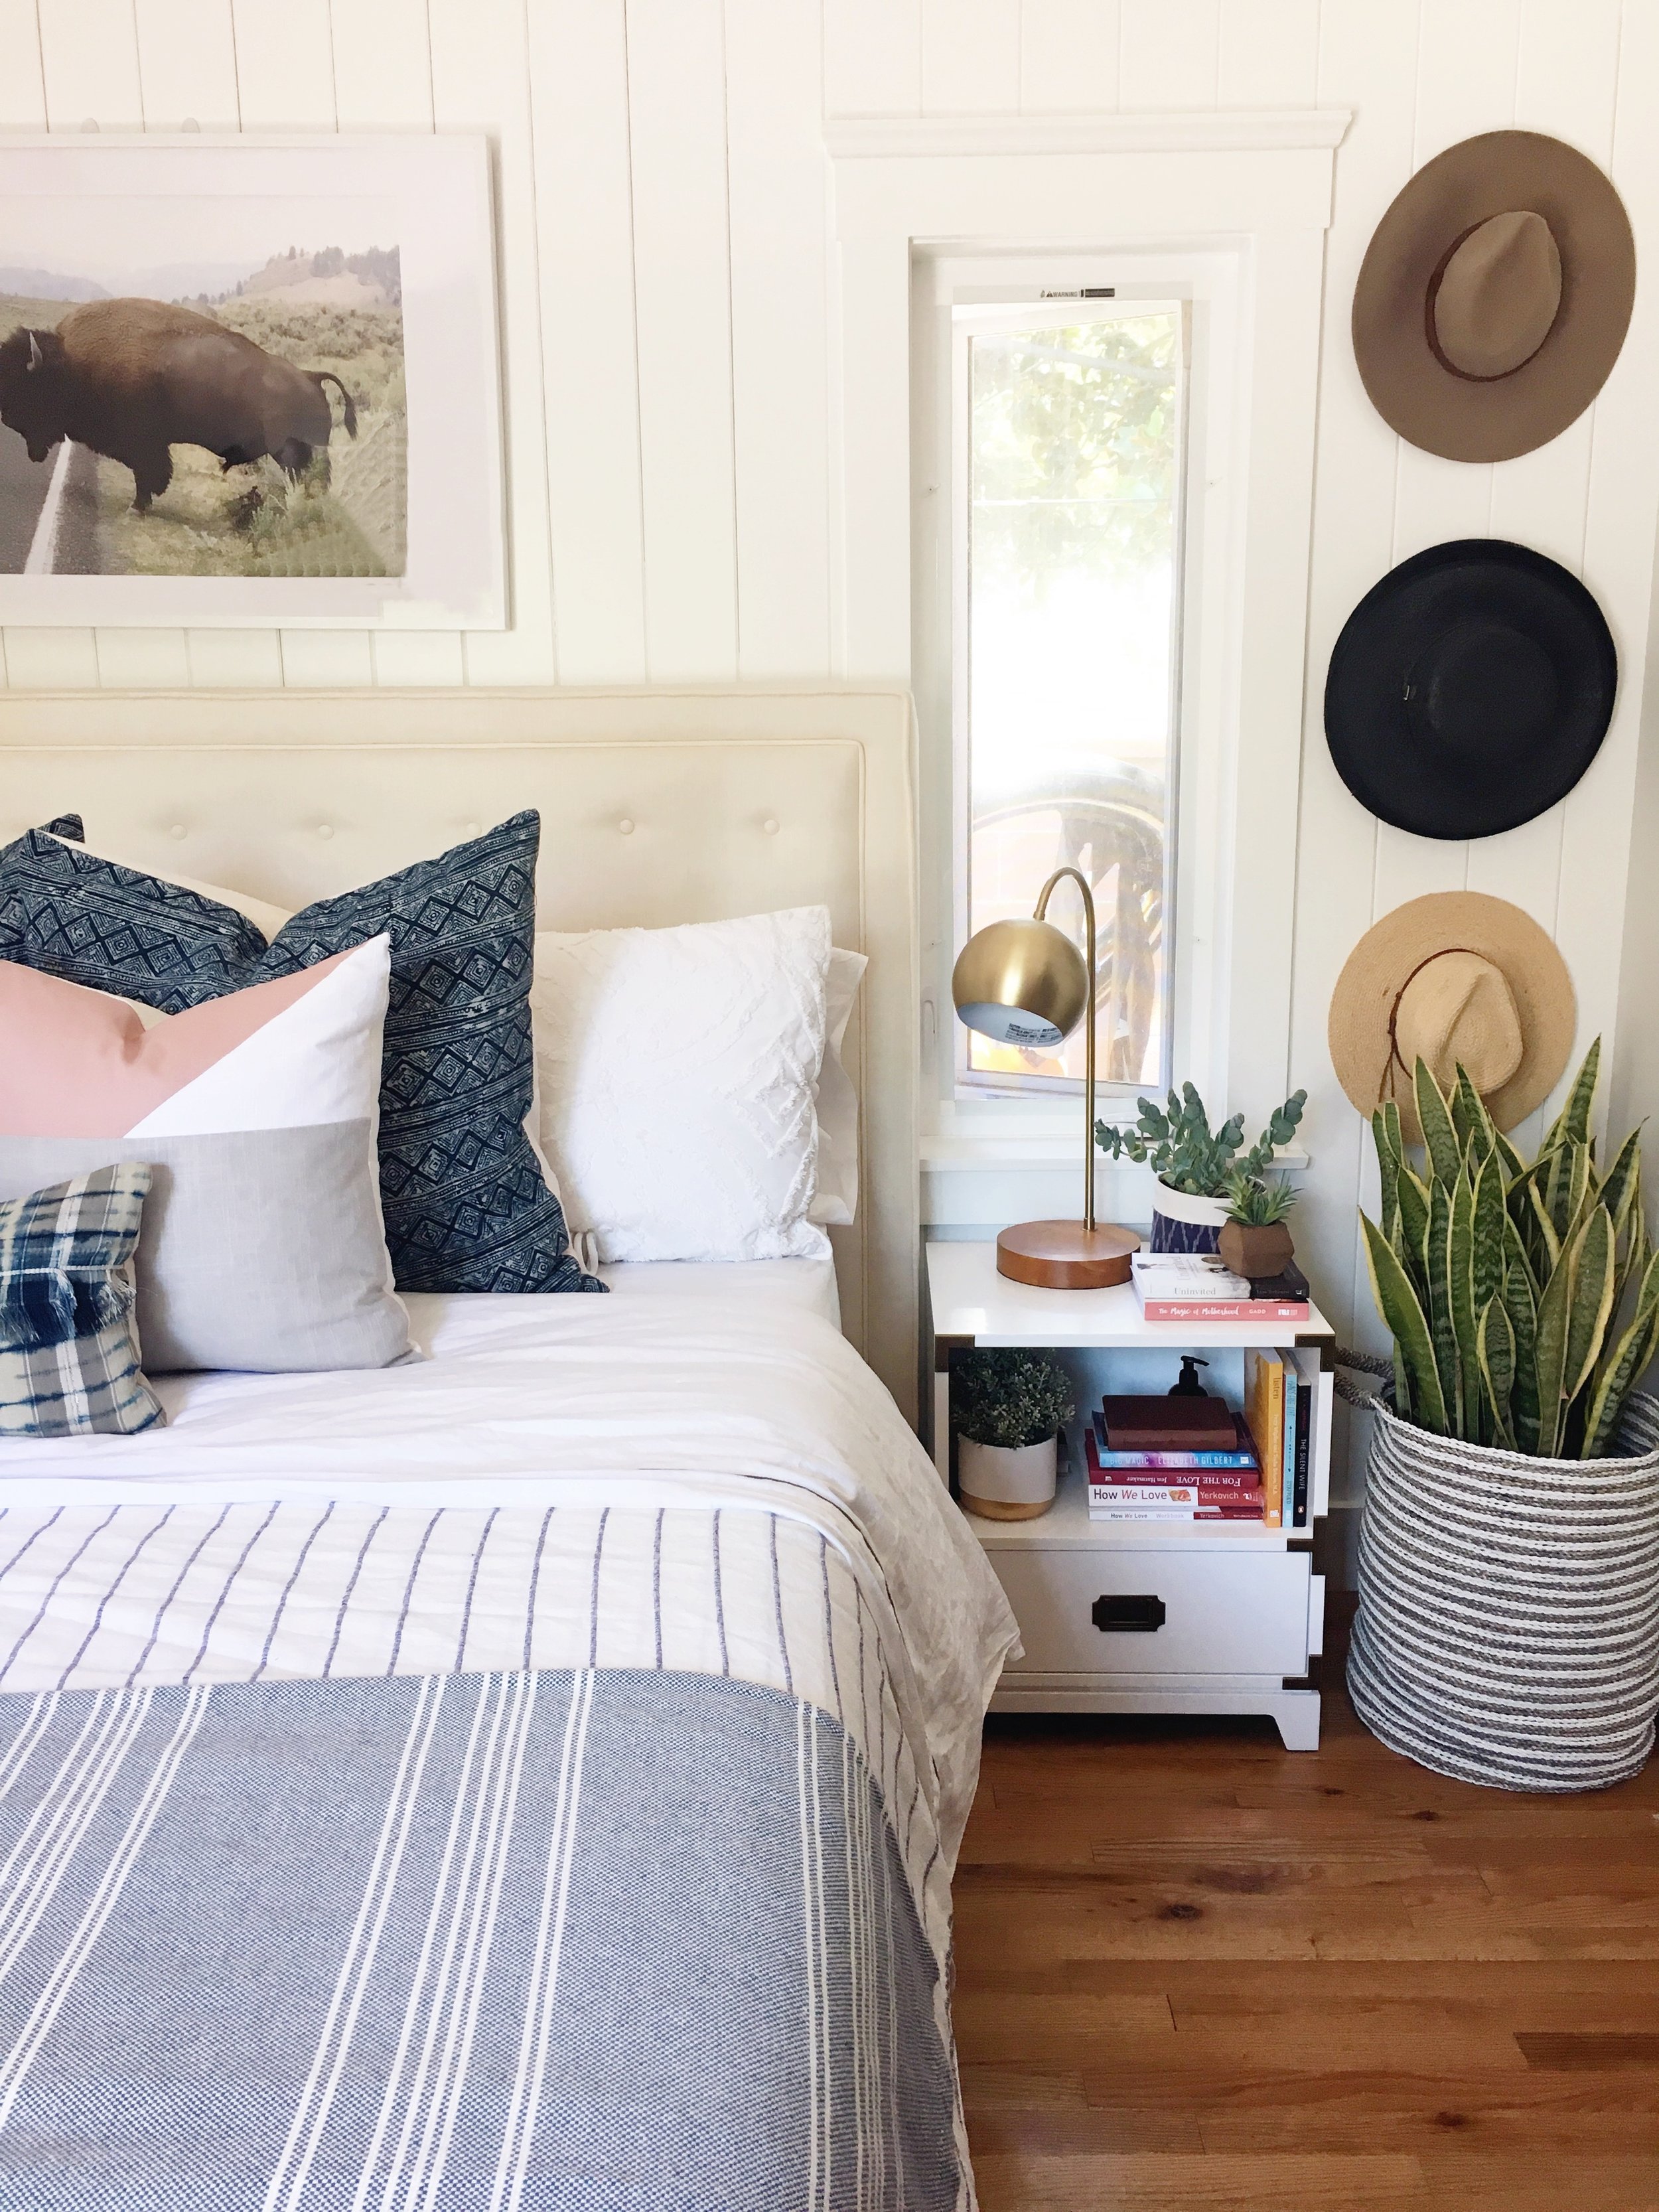
In the master, Megan has two favorites - any guesses? 

The Bison photograph above our bed (though, this piece’s final home is our son’s room) was a photograph I took on a family trip to Yellowstone.

Also, our headboard. It was a purchase we bought right after we got married and had moved to NYC. I love that headboard. I love the clean lines, the subtle tufted detail, and the neutral base. It’s a piece I haven’t tired of in nearly 9 years!

See! There the same photo (not a copy, Megan assures me they just strategically moved it around) is in her son Beckham's room. And the photo in her daughter Waverly's room is another one courtesy of Anna, featuring a carefully organized collection of buttons.

Megan, that's some awesome indoor/outdoor living you have there. What a dream. Thank you for showing us around!

Follow Megan along on Instagram @everydavismoments for more! 

See you next week,

Reader Design: Ashley's Adorable Abode

Friends. It's Friday!! Can I be honest? This week dragged. It was a serious struggle, and all I'm craving is a night in without my computer or phone. I need to unplug - and yes, I realize the irony of that statement coming from someone who just returned from a week-long California vacation. 

So, we're going back to California and checking out Ashley's gorgeous home - which, given an exciting turn of events, is soon to be on the market after Ashley and her family found a perfect plot of land on which to build! 

Her home is a gorgeous blend of rustic, modern, traditional, and eclectic. 

I think my style is unique because I am so eclectic. I love mixing blacks and blues together. I throw florals in with about every mix, and while I am very eclectic, I think everything flows well and it doesn’t feel harsh. I am constantly inspired by different aesthetics, places I travel to, and by people I admire.

Ashley's design philosophy also harkens back to the humble beginnings of StyleMutt Home, when Chelsea put her all into Craigslist hunting and furniture refinishing (don't worry, that's still a critical component of SMH!). 

I’m a bargain shopper at my core, a lover of garage sales and Craigslist, and am always searching for that hidden treasure. I have a passion for “recreating” pieces. I love hunting for the pieces that people can’t see beyond what is just sitting in from them... but I see the potential.

And seeing that potential has allowed Ashley to create a home that is carefully crafted, but so comfortable. Can you all just imagine a quiet Friday night in here, cuddled on the couch? Raise your hands. If you can't see it, mine is touching the sky. 

The kitchen was largely renovated, but Ashley strategically decided to leave one thing as-is: the butcher block island. For someone who doesn't tend to follow trends, Ashely saw this as a way to incorporate trends on a whim. The island isn't always green; Ashley treats it as an accent piece and paints it all the time!  

10.jpg
2.jpg

There is one thing trends are really good for, though, and that's exposing us (or rather, inundating us, as it may feels sometimes) with new ideas. Trends make it easy to identify what we like and what we don't like. Of course, the flip side of the coin is that once we find something we love that way, it may ultimately fall out of favor. 

For Ashley, the trend she fell in love with was the gallery wall concept. We've seen a lot but Ashley's is particularly because of what it centers around: her family. 

I love my gallery walls. Especially the one of the family. It brings me joy seeing the kids faces up in our family room. It was such a pain to hang, since it was the first one I ever did, and I made a lot of mistakes. But those suckers are in and not moving; in fact, I used earthquake glue to keep them in place!

Best of luck to the new owners on getting those earthquake glue marks off the walls!! I jest. But seriously, Ashley, you will most definitely have to call us in the future to check out your new home. Congratulations!

Follow Ashley along on Instagram @arrowsandbow for more!
And be sure to follow along with Cate, Chelsea, and I through our design busy season - we're just getting started!

DIY Tree Stump Tables - ||Full Tutorial||

You guys, Cate and I have been working on a little side project that we are so close to finally being able to reveal! It's our first full design job and we lucked out with the sweetest young client who just moved into an apartment in Washington D.C. Aside from her bed, a sofa and a chair, we are starting from scratch. We are at the point now where most of her large pieces are done and we're moving into the fun decorating stage! 

Our client is an eclectic gal who appreciates various design styles, (so up our alley), and when she mentioned a desire to include some rustic elements in her decor, our minds jumped right to tree stump end tables, (yes, Cate and I have this weird thing going on where we often think of the same thing at the same time. It's both cooky and awesome).

I took a few shots of one of the finished stump tables in my home to show you since we're banking suspense for a full reveal post of this secret apartment. ;)

This seemed like a quick and easy project, but once we got rolling there were a few more logistics to consider. Hopefully this information is helpful to anyone out there who wants to try this so it really is a quick and easy project for them!

The first consideration was which type of wood to use. Oak and Maple are both popular trees in our area, but with Oak being so heavy, we decided Maple would be a better option, (we're strong girls, but our client is in a second floor apartment with no elevator, so....). When we found a tree cutting service taking down some Maples in my neighborhood we hit the jackpot! They were willing to give us what wood we needed for free and even offered to cut the specific size we needed, which was 24", (although for some reason they cut us two 48" sizes, so in the end we had to cut them ourselves anyways).

The next task was bringing the stumps inside to dry out, (by inside, I mean a garage or some covered area that's not your house). This is important as it will make the next stage, (stripping the bark), a little easier, and also help get rid of any critters under the bark.

Here's what one of the stumps looked like before leveling off the surface and stripping the bark. We used a miter saw to shave off the top surface to get it more level, (thanks for taking that on, Matt).

After a week or so of drying out the sumps, it was time to remove the bark! Cool as the bark looked on the stump, we wanted to warm the stumps up a bit and remove the cool grey toned bark. Also, not to deter anyone, but there are things that live in bark, so removing it will ensure a bug-free stump table. ;) 

To remove the bark I used a spackle knife and hammer. I'd pry the spackle knife under the bark a bit, and then tap the hammer on the spackle knife handle to pull the bark up. Then I could just lift the bark off easy peasy.

Here is the difference between a bark and de-barked finish. Love the multi-toned warmer colors of the wood underneath the cool grey bark!

After all the bark is stripped and the top surface is sanded smooth, (I used a rough, 100 grit sandpaper followed by a fine 220 grit paper to get the top surface really smooth to the touch), it's time to seal! I sealed the entire stumps, top surface as well as up and down the sides, with Minwax Polyurethane Sealer.

And bodda-bing! You've got rustic end tables! 

We are so excited to share these tables in the context of the apartment we're working on! Soon, baby, soon. If you happen to try this project yourself, please promise you'll share with the rest of us! We love seeing and showing off your creativity and handiwork , (just post photos of your projects to our Facebook page). 

And don't feel confined to end tables - another idea for tree stumps is using them as stools - I used a chunk that we needed to cut off from the original 48" stumps to use as a little stool under our industrial shelves. It's the perfect height!

pipe shelves after1.jpg

Thank you so much for stopping by!