Hello, hello! 'Tis the season for Christmas decorated home tours, and while it's been really fun to see how other friends have decorated their homes for the holiday season, I wasn't planning to share my own home until yesterday afternoon! We've enjoyed getting our Christmas decorations out as a family and setting up our tree and lights, but it's kind of been something I just wanted to enjoy with my family this year. It's easy to feel pulled in a lot of different directions during the holidays, and with our plates full of other really good things, this was one that I was planning to shed. I confided my conflict to Cate who wisely advised that if it doesn't bring me joy, then don't worry about it. And at that, I decided to whip up this post!
I don't share a lot about life behind the scenes of StyleMutt Home, (not as much, anyways). But it's moving forward at Polar Express speeds, (just like anyone's). The way I decorate our home is every bit a reflection of that passage of time, our growing children, myself. Our home has always been an extension of the character of our family and my personal development as a creative individual. The reason I enjoy documenting our home is the same reason I journal - to be able to look back and see growth and movement. So, despite the simplicity, it warms my heart to share our Christmas 2017 home with you, friends!

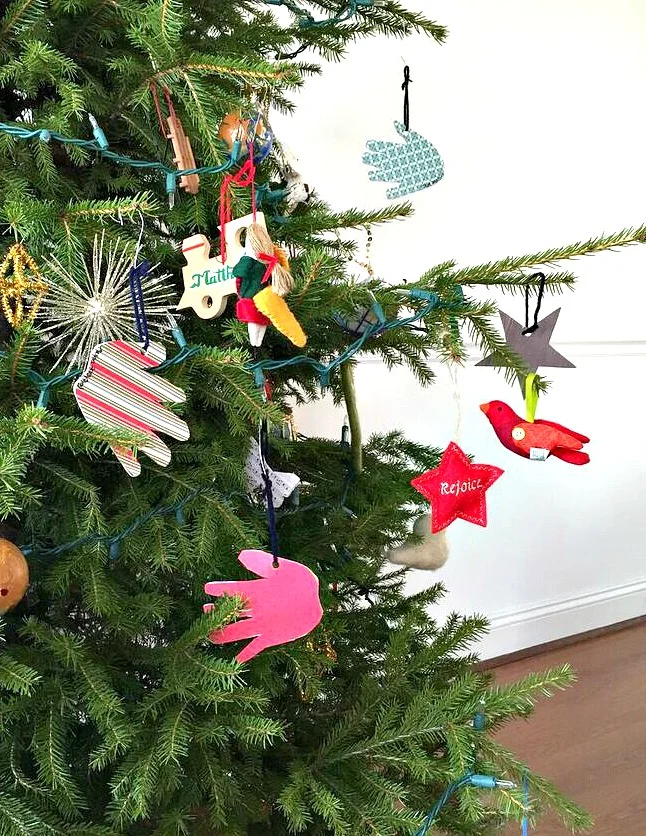
Notice the angel on the far left, with her nose in the air and arms crossed. No candle, baked good, seashell or wreath like the others....she's my favorite. Hah!!


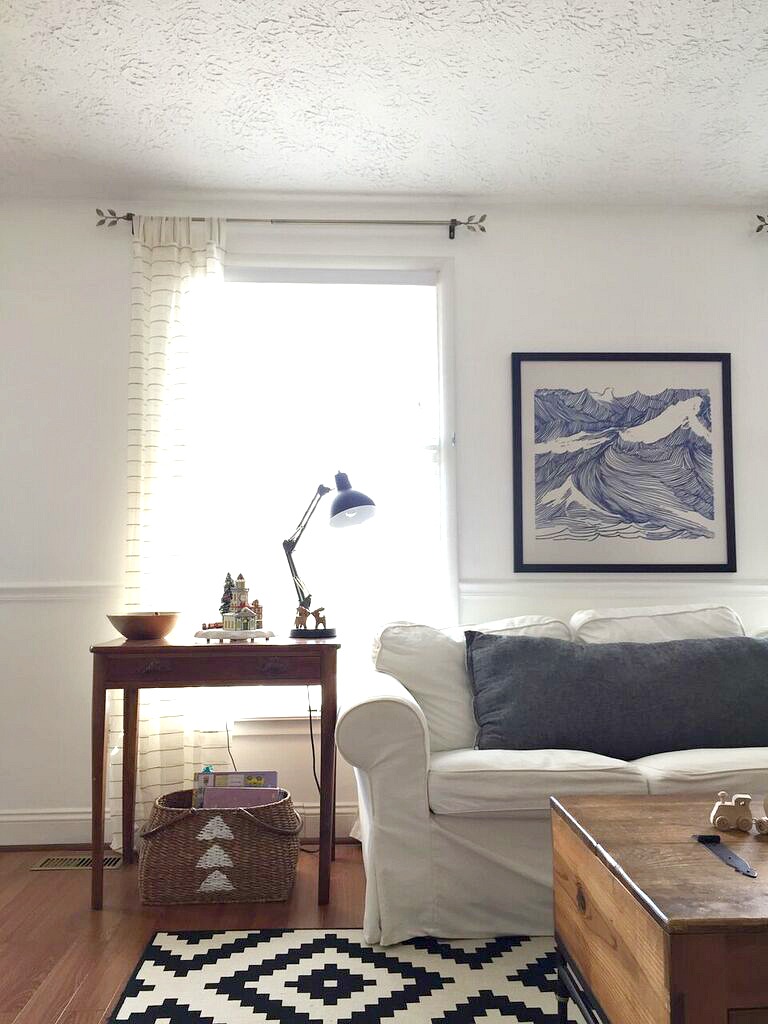
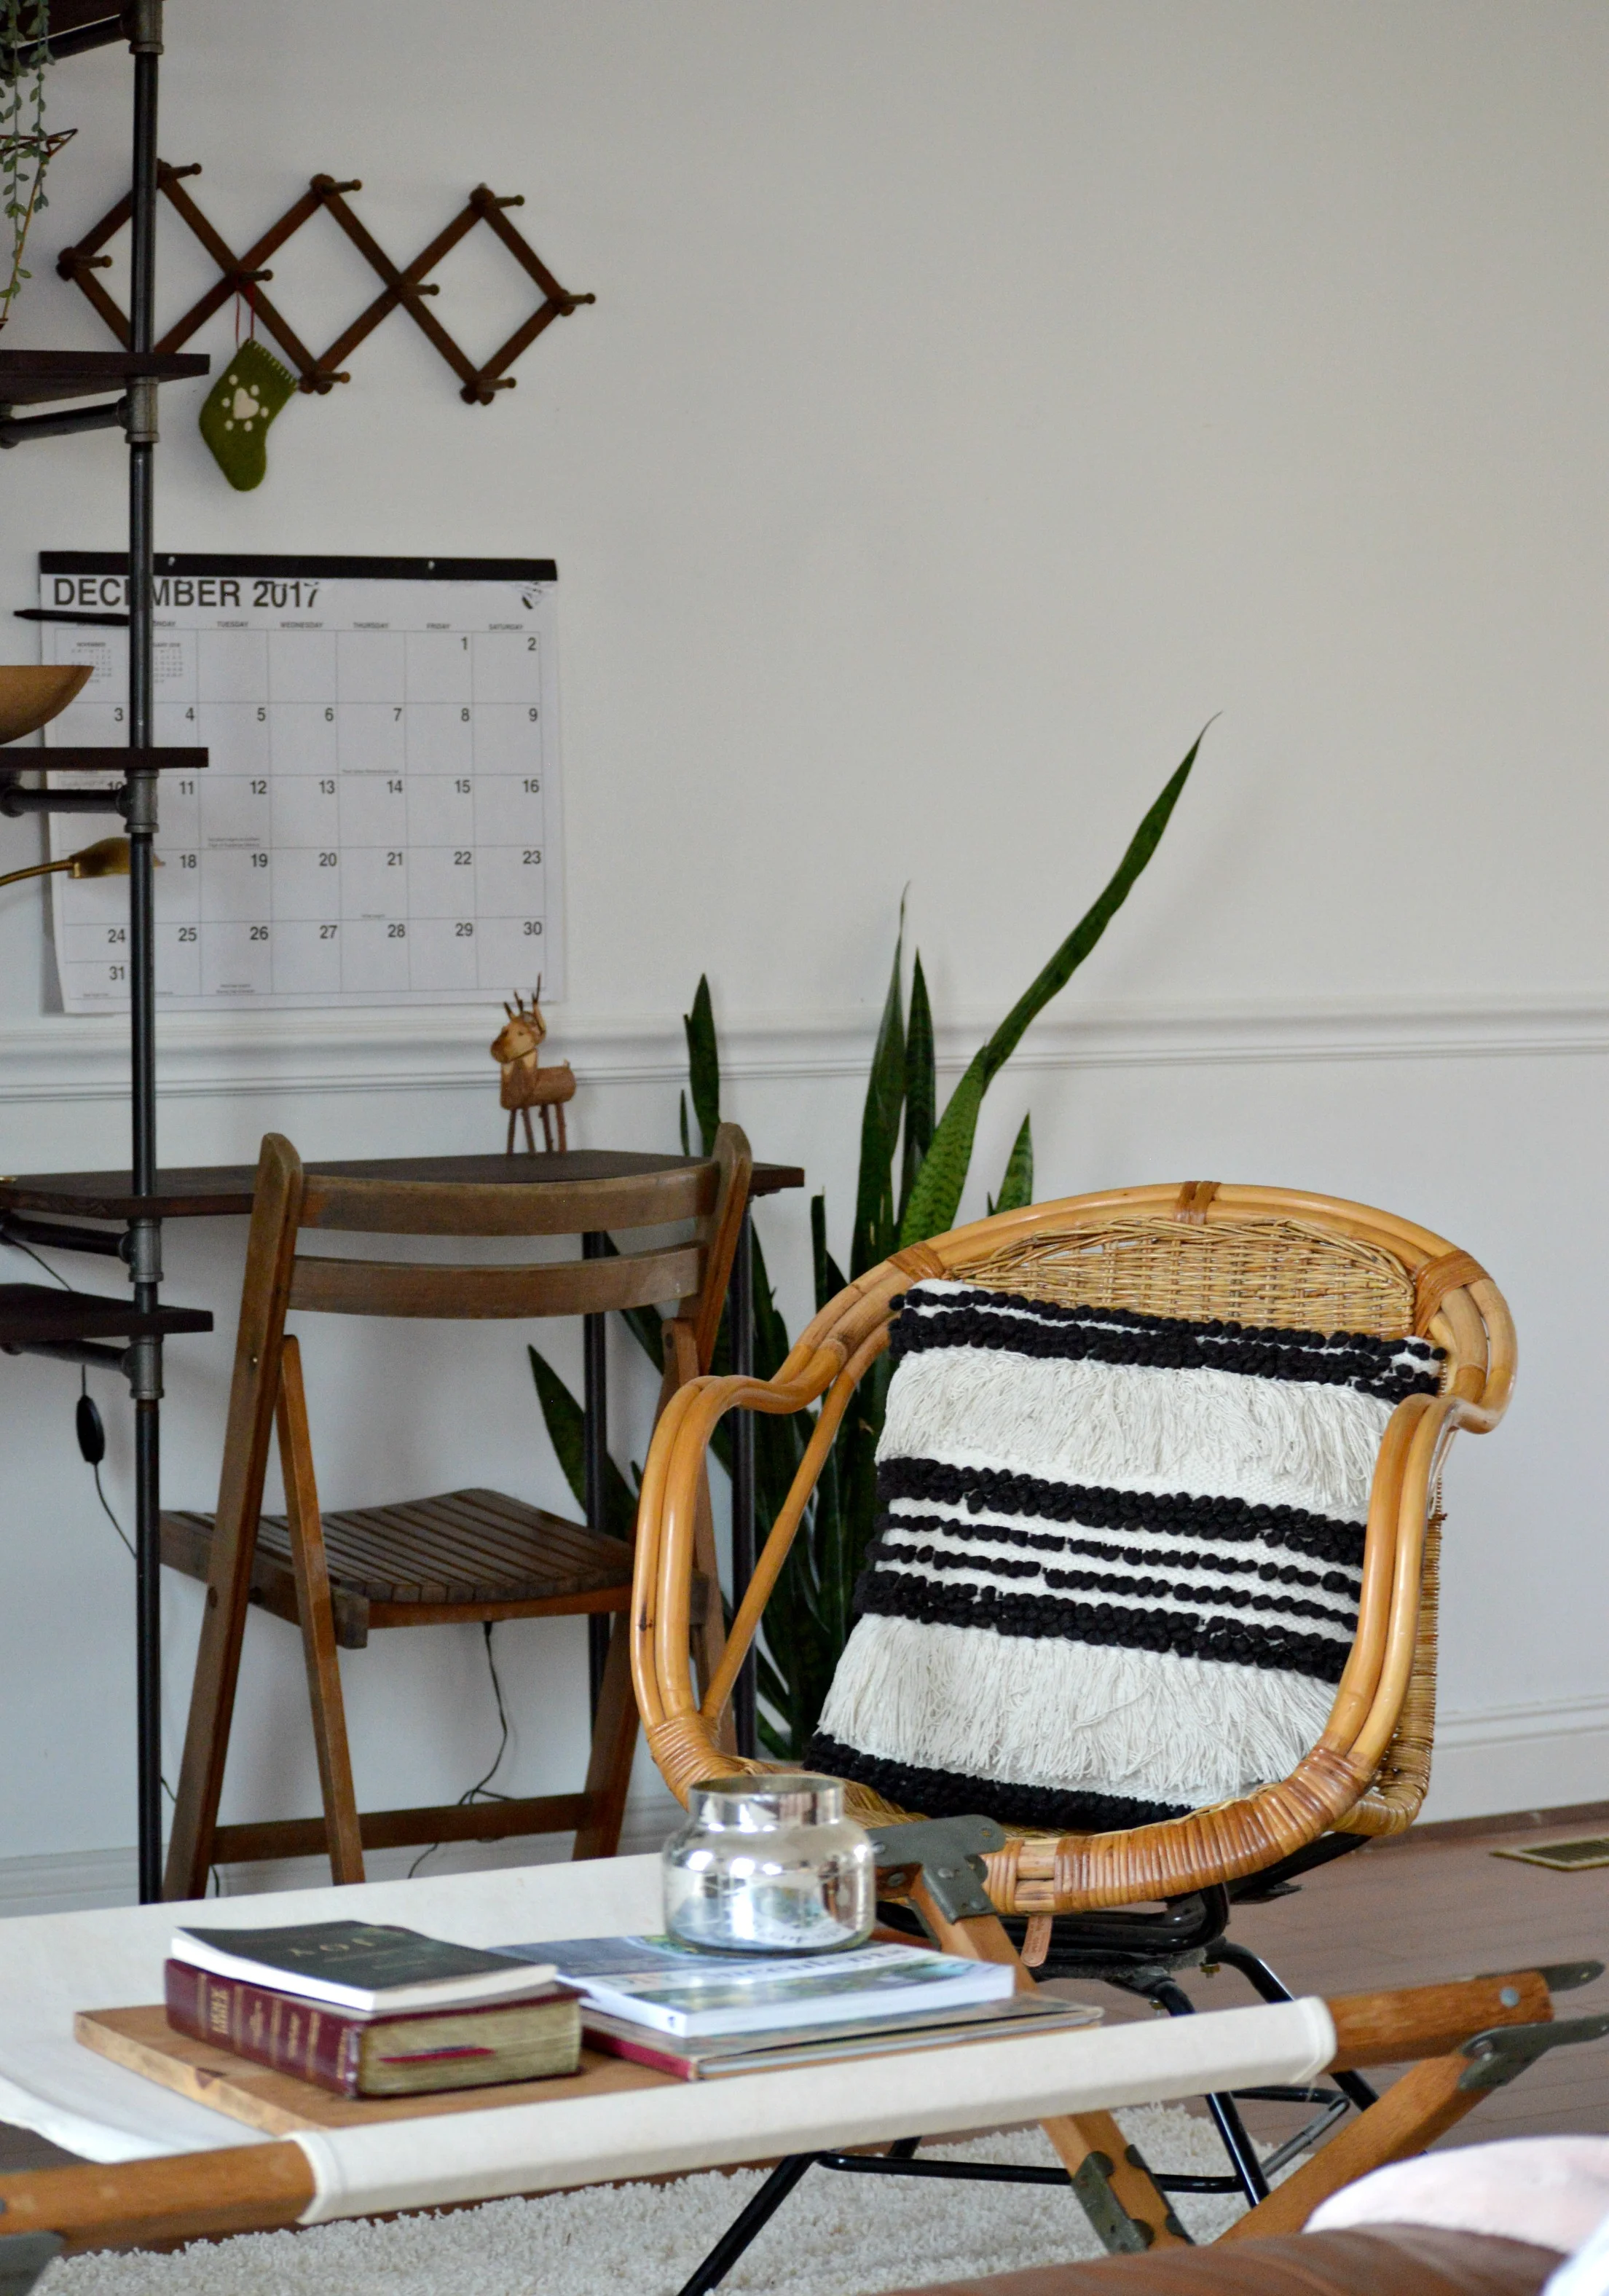
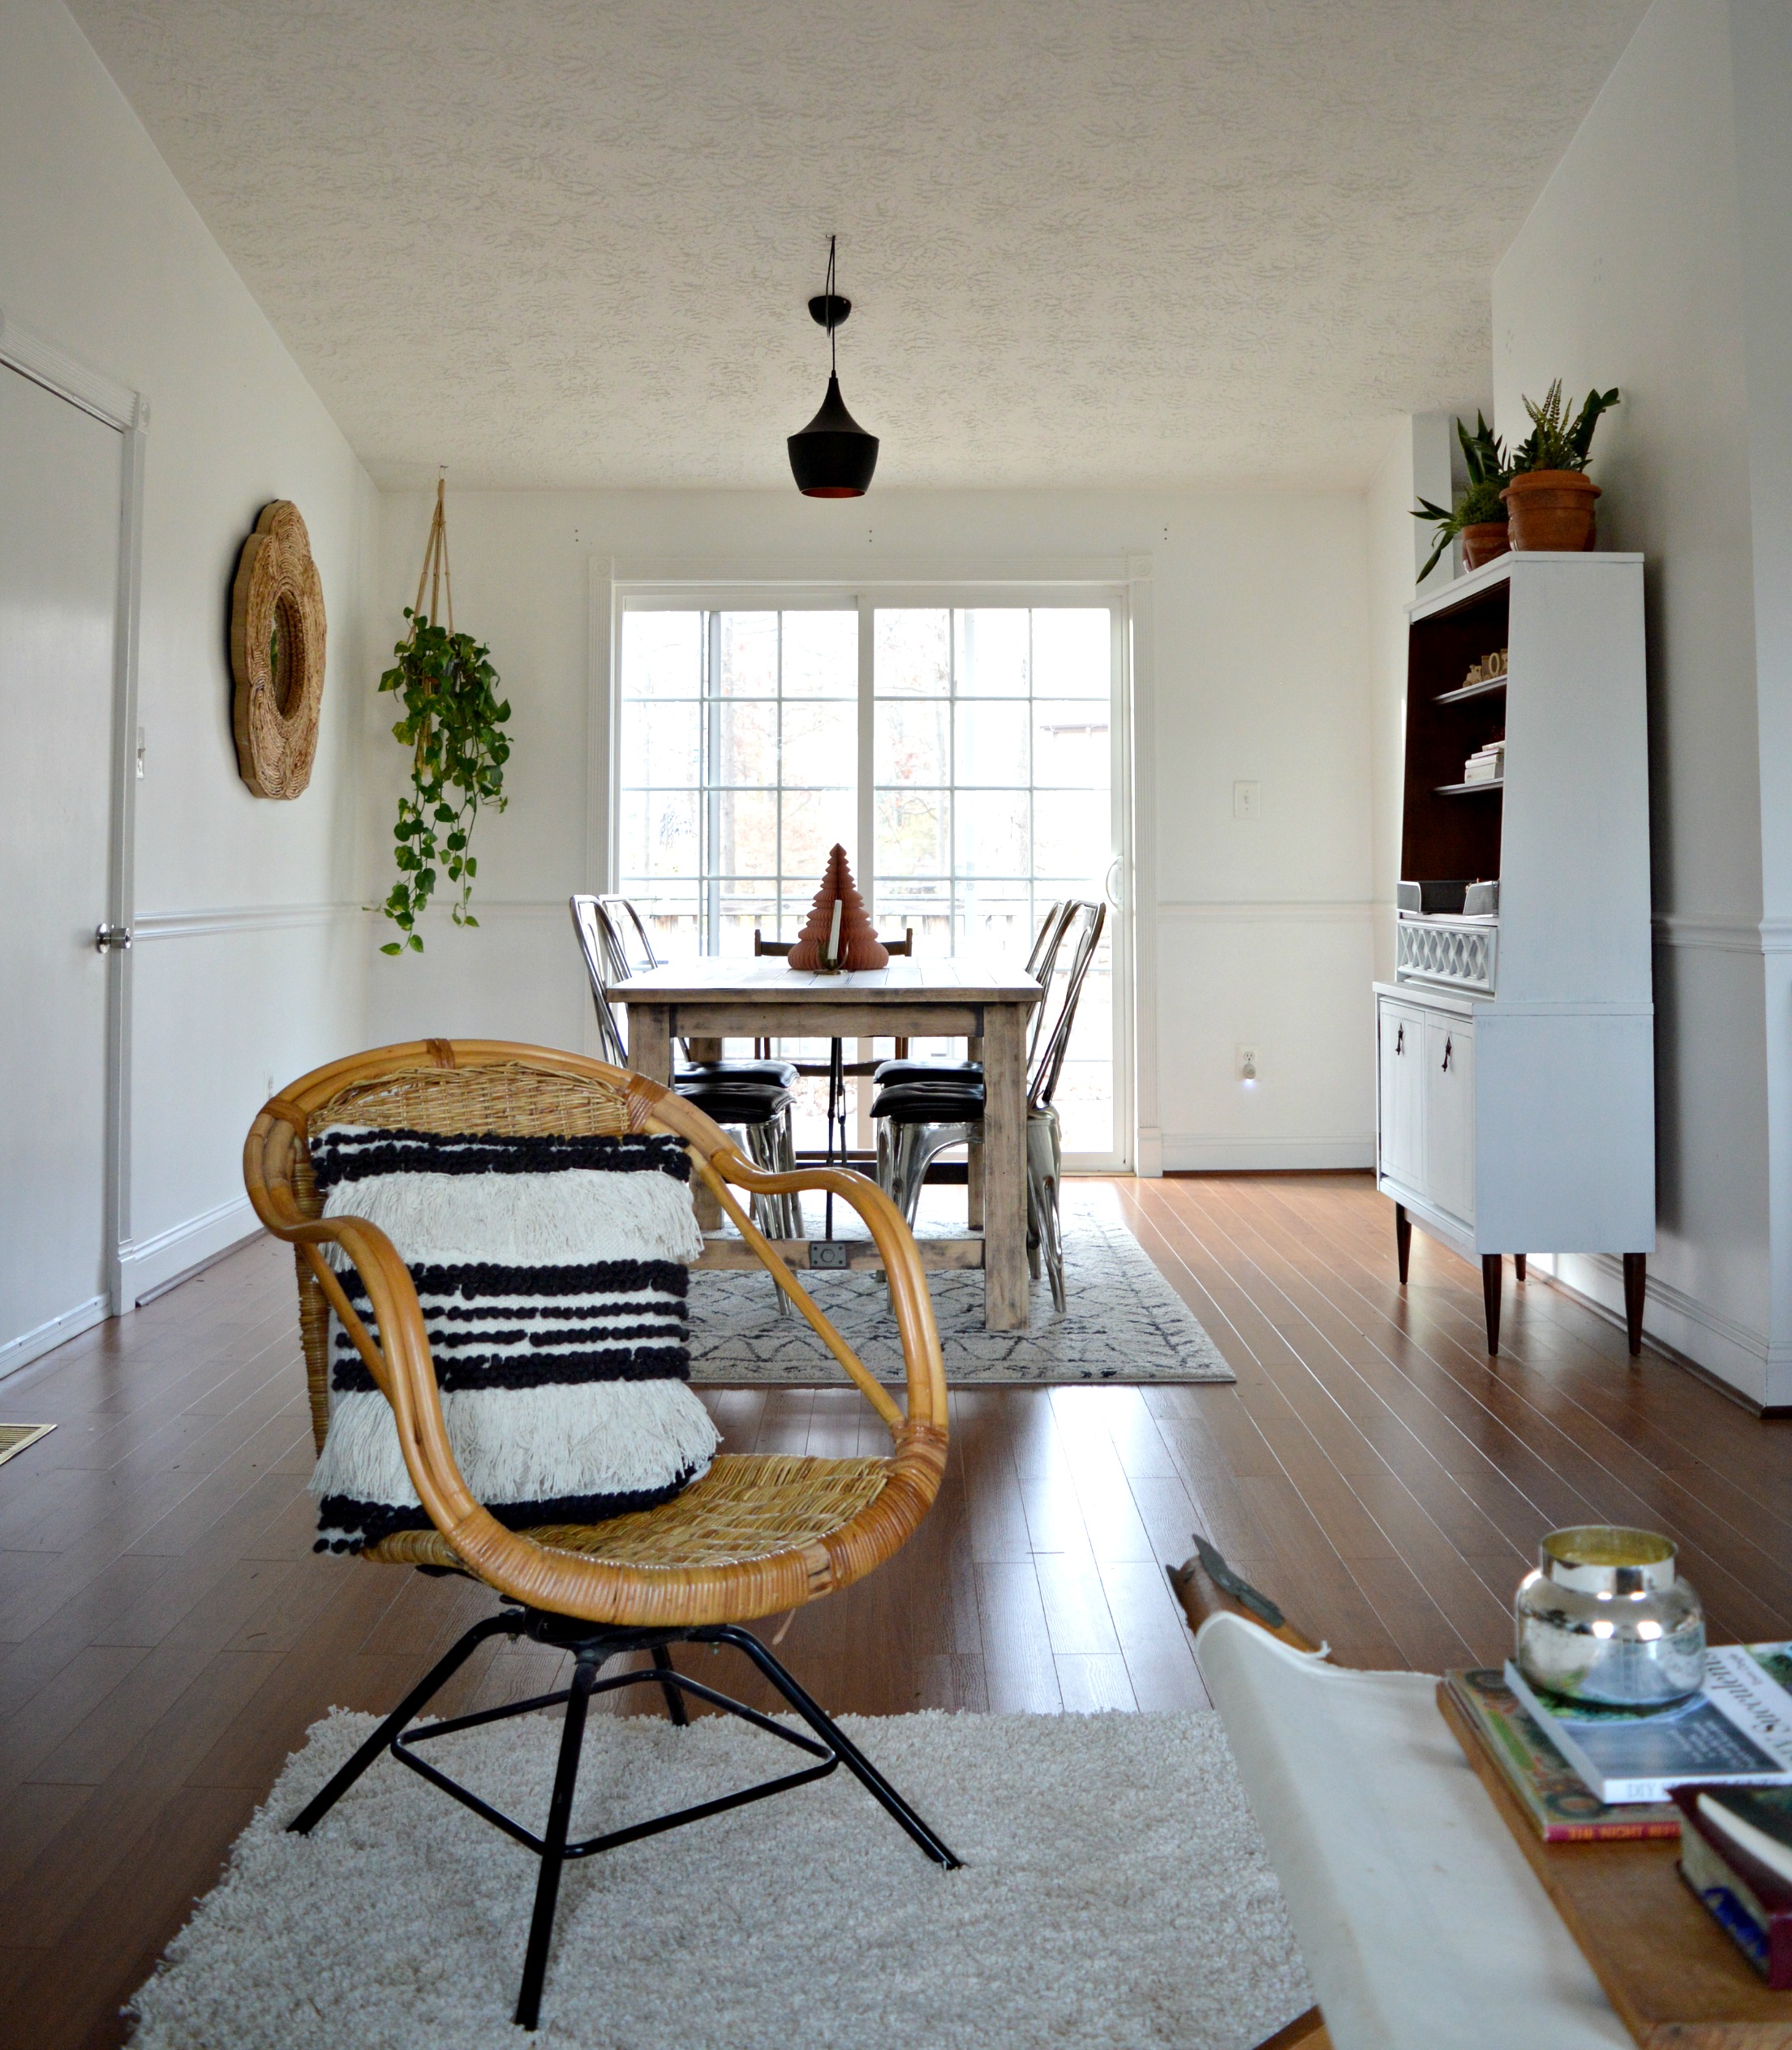
Oh my goodness, I hope I can still remember in years to come how funny it was trying to figure out a layout this year! We are right smack in the middle of a sofa debacle that is a story for another day, but we figured things out by using only the chaise part of a massive sofa / chaise combo.


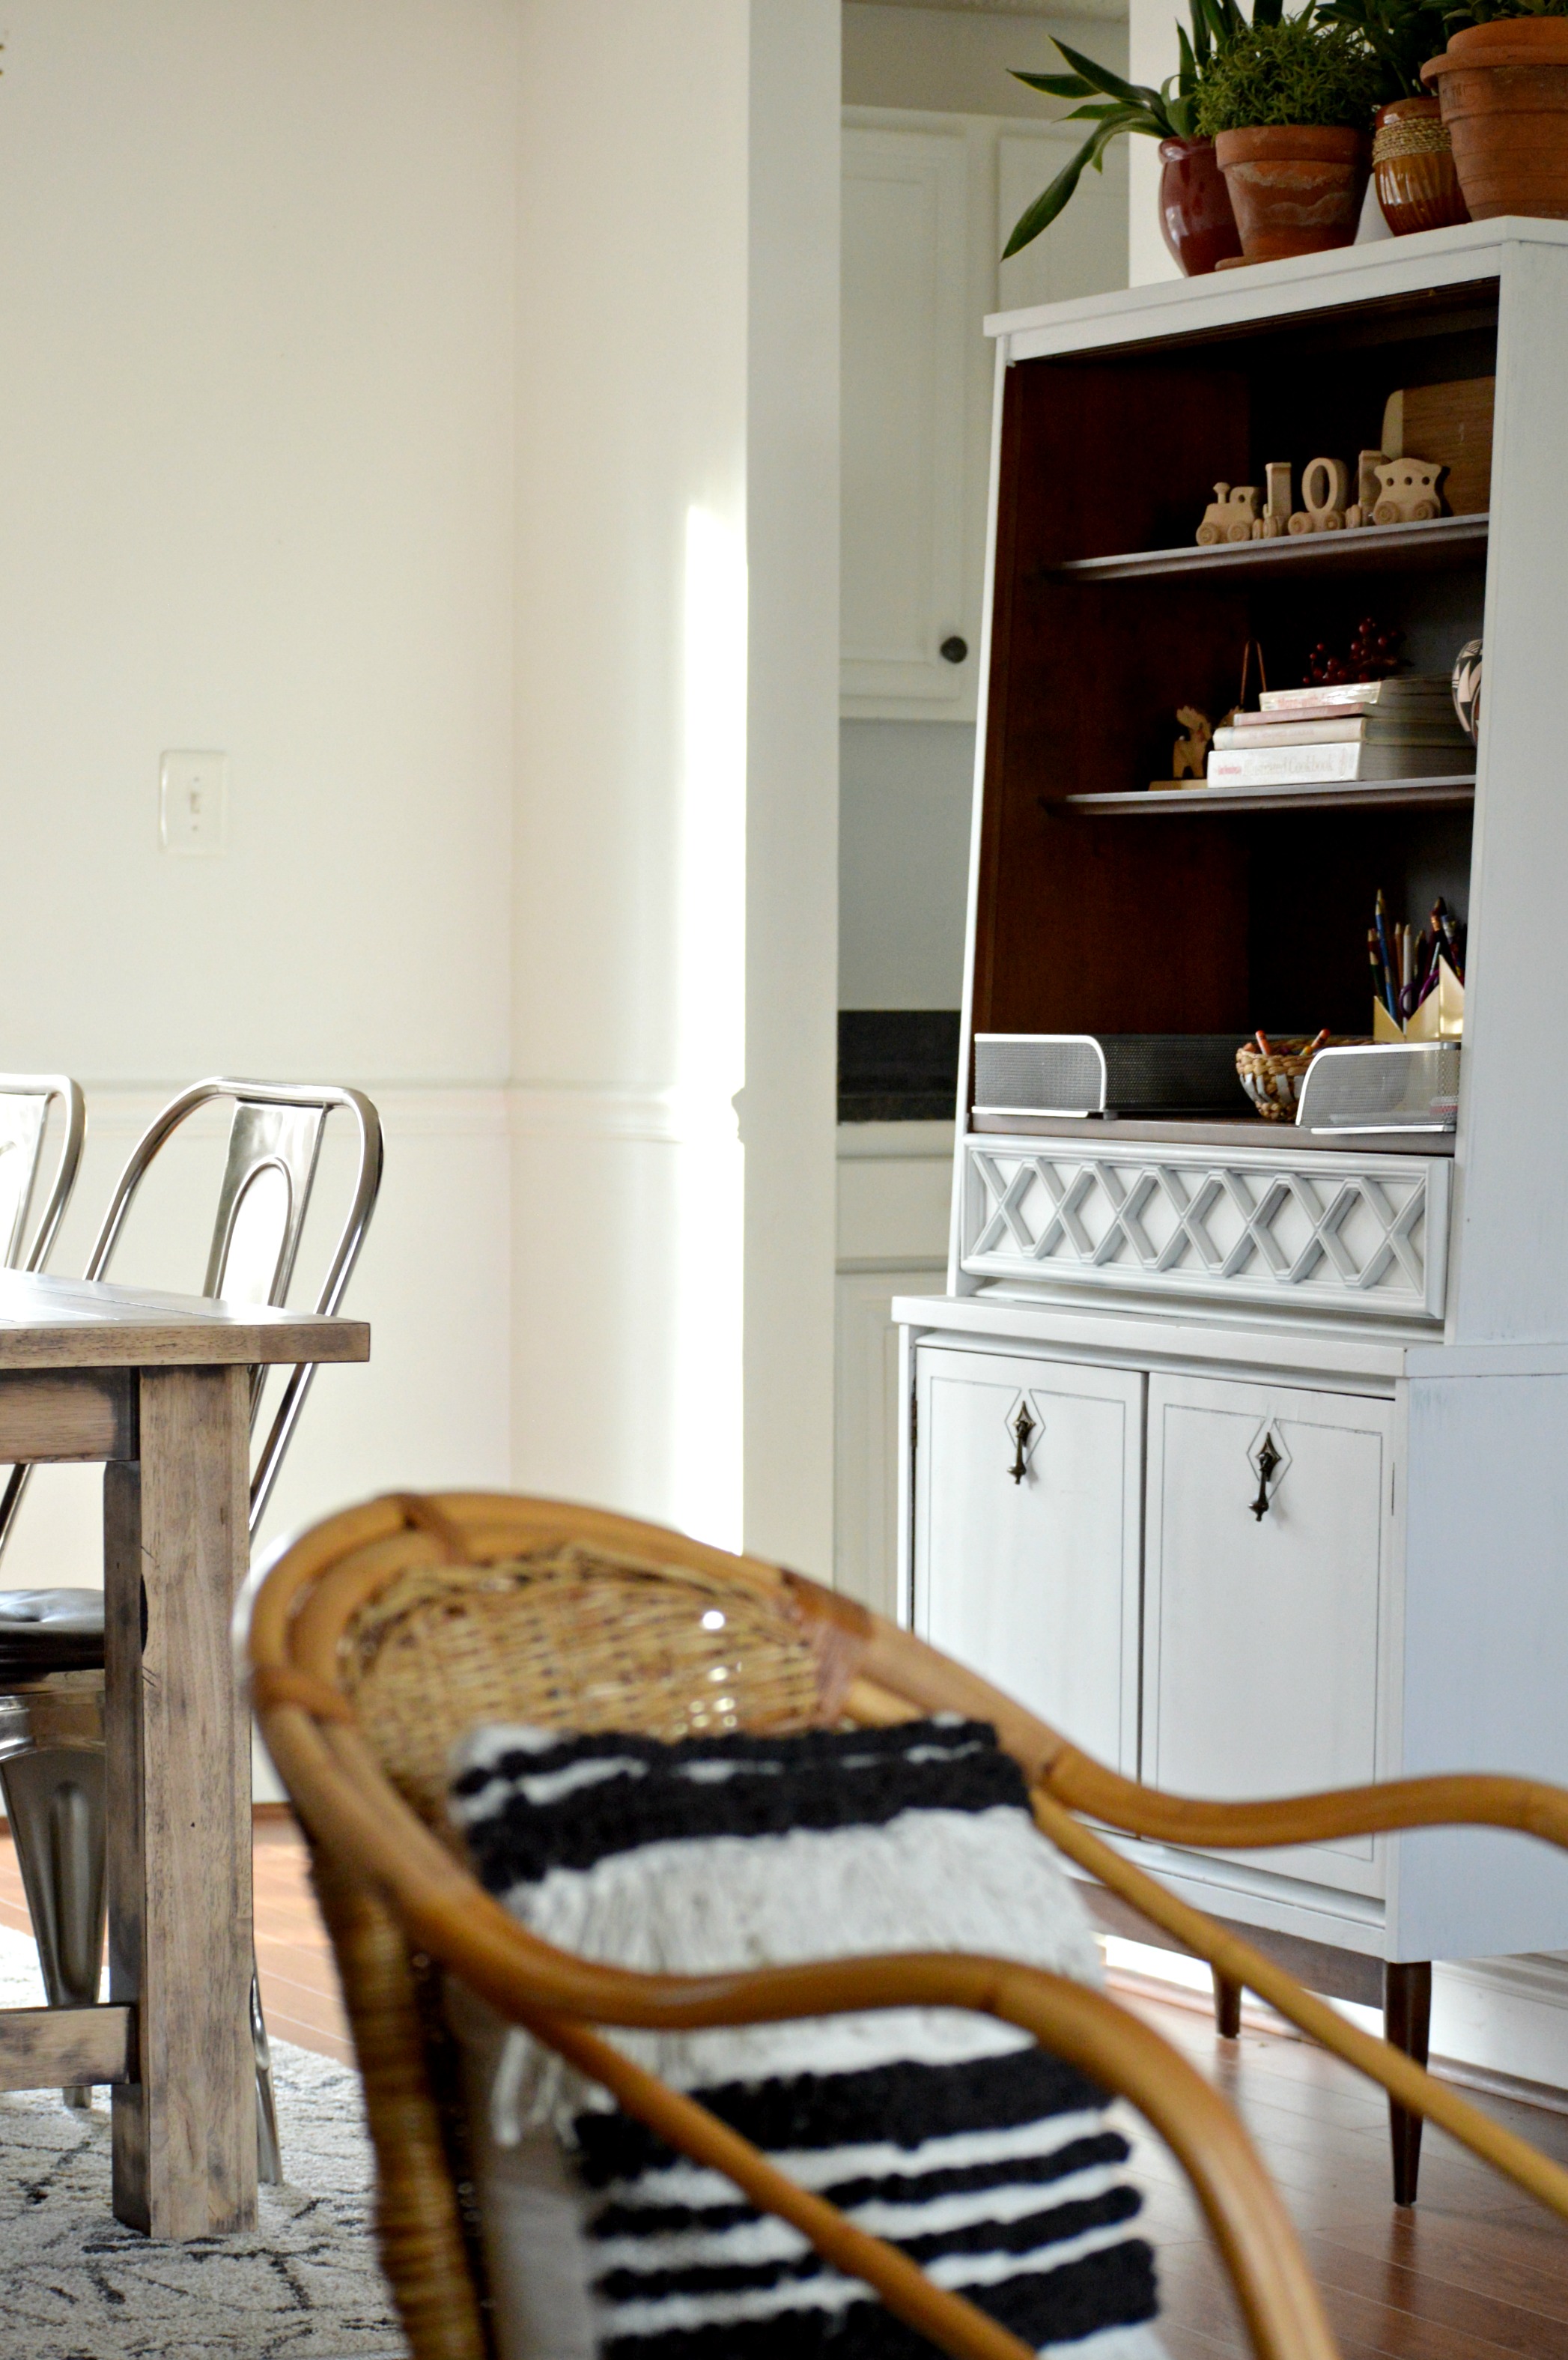
Our kitchen has seen A LOT of action lately now that we're in full swing holiday party season. Yup, lots of mediocre baking going on in here. If you like quantity over quality, I'm you're gal! Lol! Between the kids' classrooms and their various activities, it's been one party after another!

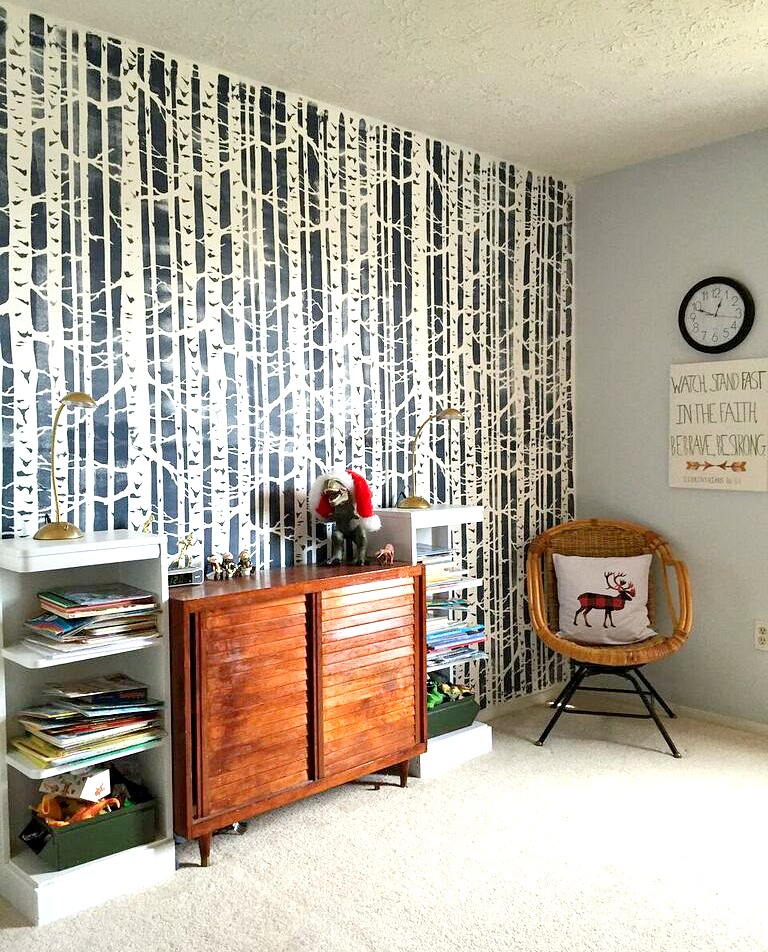
Shire's bedroom is pure Christmas magic to me. I find myself in here without any reason to be; it's just a happy place. The bedspread was from my grandparents' old lake house, and the mini tree is on loan from my sister. I love that Shire's room is a compilation of special memories, people and places.


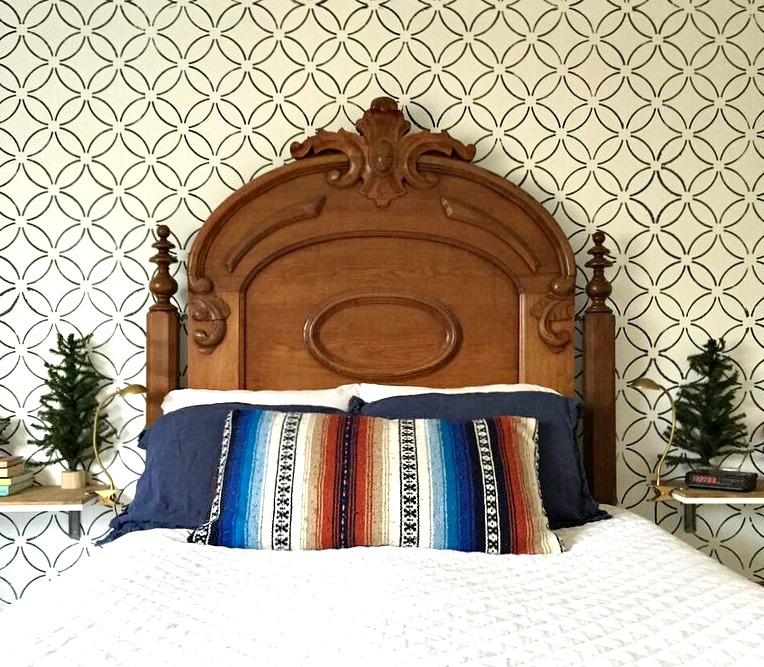
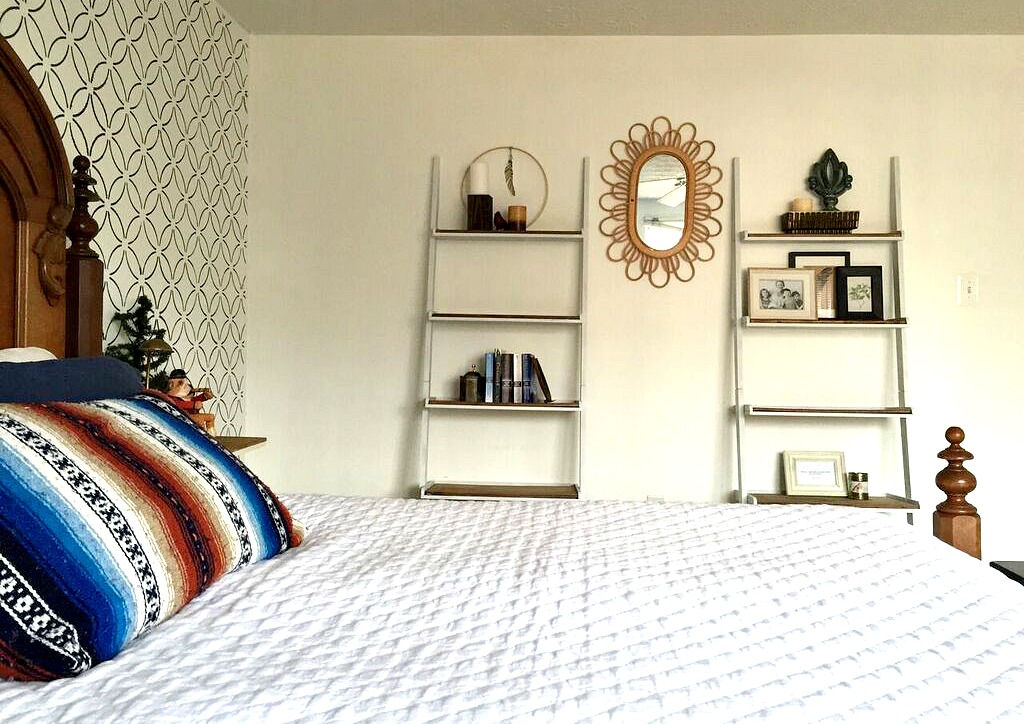
Our bedroom is the last stop because the boys room is just done being photographed. It's a charming hot mess and I love it because I birthed them, but their door is officially closed to the public. :) I enjoyed adding a tiny bit to our own bedroom, though, to make it special for the holidays! The bunch of boxwood was just the kind of small festive nod I was looking for for our room. It suits the simplicity of the space well and because there's not a lot going on, I feel like you really see it, you know? I often tell clients, the less there is, the more you see.


The only other impactful addition to the room is the kilim rug covered bench at the end of the bed! Both the rug and the bench were found on a neighbors curb on trash day, so I brought both pieces home and turned them into one!


Well that's it! Thank you so very much for taking the time to come by. I hope you enjoy these days until Christmas and have peace about what is on your own plate. A bit of advice - no one else will really notice what you don't get done. As I walked into yet another children's holiday party last night for my son's cubscout pack, I placed my 4 dozen brownies on table full of other various treats and thought to myself, no one would have noticed if I didn't bring these. Here's to shedding the excess so we can focus on the priorities.

Merry Christmas and God bless!