Holiday Snapshots on Instagram

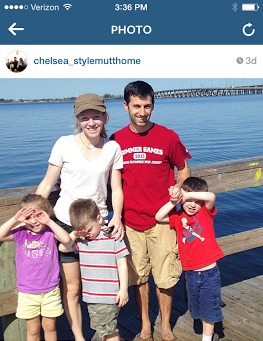
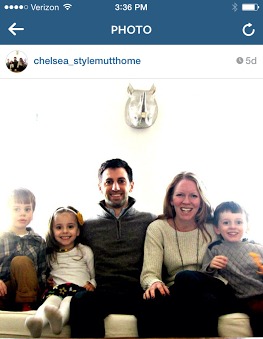
Happy Holidays, friends! I hope each and every one of you got to enjoy time with those near and dear. With every passing year, time becomes a sweeter gift, indeed. Matt and I packed the kids up and went straight down to sunny Florida, (from our home in Virginia), to spend Christmas with family. The time together was precious and dippin in the pool every day didn't hurt either!

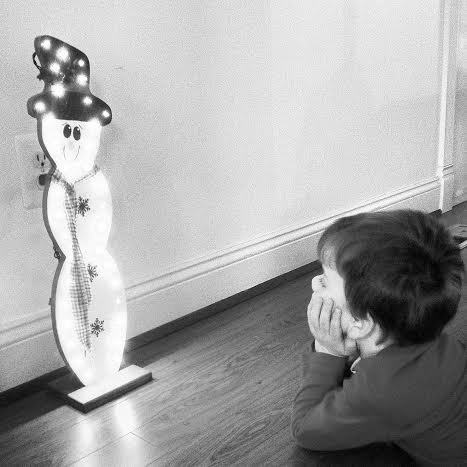
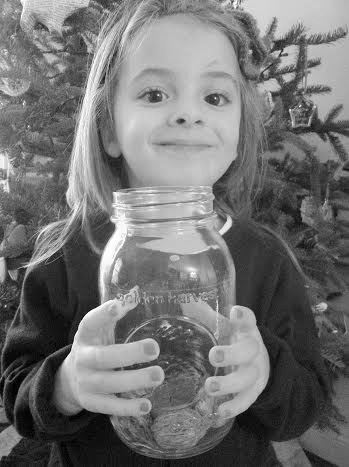
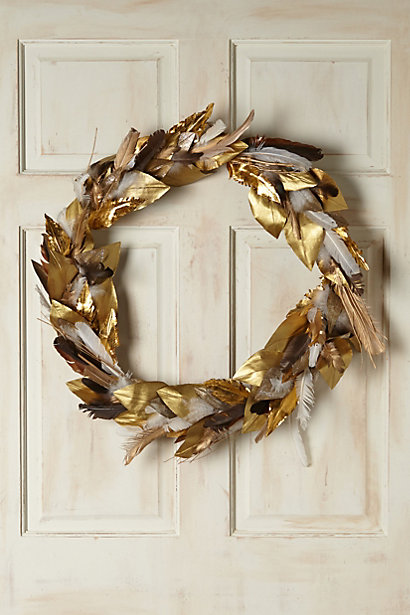
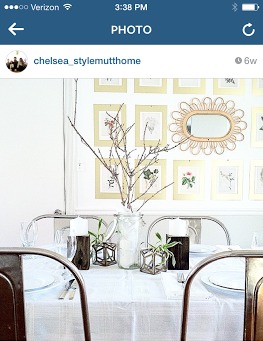
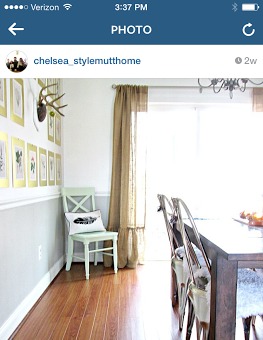
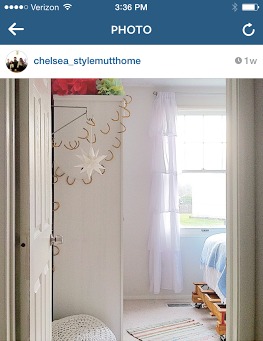
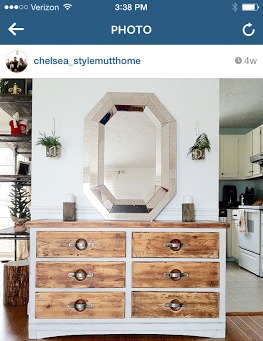
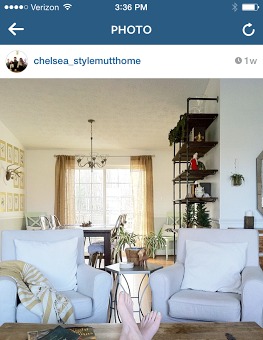
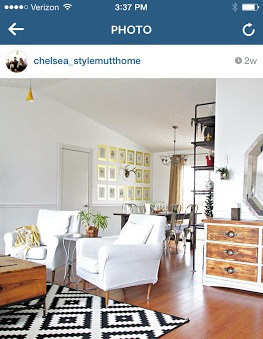
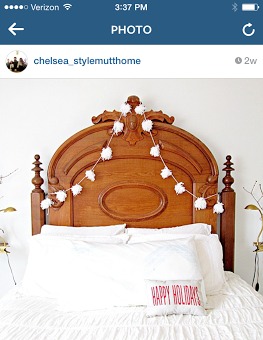
I know there are many of you reading this blog that don't have Instagram - and I don't blame you! We've reached a social media overkill, for sure! However, I do post a lot of photos on Instagram that never make it to the blog, so today I thought I'd share a little roundup of Instagram snippits from over the holidays!

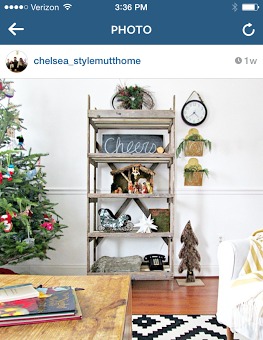
In a few days we'll be taking all the holiday hoopla down and getting back to normal around here. Whew! I get almost as excited to take the decorations down as I do to put them up. Funny how that happens every year. How about you? Is your holiday decor still up or are you a prompt de-decorator when all is said and done?

Thank you so much for stopping by and have a wonderful day!

Rustic Votive Holders {Holiday DIY No. 4}

Hey guys! We're barely into December but the holiday festivities are truckin' right along. We've been under the weather in our home since the week of Thanksgiving, and that's forced us, (me), to really lay the brakes on and focus the small reserve of energy on what I really care about; my people. Here are some of my favorite moments from the last week and a half...

Goodness me, there is much to be grateful for. (I was singing a different tune a week ago when we were bogged down by the flu and I was hosting one of the worlds largest pity parties. Such a wuss! But so grateful.)

I'm excited to share this DIY project today because, truthfully, it was a happy accident! Over the summer we changed the legs on our sectional sofa - we, (Matt), ended up making the new legs from cut up blocks of 4 x 4 which we stained in Minwax 'Ash'. Since we had three extras sitting out in the garage, I thought they'd make awesome votive holders! I wasn't wrong...

This was really, really easy, folks. We pre-drilled a hole about 2" into the center of each block, and screwed in a hanger, (to do this, just wrap a dry cloth around the hanger, then use pliers to twist the hanger into the hole).

I left the top bare, but you could have some serious fun painting a complementing color to your own décor.

Then I screwed a hole into the bottom of the candle, about an inch to an inch and a half deep, just to keep it secure.

All done!

If the thought of cutting a 4 x 4 plank of wood doesn't excite you, you could either a) Grab a hardware store employee and ask them to cut it for you, (they do this for free at the big chains like Home Depot and Lowes), or b) Ask a store employee if there is any scrap wood leftover from other people's cuts which you could take.

Rather BUY than DIY?

Check these out from Tellus360Shop on Etsy!

I'll be signing off until Monday when I'll be back to share our full holiday home tour, but Cate's got another goodie for ya coming up tomorrow, (Friday)!

Thank you so much for stopping by! Have a fab weekend!

Paper Feather Wreath {Holiday DIY No. 2}

Mmmmmm. The weekend is here and it's already tastin' sweet, friends. If you're up for a little holiday DIY project, I've got a goodie for ya! What I love about today's DIY is that it's not screaming 'Christmas!!!' It's a piece you could easily leave out year round! But since it's a wreath, we're tossin' it into the Holiday bucket.


First things first - I absolutely cannot take credit for this project. I saw it months ago when the ever clever Melaine shared it on her My Sweet Savannah blog! The moment I saw this project I knew it would be one of the first things I made for this year's holiday season.

Let's get started! First, you need to print about 7 copies of this page on cardstock. I did this from home on FedEx online - placed my order for 8 x 11 size prints, and then picked it up, (I only used 7 sheets, but I would advise getting 10 just in case). This will cost less than $10.


Now for the fun part! You're going to cut out each feather. After cutting the feathers from the page, you'll add small cuts to each feather to give them a bit more dimension and authenticity. 

feather wreath before2.jpg

Okay, bare with me here. This next part I did not take a picture of. As per usual, I worked on this little ditty while racing cars with one child, braiding Ana and Elsa's hair with another, and coaxing my third to keep his socks on and stop hiding them under the couch cushions...it's a beautiful kind of chaos, indeed. Back to our project! You're going to need a wreath frame at this point! Cardboard will do the trick. I just used a mixing bowl turned upside down to trace a large circle on a piece of cardboard, cut it out with a box cutter, then traced a smaller circle on the inside, and carved that one out.

Once you've got your wreath frame, just grab a glue stick and go to town! There's really no rhyme or reason to sticking your feathers on. I found it easier to start with the big blue guy first, then surrounding him with the smaller plumes, working my way around the frame one section at a time.


That's it! Not too difficult, eh?!

Rather BUY than DIY? We've got you covered.
This wreath from Anthropologie hits all the right notes of festive, elegant, and whimsical. (And if you follow the link, you'll see they staged it in one picture with white pom-pom garland, which I shared a tutorial for last week! Anthropologie and I are so in sync with each other....)

Don't forget to share your holiday decorating ideas and projects by posting your photos to our Facebook wall or tag #stylemuttholiday on Instagram!

Thank you all for stopping by and have a beautiful weekend!

This project is linked to RemodelAholic, where you can find dozens more Holiday DIYs!