When life throws you a pandemic you roll with the punches - that’s just what these clients did last Summer! They uprooted their life in the hub of Washington D.C. for the quieter and more relaxed suburban life. Nestled inside the beltway off the picturesque Clara Barton Parkway, this traditional colonial met it’s match with a vibrant and eclectic family with laid-back California roots.
I was brought onto this project ahead of the move which gave me plenty of time to game plan the 9 room job! I was tasked with designing their Entryway, Kitchen, Eat-In Nook, Dining Room, Living Room, Family Room, Her Office, His Office, and their daughters Bedroom and adjoining Playroom. The main objective for this family was to feel settled as quickly as possible. The couple both work full time (from home), and their young daughter would be entering Kindergarten in the Fall (also from home), so while not every aspect of the house itself was their style, their MO was to make it work in this season so they could feel at home for a little while. There may be possible renovations down the road but who wants to live in a renovation while working and schooling from home? I appreciate their discernment and desire to feel settled for the time being.
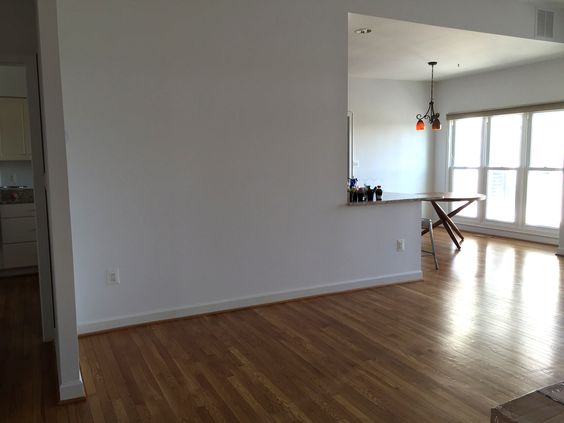
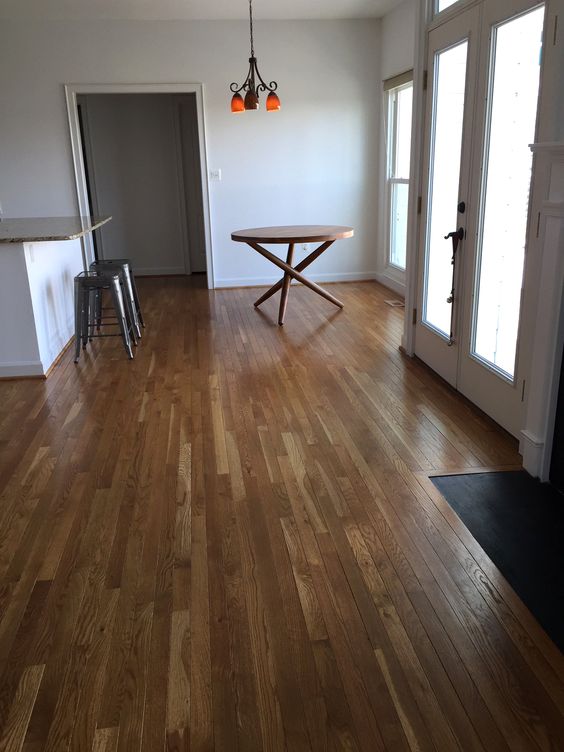
So we’ve got a big reveal to share this week! Since it’s so many rooms I have broken it up into two parts. Today I’m excited to walk you through the Kitchen, Eat-In Nook, Dining Room, and Living Room!

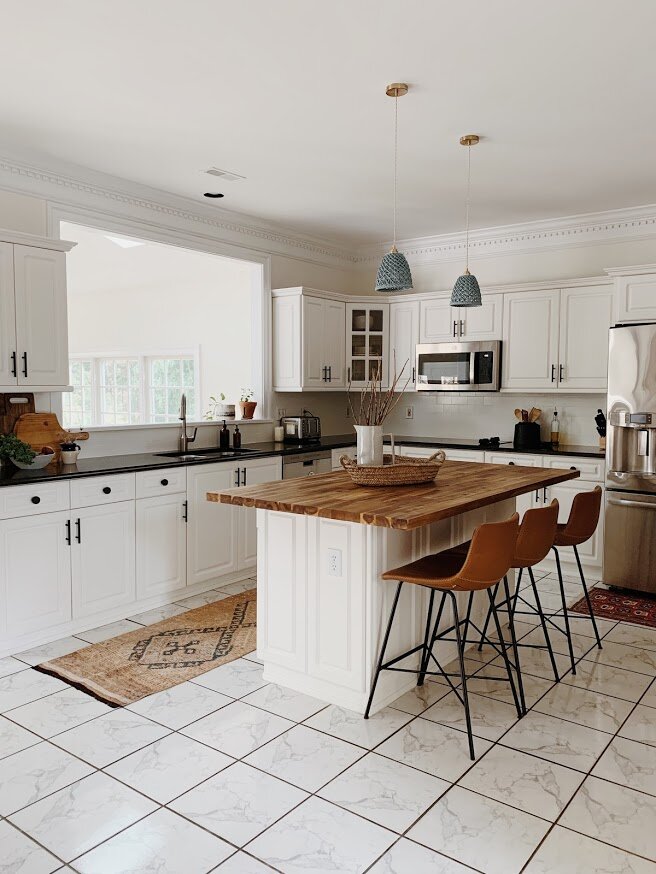
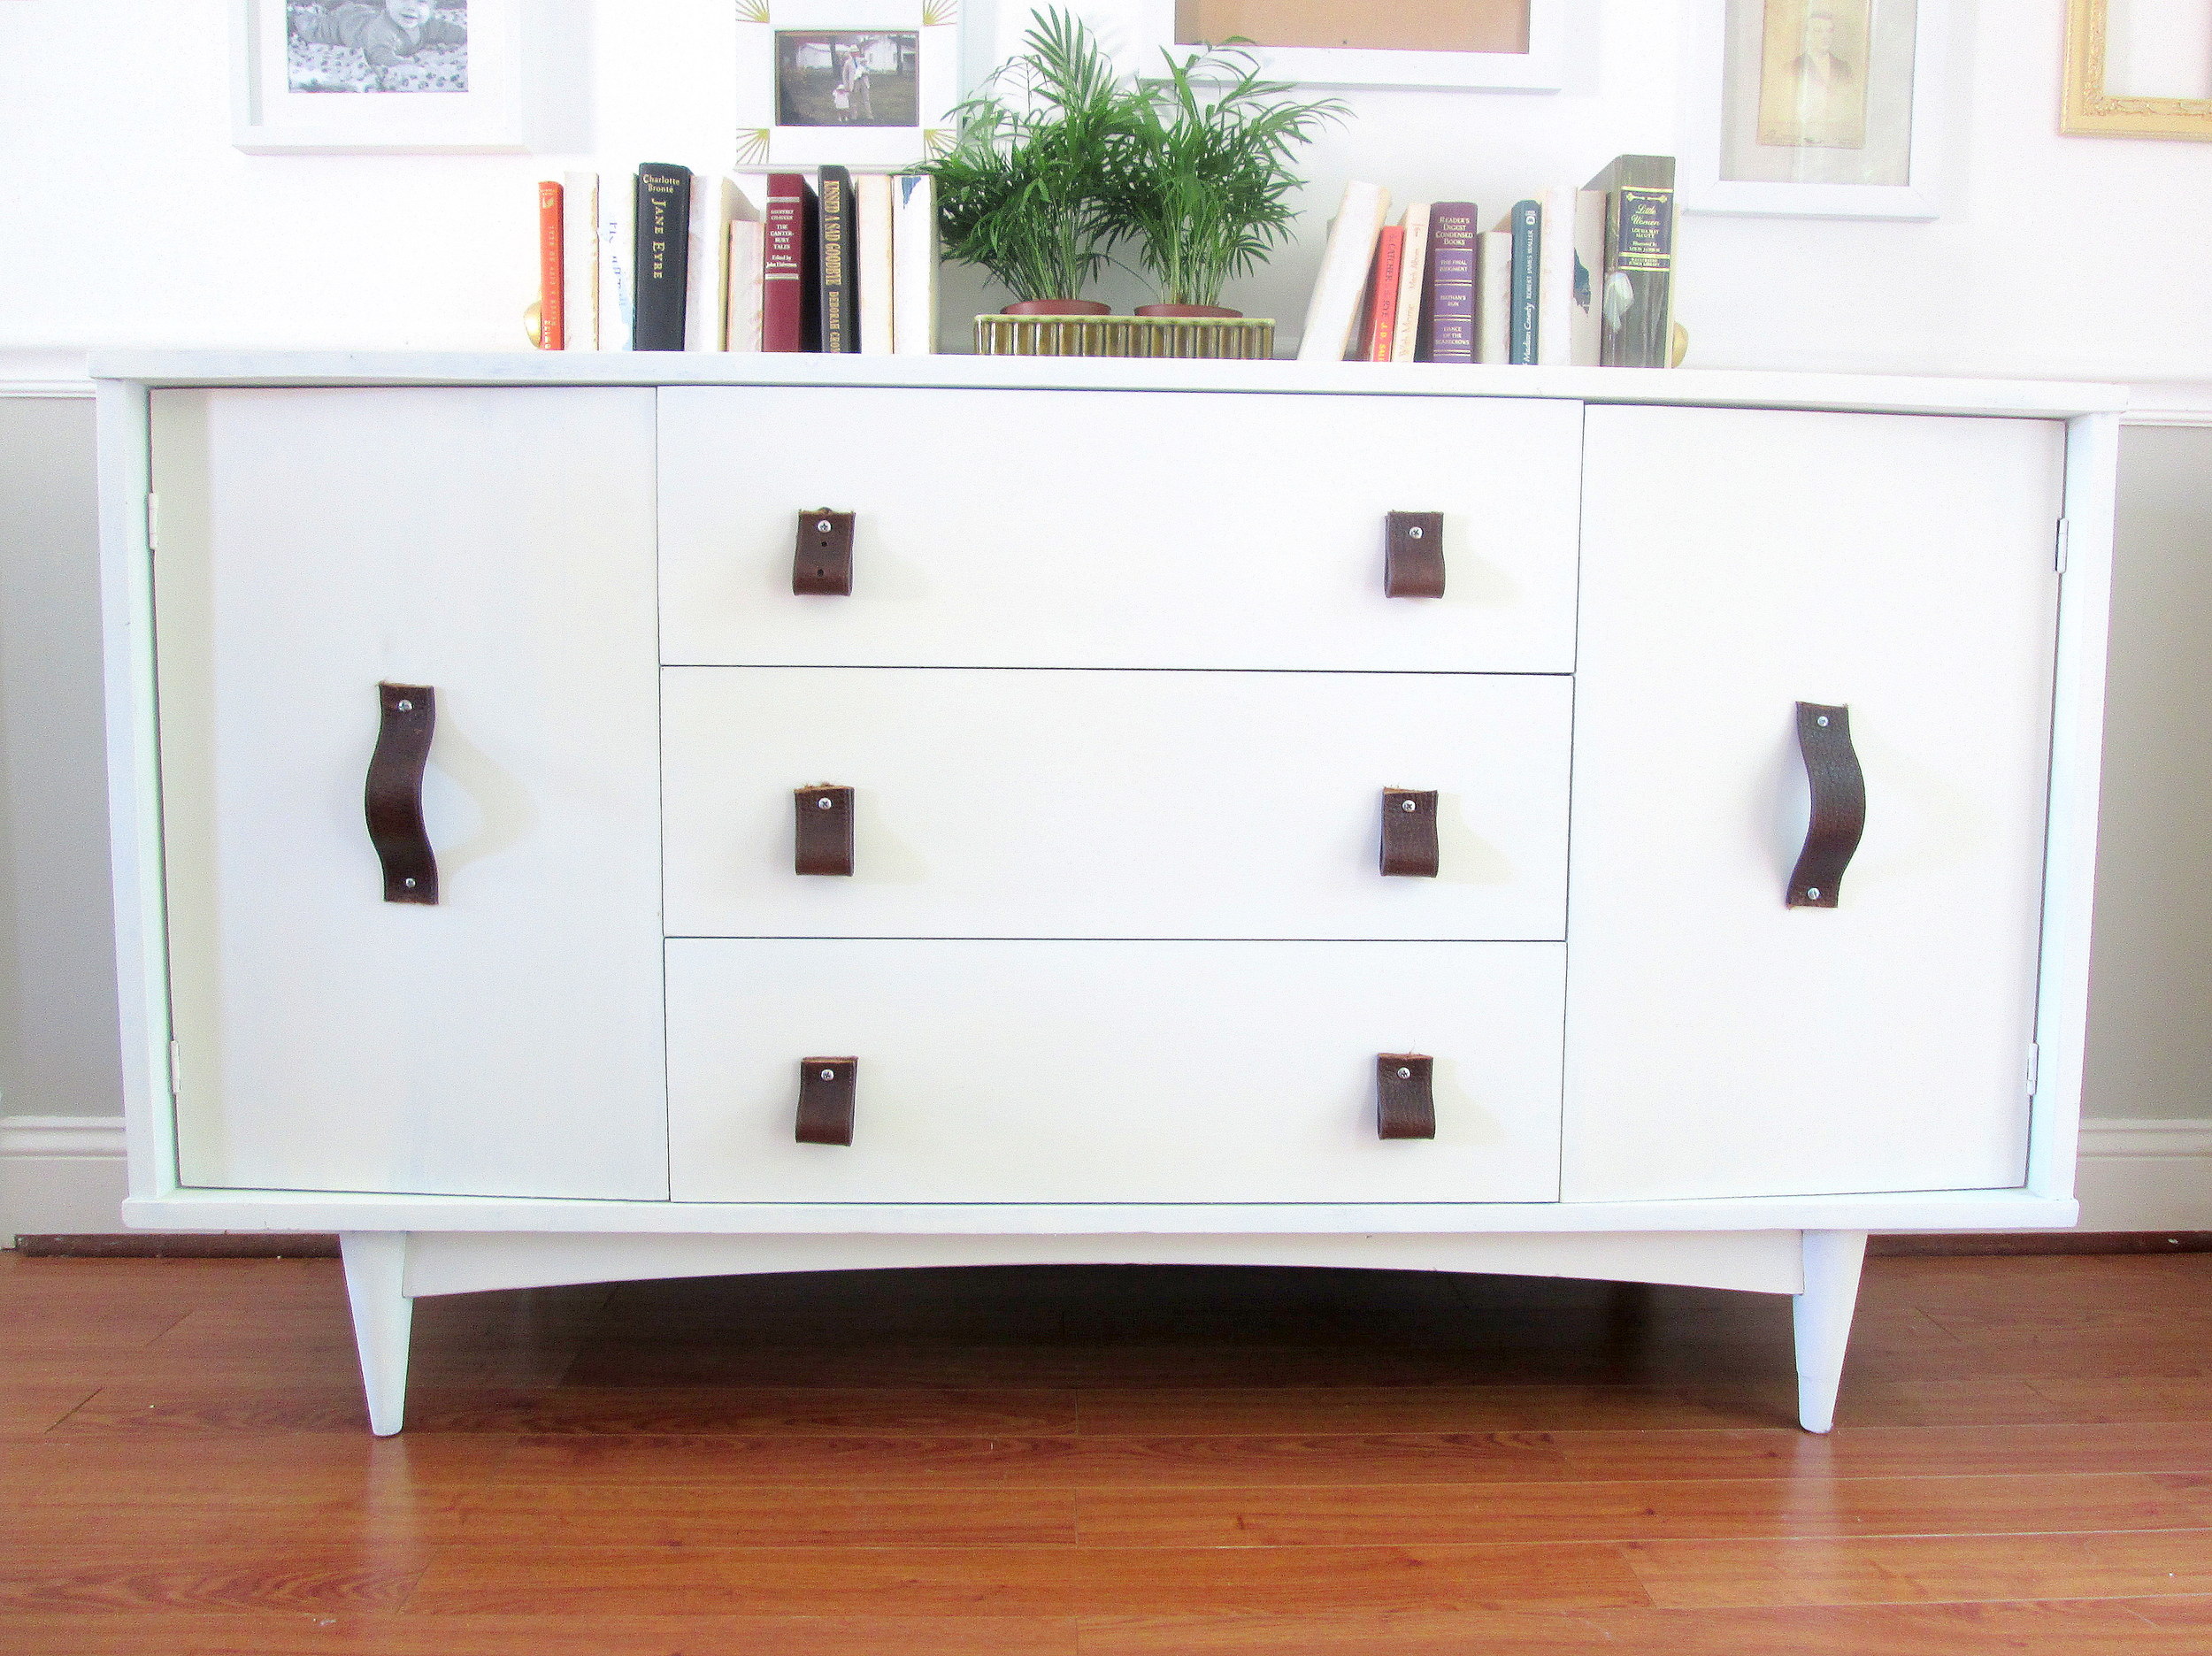
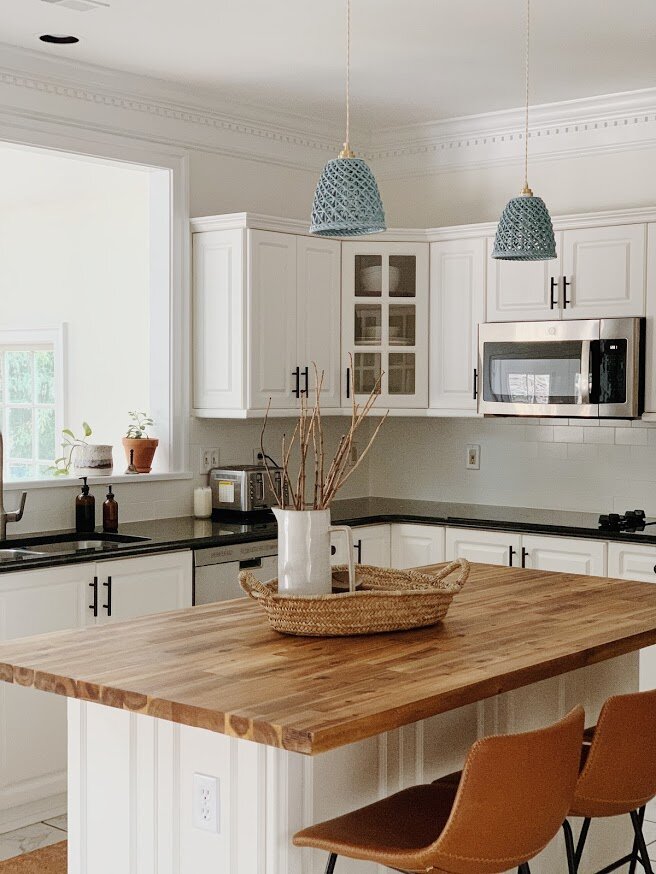
With renovations off the table at this time, I planned out a number of inexpensive updates to soften their kitchen. The previous gray walls, gray stone backsplash and cherry island made the space feel very disjointed. I had them first paint their backsplash the same color as the walls, (which we updated all throughout the home to match the dentil trim - a great way to give a traditional element a modern twist). I also wanted to ditch the cherry island counter for something more natural and casual - an IKEA butcher block counter in a larger size than the original piece makes the island feel a more suitable size for this kitchen space - plus that gave them enough room for a third stool!


Additional updates include swapping the cabinet hardware, (matte black bar pulls are a fantastic option if you have white cabinets you want to give new life), and these stunning ceramic blue sconces are from Modefinity on Etsy!


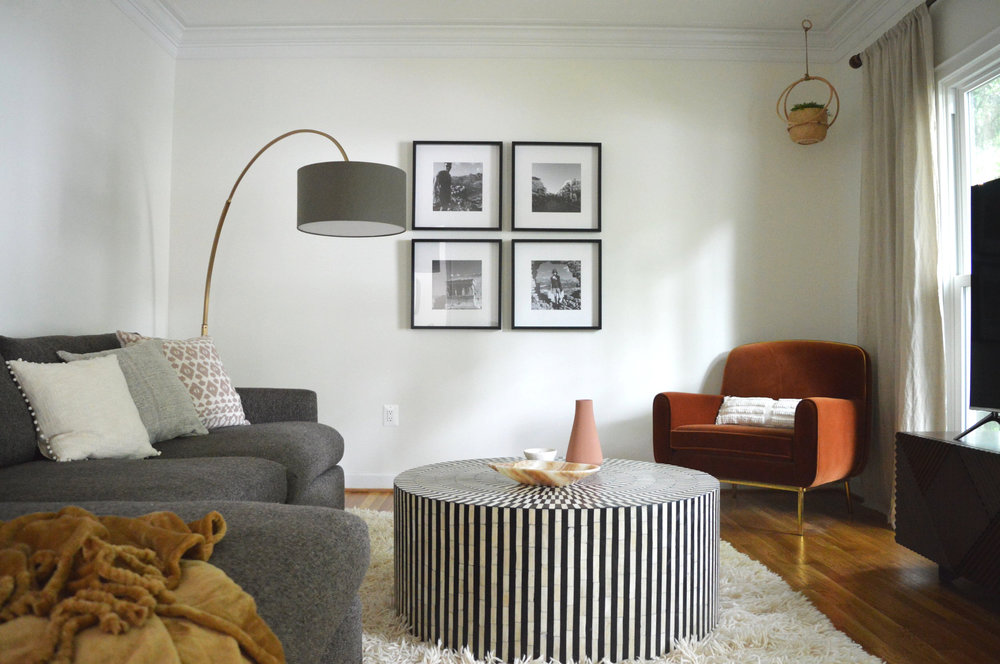
As always, sourcing rugs was an absolute pleasure. A peachy vintage runner with blue accents just glows in this room with the leather stools and warm wood accents. And it compliments its far more saturated neighbor, a 6x9 vintage piece under the Eat-In Nook!


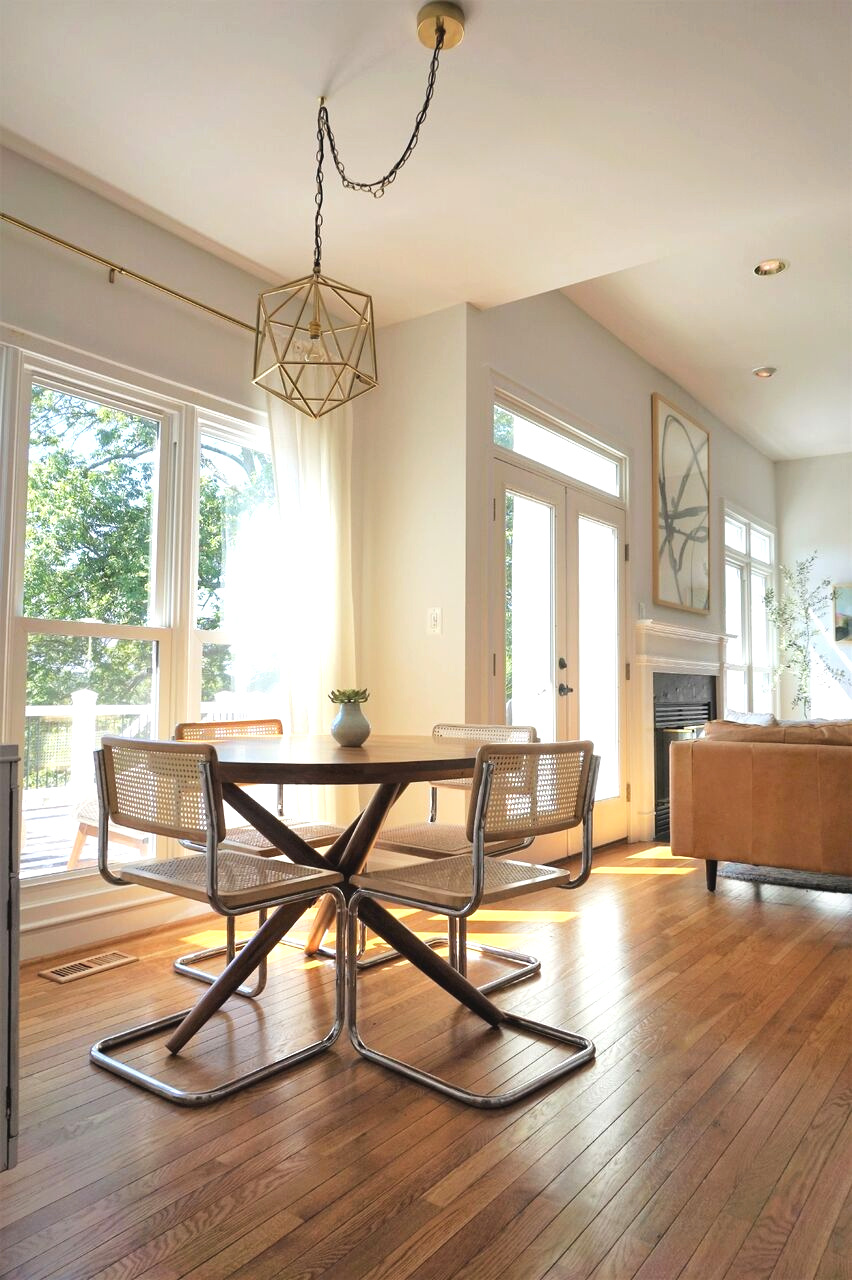
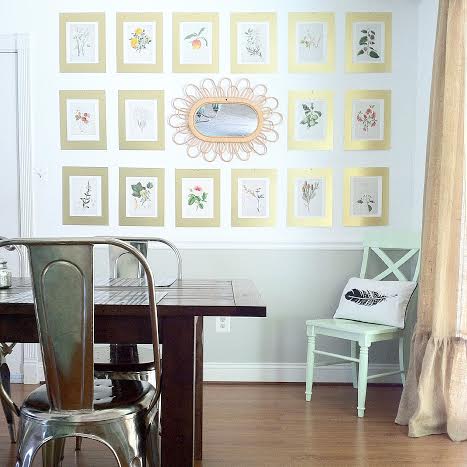
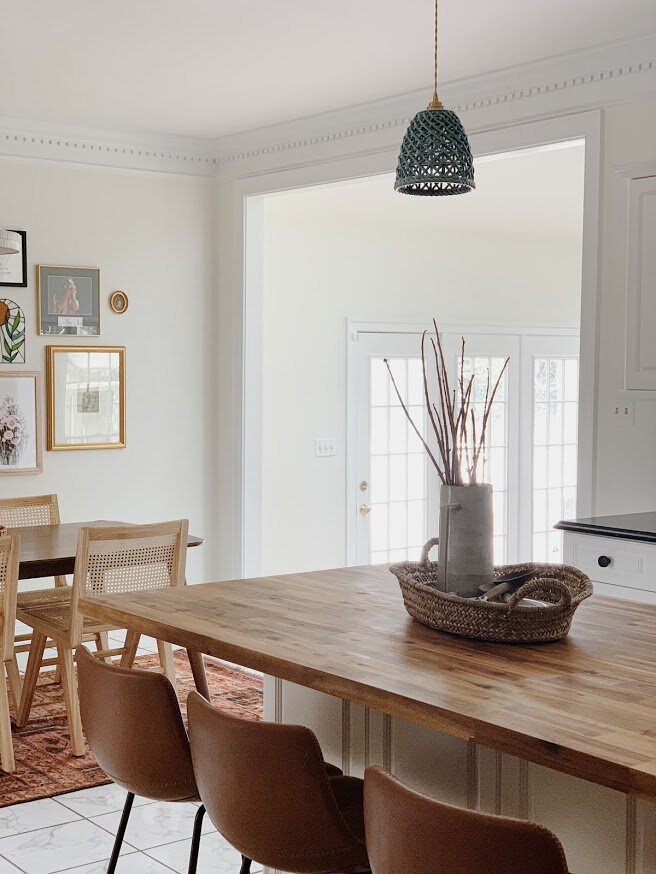
I just really wanted this space to glow - like a California sunset. Pairing light natural cane chairs with a walnut table and a backdrop of meaningful pieces sprawled across the wall, it speaks of this family’s love and joy.


This light was one of my favorite finds - I can’t recall which came first, the island pendants or this piece, but I wanted them to be really in sync and equally as different. This ceramic light fixture is another handcrafted item from one of my favorite Etsy shops, ClayCafe. They have quickly become one of my go-tos, but just a heads up they are currently only open the first two weeks of every month. Two on, two off.

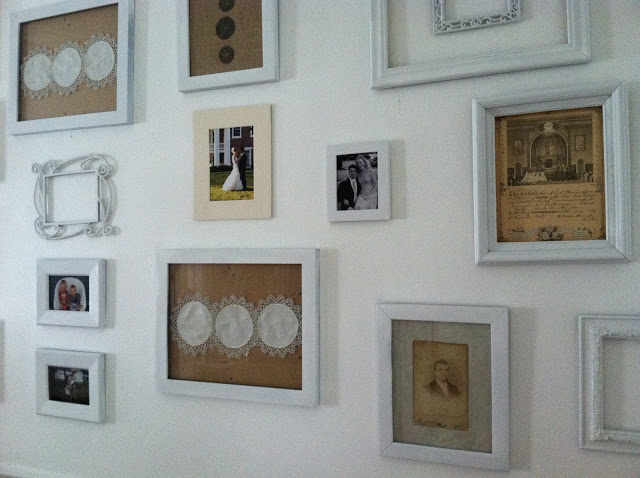
I designed this gallery wall using some of the family’s own sentimental pieces, and building around those with a supporting cast of pieces that represent both their happiest memories and this new adventure, (‘This Must Be The Place”)


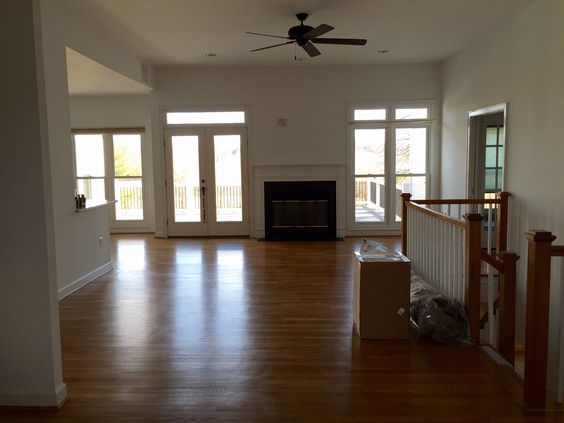
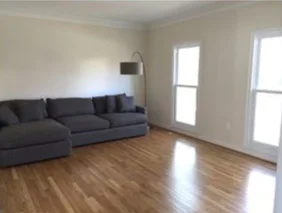
You know what’s fun about colonials? All the segmented rooms! I love a sweeping open layout, don’t get me wrong - that’s what I am most used to! But I have never done so many separated rooms as this home, and there’s something about having the freedom to do big and bold things in just one space that you don’t necessarily want to commit to all over. You know?
Case in point: Cavern Clay, by Sherwin Williams

The client decided to keep their dining room furniture in the move, including that beautiful rectangular linen shade light fixture . In addition to adding an arch mirror, the wispy pampas grass and some punchy art from Upton, I wanted to wrap this room in something bold but still organic. Terracotta came to mind one night right before I fell asleep and I couldn’t wait to find just the right shade for this room!


We all instantly liked black paired with this magnificent color, and strategically peppered it throughout the space on all sides.


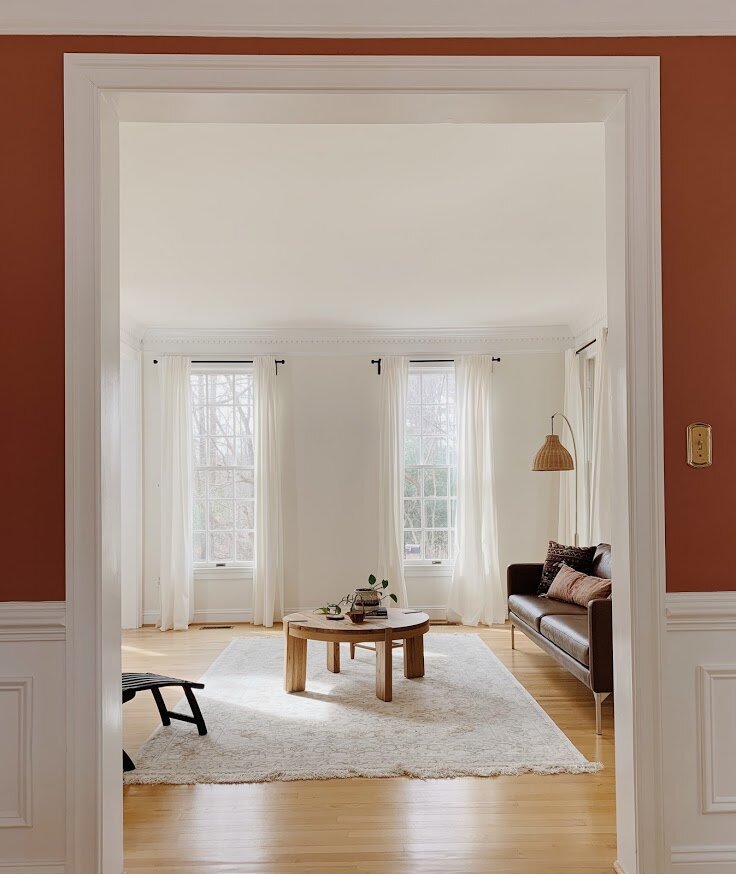
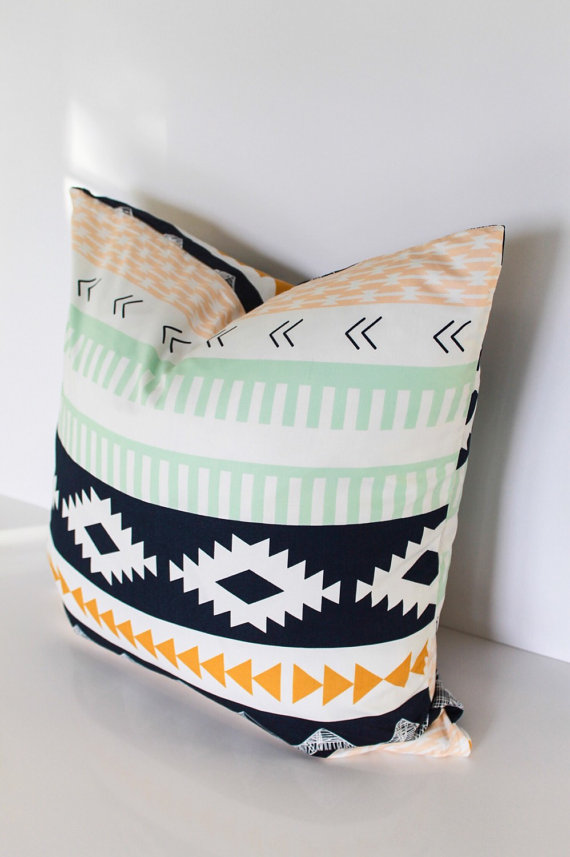
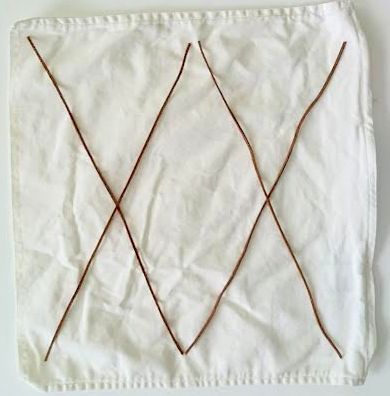
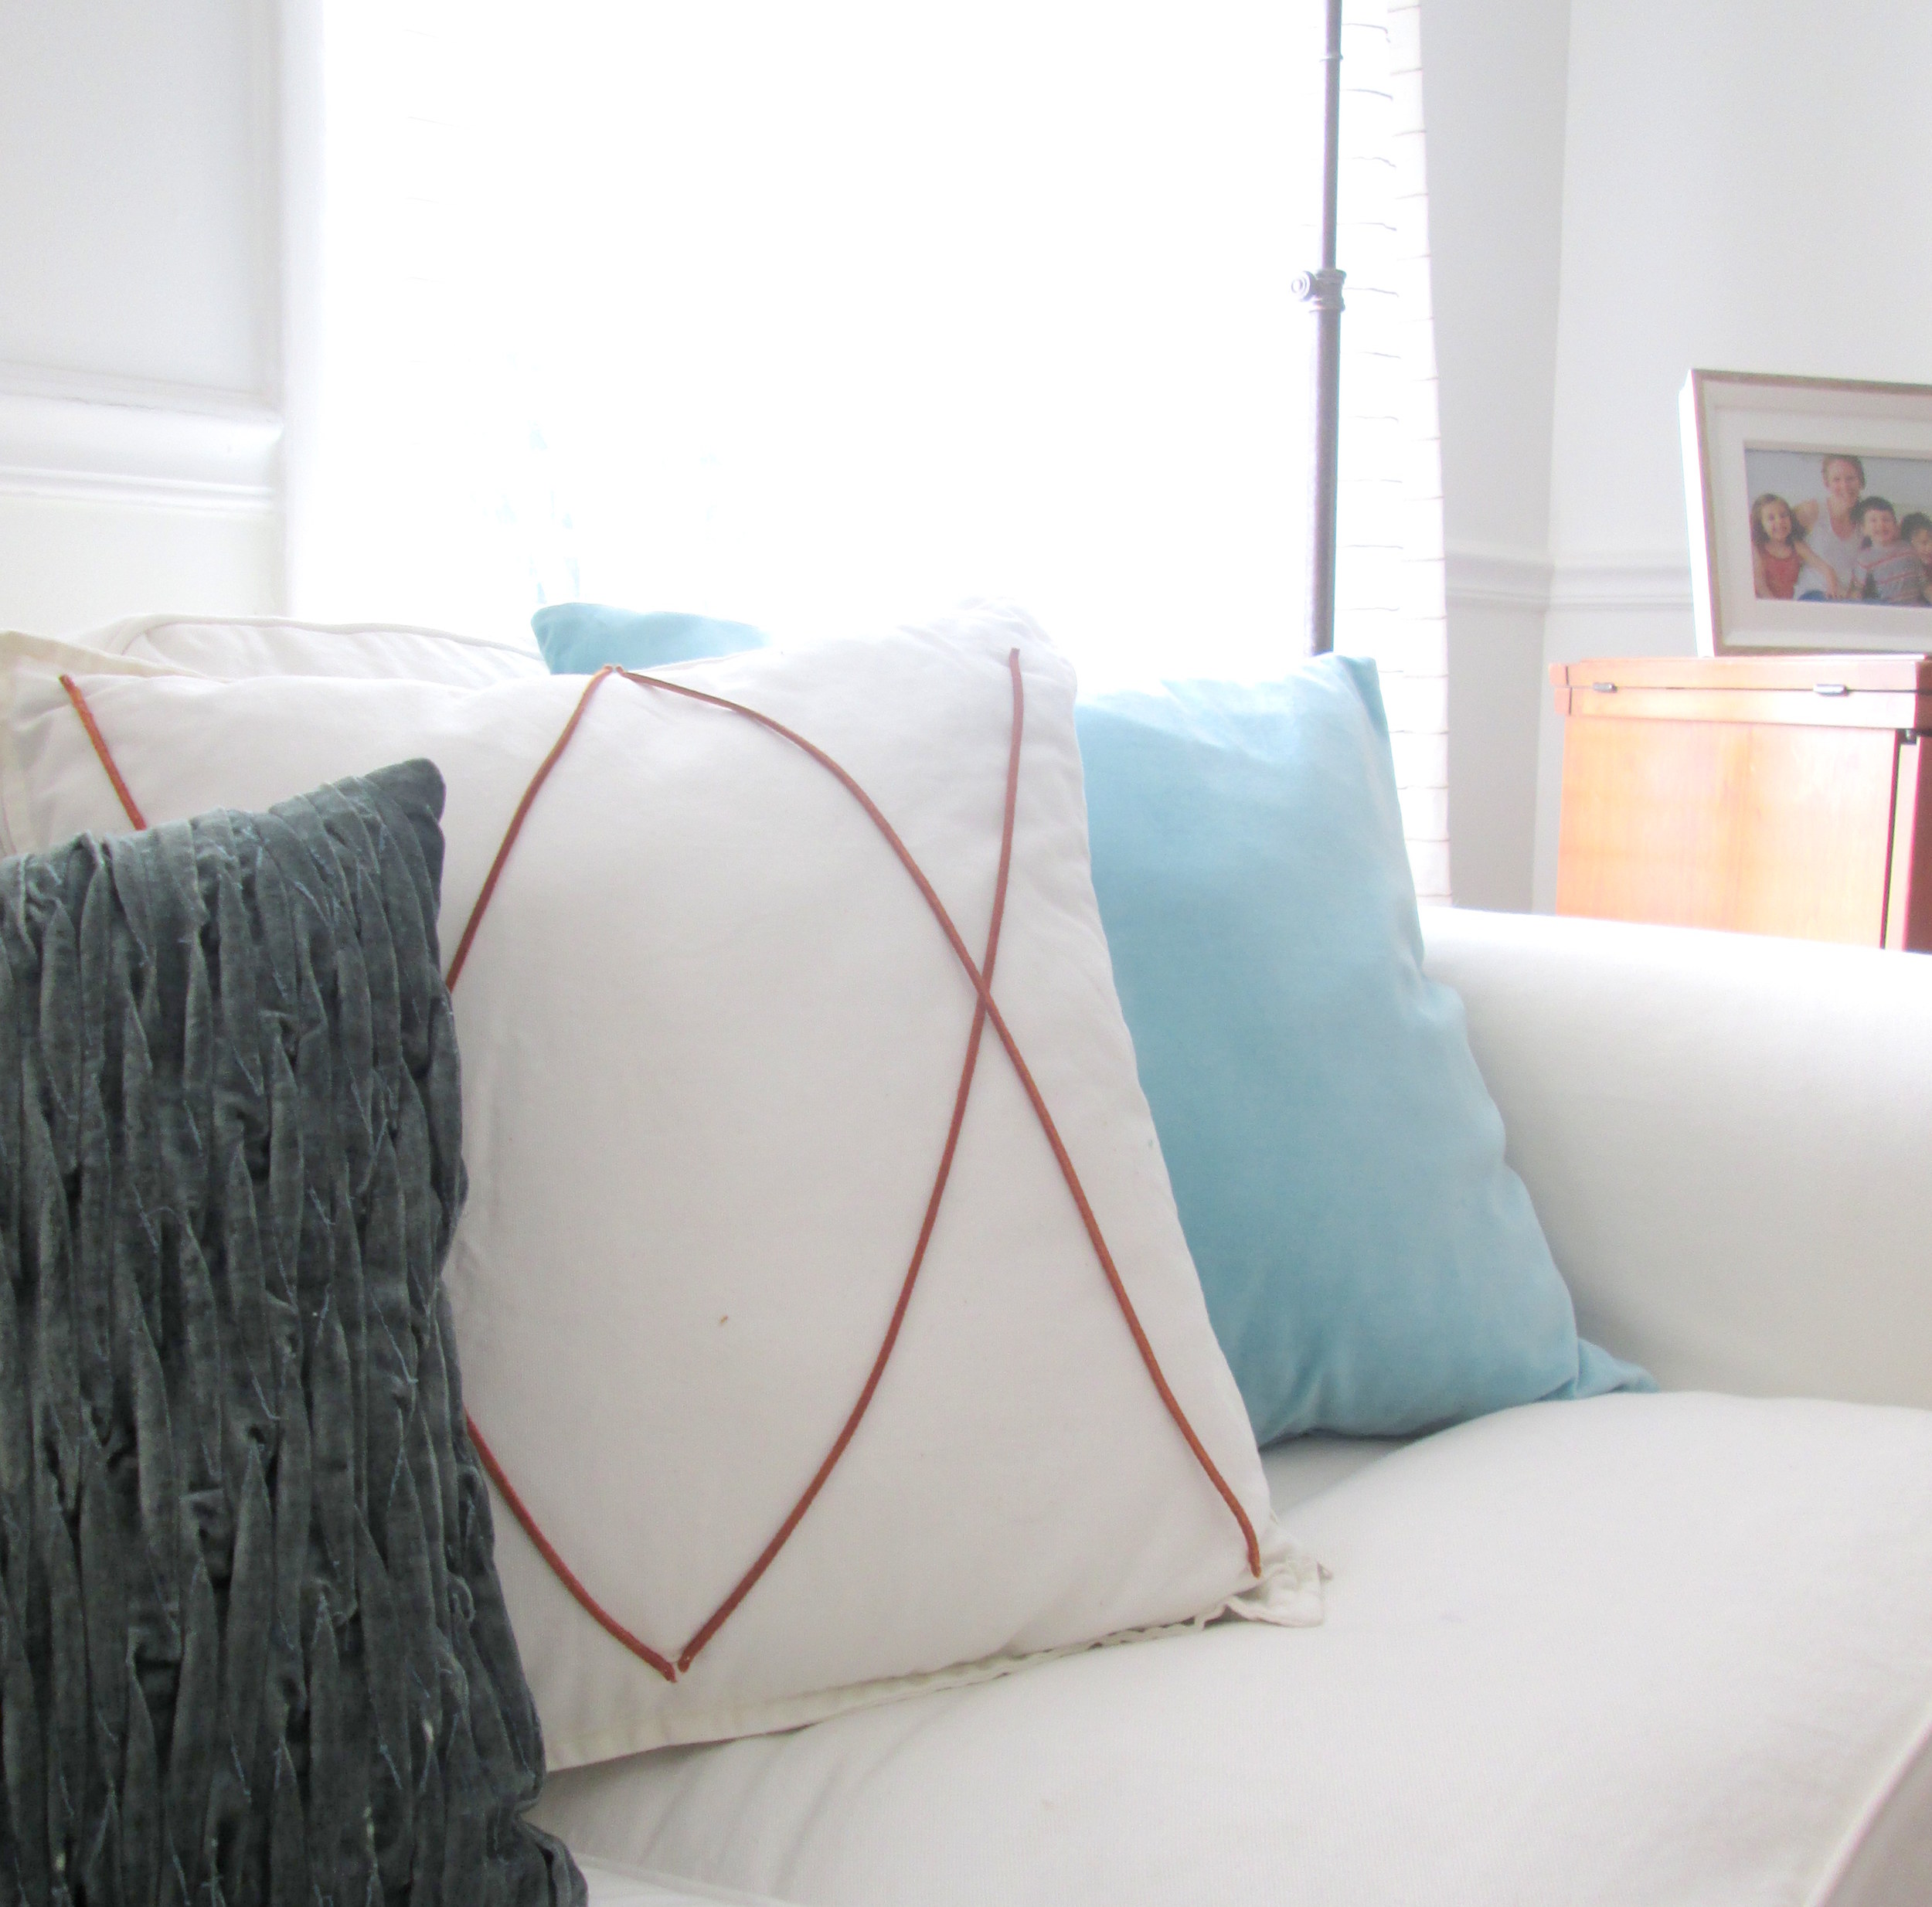
We wanted to keep this space really simple and minimal to make the dining room high impact. But the trick was not going too far the other direction. Using natural materials that echo the organic feel of the dining room really works to marry the two rooms, and a few winks of rust/orange/terracotta in the pillows are all we needed to complete the connection.


That’s a wrap on this leg of our reveal! Wednesday I’ll be back with the Family Room, both Offices, and their daughters’ Bedroom - the sum of which include two wallpapered walls, bold built-ins, and some serious Pearl Jam appreciation. This home has been the most fun and thanks to the fabulous client, a lot of laughs along the way! So excited to welcome you all into this space so full of joy. More Wednesday!
Thank you so much for coming by!