Teal Campaign Chest ||A Craigslist Experiment||

As active furniture flippers for the past 6 years, Chelsea and I really have our fingers on the pulse of our local craigslist.  In fact, between the two of us, we have found and flipped nearly 200 pieces in the DC Metro area - which has proven to be a crash-course in decor supply and demand.  We've often shifted our aesthetic to capitalize on budding trends: specializing in chalk paint + heavy distressing, hunting down mid-century modern scores, playing with bohemian touches, etc...  

When we decided to launch StyleMutt Home in September 2014 we started to really pushed the decor envelope to try out new styles, paint colors, staging techniques, patterns.  And we've had a BALL YA'LL.  Exercising these creative muscles started opening up design possibilities (see some of our latest here and here).  We chalk this up to the Lord's blessing.  And that being yourself is so much more rewarding than just trying to fit in.

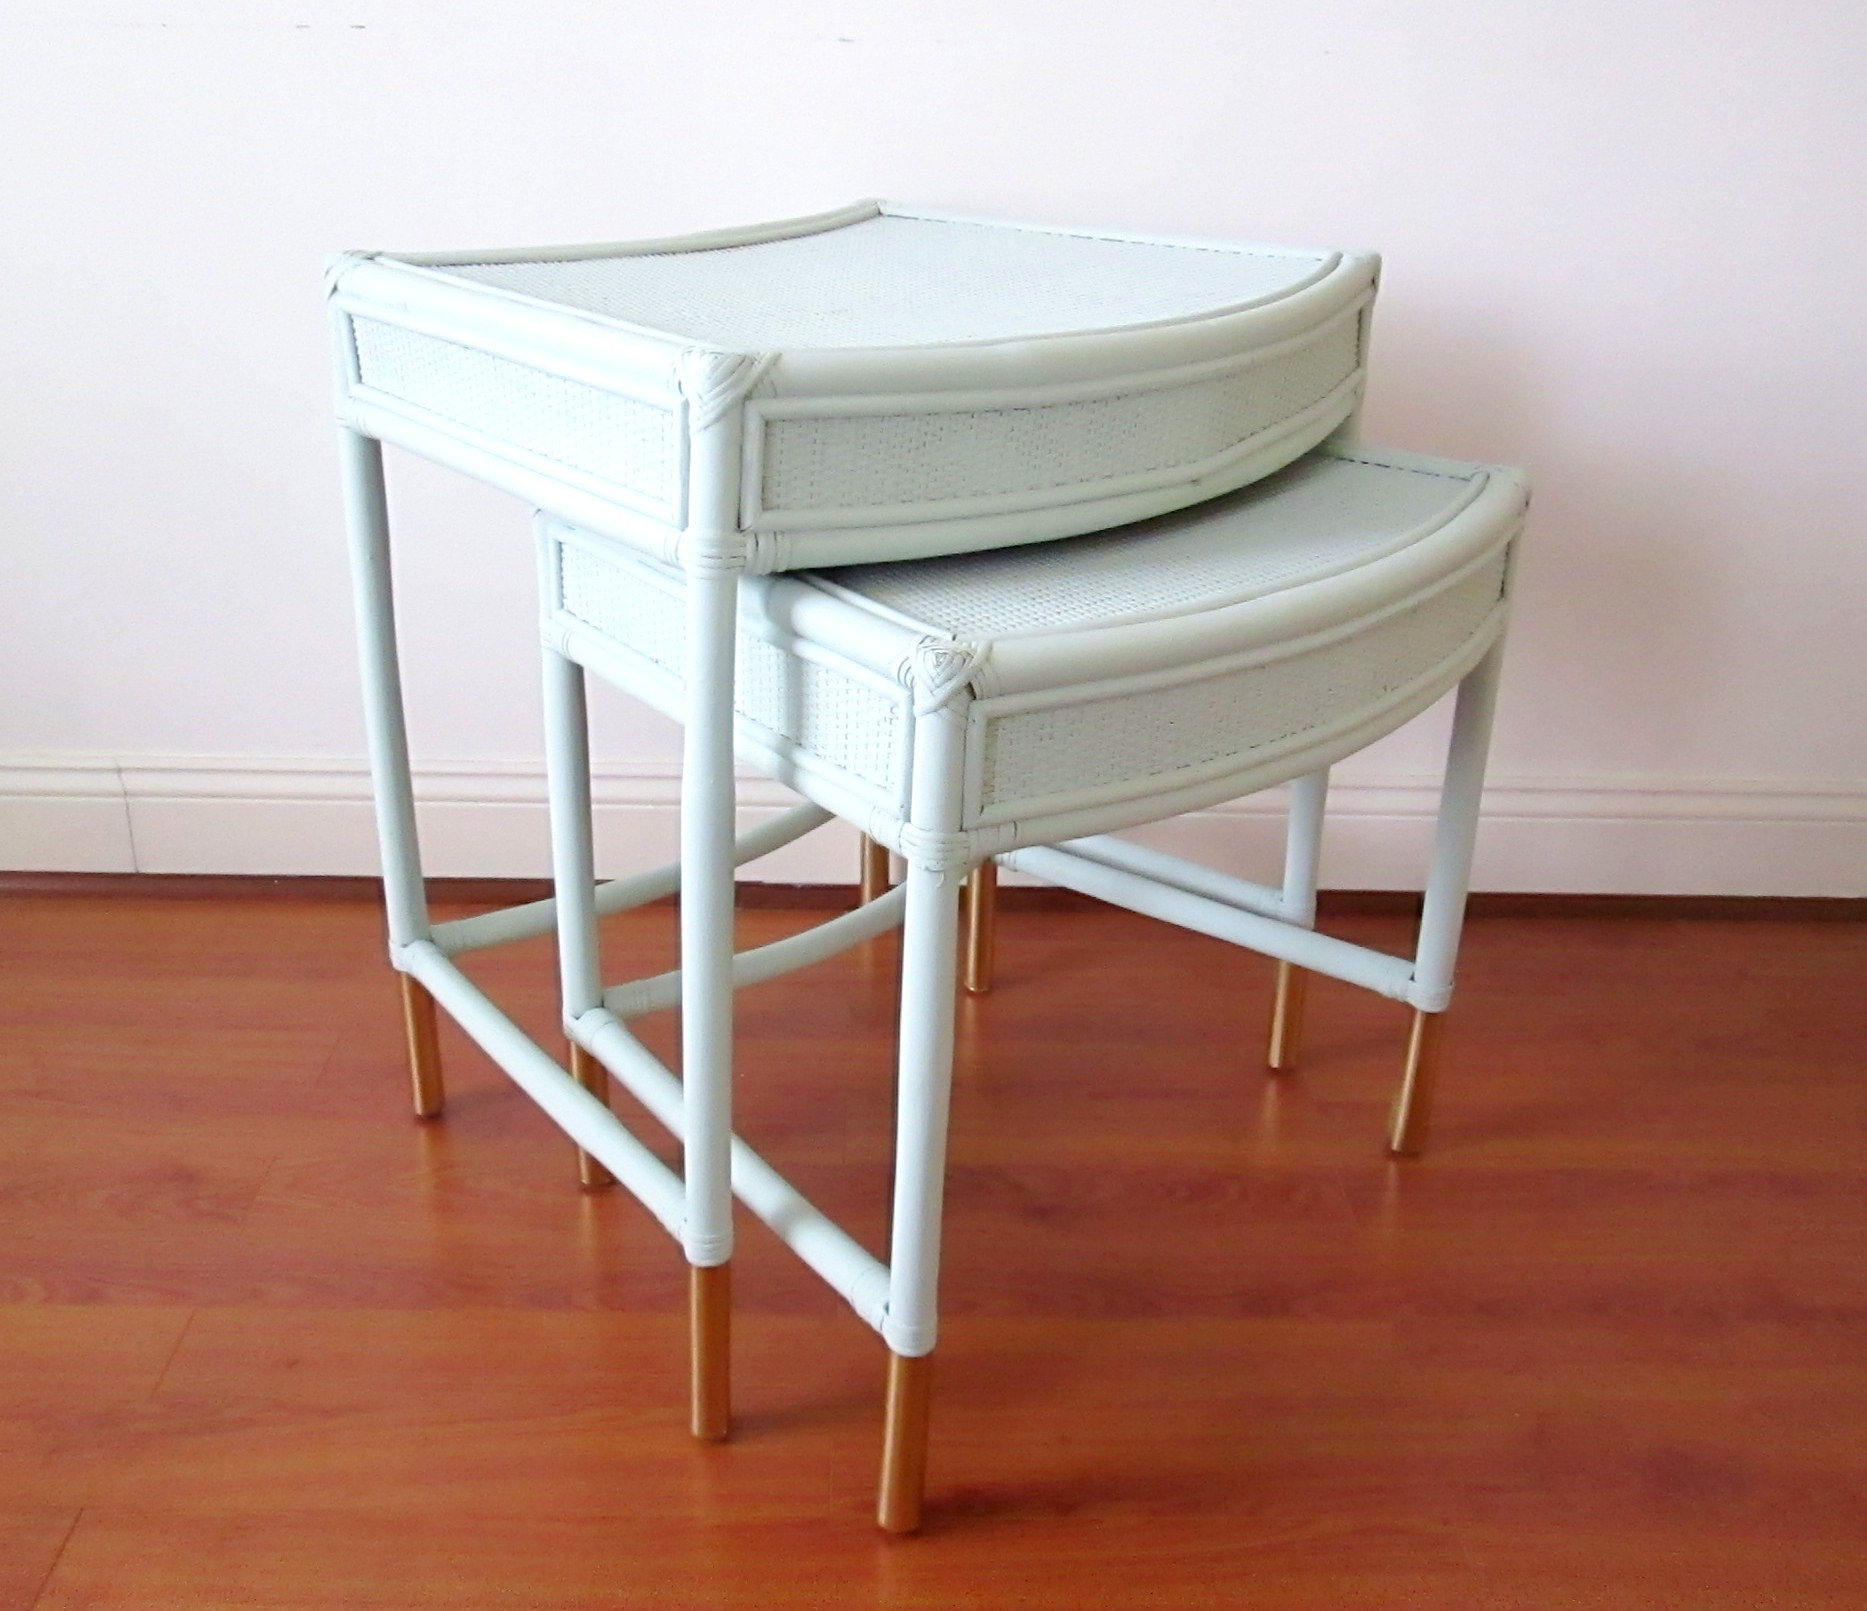
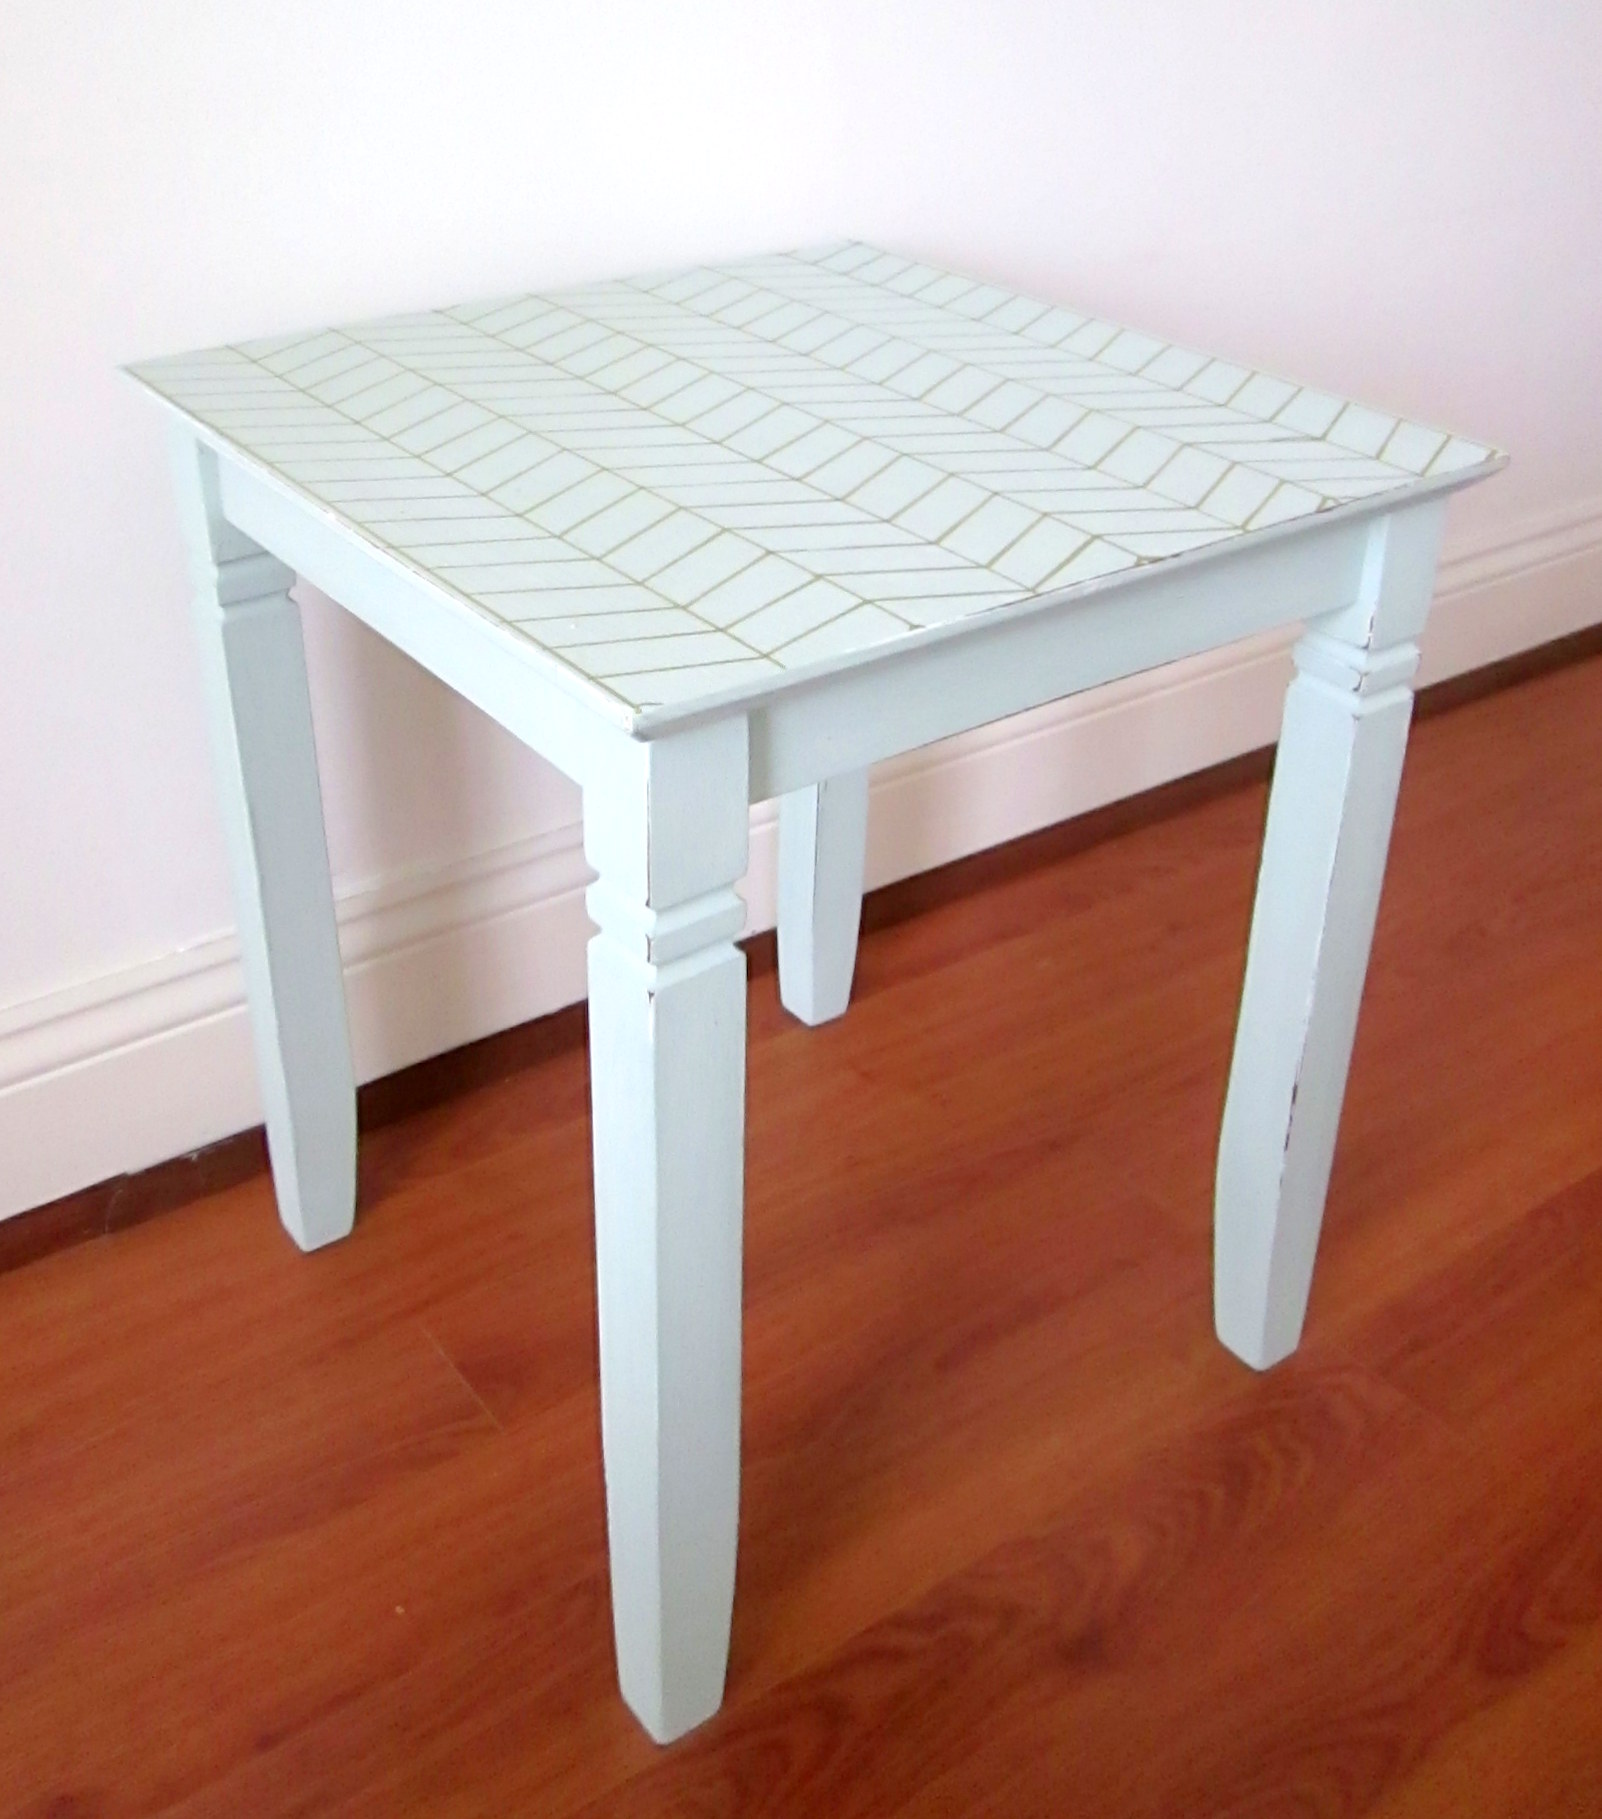
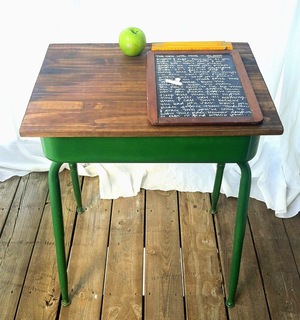
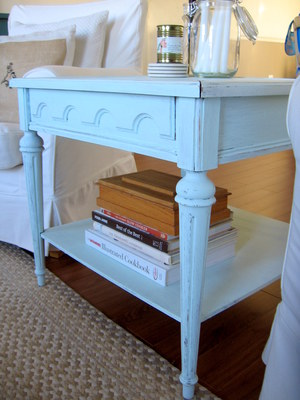
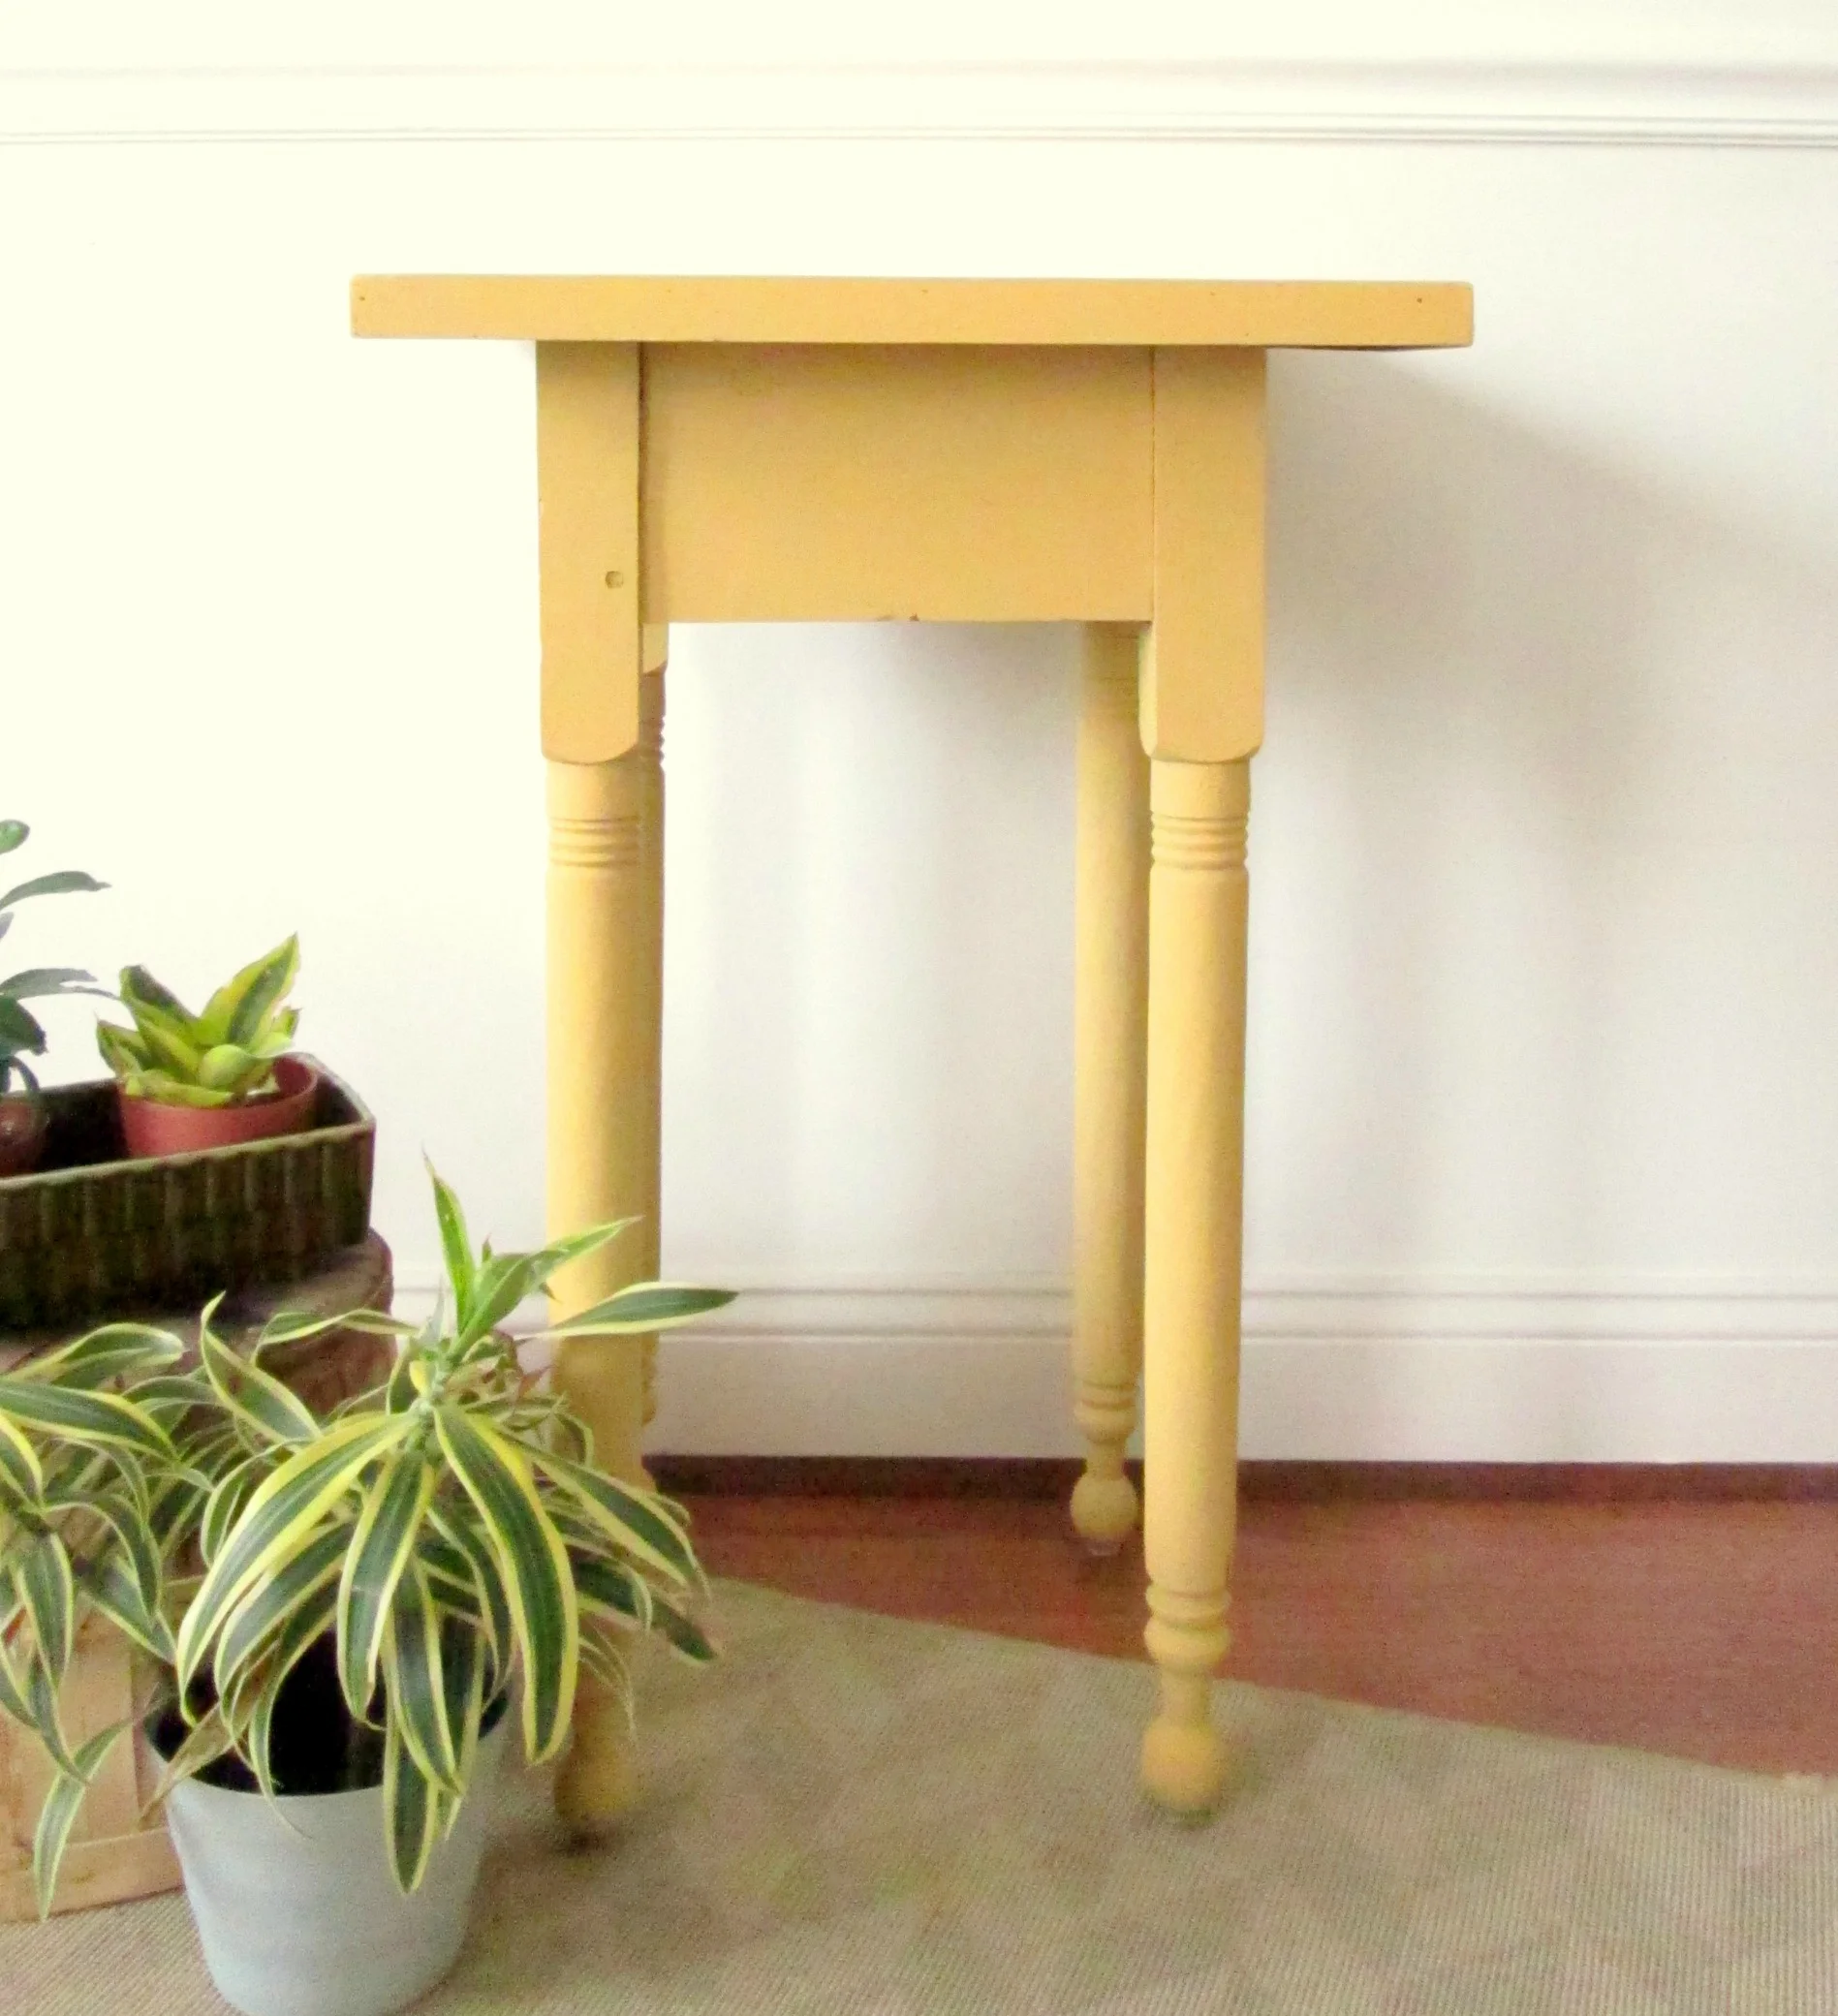
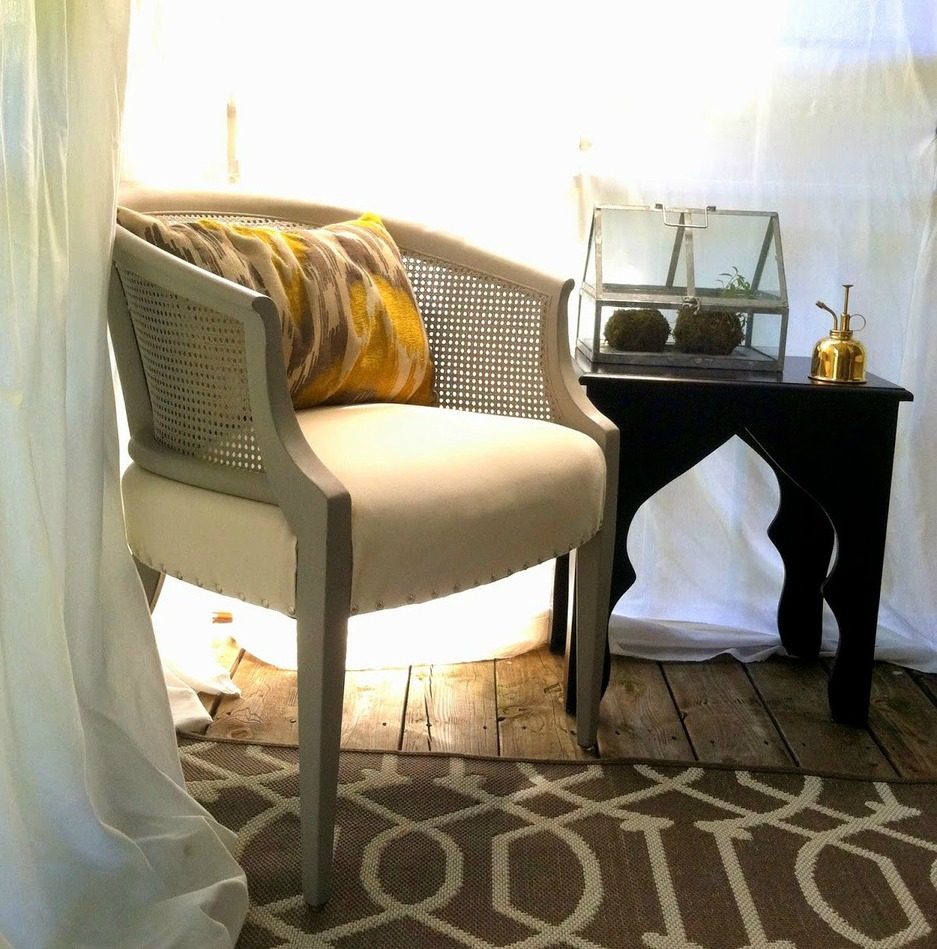
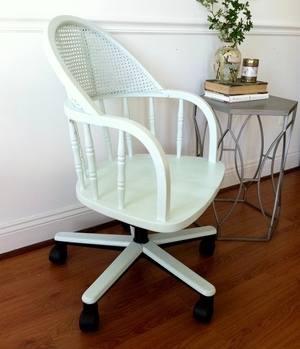
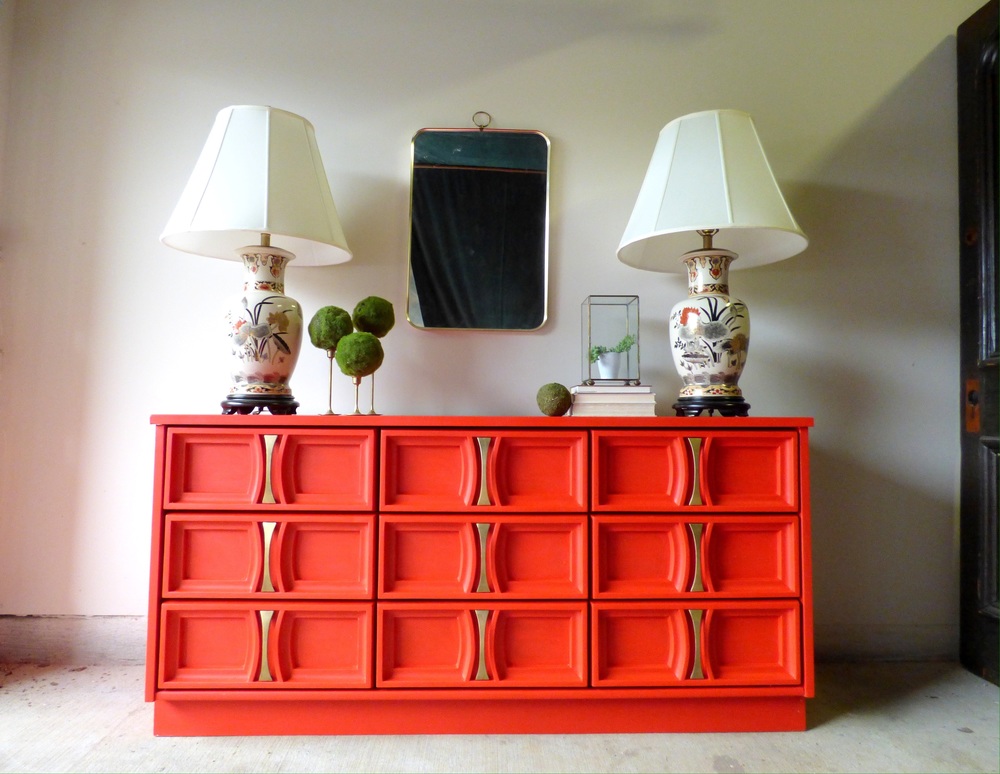
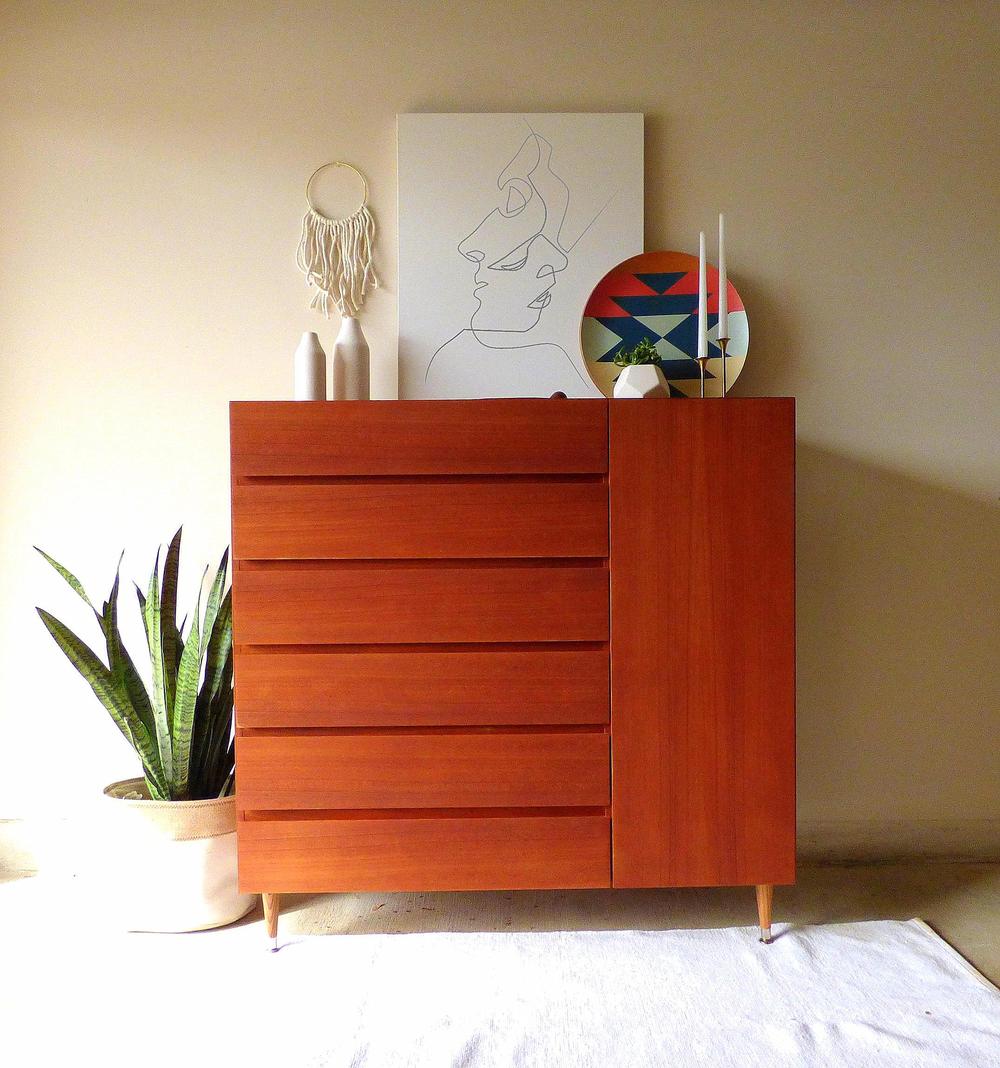
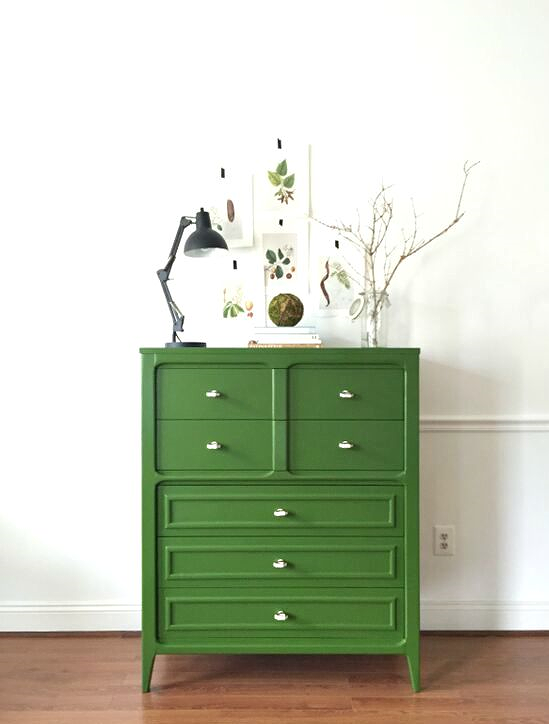
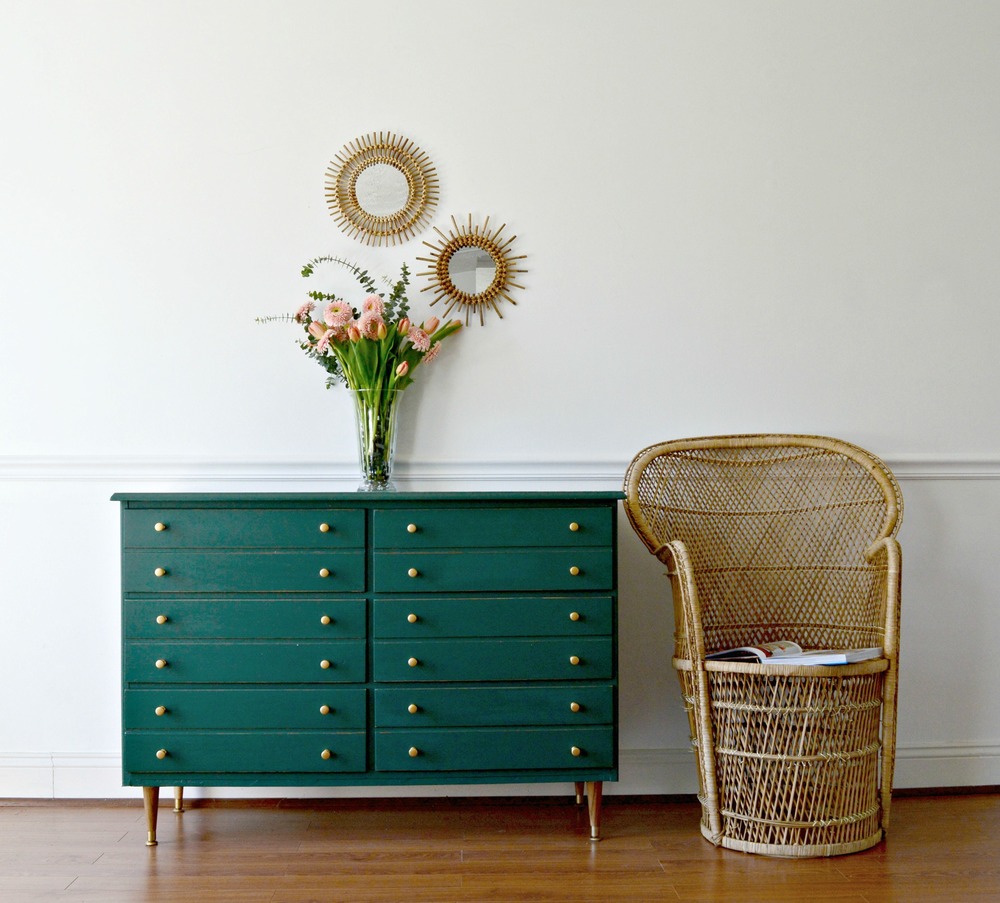
Some Personal Fave Past Projects


So lately our Craigslist spidey-senses have started noticing some developing trends.  The price for Grandma's old dresser is going up in correlation with the sheer number of DIY pieces for sale.  Now, we LOVE seeing so much budding talent in our area.  But it makes us ask ourselves how can we stand out to potential buyers?

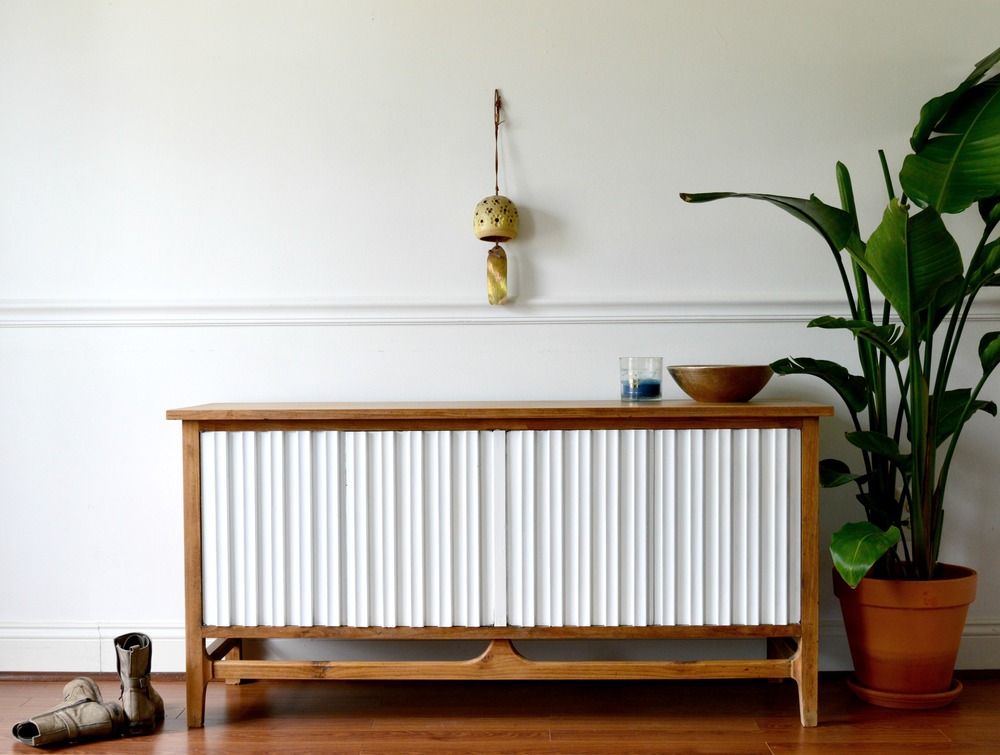
So when I found this campaign piece, I decided to conduct a little experiment.  (I actually do this often when staging my pieces for sale).  I LOVE bright, bold, loud colors.  On/ in/ around everything.  But based on what I've seen in our area, most people want a "tamer" more rustic look and something too eclectic could be a off-putting.  So I decided to refinish this piece in a color that would still play well with the neutrals that are so indicative of the farmhouse craze everyone is in these days.

If you're as obsessed with HGTV like I am, you may notice that the predominately grain sack and burlap color scheme of the farmhouse scene has started to relax it's restrictions the rest of the color spectrum.  Home decor shows like Fixer Upper (a personal fave) have started mixing in muted teals, deep greens, saturated navys, matte charcoals, and warm woods amongst all that greige.  And well I just happened to have a can of muted teal on hand from a custom order so I went for it.

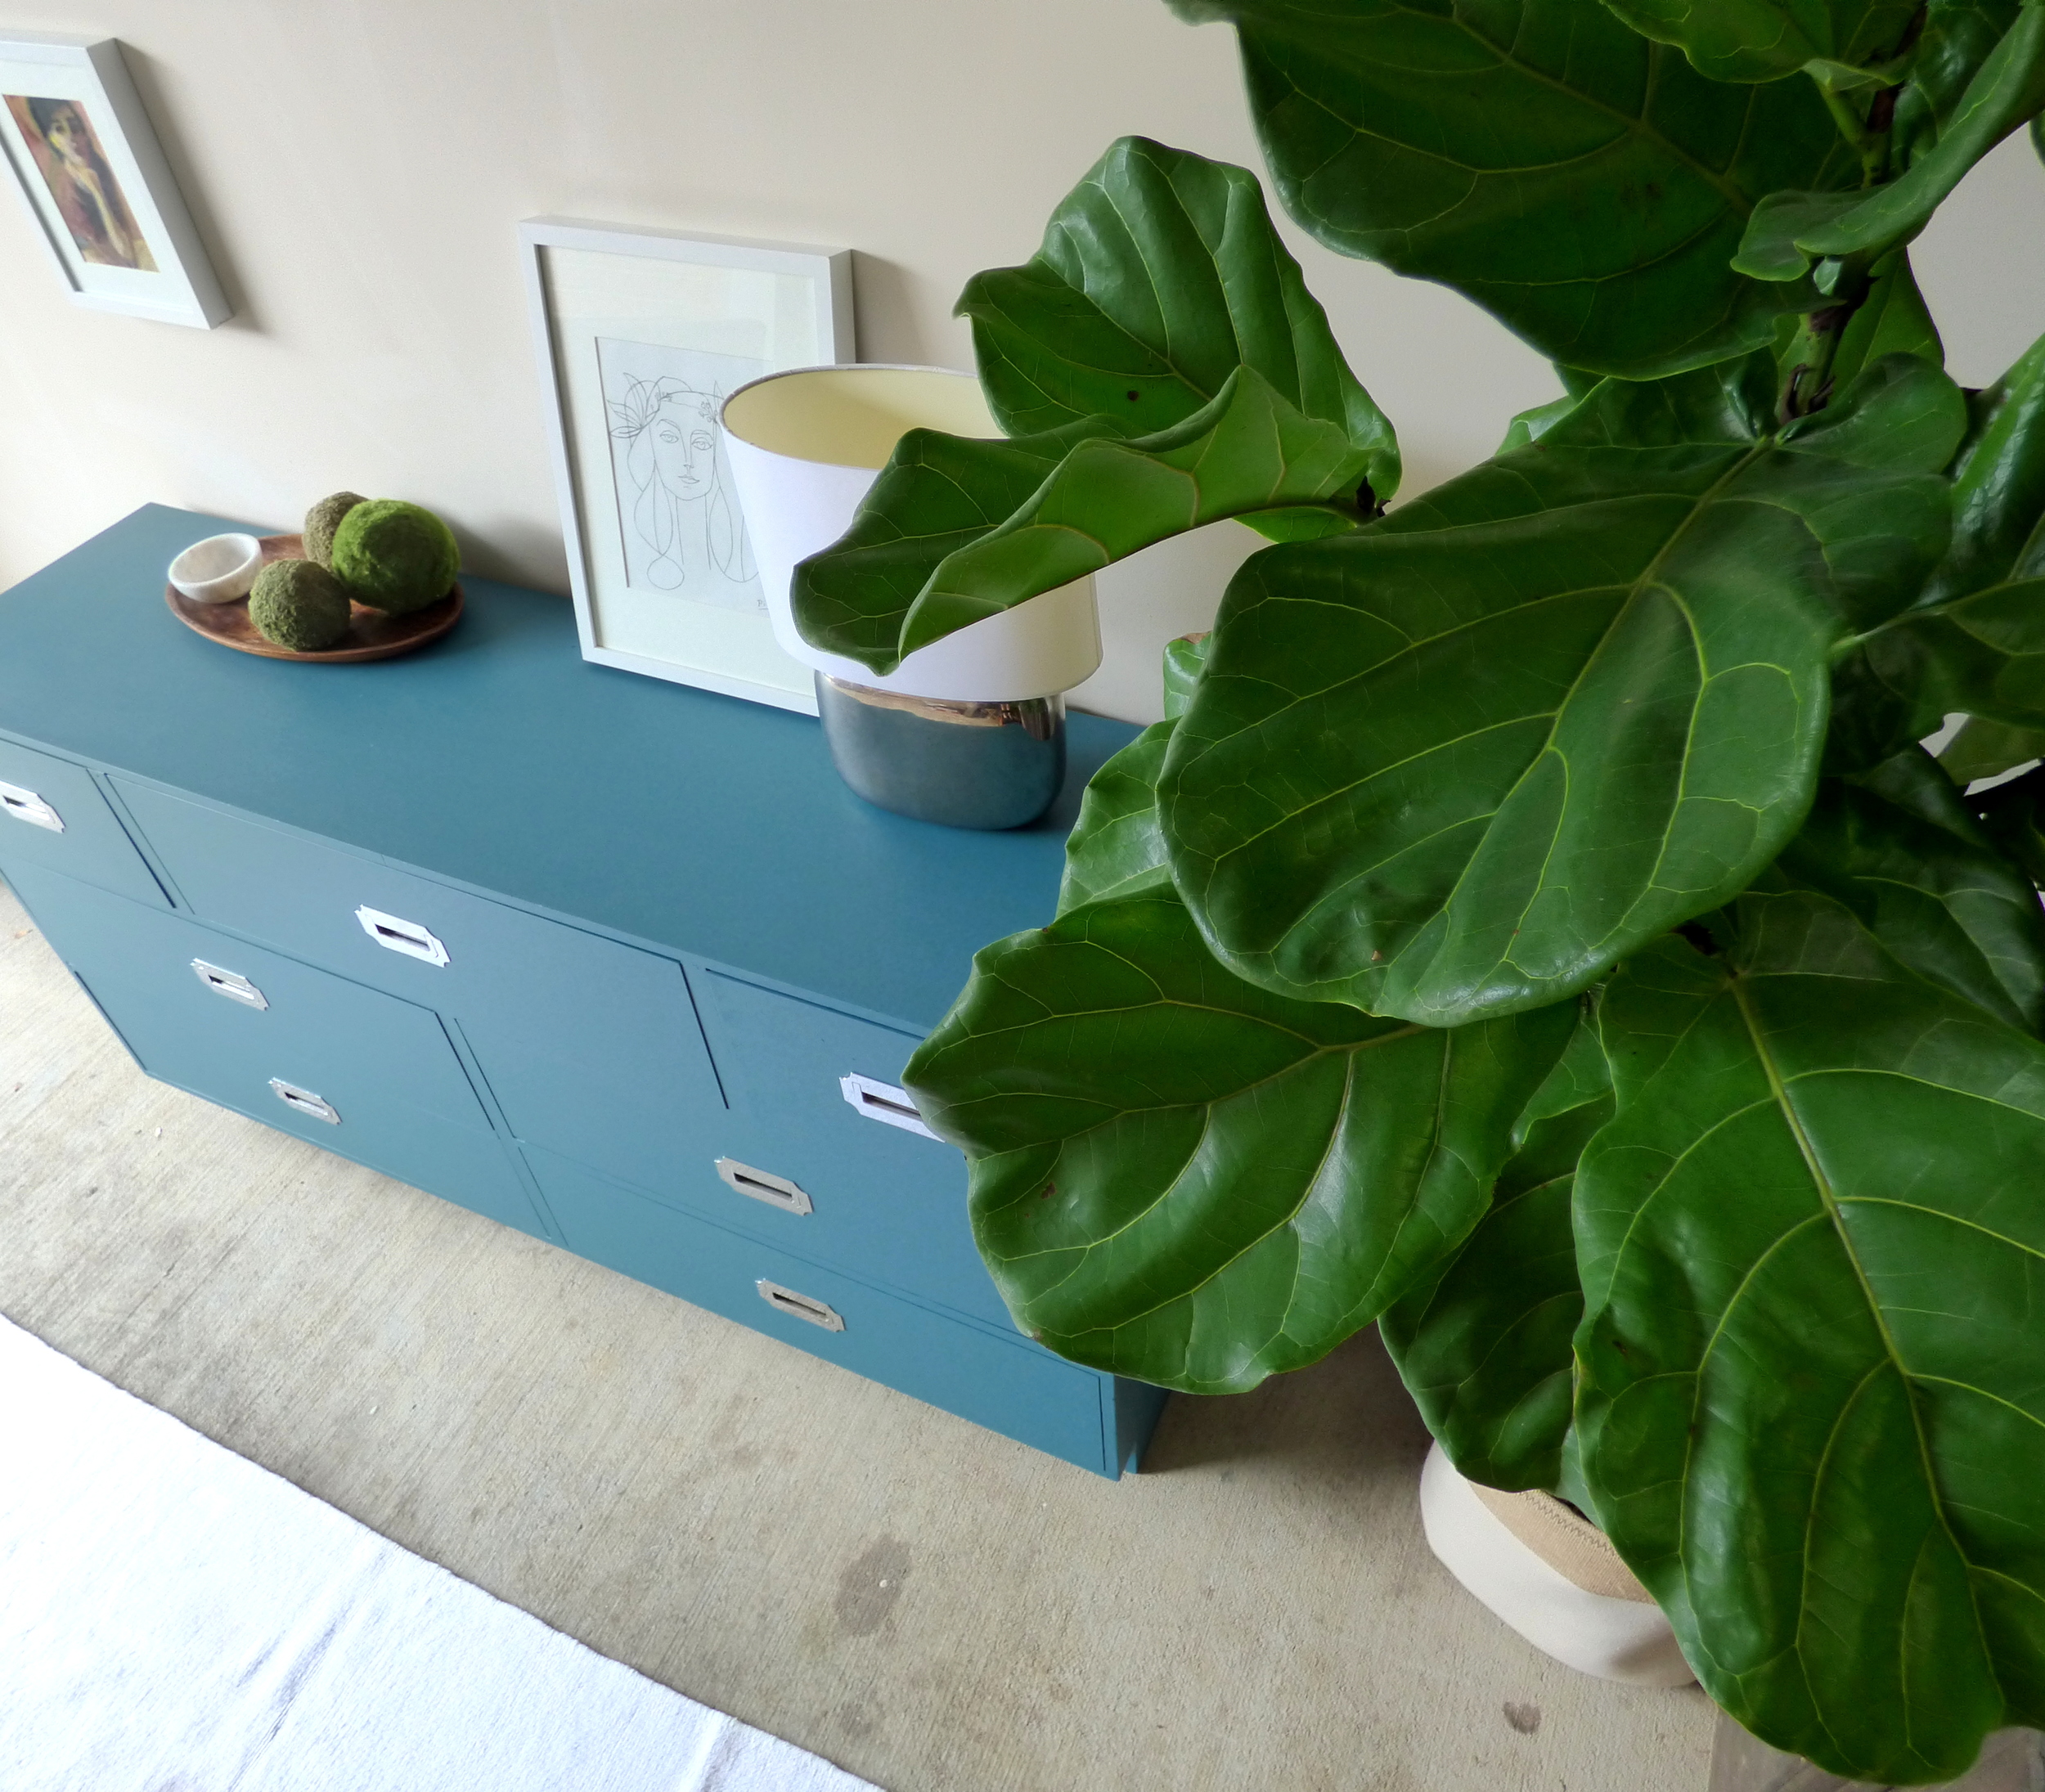
I still styled it with some fun abstract art because well... it's me we're talking about here.  The hung art is intentionally undersized (it's so wrong it's almost right) in hopes that it shows how a "safe" piece can still be used in bold ways (you know - just in case it struck a cord with a another style mutt in the market for some new furniture ;)

I laid aside my overactive love of brass and styled with a silver lamp to match the chrome pulls.  In my mind, silver is a "safer" choice for hardware because brass can rub some people the wrong way (I used to only see the 80's when I saw yellowy brass, but just because I've changed my tune doesn't mean everyone else has).  Besides they original chrome pulls with in immaculate condition - all they needed was a little polish.

And for good measure (since FLFs are after all quickly becoming the standard for home decorators) I asked my newest plantchild Figadora the Fiddle Leaf Fig to pose with mommy's newest flip.

So now we wait for the experiment's results: will the piece appeal to a lot of potential buyers with a variety of styles?  Will it only attract another style mutt like myself?  Or will it sit in the garage shop until I try something new?  I'll have to keep you posted.  In the meantime, how would you characterize your style?  How does this gray-blue piece strike you - yay or nay?

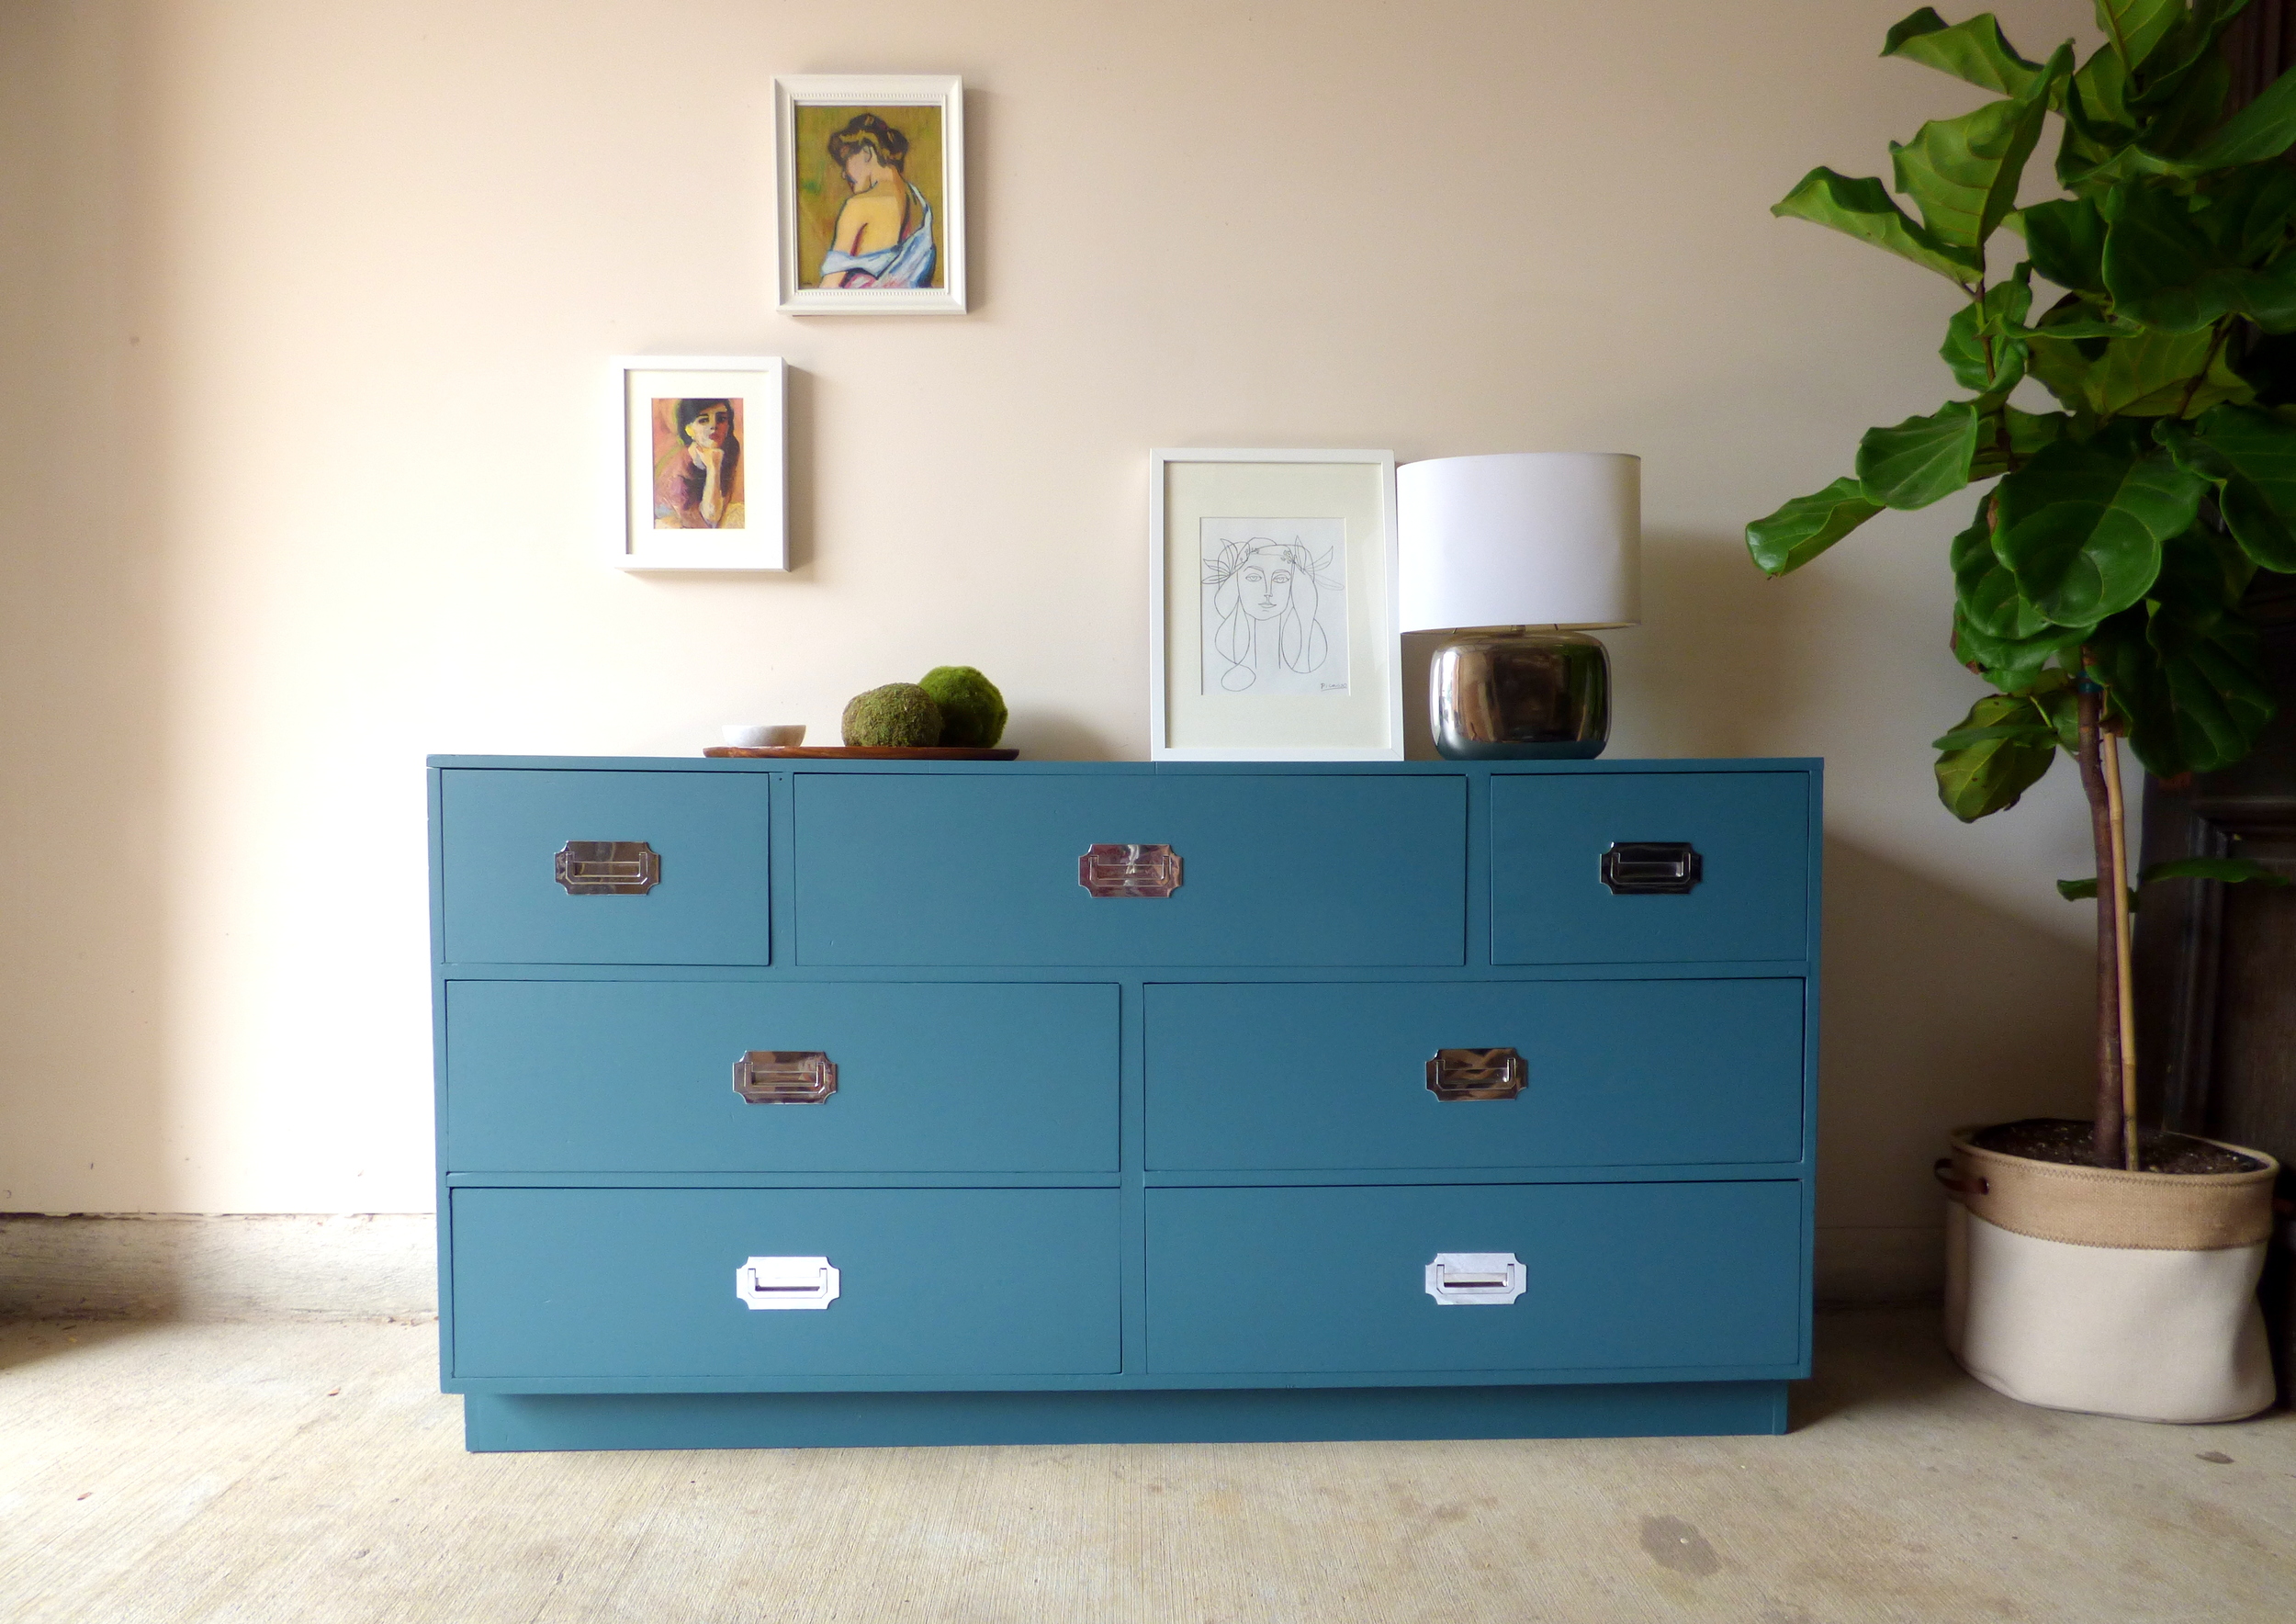
Muted Teal Campaign Chest
58"L x 16"D x 30"H
Now Available for Sale
$545

A Vvvvery Interesting Piece, Indeed

Hi friends! I posted this stack of pieces the other day that we collected after a particularly lucky weekend on Craigslist a few weeks ago. I've already shared how the mid-century cabinet in the middle turned out, and how Shire flipped those accent tables on top. If you're an Instagram pal you may have seen a teaser of that bottom piece already. Well here it is, done and ready for a new home!

I really wanted this piece to be something unique when it was finished. It didn't need hardware as there is a deep lip underneath each drawer for easy opening and closing, but even before I began painting it just seemed to fall a little flat. As soon as I saw it I wanted to add some visual interest here. I sketched a few things out on paper, and while my drawings are at the artistic skill level of a 1st grader, seeing them side by side made the decision easy!

There was just something about these 'V' pulls that was so unique, but not in a 'what in the world are those' kind of way, (unless I'm missing something). So I measured out some 3/8" wood trim and cut all the pieces I'd need. Each individual pull is made up of two pieces, which you can see below. My '1' marked pieces were 4", and my '2' marked pieces were 3.6". I made 9 pairs in total, one for each drawer.

I used a very small nail to tap the pieces together as shown. It didn't really matter that they be attached well at this point, since I would ultimately attach both pieces to the drawers. At first I thought I would attach the pieces to the drawers facing down, as shown below. I didn't hate it but wanted to see both ways. I really loved the pieces opening upward; I can't explain why, but it just looked better!

V piece 2.jpg

Gentle distressing, (with my go-to tool, a medium grit sanding sponge), along all the edges and corners of the piece brings out the shape and lines without being too distracting.

Now available for sale!
66"L x 29.5"H x 18"D
$625
Contact chelsea@stylemutthome.com if interested in this piece of a custom order like it!

Thank you so much for stopping by and have a wonderful day!

Staging Smart: Tips For Staging Small Pieces

Hello, friends! Following up my earlier post this week on the importance of staging refinished furniture, (for the purpose of selling), I thought it might be fun to talk about staging different pieces. Today I'll cover smaller pieces like end tables and accent chairs, and next week we'll discuss the larger beasts.

For whatever reason, I find it more difficult to stage a smaller piece. I love playing with the surface and surrounding of a large dresser or china cabinet, but when all I have is a small footprint to work with, I tend to scratch my head staring at it. I don't really have a specific 'formula' to share, but I've learned that it's okay to stage smaller pieces a bit 'abstractly'. It's not likely that anyone would place a little table floating rogue on the open floor, but it's okay to stage it that way!

It's also okay to settle these small pieces in and sprinkle a little 'life' around them. Some of my go-to accessories for small tables include an open book or neat stack of books, fresh flowers, succulents, and pretty candles. We don't use all of these at once, but it's fun to play with one or two, step back, and see what looks the most natural.

Accent chairs are also one of those pieces that can be a little tricky to stage photos. Accent chairs are just that - accents to a whole, finished room. Taking a picture of one by itself just feels a little bit awkward. Just like with small tables,  it's okay to keep it simple but still bring a bit of energy to your shots. Go ahead and get artistic with your shots. Play with angles, with lighting, with accessories. The top right photo below was a really different kind of shot for me. I had just refinished this antique chair that was passed down from my husbands grandparents. I refinished it in a soft color but wanted to stage it with a bit more life to show it's versatility - that even pale painted antiques can be edgy. :)

Do you have any small piece staging tips that you could share? If you've got photos we'd  love to see! Share either on our Facebook wall or Instagram, using the tag #stylemuttrefinishes. Next week we'll be back with more staging fun!

Have an awesome weekend and thank you for stopping by!