Wall Mount Task Lamp || 2018 Flip List Item No.6

I did it again.  I took apart three light fixtures just to Frankenstein one.  This would be the fourth lamp I've built or rehabbed which means I may have a problem.

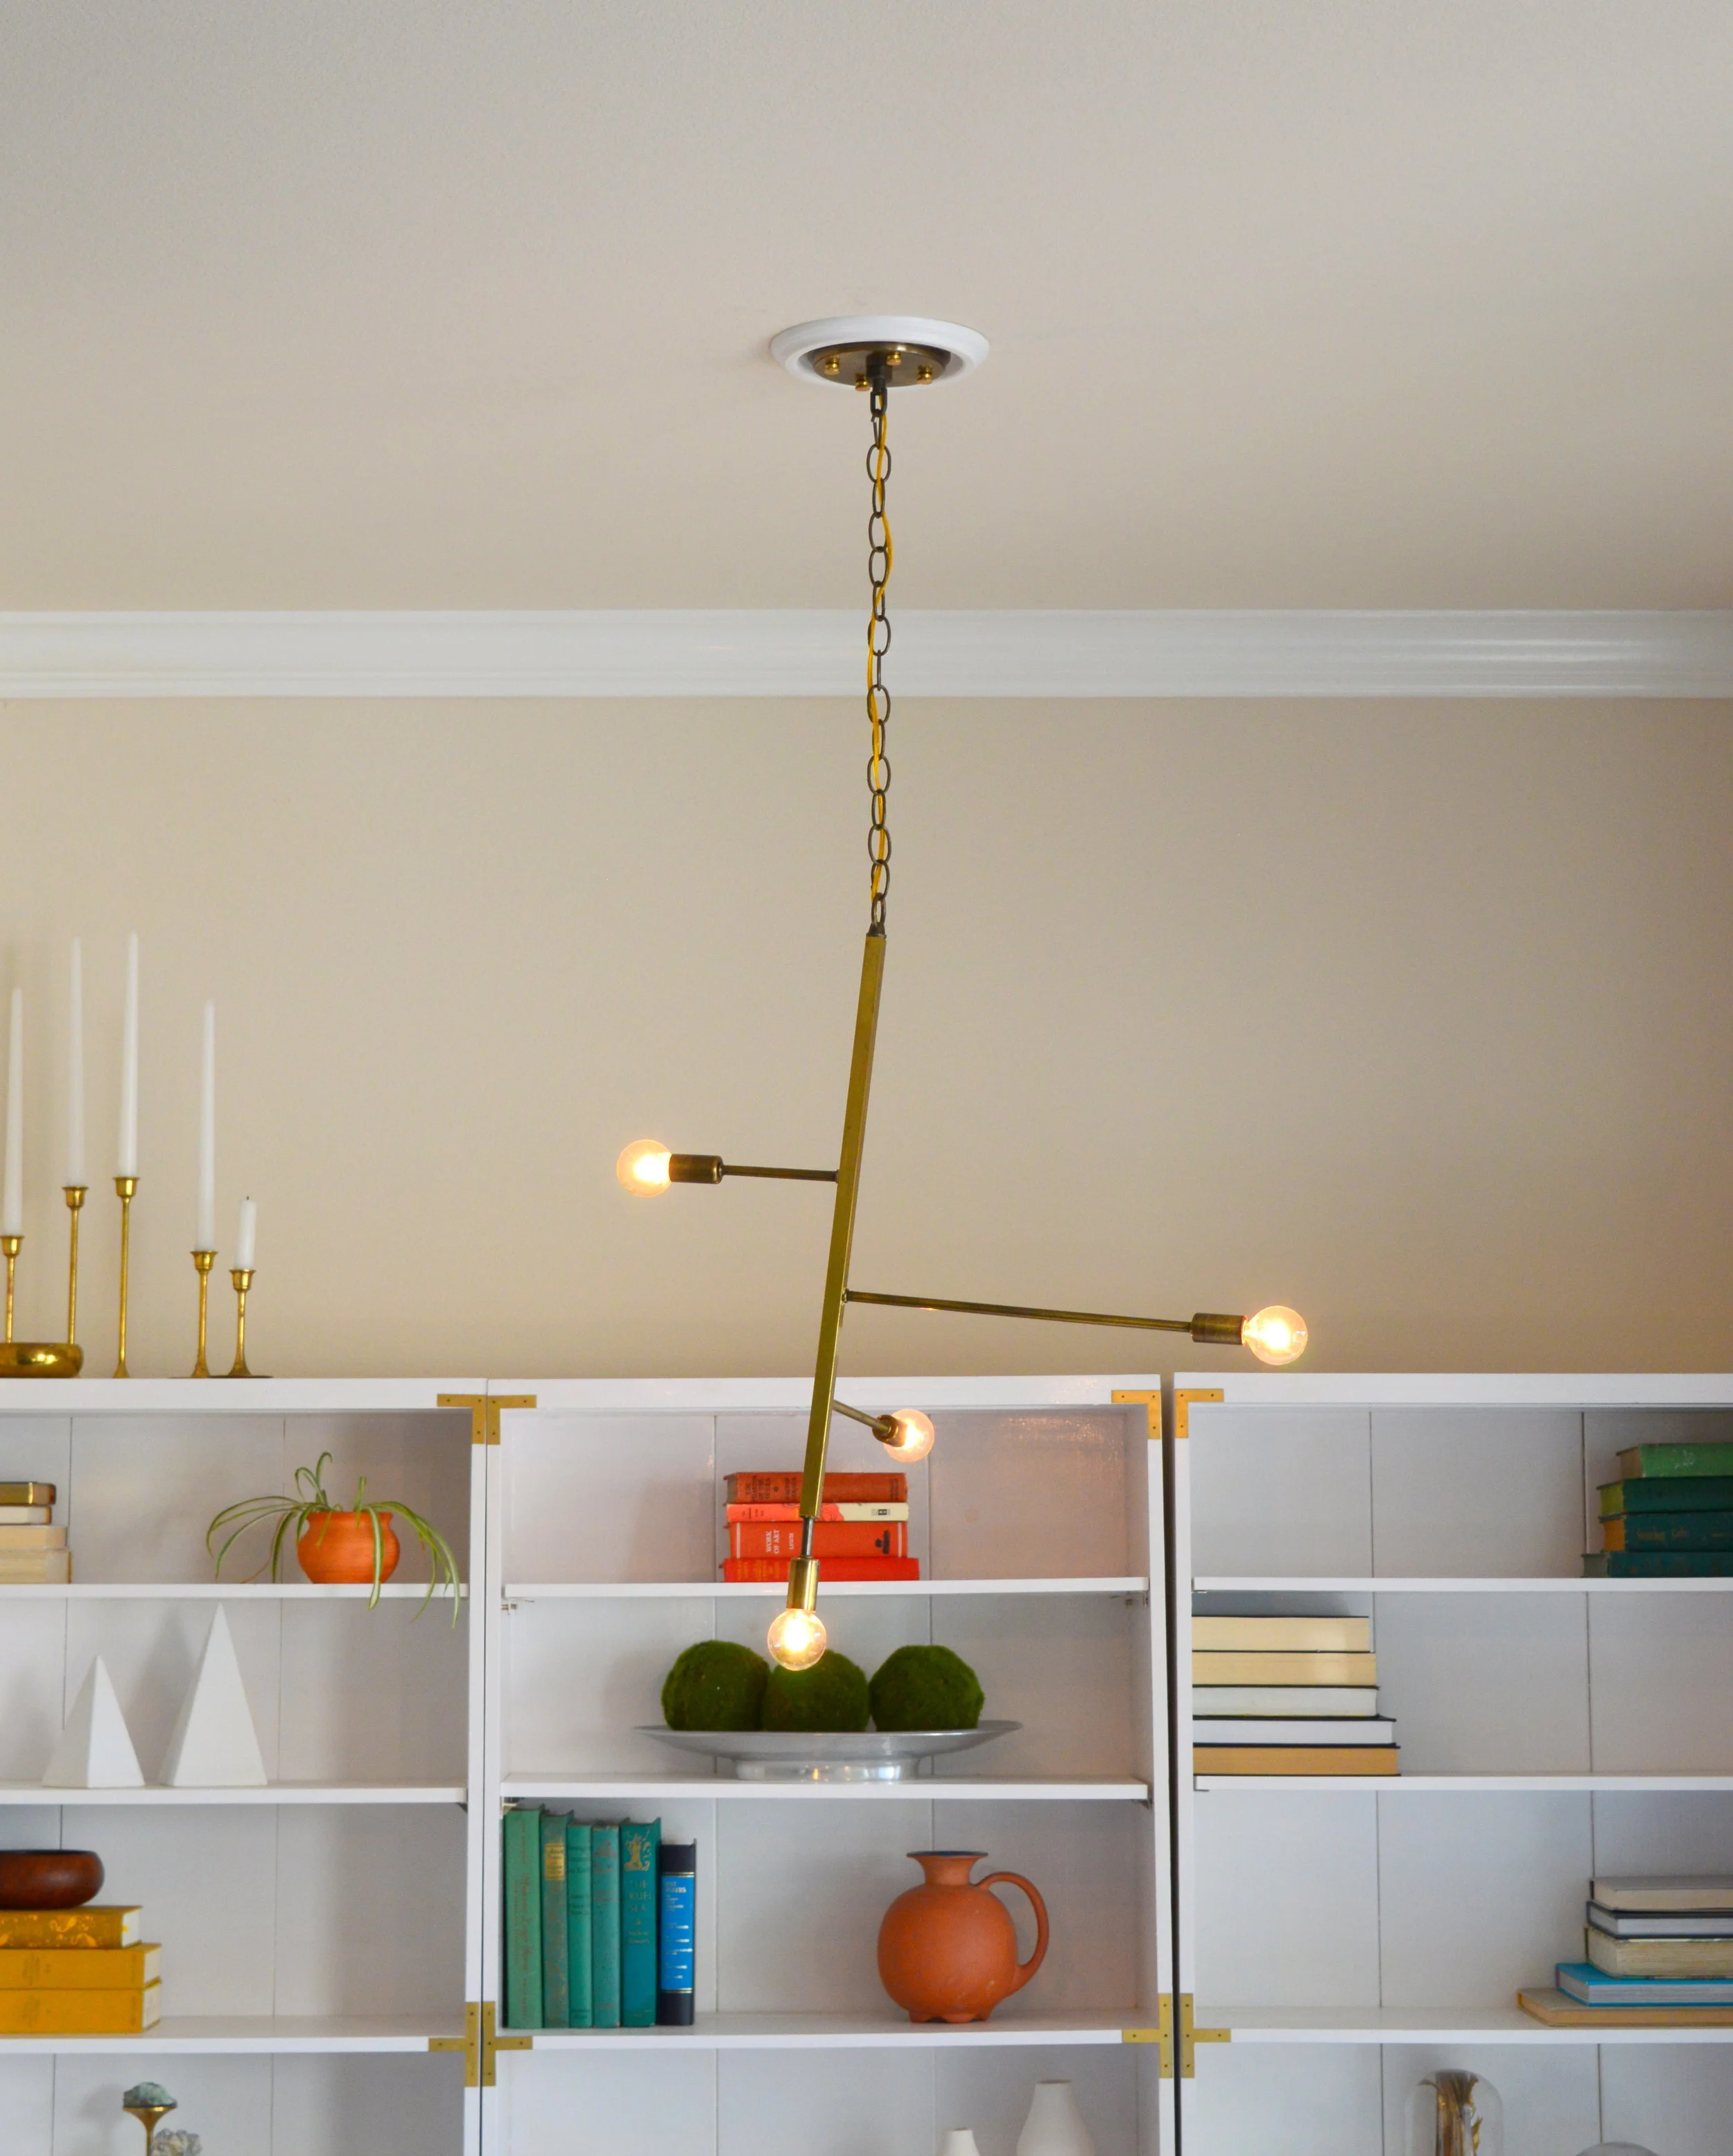
DIY Brass Chandelier

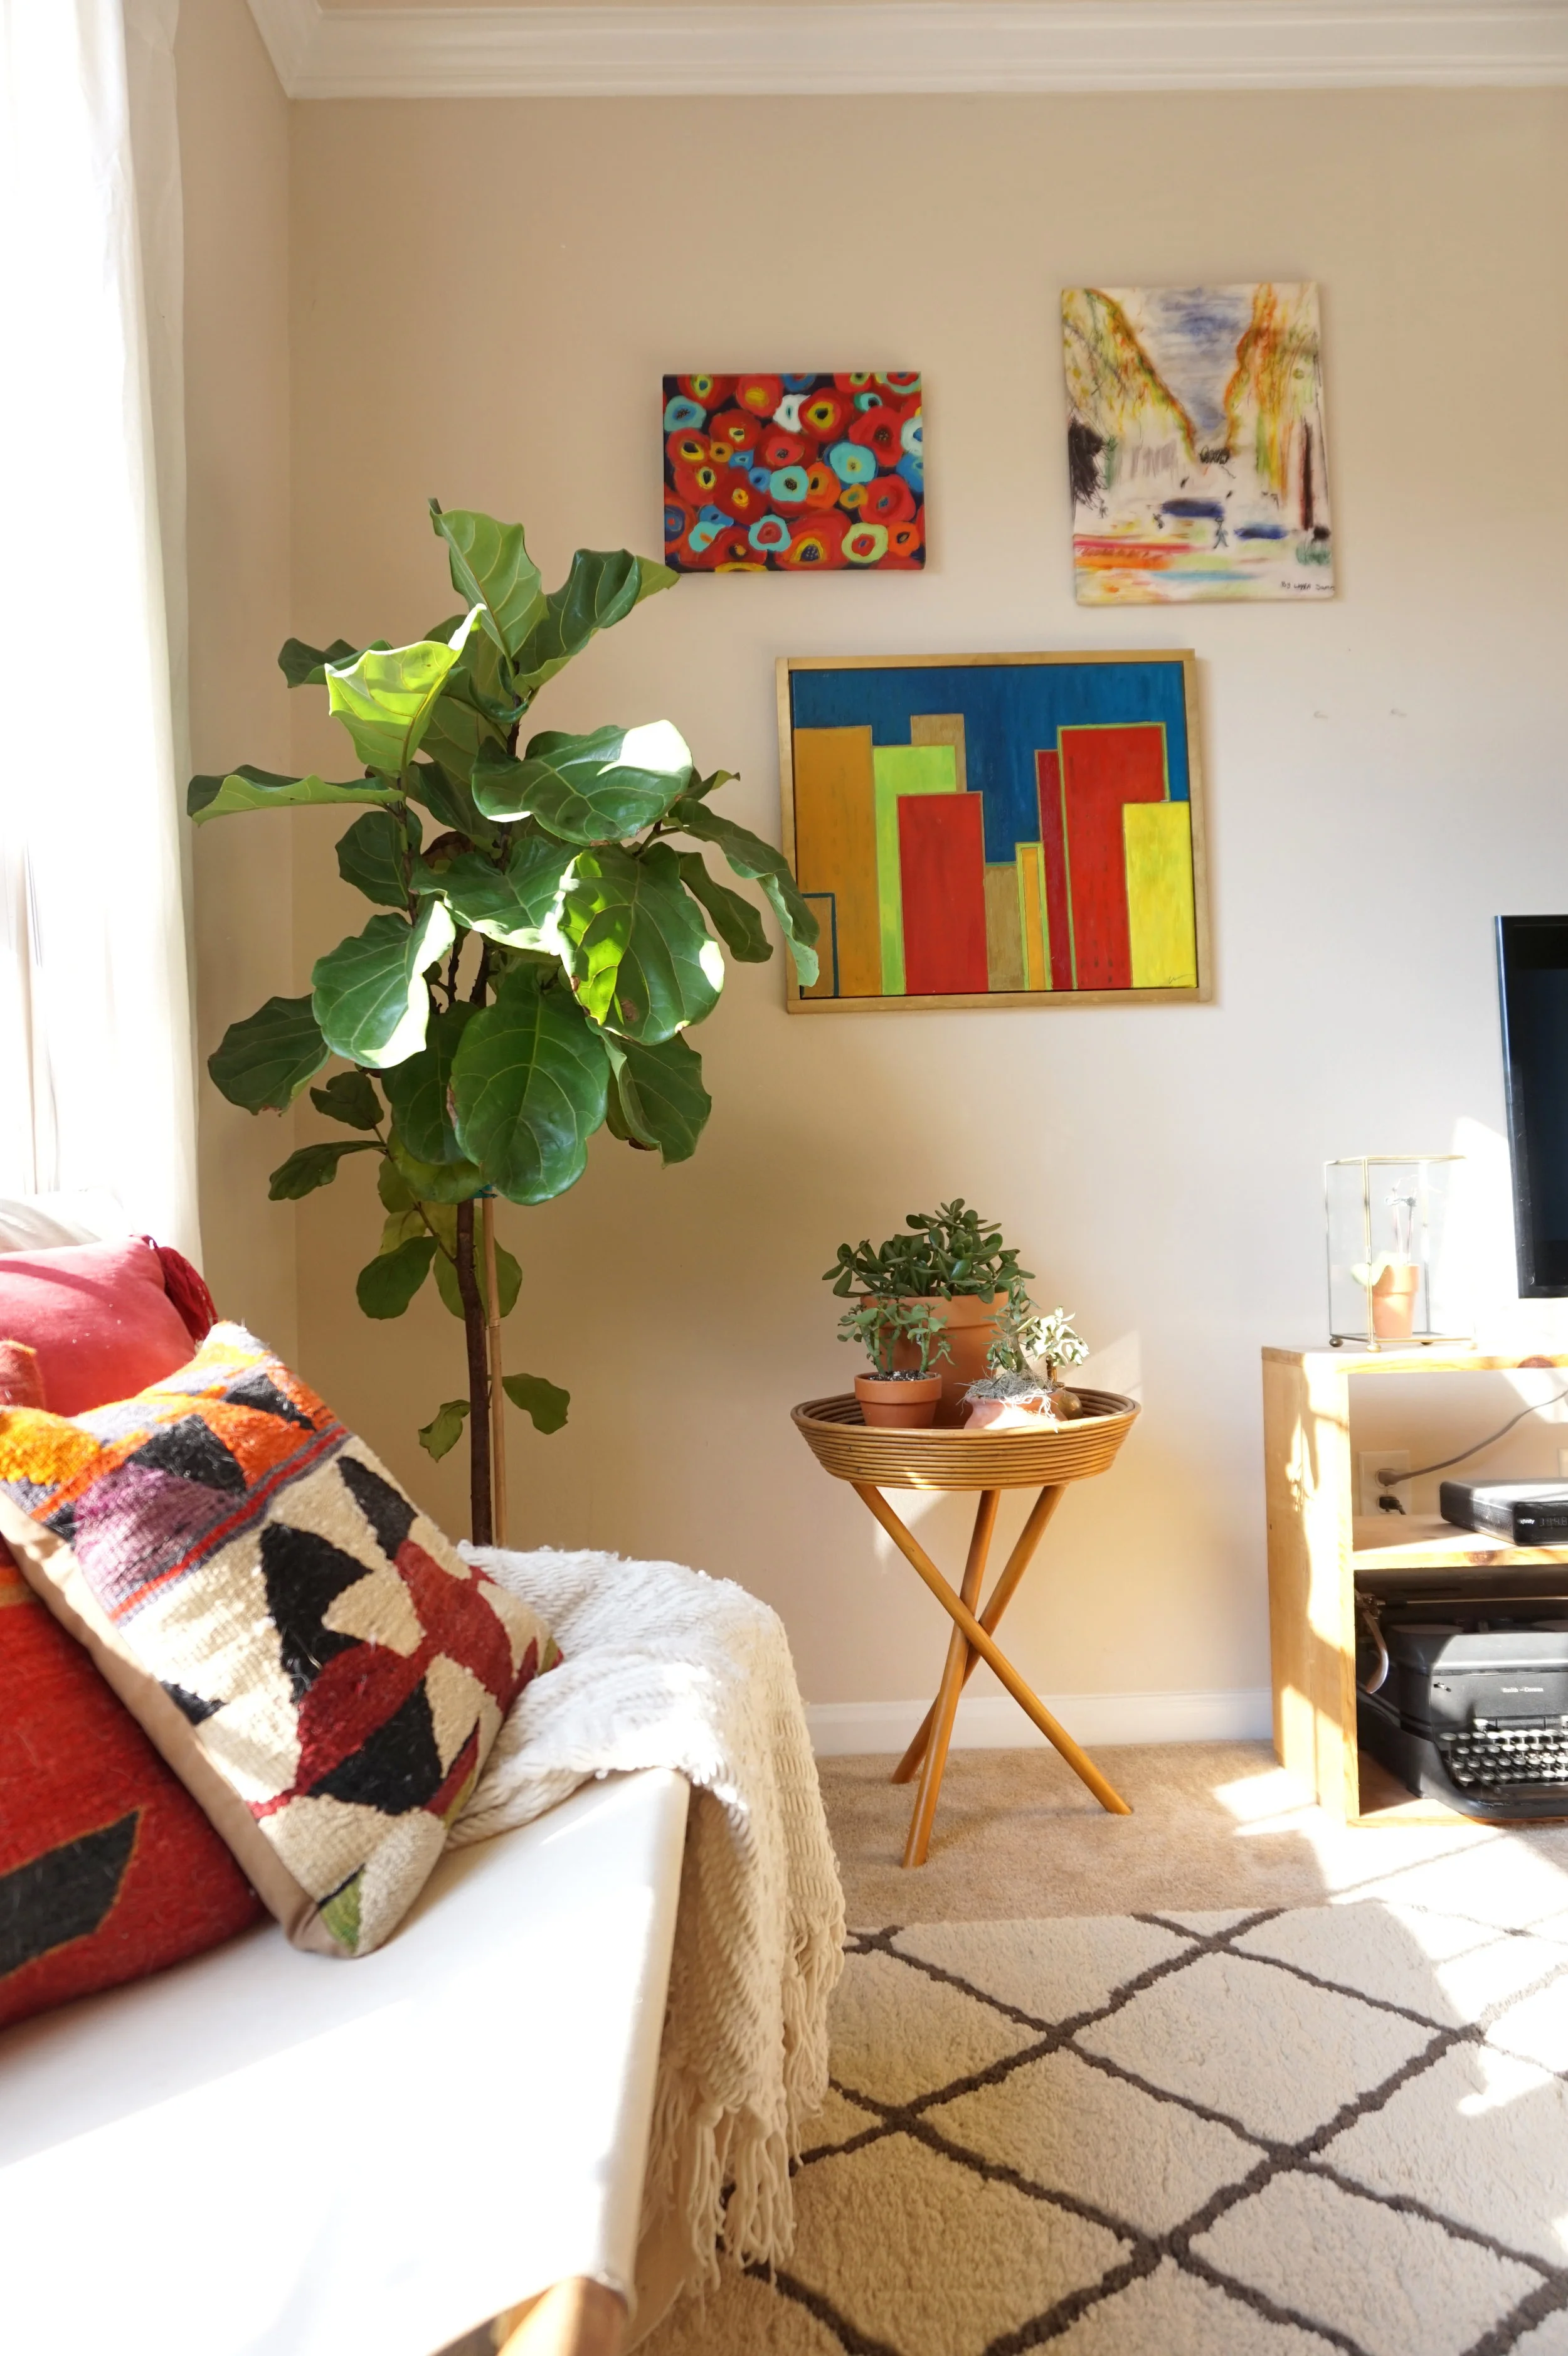
Geometric Lamp Copycat

Little Orphan Lampie

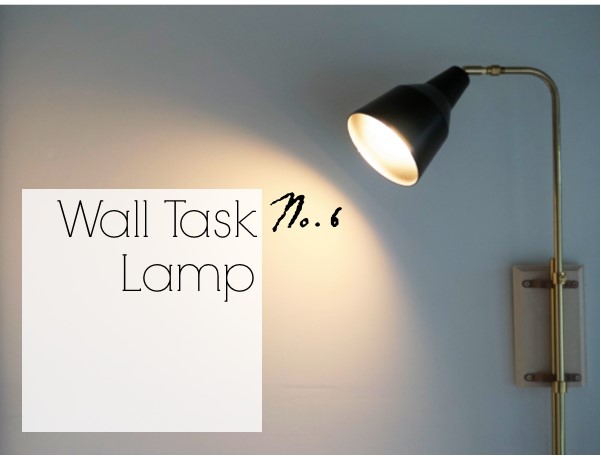
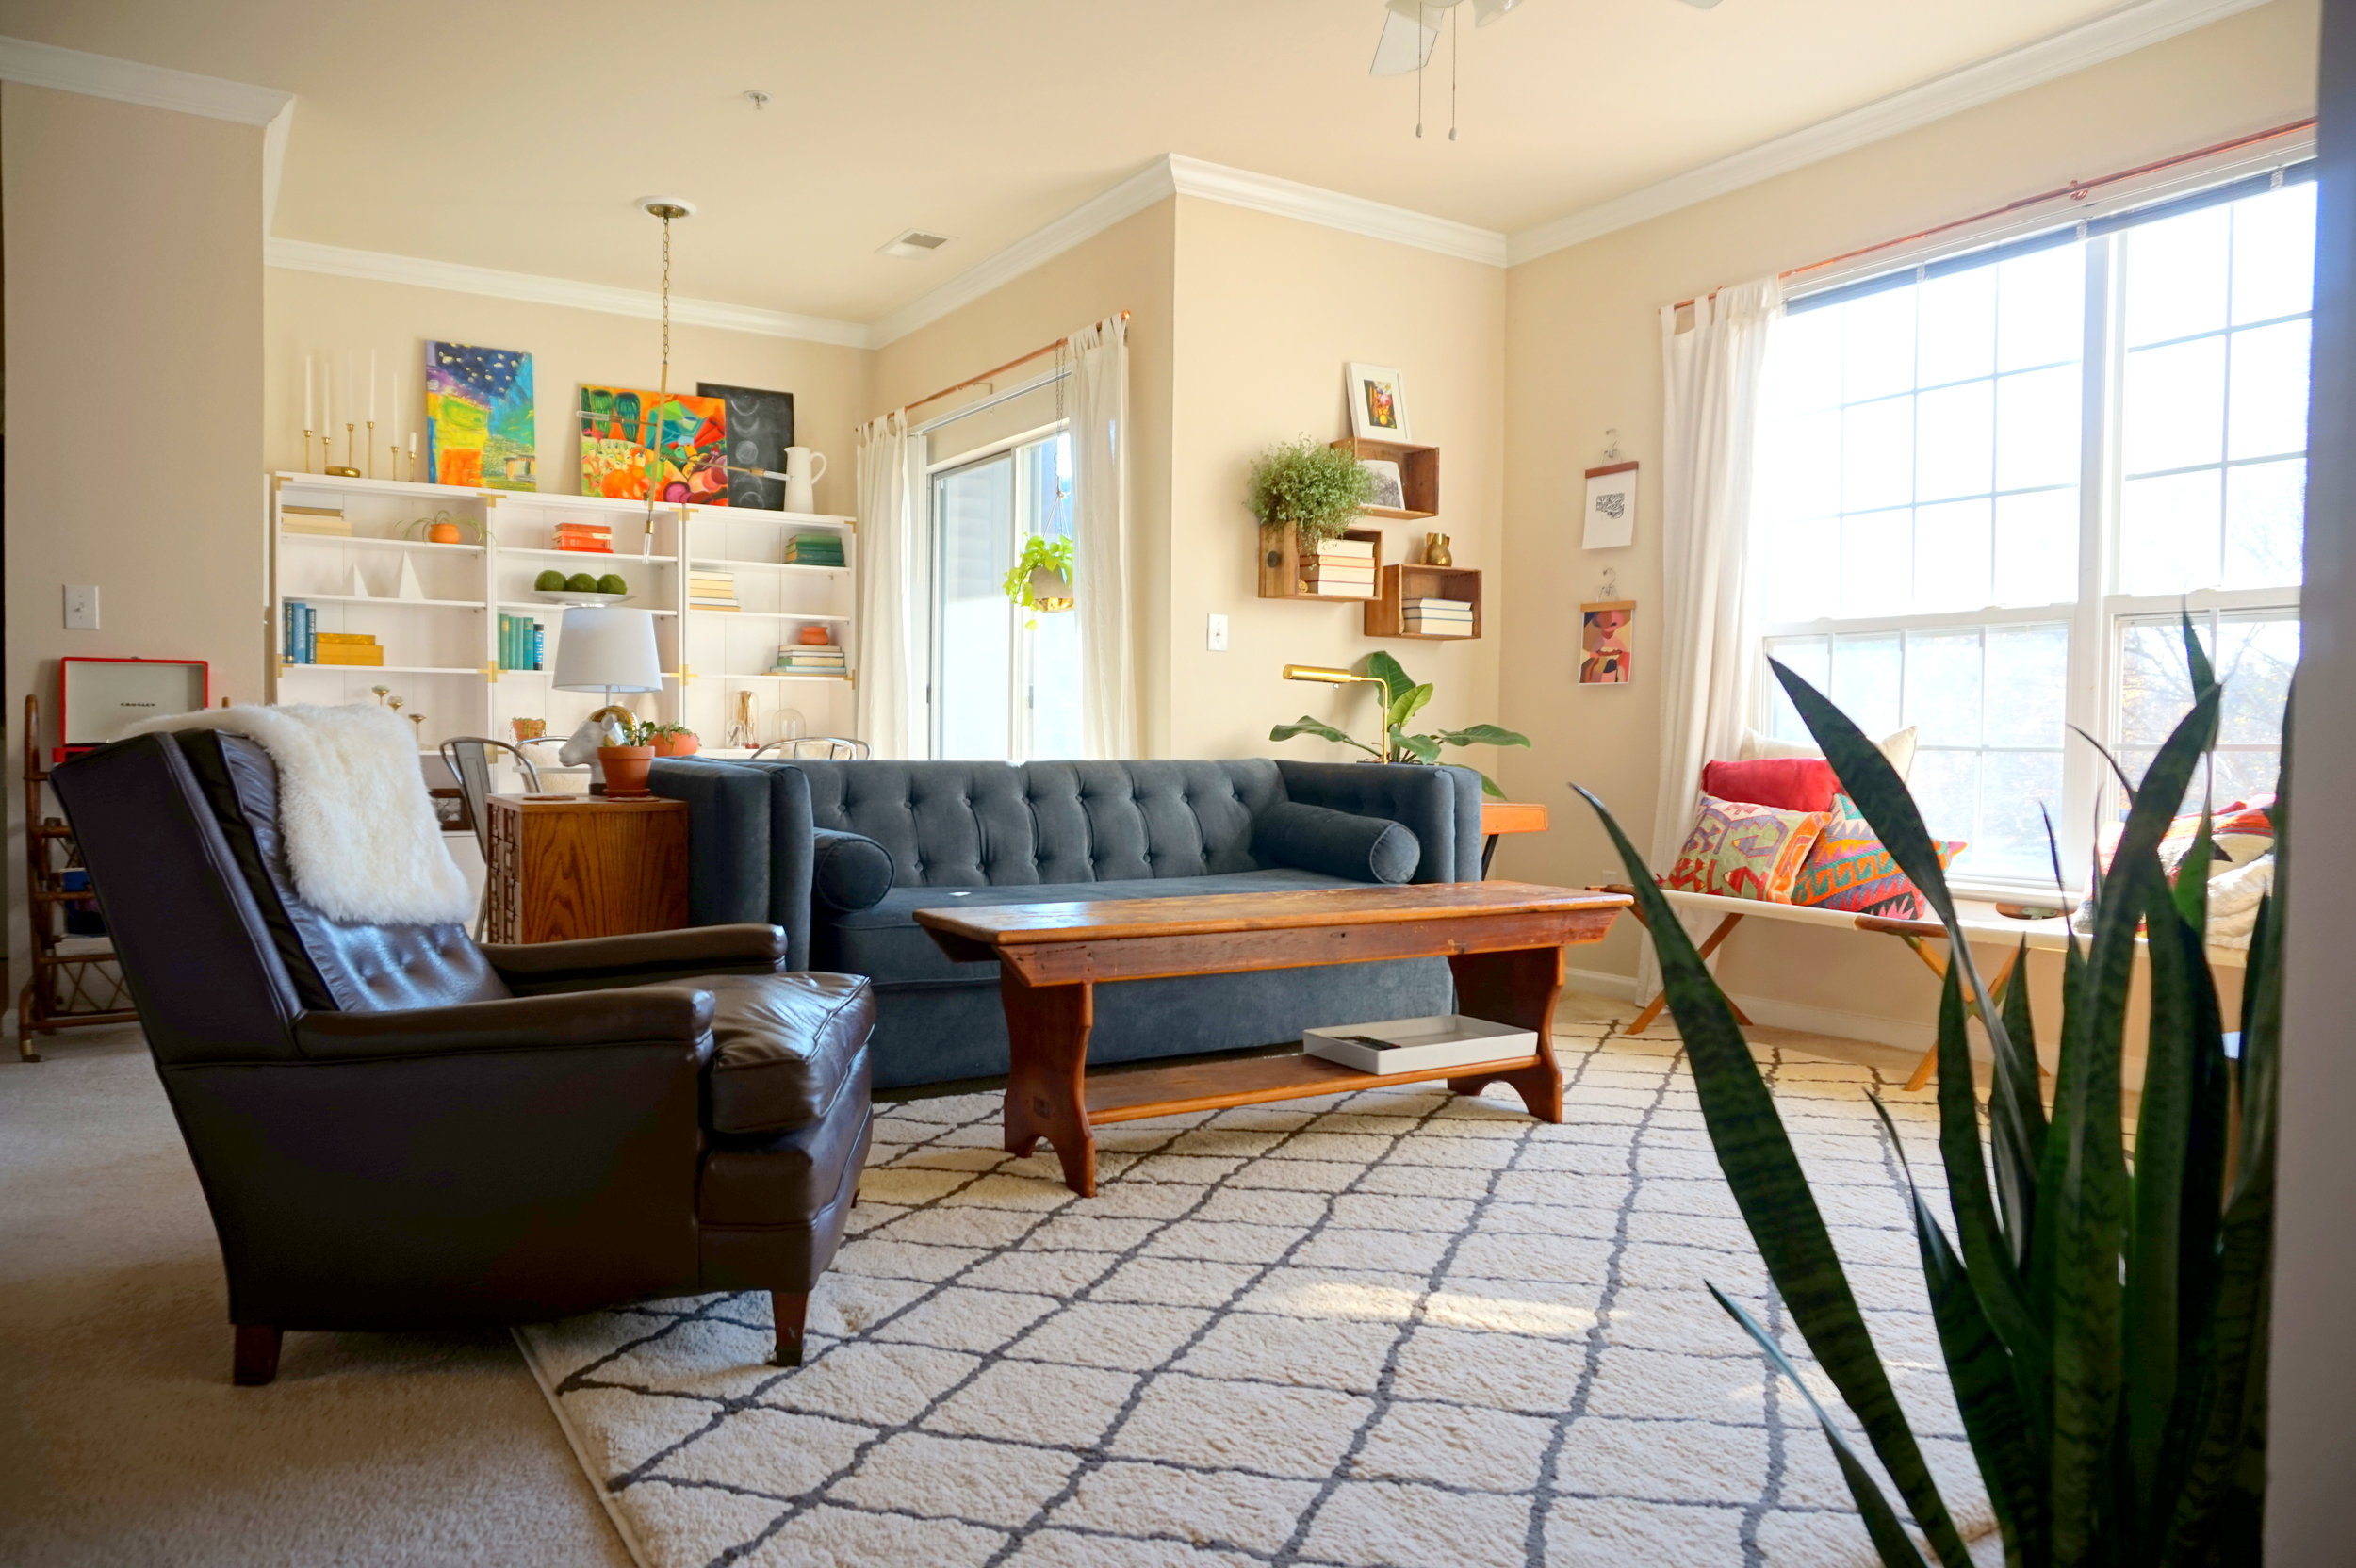
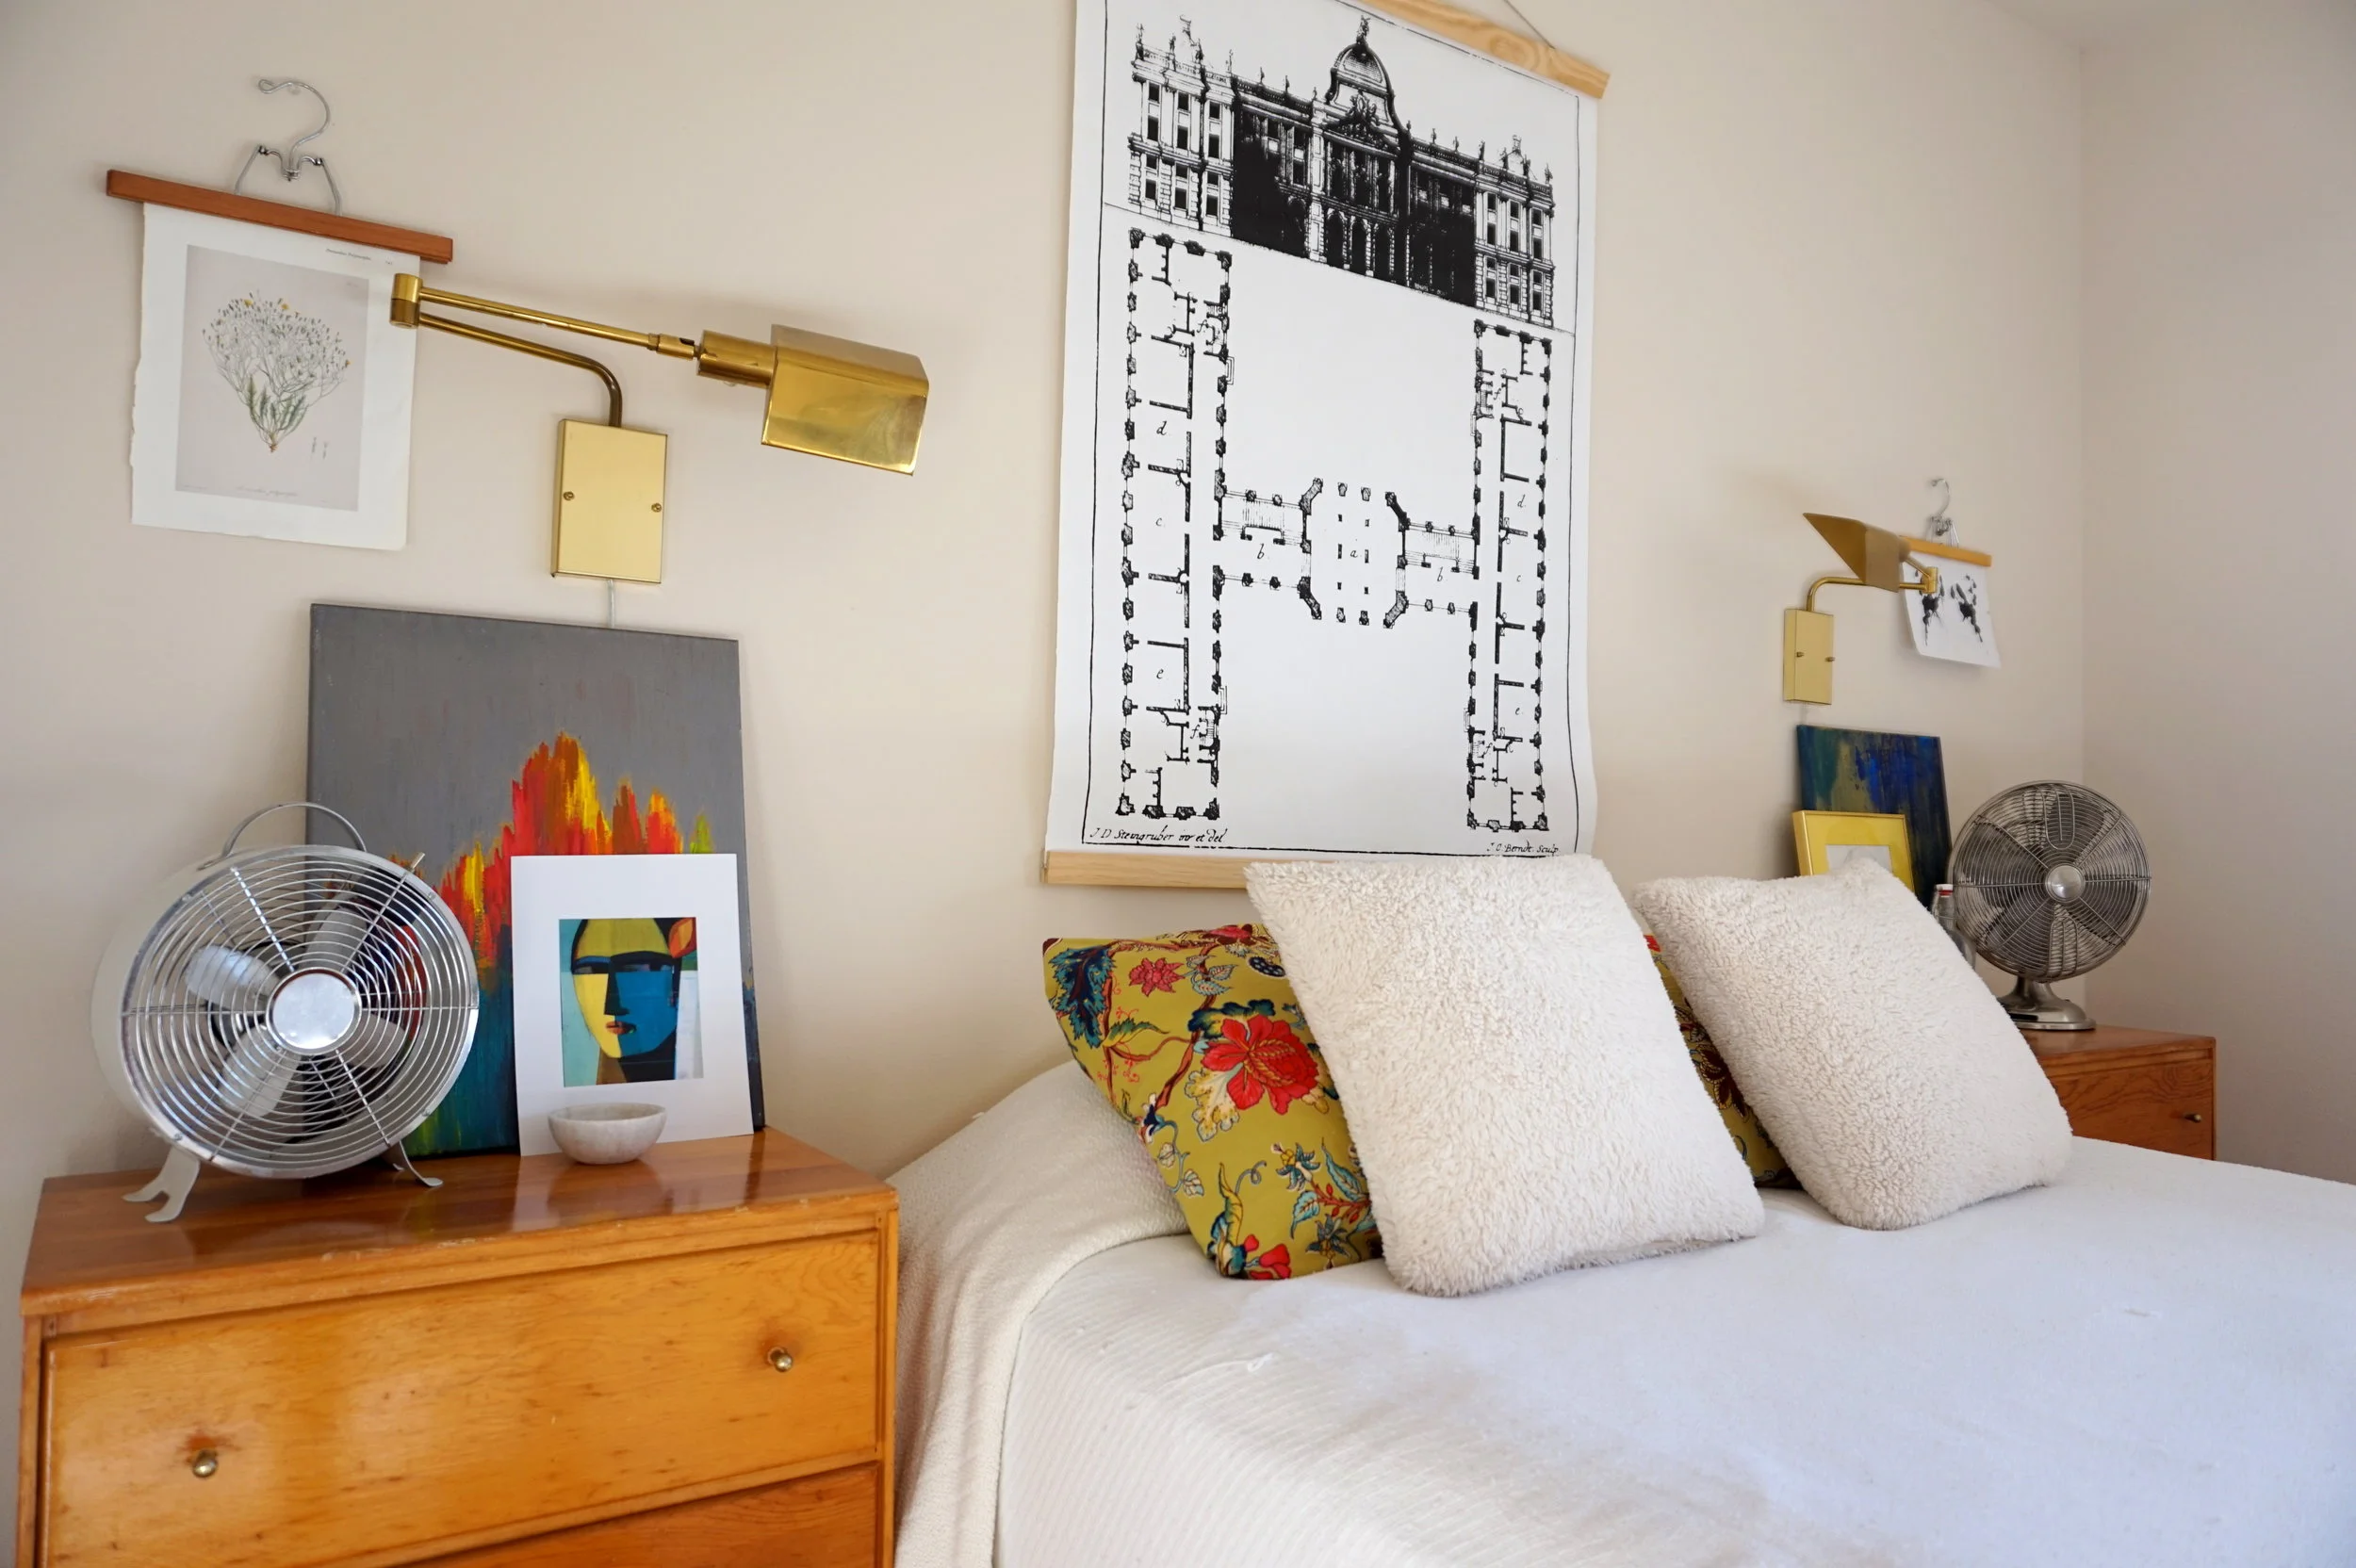
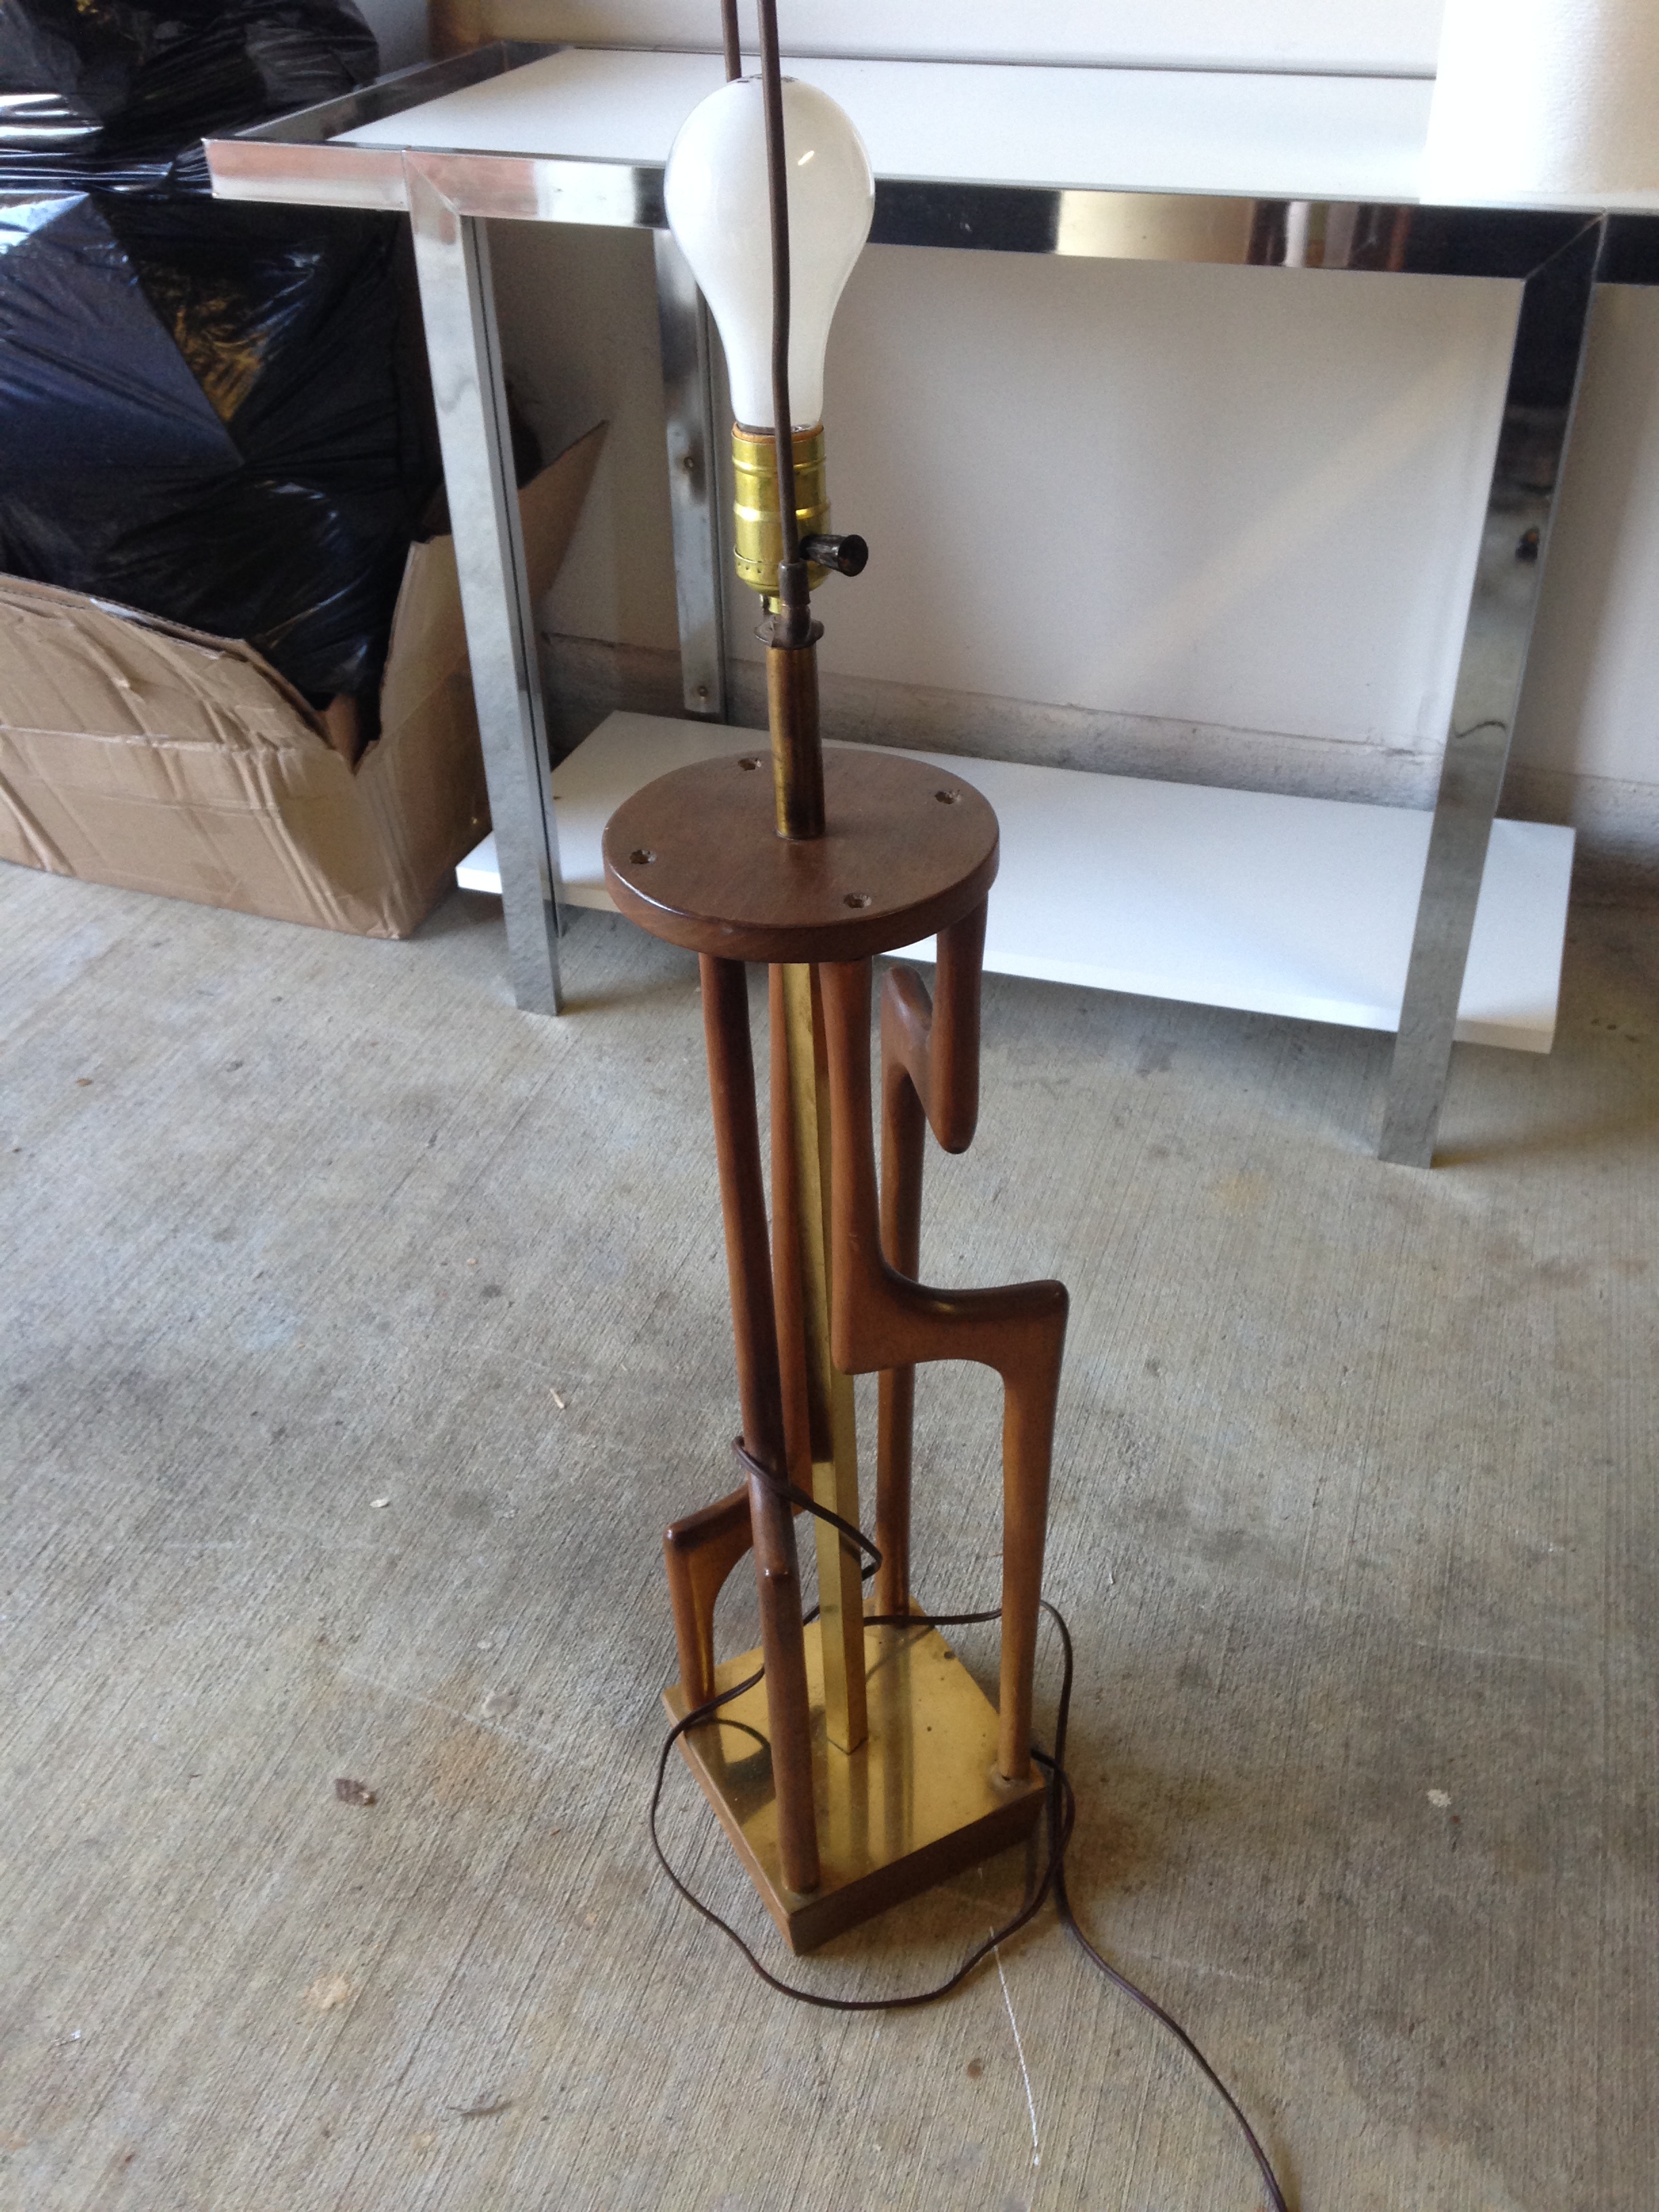
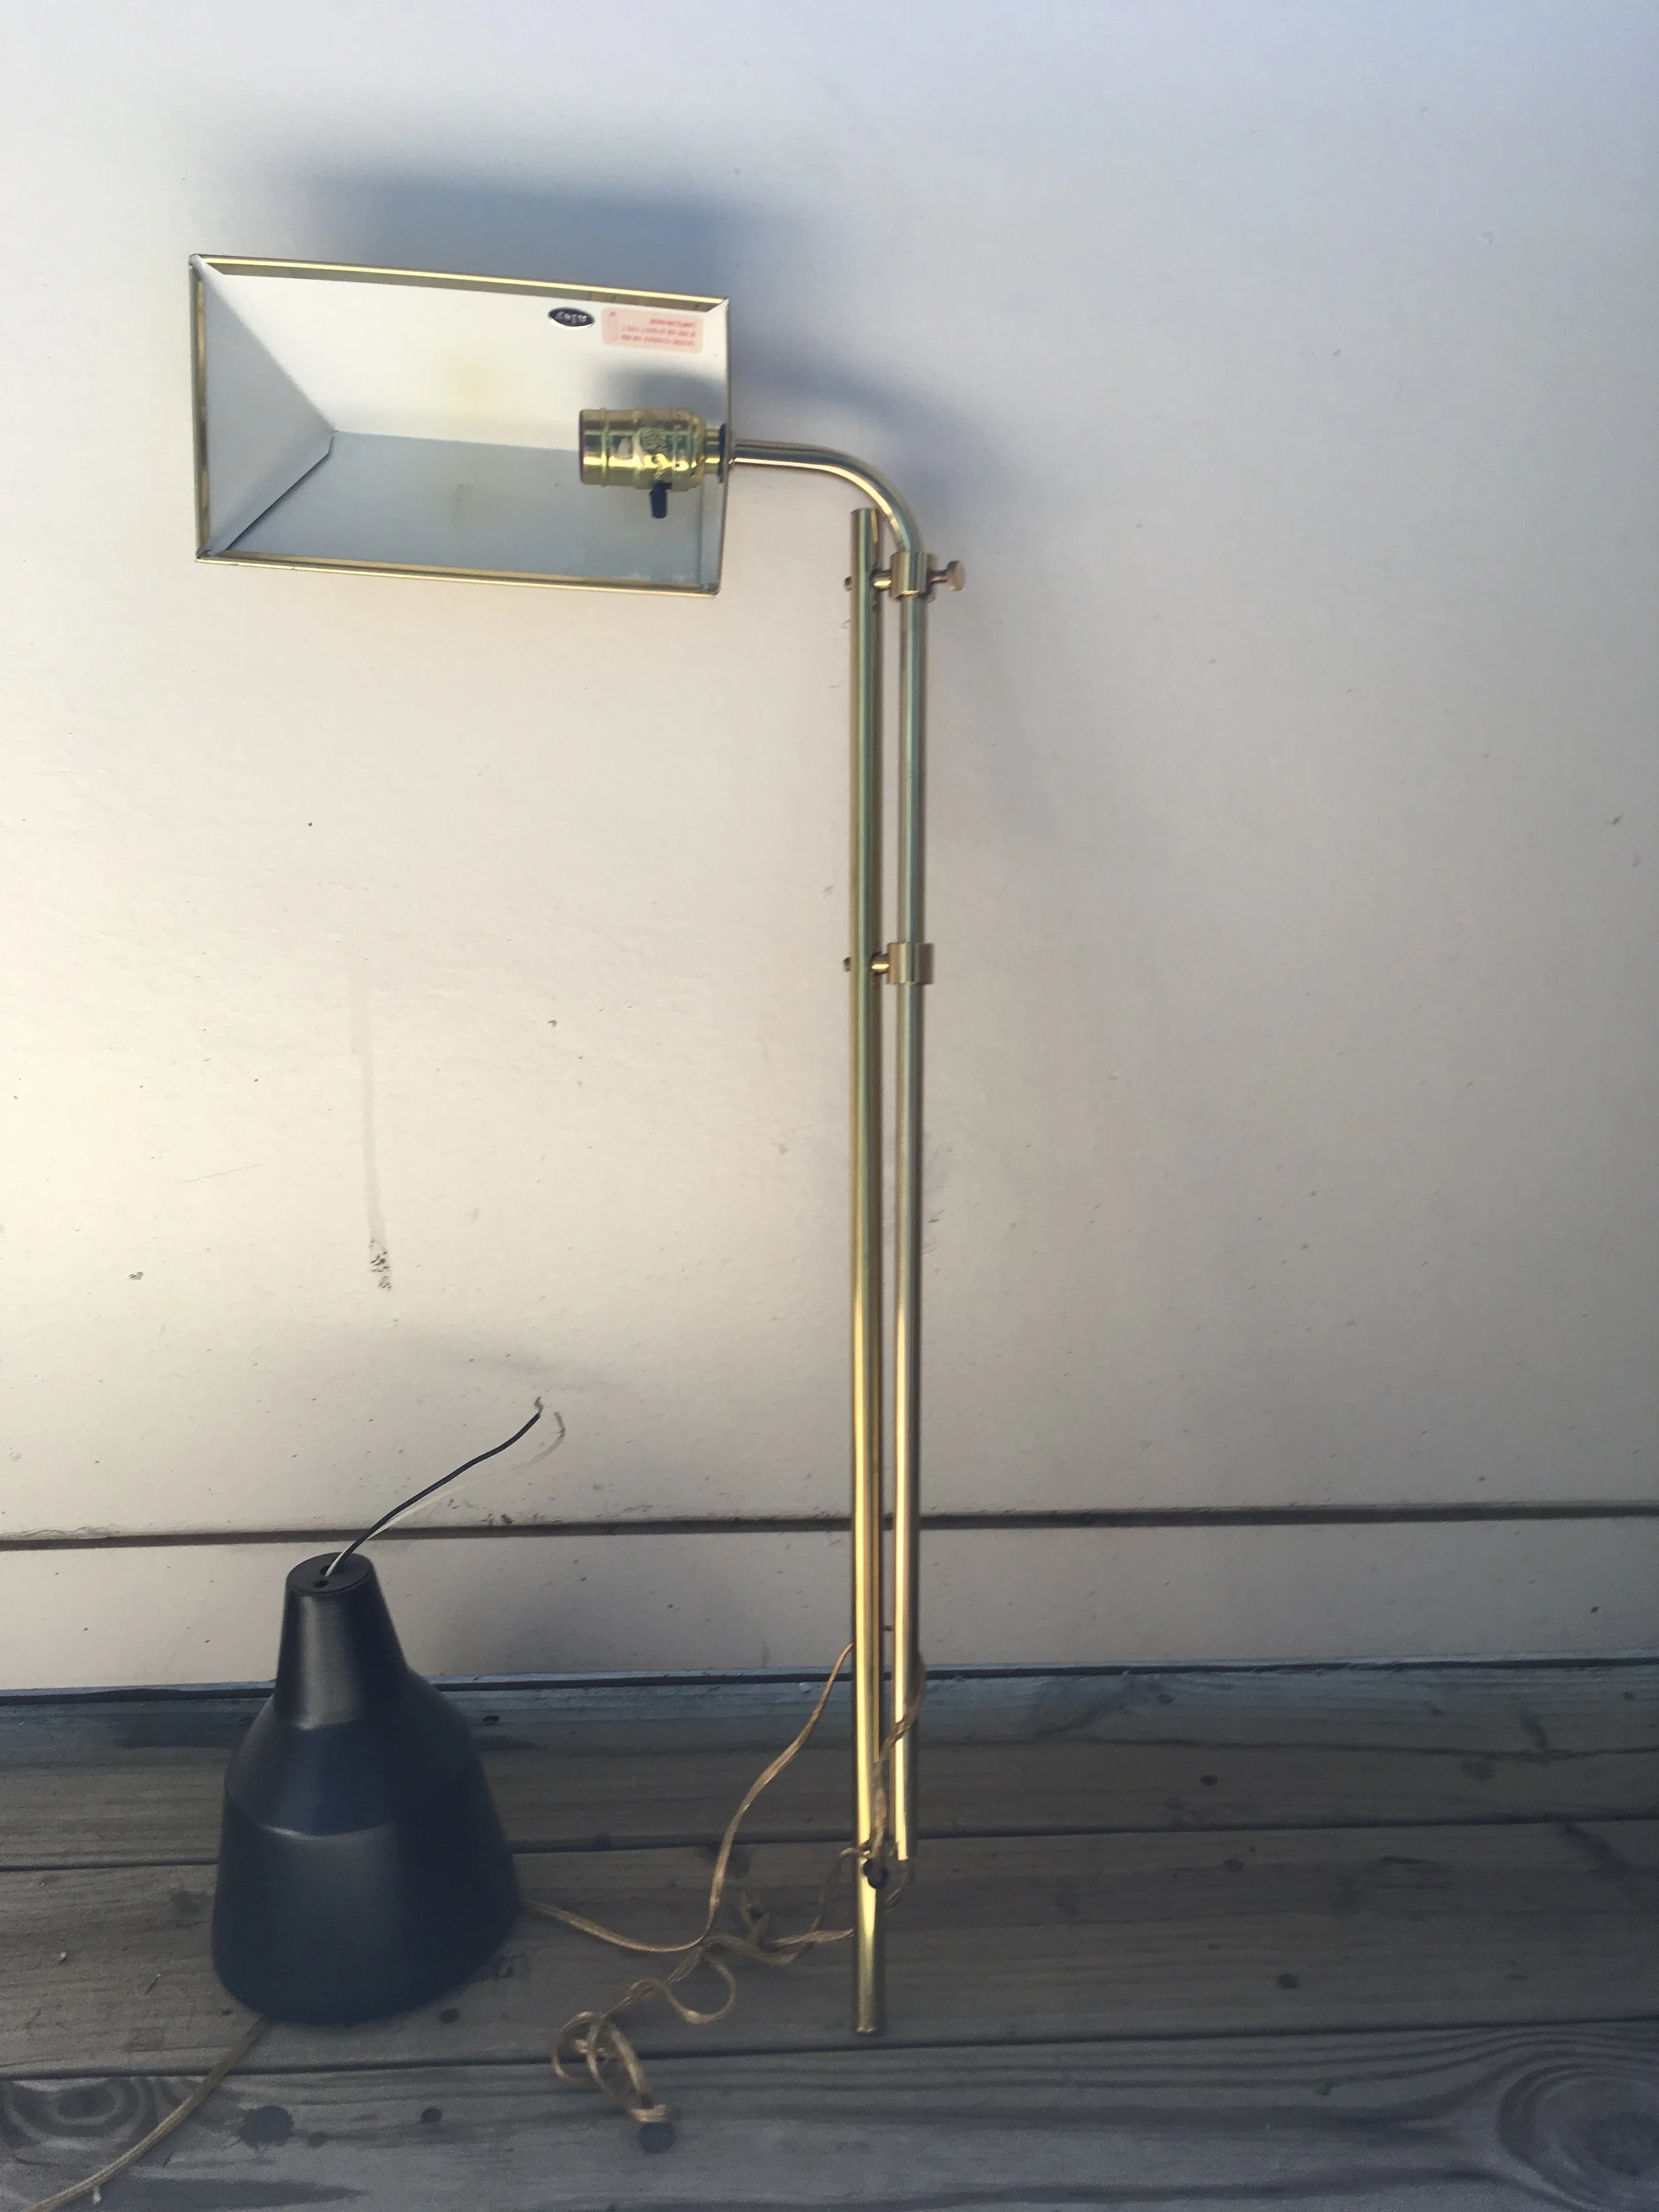
It started (like it always does) with a handful of parts that piqued my interest at the Habitat for Humanity ReStore. I wanted to replace the angular brass shade with the matte black one but couldn’t figure out to attach it so that it could adjust in any direction I needed.  So I brought the parts home to my workshop and added build a wall-mounted task tamp to my Furniture Flip Bucket List

Photo Jul 24, 2 53 35 PM.jpg

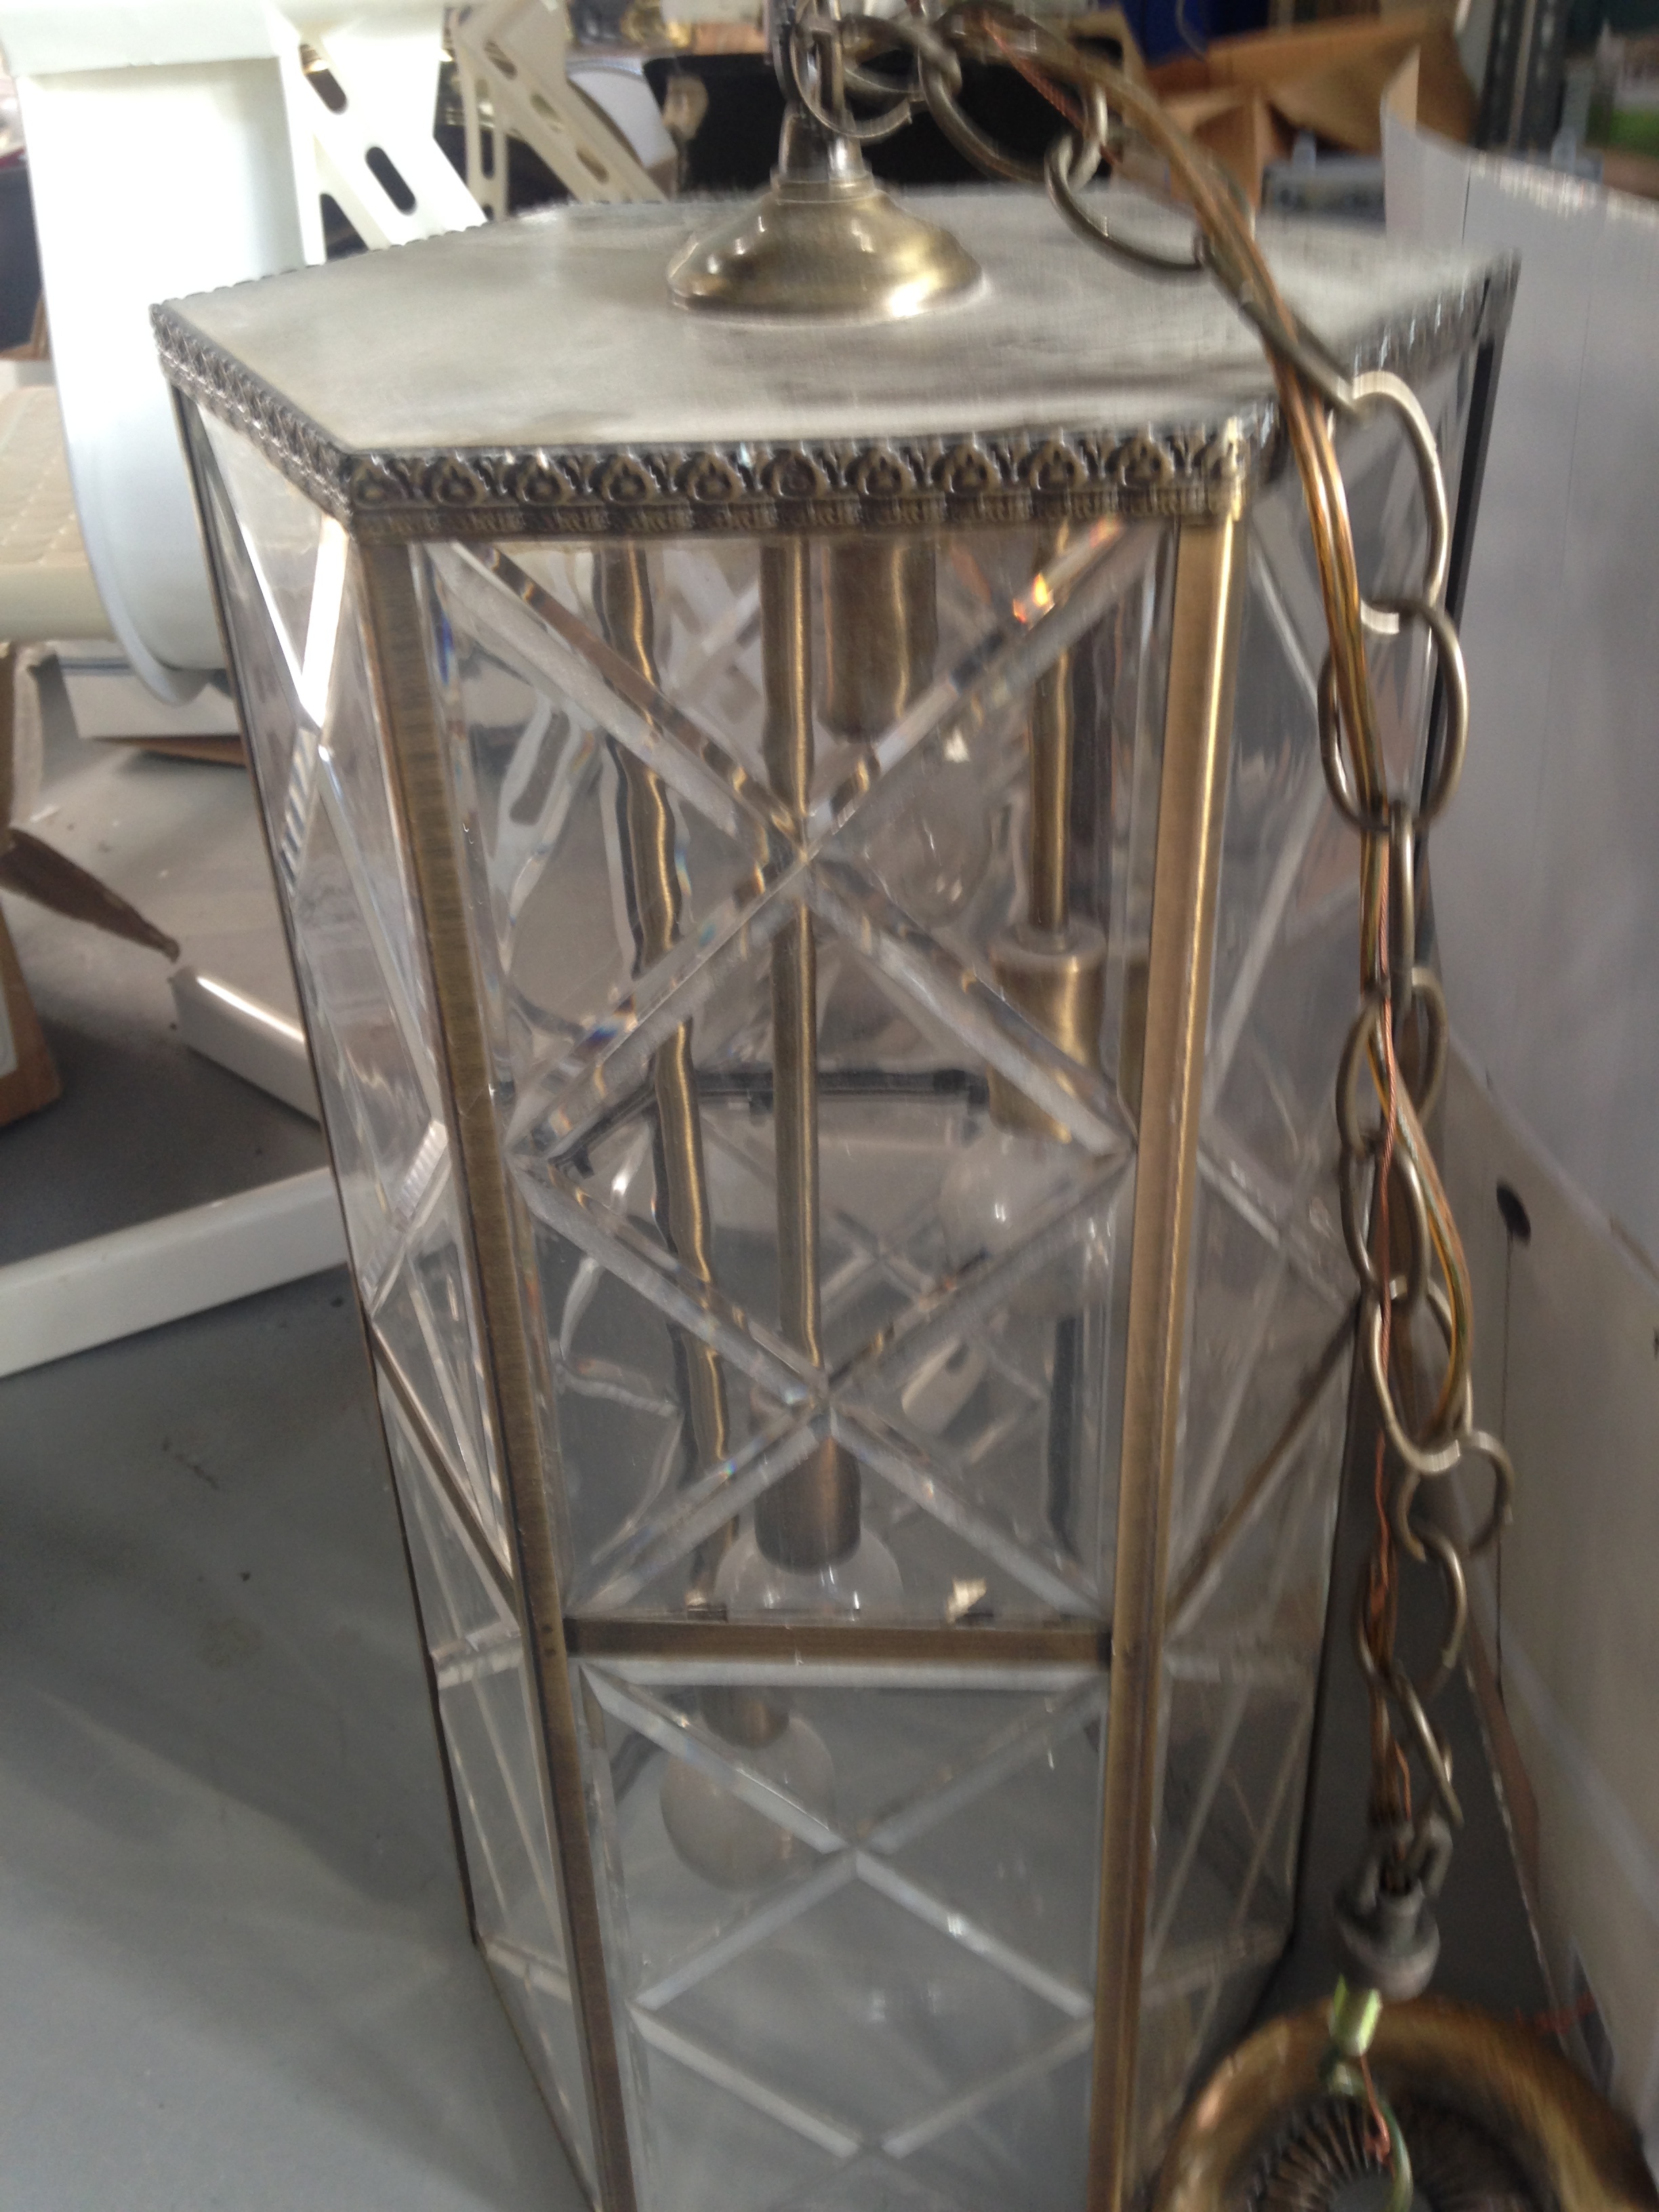
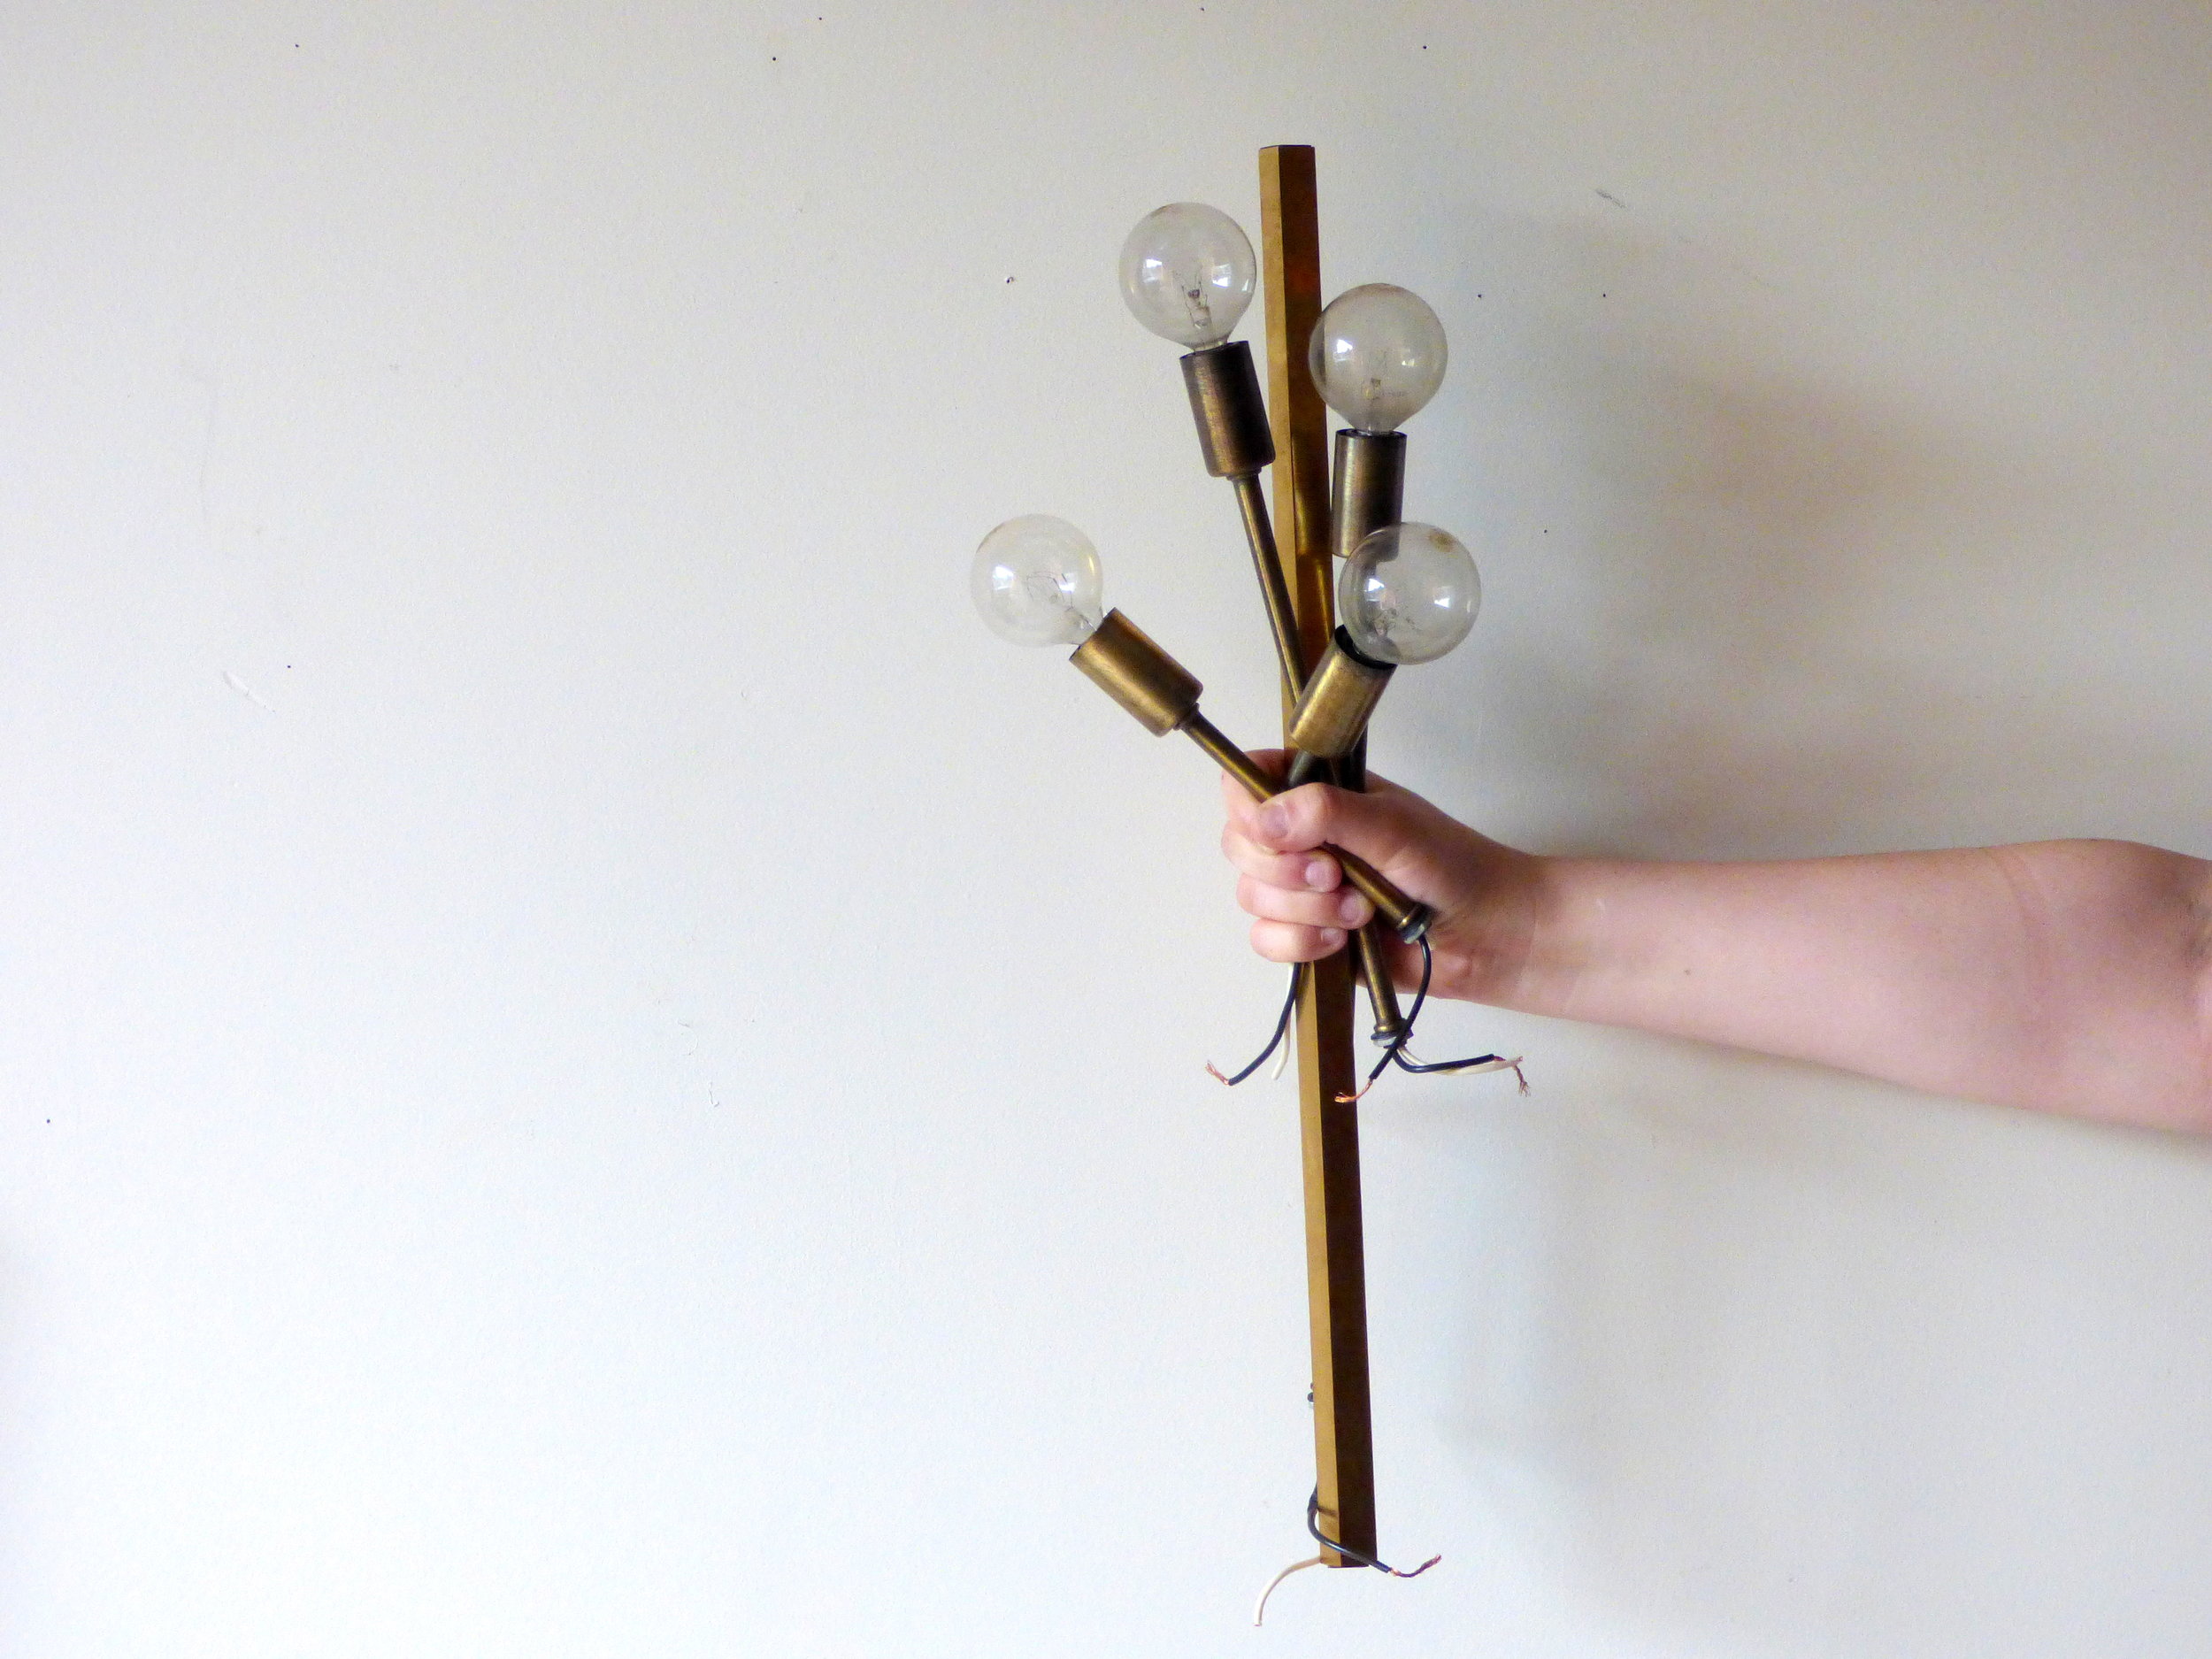
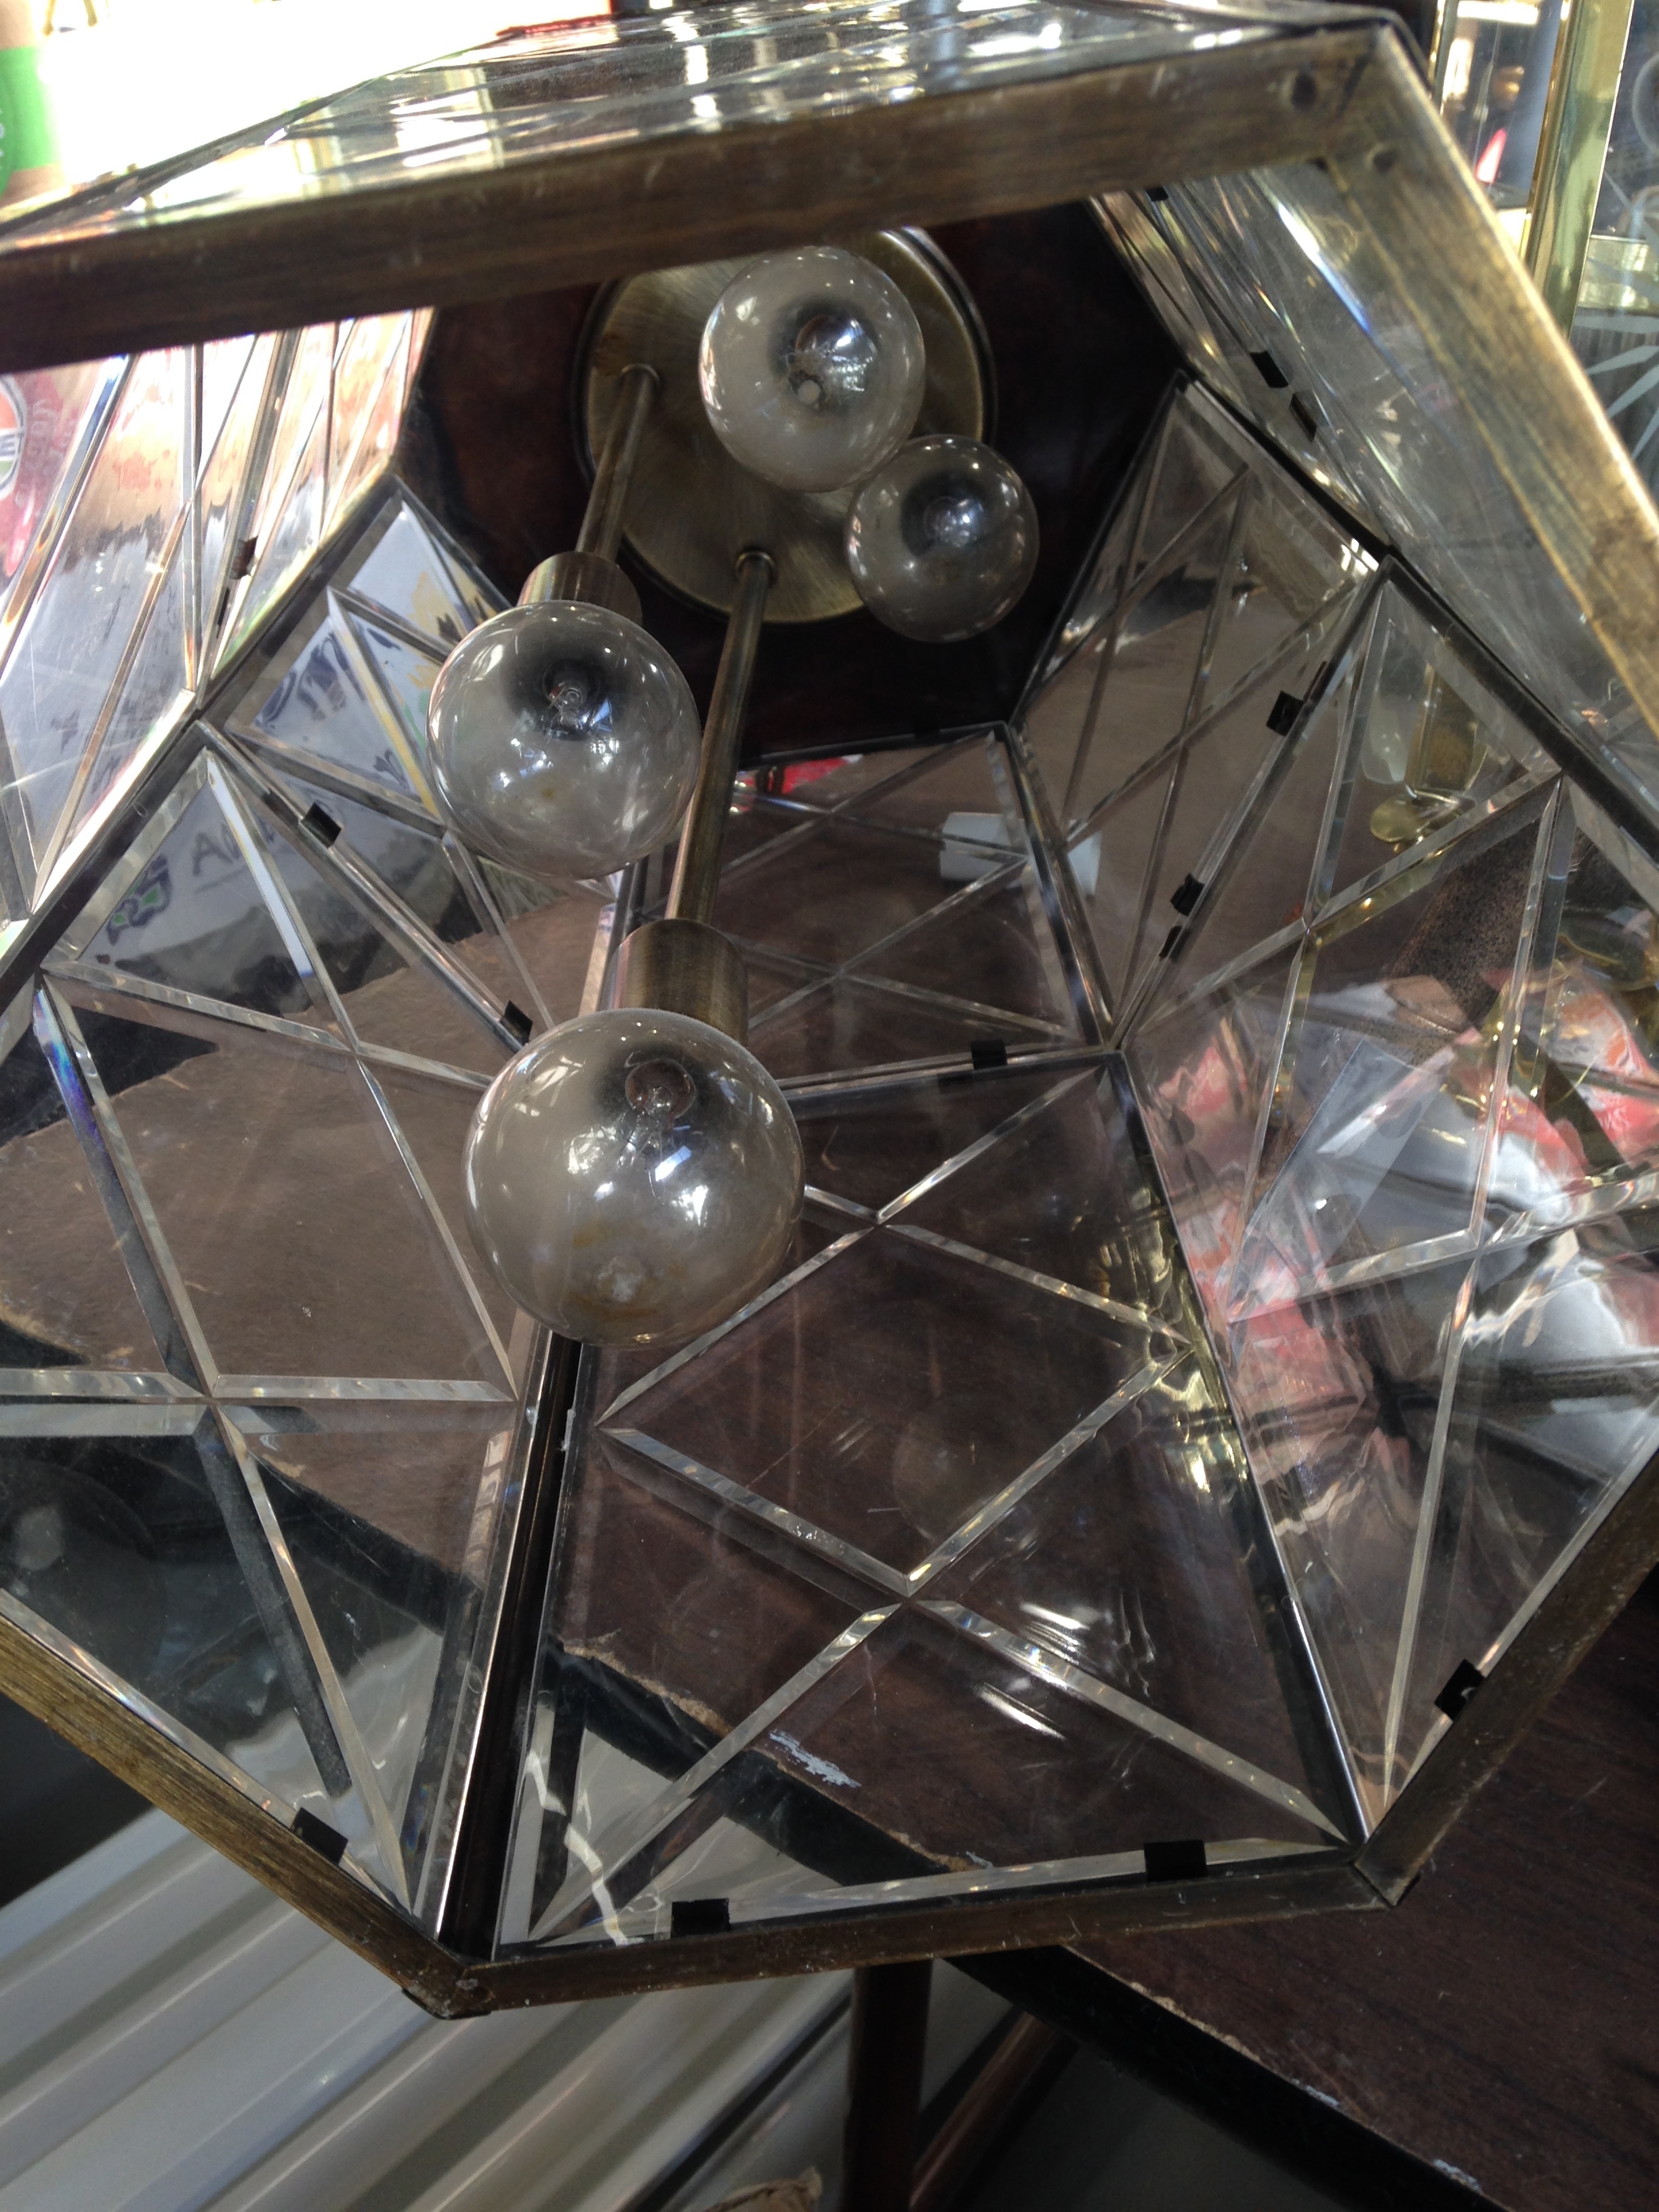
But then I found this interesting lunar landing light fixture with four articulating brass shades.  

Photo Jul 04, 11 18 04 AM.jpg

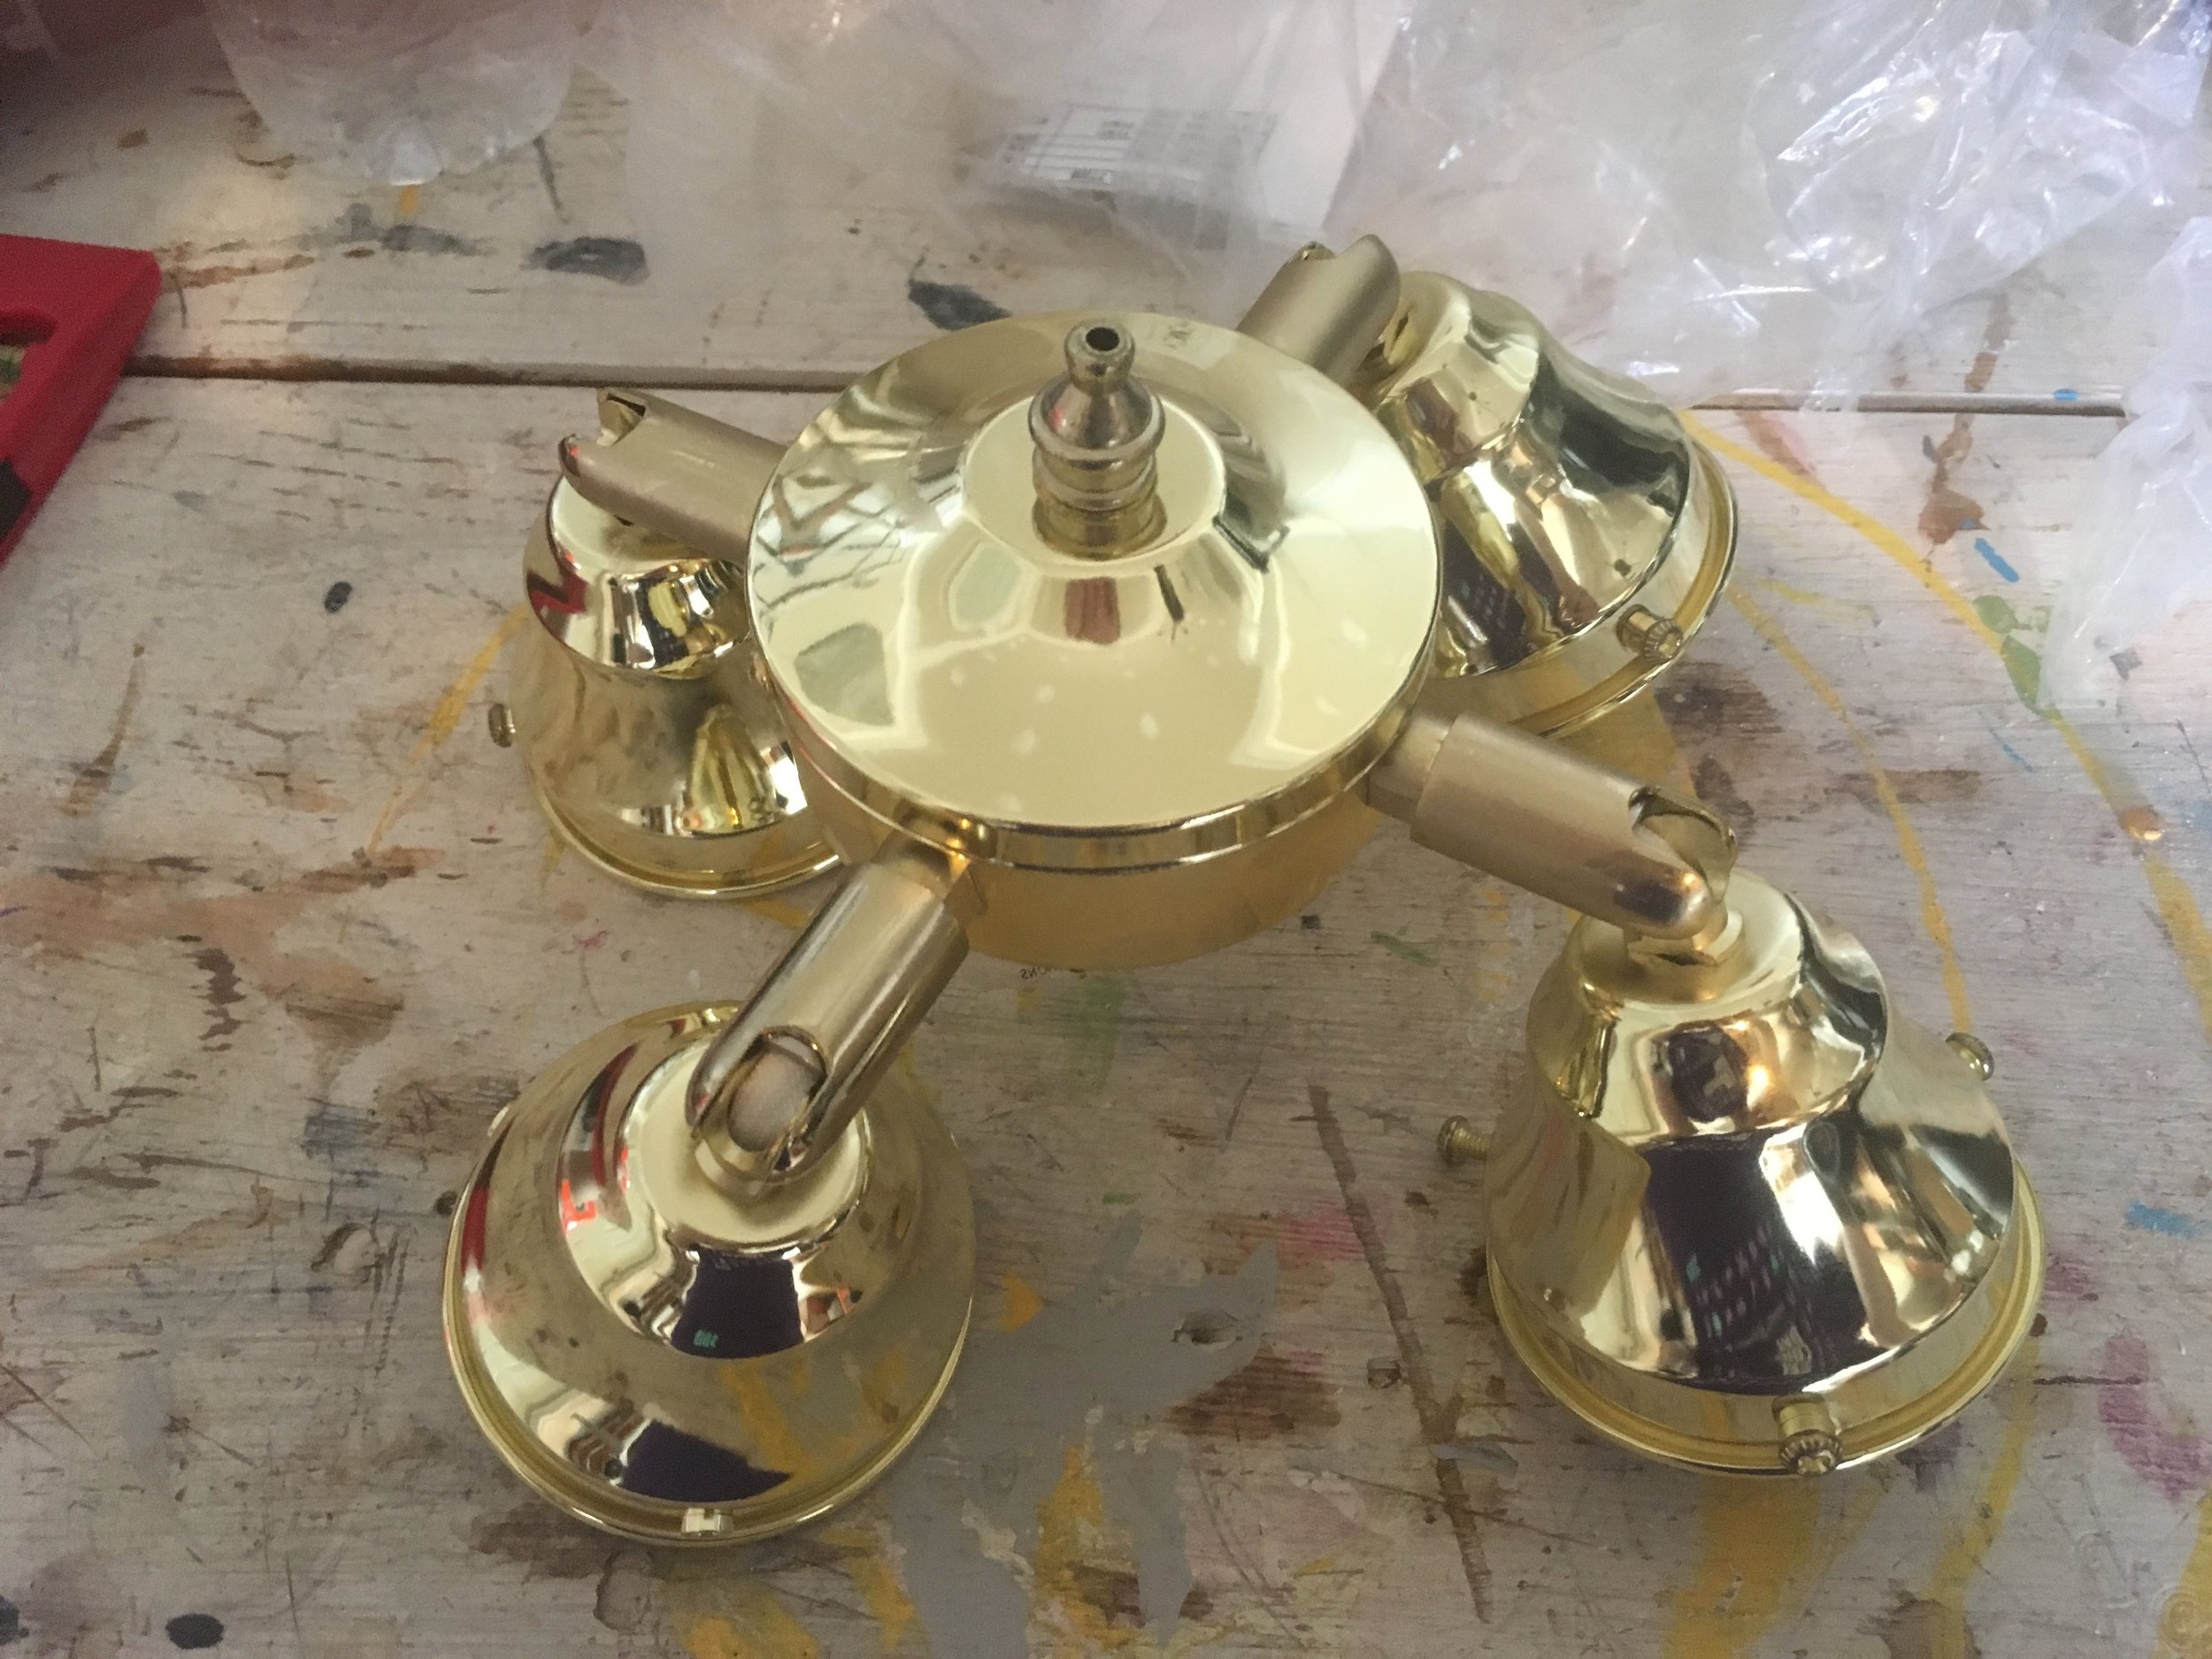
So I promptly harvested one to complete my fully adjustable assembly:
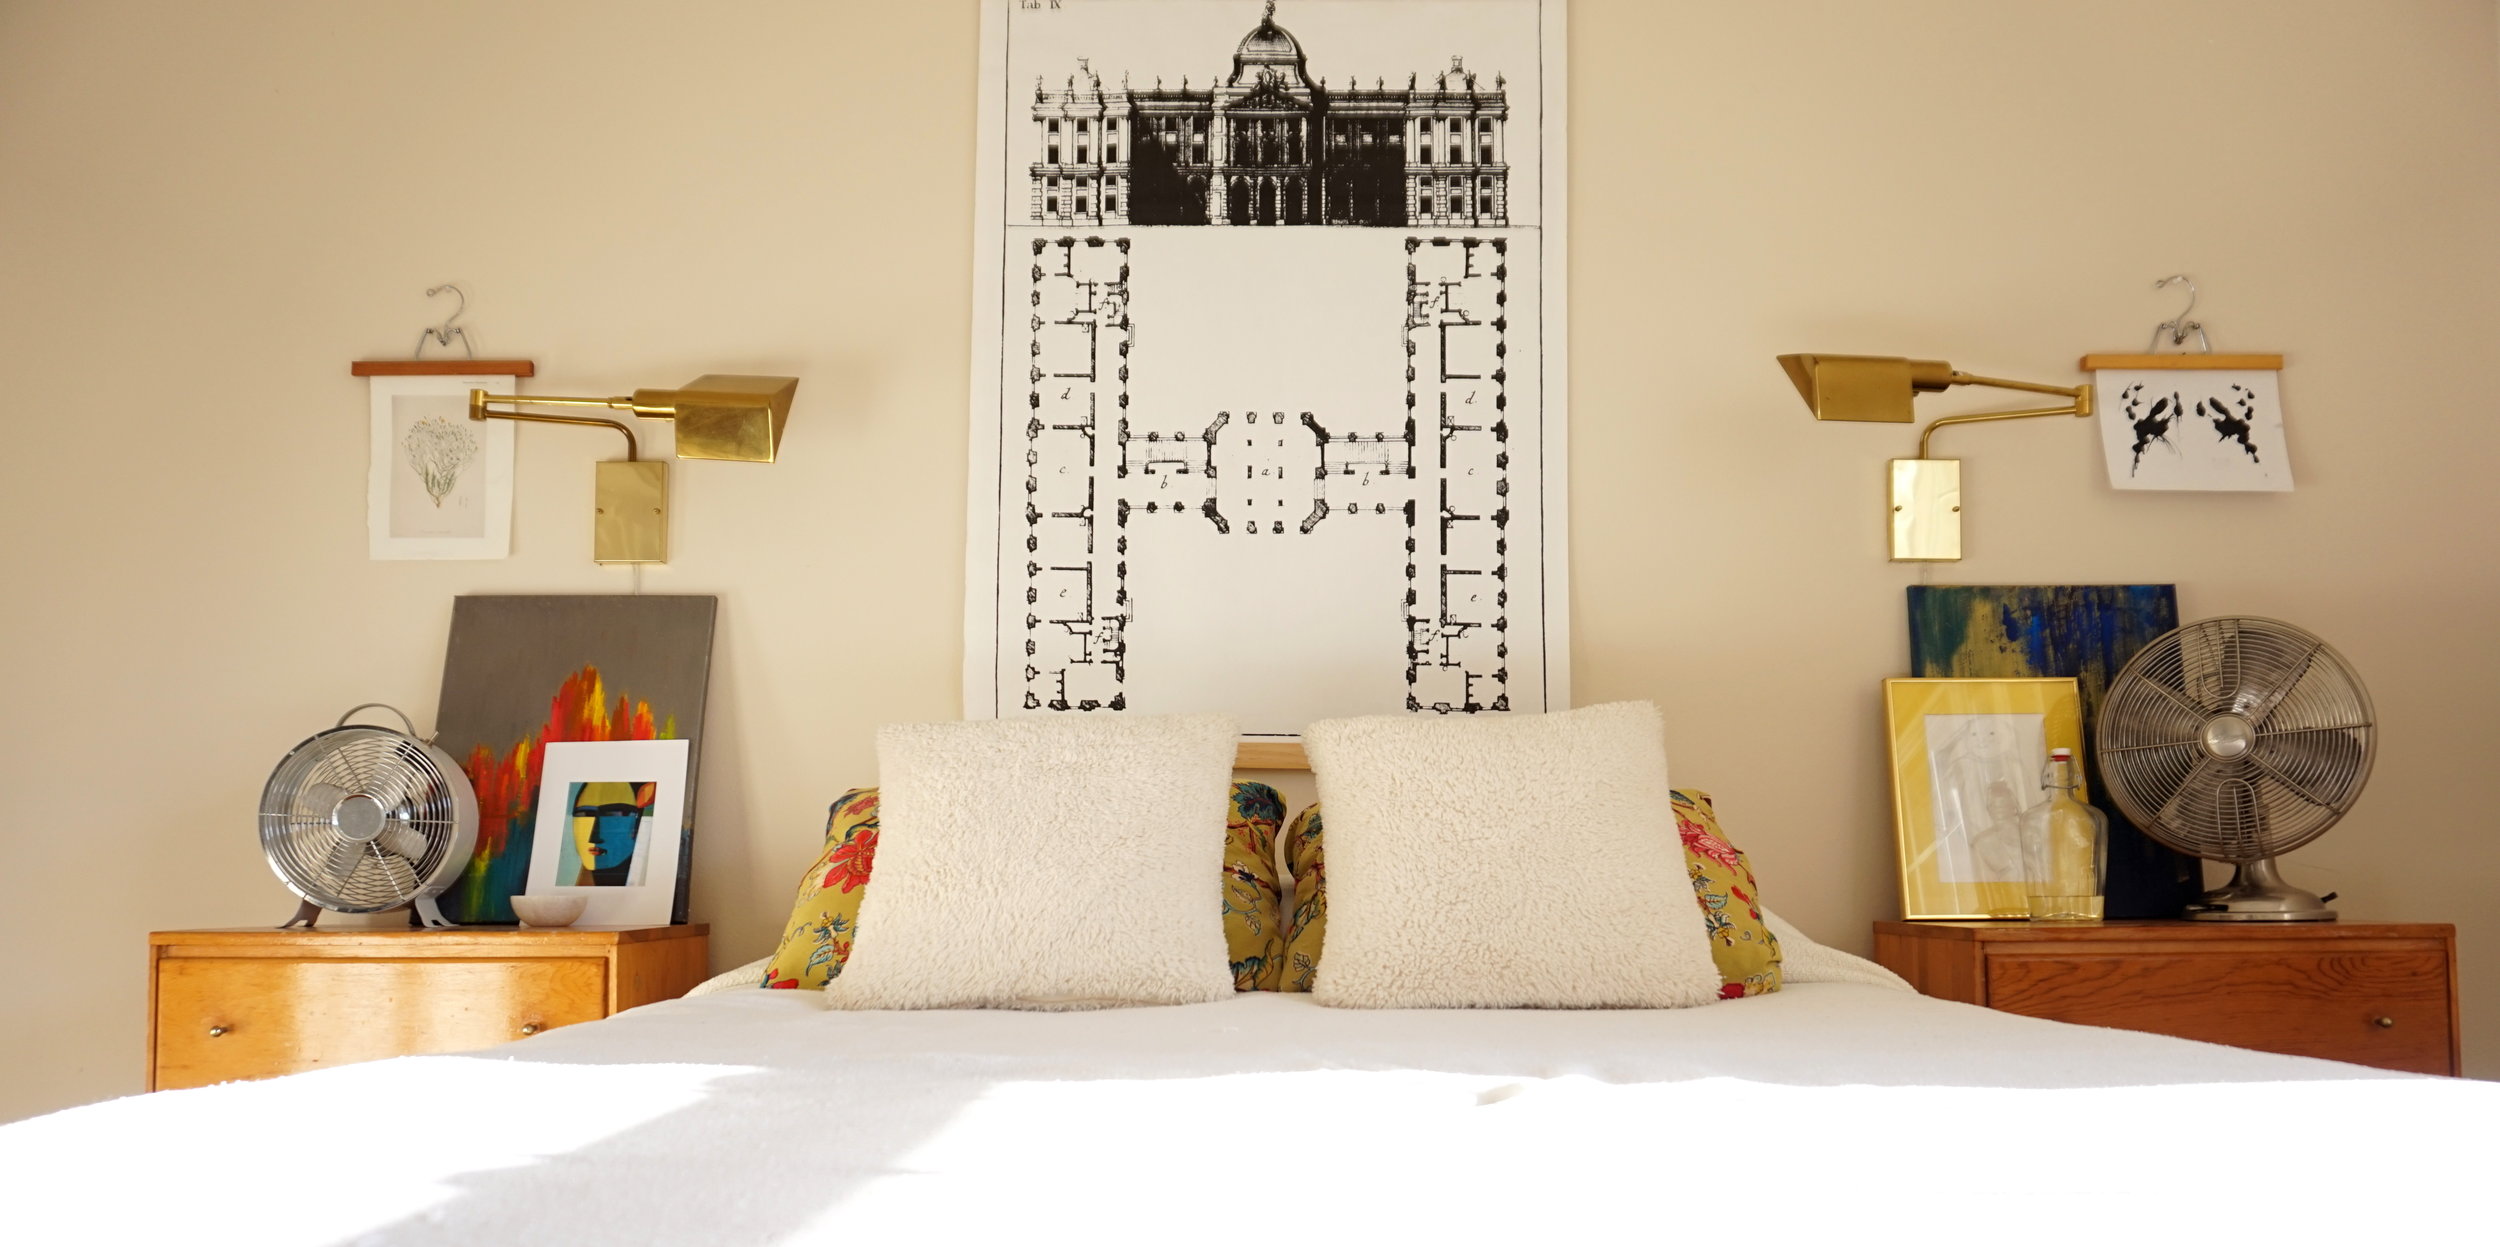
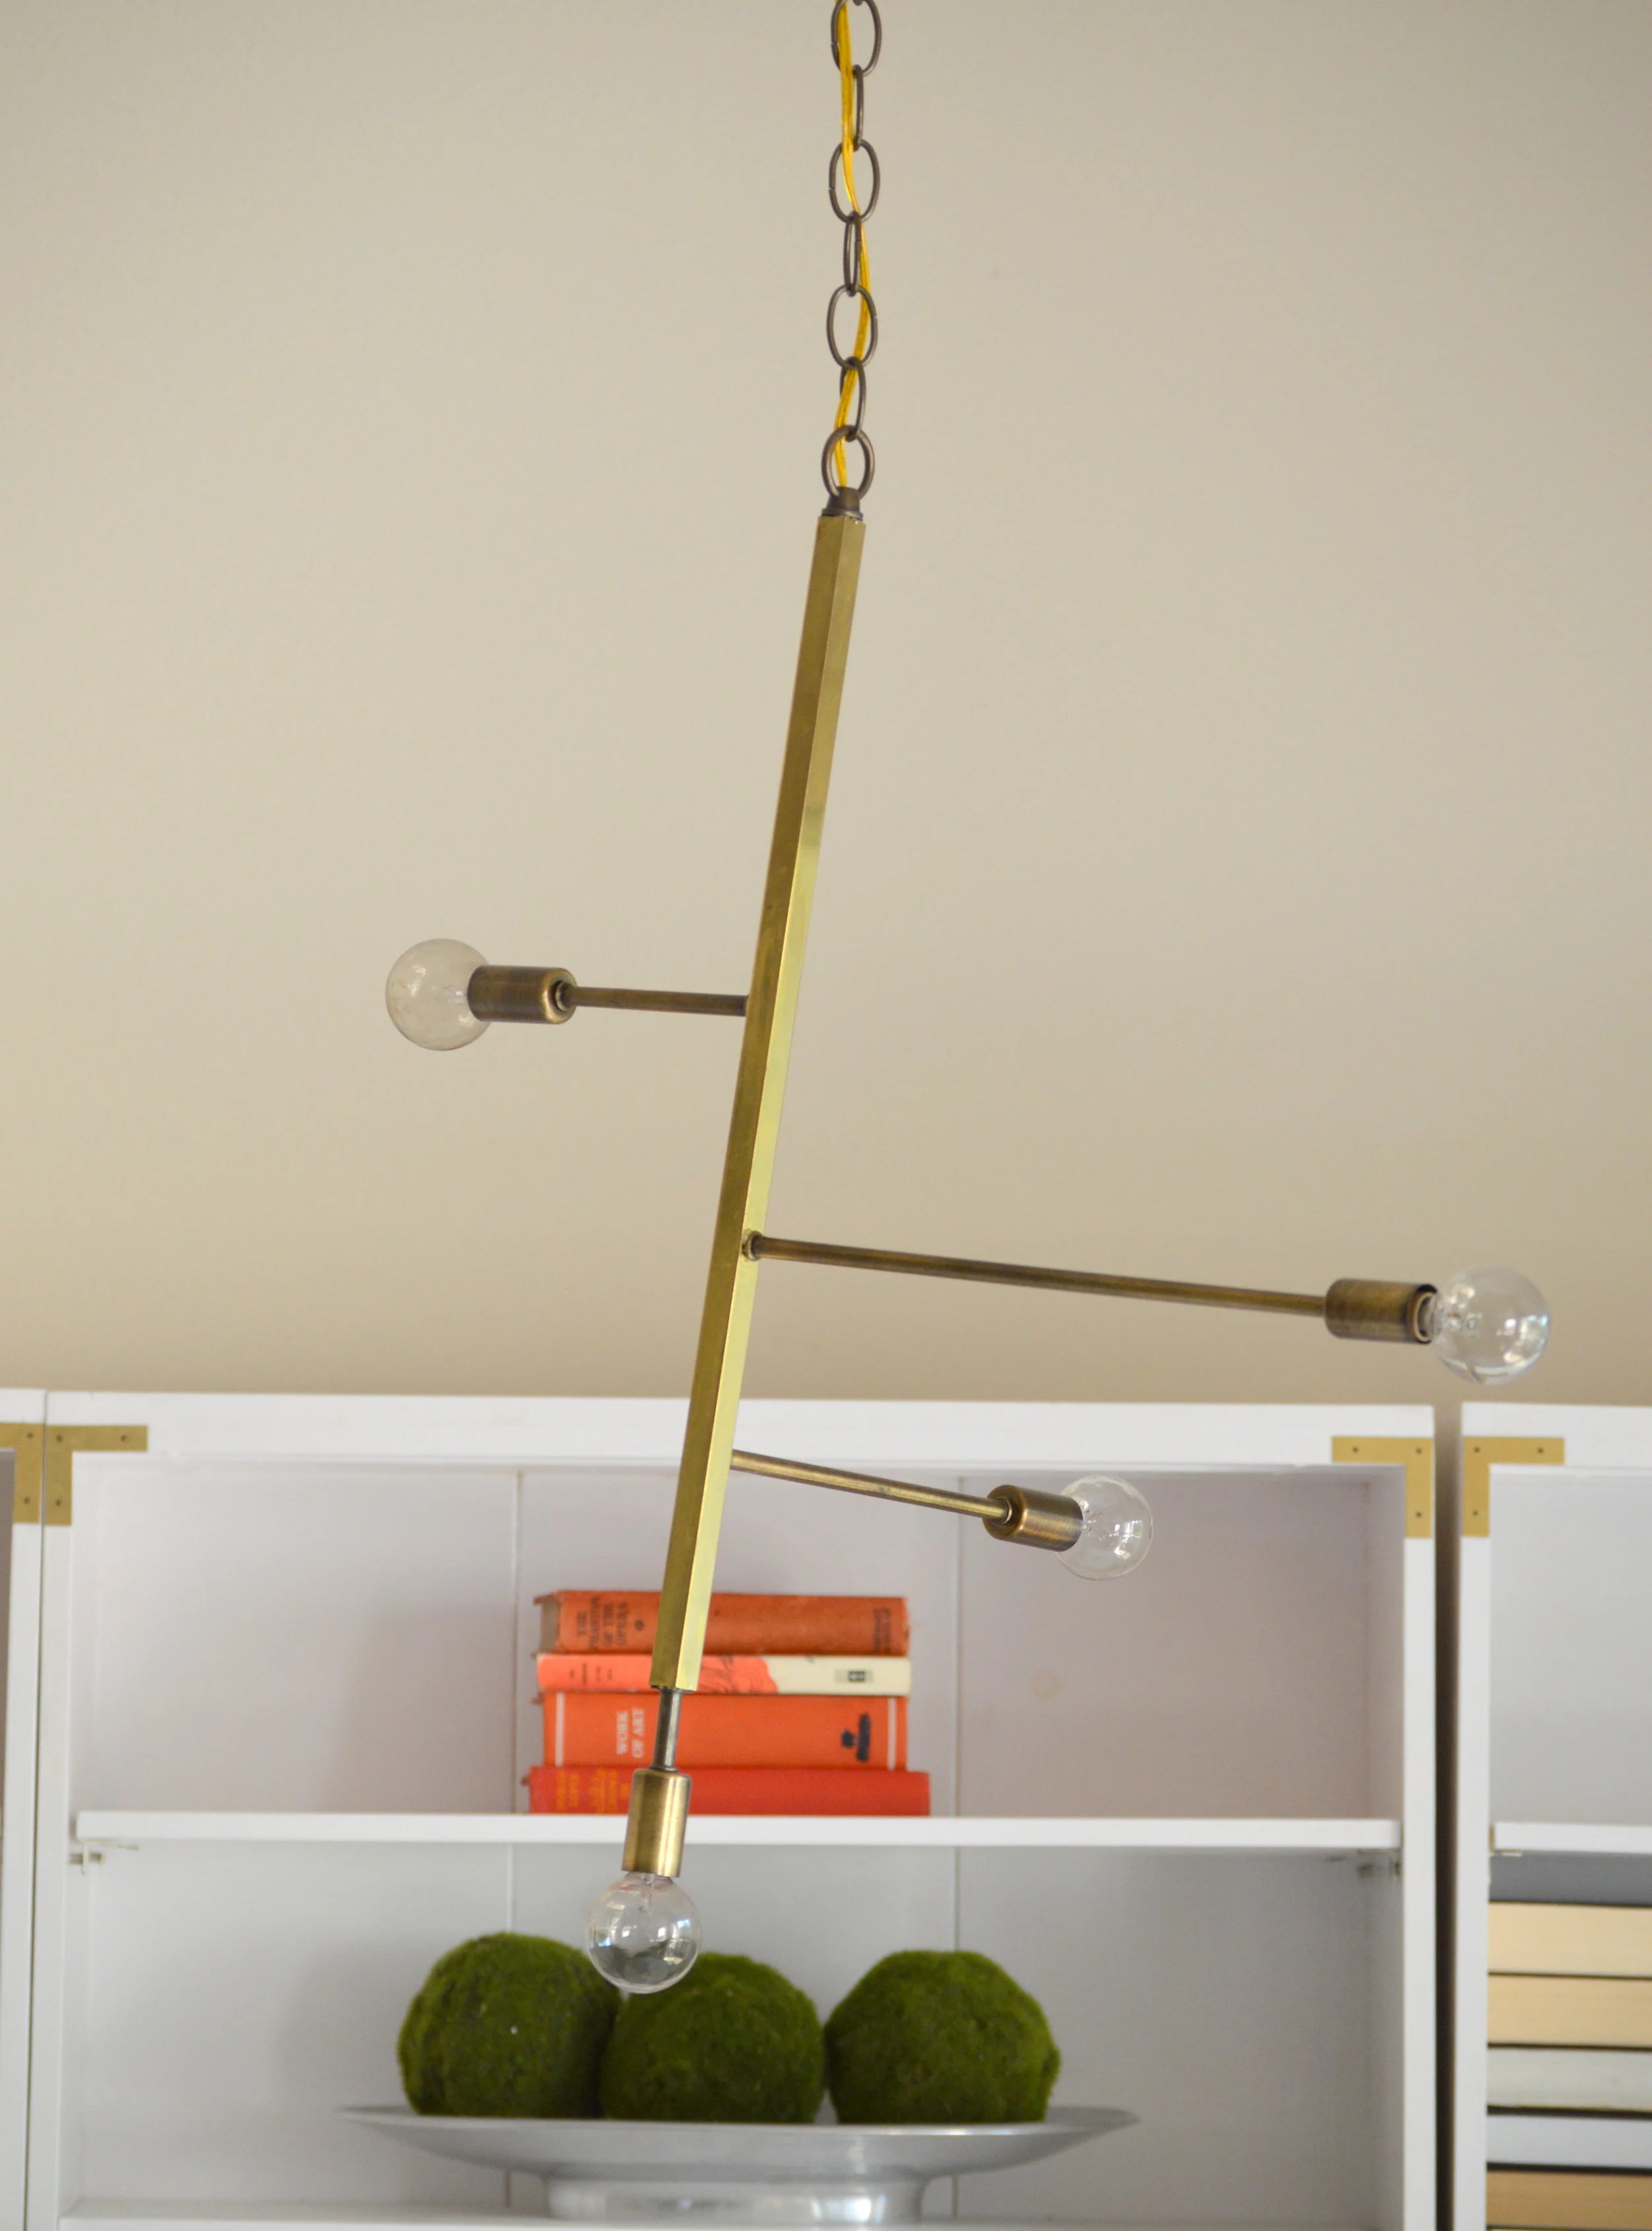
DSC04663.jpg

My new lamp swivels

DSC04668.jpg

The shade articulates

DSC04710.jpg

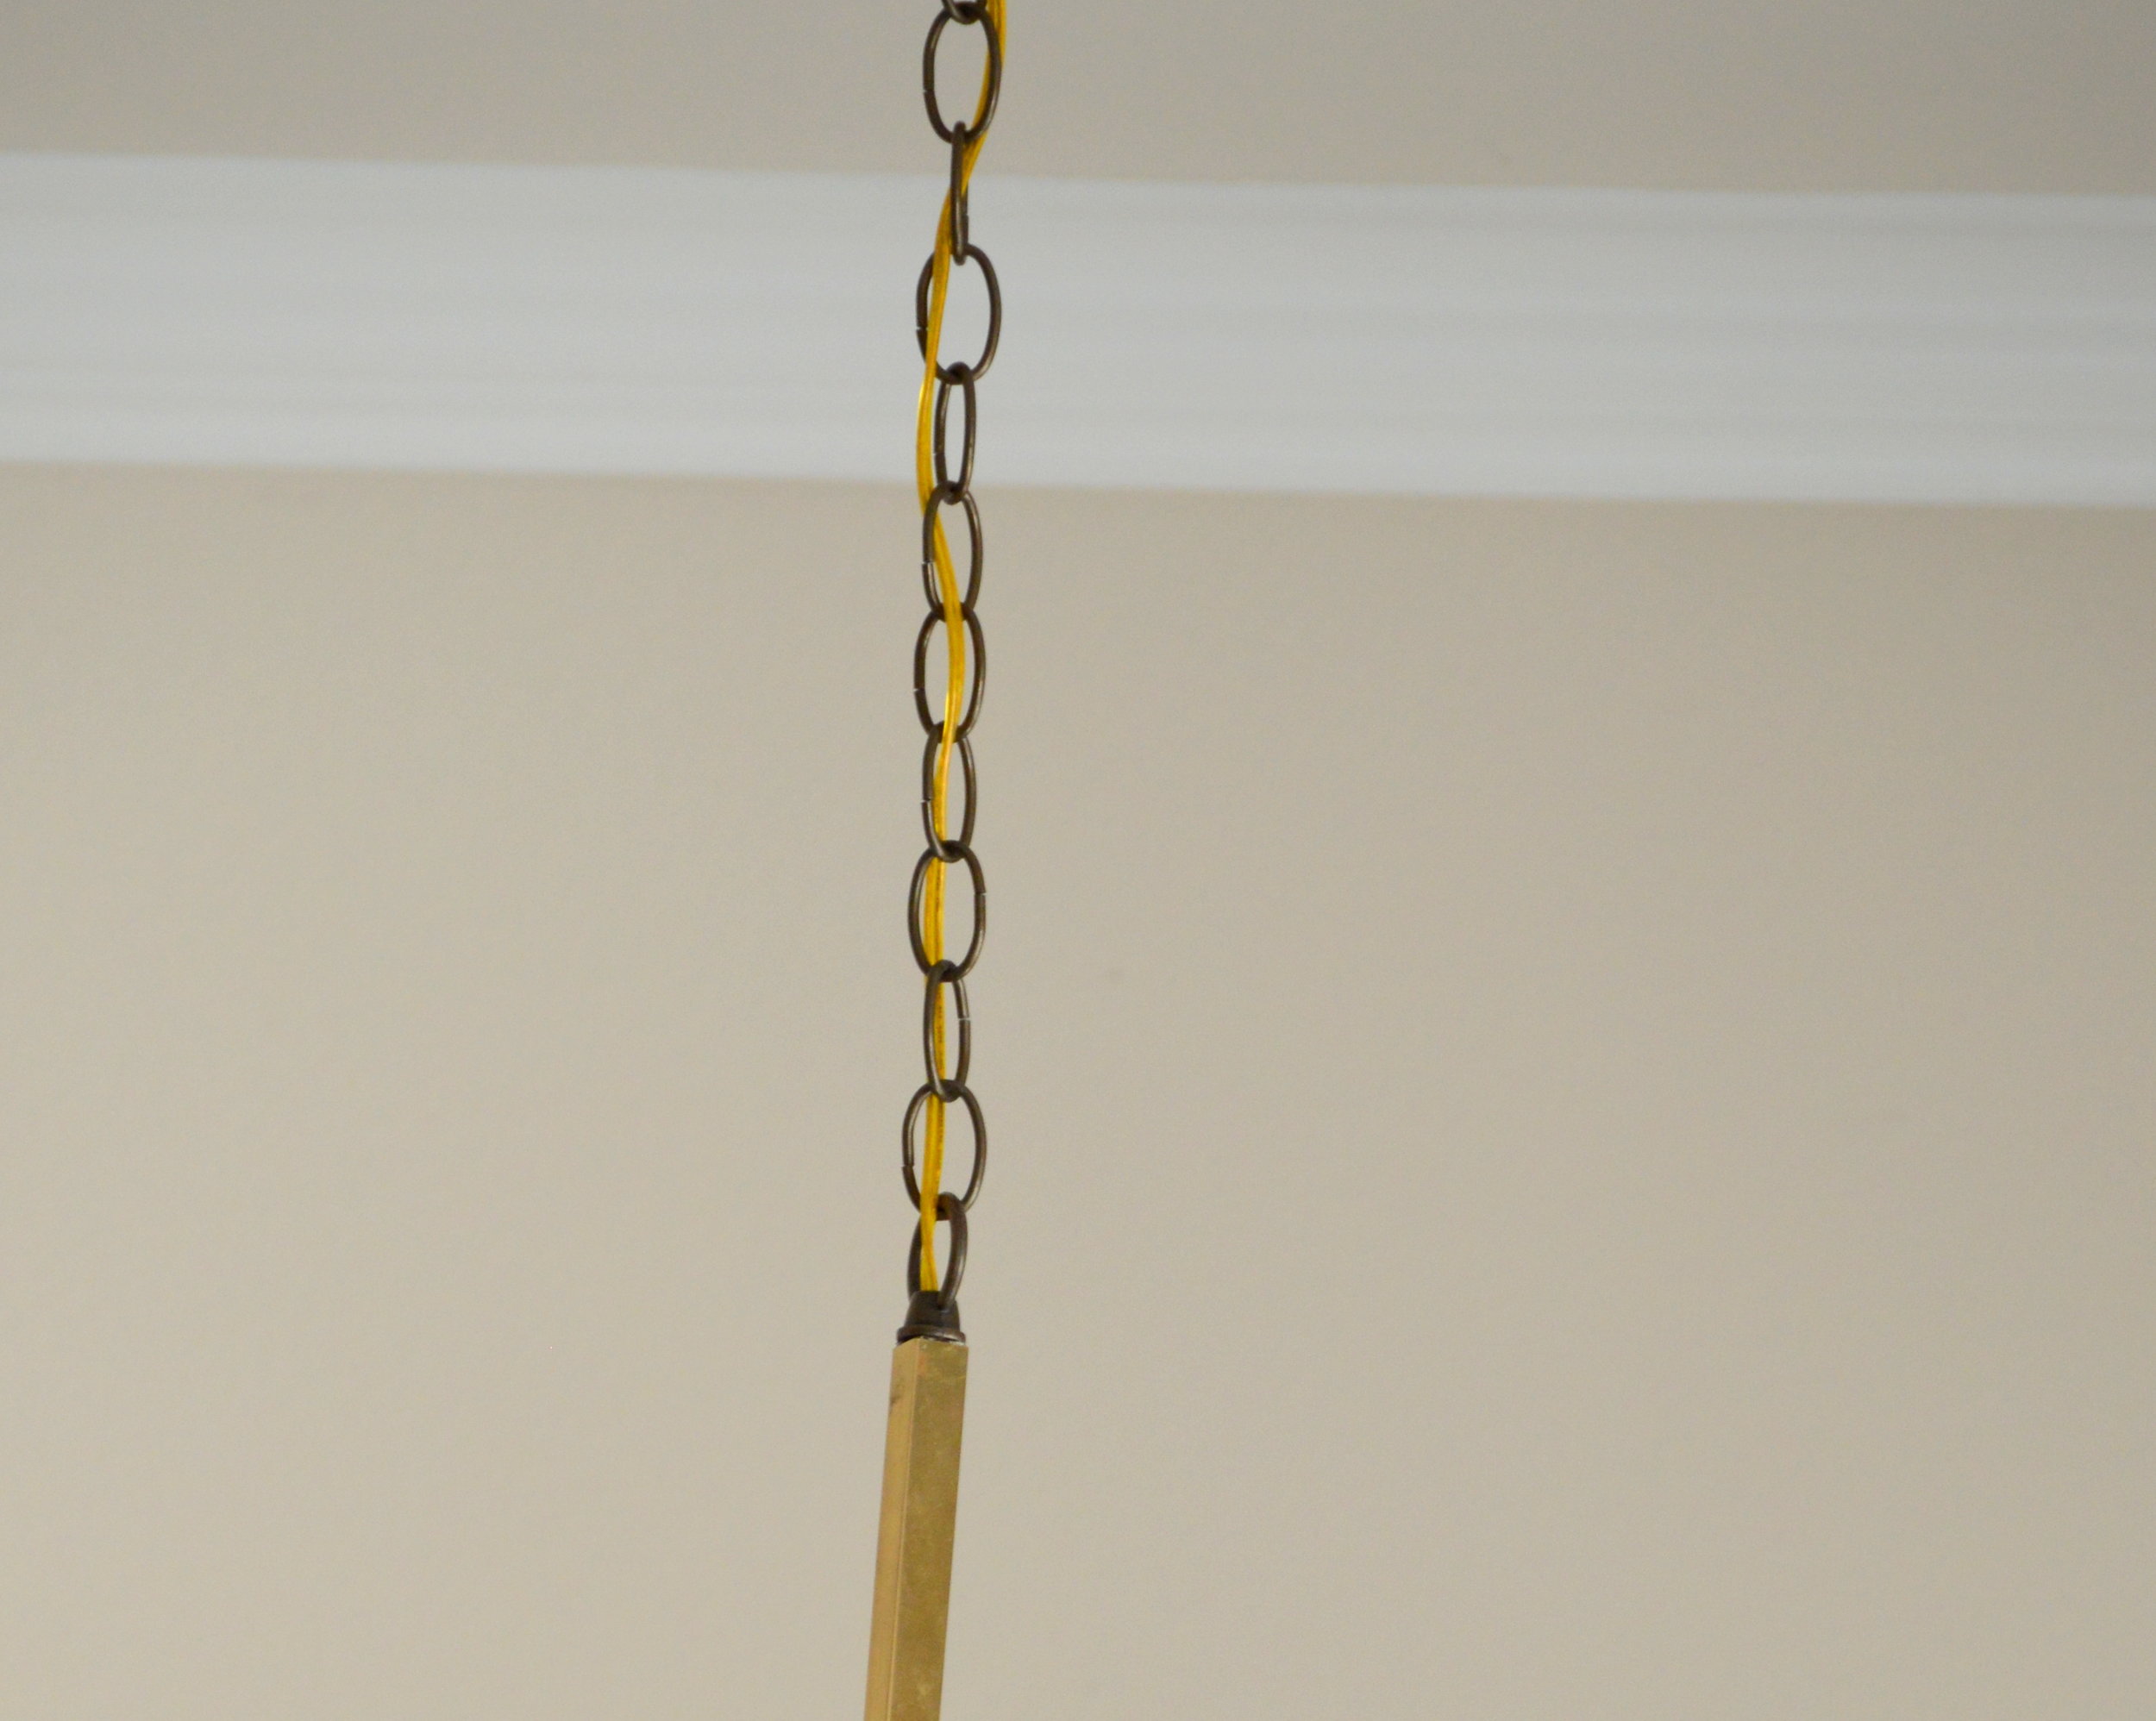
And the brass pole can go up or down while staying mounted to the wood block on the wall.

DSC04674.jpg
DSC04623.jpg

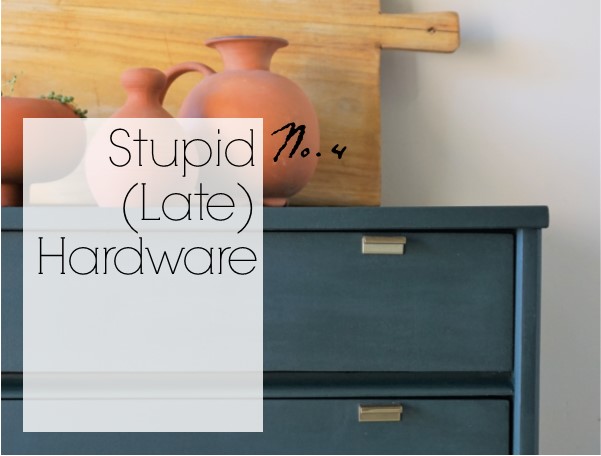
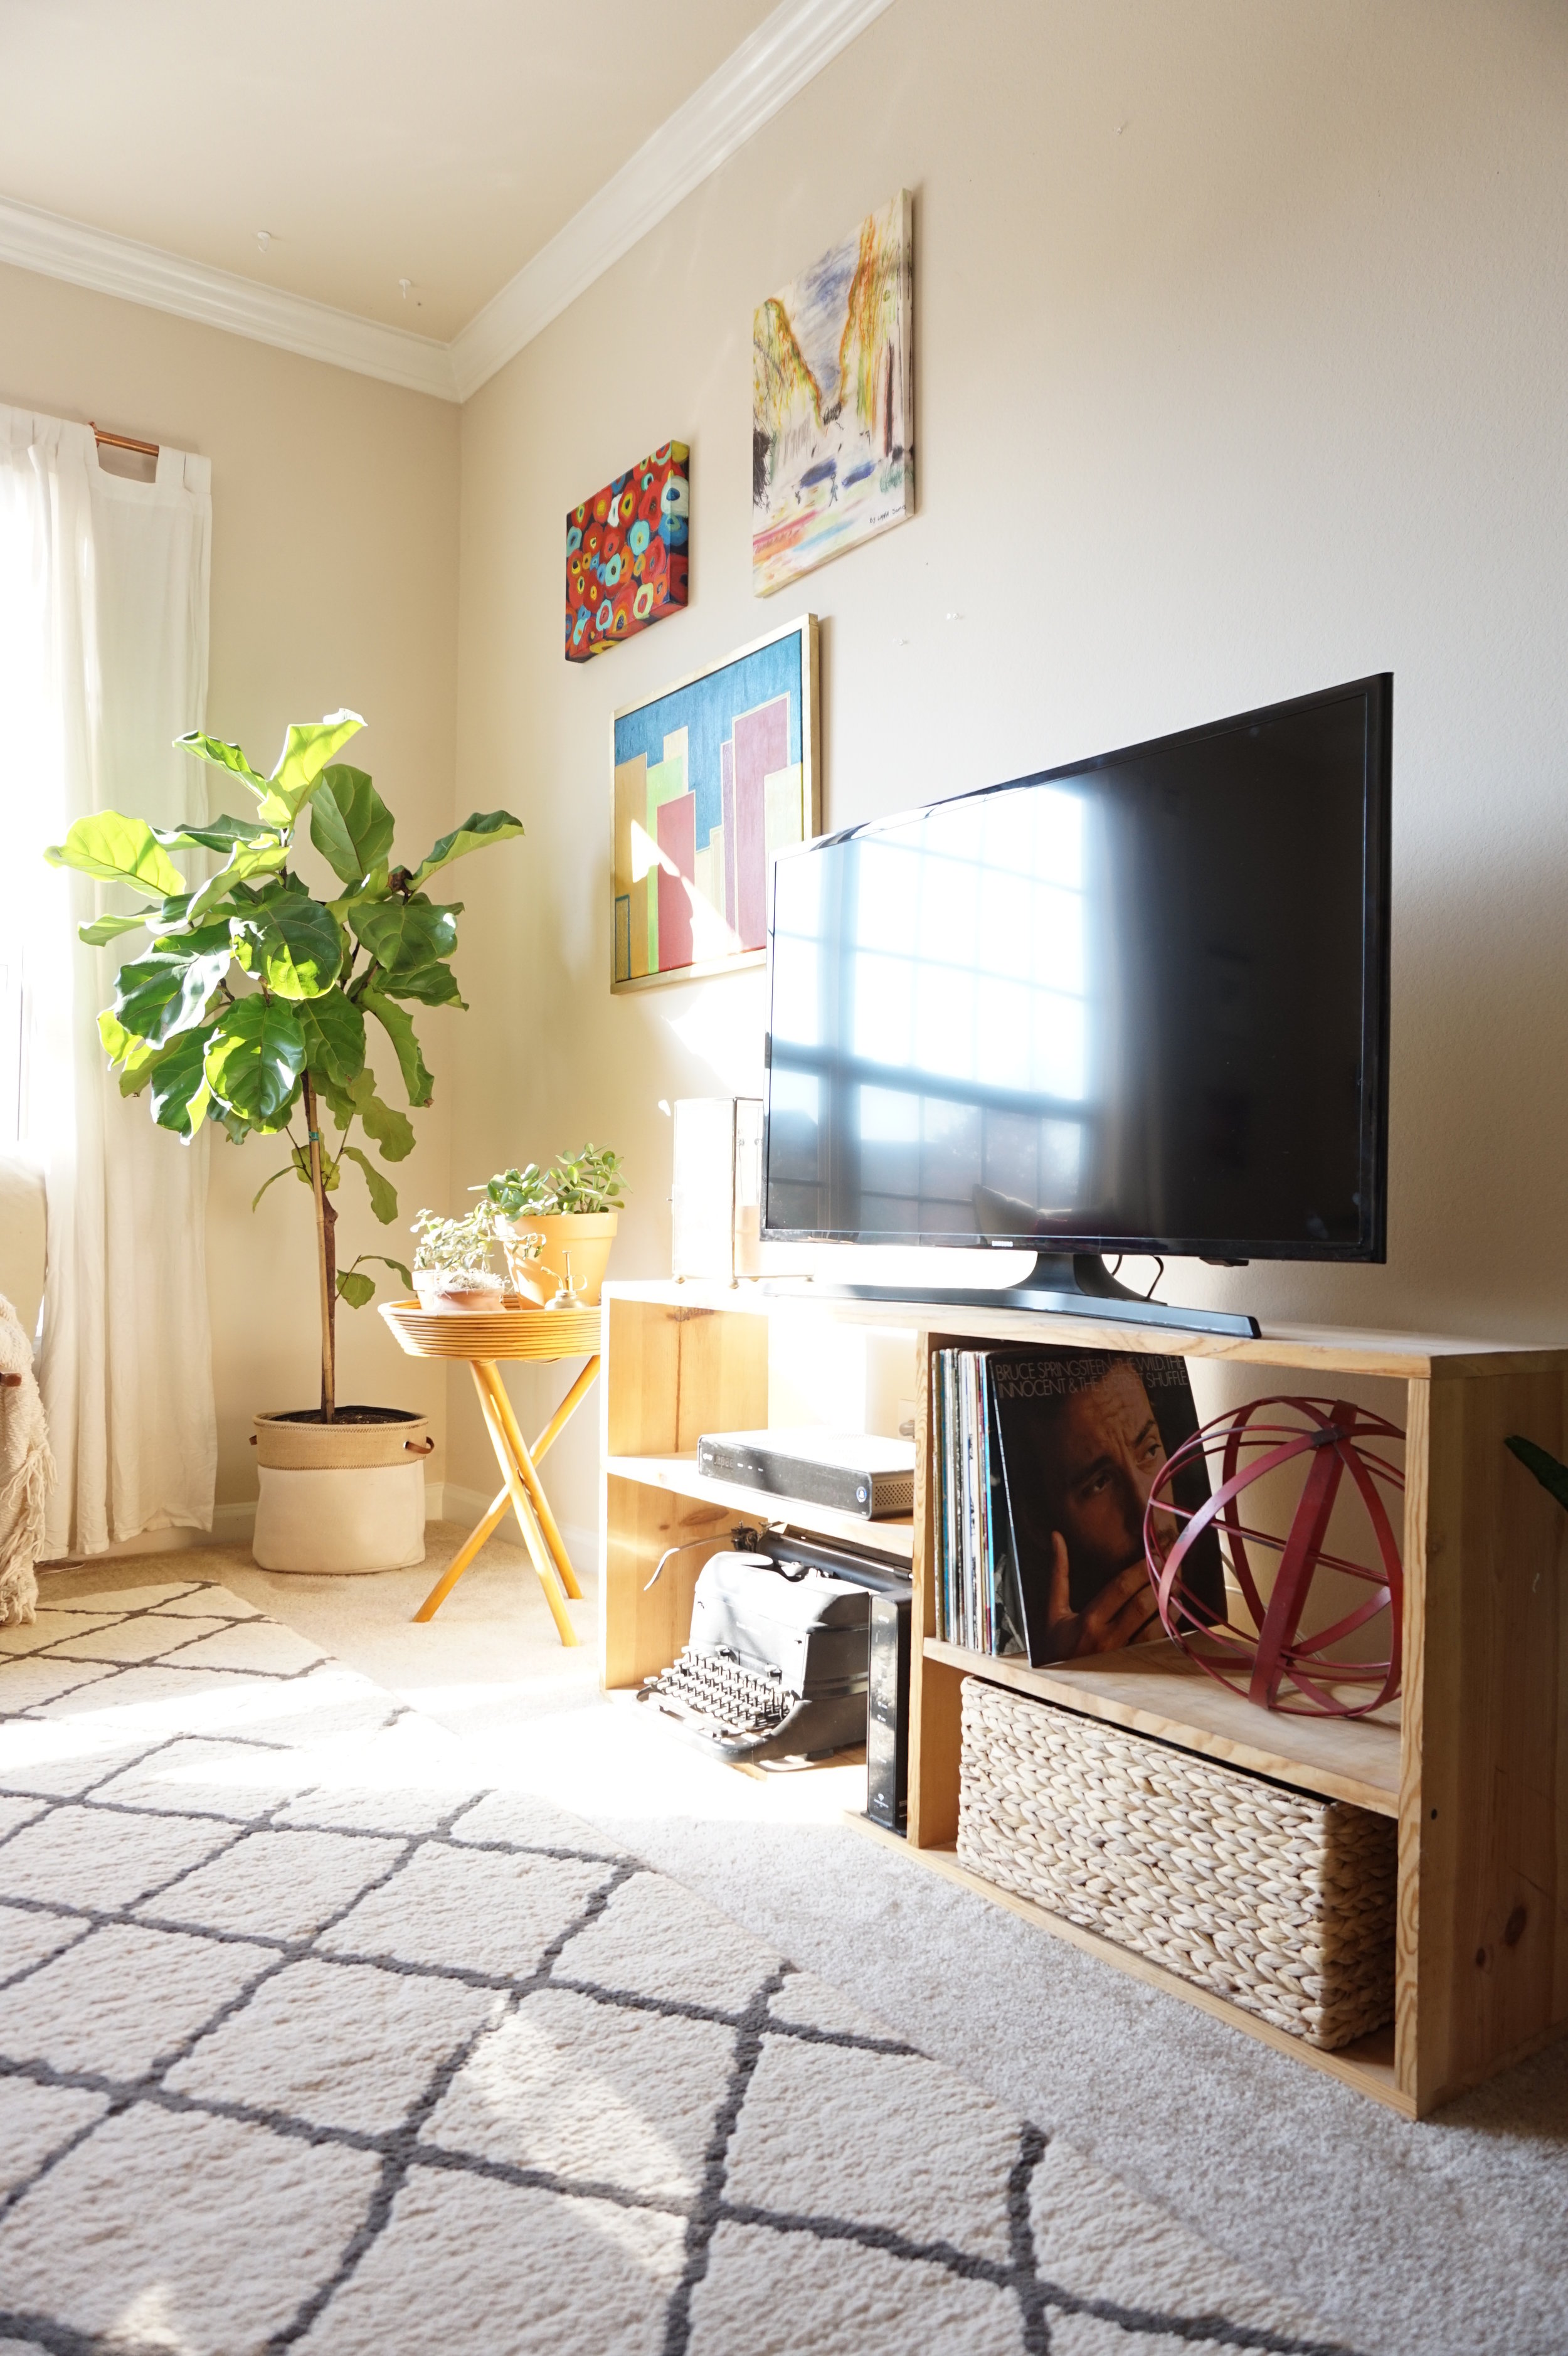
Oh yes and I have a new dresser to share too ;)  

IMG_1349.JPG

When I shared the original dresser on my Instagram stories, I had asked you about color for this piece.

DSC04641.jpg
DSC04640.jpg

Admittedly, some of you baulked when I whispered I may be thinking orange for this one.  But I stuck with my vision and found the perfect mid-century inspired orangey-red for this one.

DSC04635.jpg

Even though I painted the entire body, I kept the tapered legs in the original finish.

DSC04629.jpg

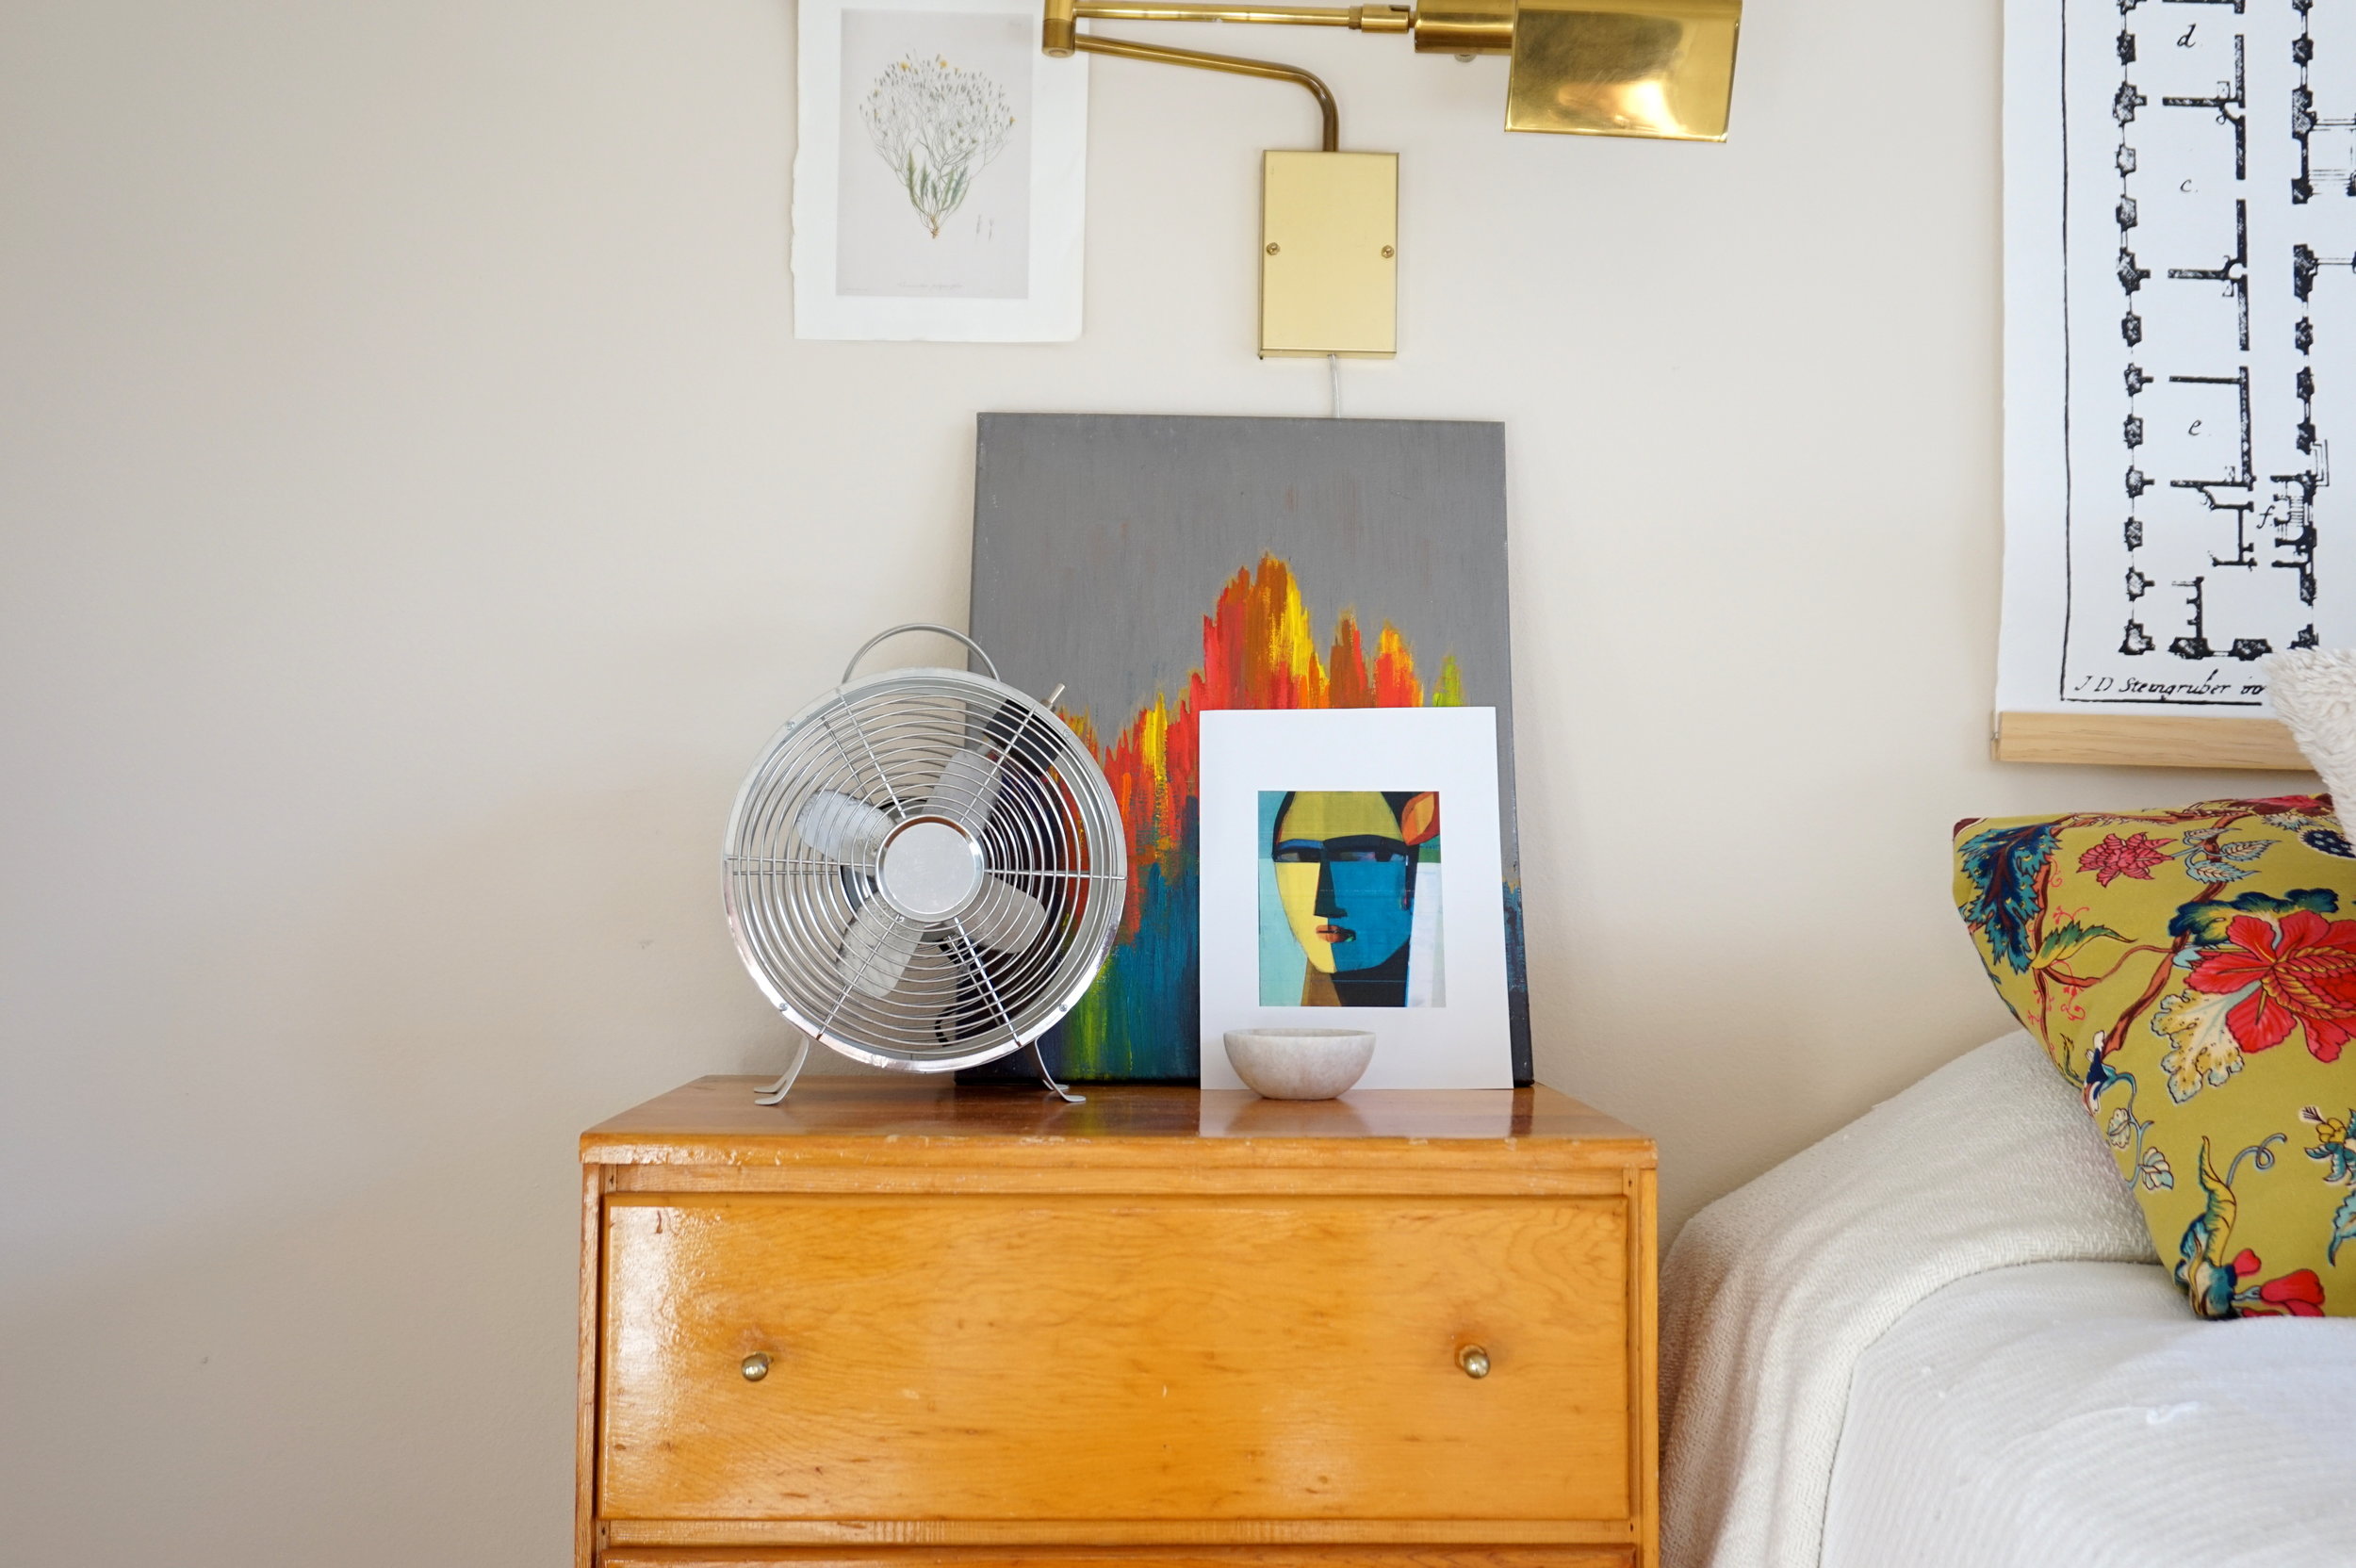
I kept the original brass hardware too.

DSC04690.jpg
DSC04688.jpg

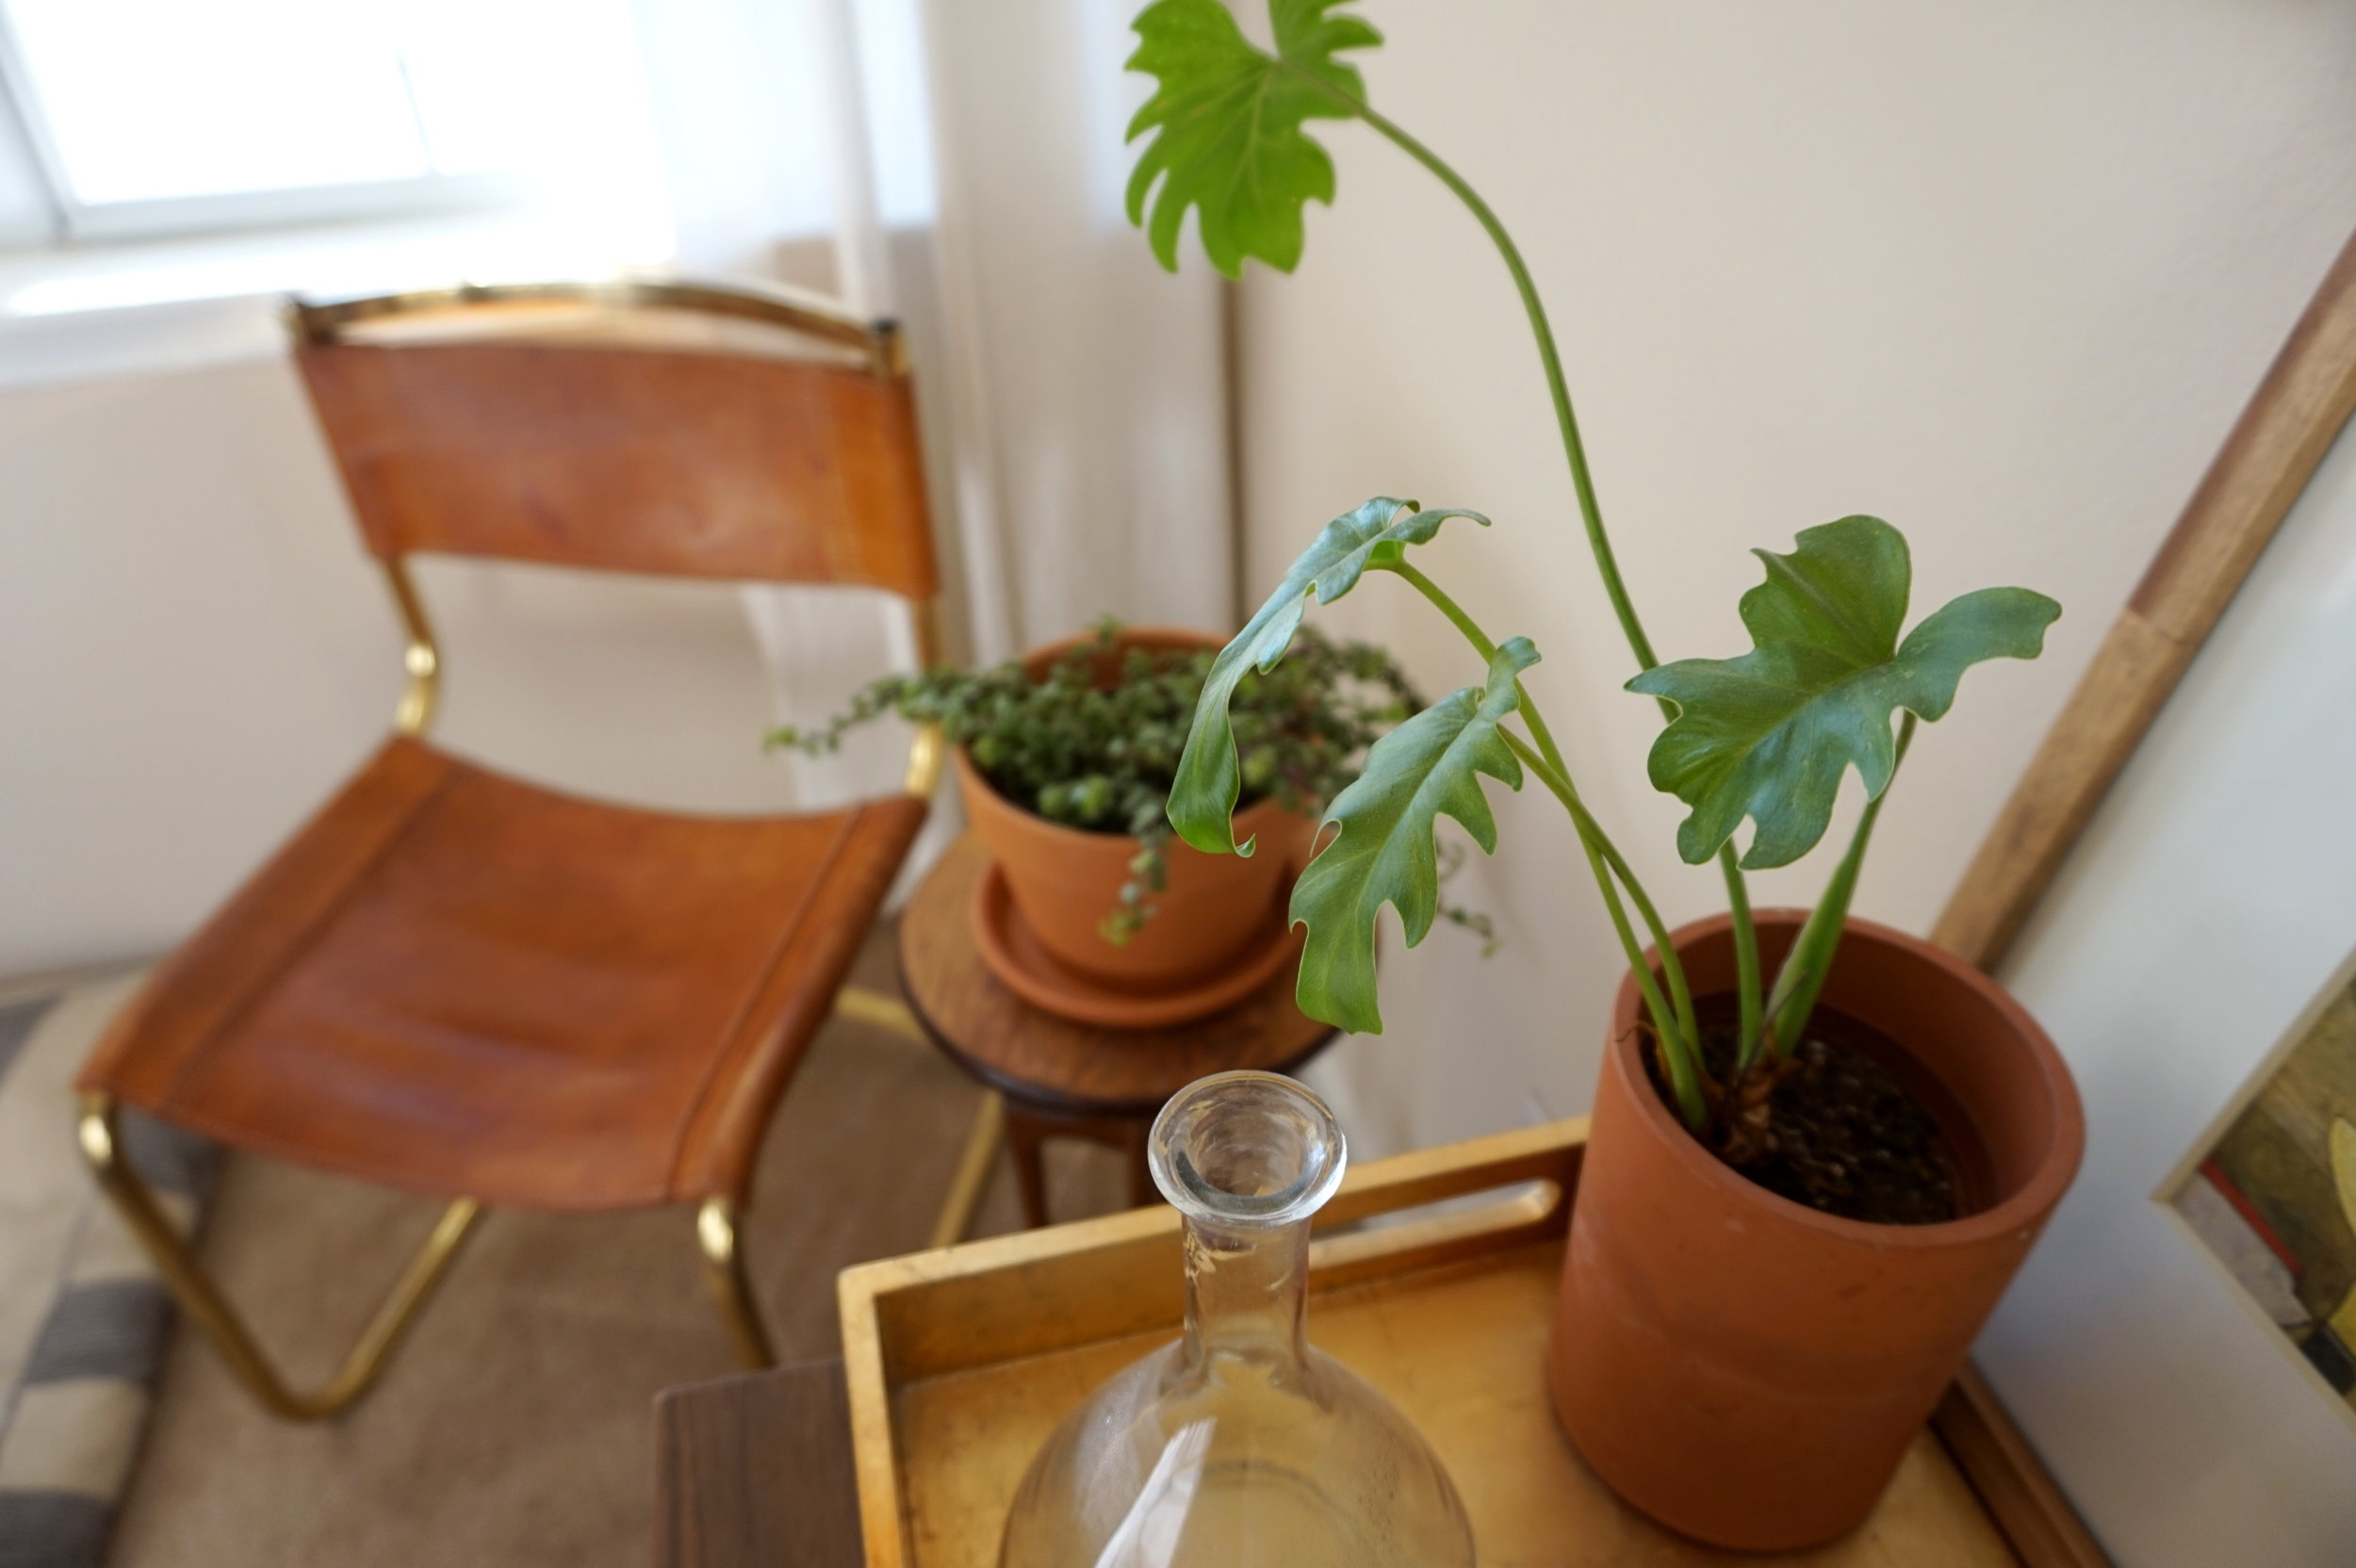
The extra warm tone to this piece made it especially fun to style with a pop of turquoise and some delicious terracotta.

DSC04628.jpg
DSC04681.jpg

I'm liking this color so much that I'm not listing it to sell in the warehouse just yet.  But in the meantime, at least I can cross off another flip list item.

No.6.jpg
Cate.jpg

Five down, Two to go.  Catch up on the 2018 Furniture Flip Bucket List:

Winter Eclectic Home Tour

Welcome to our 800 sq.ft. 1 bedroom apartment!  If you are arriving from French & French Interiors on the Winter Eclectic Home Tour hosted by Domicle 37, thank you so much for stopping by!  No we are not decorated for Christmas just yet (I know, I know... LAME).  I promise you I'm not a scrooge, just a procrastinator and we only just got our tree yesterday.  But I am so grateful for the opportunity to share all the little changes we've made since the summer tour.

Growing up, my family would always put a basket of special Christmas-only books under the tree to peruse in your PJ's at will.  My favorite was an I Spy Christmas Edition.  I kid you not, I've practically memorized all 13 double-page spreads plus the bonus round at the end!  So even though I don't have oodles of holiday decor for you all, I thought I would (in my own way) invite you to join in on my beloved Christmas tradition  and invite you play a rousing round of I Spy between my Summer and Winter Eclectic Home Tours.

IMG_5575.JPG

Did you spot the major differences?  Other than the dog lol?  (And no, I didn't replace him with a rug ;)  The basic layout is the same (the vintage cot under the window, the tufted sofa dividing the living and dining room).  As a general rule of thumb, I like to decorate with a lot of color - no matter the season. To me, layers of colors and textures always make a space feel warm and cozy (especially for the holidays!).  Ok I'll give you a 5 more seconds before I divulge the answers... 5...4...3...2... 

DSC00070.JPG

First, I finally brought home the killim pillows I had my eyes on since before we moved in last November (huzaah!)  After waiting so long, I like the idea of leaving them out through the holiday season instead of switching them for something more obviously merry.  Besides, I consider them my pillow children and it wouldn't be Christmas without them.

DSC00078.JPG

Probably the biggest difference in the room is the big splurge of a rug.  Weighing in at $250, I saved up for her for over a year and finally bought her from target last spring with some birthday money.  The bonus is that Thor LOVES it - it's a high pile so he rolls around on it like it's real grass.

Still hanging on the wall are the three drawers I rescued from a rotting desk on trash day.  Below them is one of the suitcase tables I scored off Chelsea and the brass floor lamp of my dreams. 

If you looked closely, you may have noticed that the floor lamp is actually a change: I sold the old faux-gold one when I found this true vintage one for only $5!

In addition to pillows, we also have many plant children (who for the most part are alive and well).

We've added Figadora the Fiddle Leaf Fig to our sunny plant corner which is where we plan on putting the Christmas tree.  (But don't tell Figadora - I honestly don't know how the fragile diva will take it).

The brown vinyl chair was about $40 off craigslist and may or may not have smelled like...

Mothballs and old man farts
— My Husband

The smell has definitely subsided since it's had the chance to air out (and marinate in the fleet of Christmas-scented candles we light anytime someone's home).  Unfortunately, the chair is not the most comfortable so I'm using it as a place holder until I find the perfect camel leather armchair or affordable sectional (even though that would mean also saying goodbye to my bestie the blue tufted sofa).

Sharing the wall with our front door is our makeshift TV stand (also a roadside rescue) - another placeholder until I can convince Caleb we should get a proper piece of furniture that will allow me to hide the necessary evils (aka all our electronics).

Next to the rug, the second most expensive item in the room actually is the little wooden set of drawers which was a recent find for a whopping $75. 

I answered a craigslist ad by an elderly gentleman who lives right around the corner from my parents.  His listing wasn't very clear so when I arrived to pick up, I was pleasantly surprised that he had two for sale!  So I impulsively shelled out double the money right then and there and have been using one as our new end table.  Turns out the seller was a retired US Patent clerk and the unique design for these drawers dates back to 1903 - he actually had a the original patent on hand and sent me home with a copy! 

Behind the sofa is our dining room that always packs a colorful punch.

In such a small space, the round table makes a huge difference for maximum maneuverability. 

The white triplet campaign bookshelves allow my feral love of color to really take over.

Since they are a little on the short side,  I have space above to prop artwork I can switch out at will.

The clean, white finish is a nice contrast to my budding collections of books, minerals, terracotta pots, cloches, brass candlesticks, and moss balls.  (I'm 99.9987% positive Caleb is rolling his eyes somewhere.  At least they are all corralled in on place).

Above the round table hangs my DIY 4-arm brass chandelier.  Since we're in a rental, I used a recessed light conversion kit to retro fit the original can light.

Since installing it, I've added elongated bulbs to play off the quirky angles.

Hanging from our copper pipe curtain rod is a happy electric green pothos plant - which makes me smile every time I see it even though Caleb wrestles with it almost every time he tries to close the blinds.

DSC00190.JPG

There is actually one thing we have already set up for the holiday season: we repurposed our magazine-turned-shoe-rack into a record station.  Caleb loves putting on some Perry Como or Rosemary Clooney during the holidays so pulling them out from their usual spot on the TV stand and putting them out in the open gives us easy access.  (Bonus: he's been waking me up to holiday tunes almost every morning!)

DSC00130.JPG

Past the bathroom and down the hallway is our one and only bedroom.

DSC00310-001.JPG

Nope, we still don't have a headboard but we realized taking down the giant chartreuse curtain makes the room feel a lot brighter.

For now, we've moved the Johann Steingruber 1773 "H" replica blueprint above the bed and I've started to tinker with abstract and geometric art on either nightstand.

Flanking the bed are my entries to a friendly Flip Off competition against my sister-in-law and business partner Chelsea.  She sold her flip, but I held on to mine for some extra bedroom storage.

DSC00239-001.JPG

Above them are the brass swing arm sconces I rewired to plug-in (rental probs) which I snagged from a fellow DC furniture flipper for a steal! 

Opposite the window is my dresser and my beloved jewelry collection.

I love being able to see all my accessories in the printer's drawer (even if it is a dust trap).

Opposite the bed is Caleb's dresser - another thrifted MCM find.

I found the waterfall mirror separately on Craigslist but it looks like it was made the dresser no?

In the corner by the window is probably my favorite thrifted find: the brass + leather cantilever chair which sits next to my DIY mcm plant stand.

DSC00330-001.JPG
DSC00332-001.JPG

Well that concludes our tour!  (800 sq.ft. goes by fast doesn't it?!?!)  Thanks again for swinging by my style mutt of a space (even one that's sans holiday decor)!  I promise you that everyone has some EPIC holiday home tours rearin' at the gate.  Be sure to check out tomorrow's epic line-up of home tours (and be sure to catch up on yesterday's as well - you shant be sorry my friends!)

DIY (aka Frankensteined) Chandelier || Flip List Item No.3 ||

Happy Halloween Style Mutts!  As you may well know that this summer, I made lofty promises that I would soon be posting a BIG REVEAL of my 2016 Furniture Flip Bucket List item No.3...   Well, the end of October may not classify as "soon" exactly but what better day for a reveal of a frankensteined chandelier than all hallows eve?

IMG_5137.JPG

God must've had a good chuckle when I ended my post back in July with "I'm still working on the wiring for the sputnik chandelier and [if all goes well] will be sharing the results soon!"  Unbeknownst to me, He obviously knew I was in for a wild electrical wiring ride, a puzzle of a mounting mechanism, and a treacherous install while balancing on the back of our couch.

Before we continue, let's pause for the obligatory disclaimer: I am not an electrician.  I built, wired, and installed this light fixture at my own risk.  If you are interested in building, wiring, or installing your own light fixture - please do EXTENSIVE research before you lift a finger and consult a professional electrician.

We good?  We good.  

Ok so this project started when I found an old foyer lantern in August 2015.  The bulb apparatus inside was so cool!  The staggered lengths.  The brass finish.  I harvested what looked useful and repurposed the glass shell as an umbrella stand.  Now that I had the arms for a sputnik light, I needed to find a body.  I was considering building an angular wooden skeleton that I could route wires through until I found a quirky mid-century modern table lamp for a whopping $15.


The lamp's hollow brass square rod was perfect!  I officially had what I needed to build the frame.

And in case you're wondering, the rest of the table lamp didn't go to waste either.  It became a plant stand:

Making the complete family tree as such:

IMG_5136.JPG

So at this point, I'm staring at the light-less frame of what could be a really cool chandelier after over a year of planning and I. Am. Stuck.

First off, the hollow cavity in the brass rod I took from the MCM lamp was very very narrow.  I tried splicing the existing wires from the foyer light bulbs and running those up through the rod.  When I finally hooked it up to a plug in socket to test it, only half of the bulbs were working.  

We need more power Igor!


Ruling out a dead light bulb or two, I had to disassemble the entire thing and start from scratch.  After consulting a professional at the Lamp Factory Outlet in Fairfax, Va, I learned that I needed to buy a new sockets for the faulty foyer bulb arms.  They were so cheap (like $2 each) that I order a new one for each of the arms (just to be safe) and picked up some new 16 gauge stranded copper wire from home depot.  I bought the wire in both black and white so I could keep my hot (black) and neutral (white) connections straight for when it came time to install.  


When I was researching all these issues, I found this tutorial by ModFruGal to be very thorough and helpful.  Plus - they have a shopping list if you a building a brass arm chandelier from scratch instead of going all Dr. Frankenstein on some poor lamp parts.


Once got all the sockets working and threaded the 8 wires (one black and one white per socket) through the center piece, I then had to conjure up a way to cap the center cavity with a chandelier ring to attach the chain to.  When working with your standard light, a chandelier ring would simple screw in to the top of your fixture.  But this was not standard light and I had to figure out how to secure a round peg in a square hole.  Now here is where I MUST reemphasize to not do this at home without consulting a professional first...

I glued it on.  I know - not the best solution.  I tried metal epoxy and couldn't get a strong enough connection for it to set.  I ended up straight up gorilla gluing it.  And it's working great so far.


Ok.  So now I have a fully wired brass lamp frame (we did it Igor!) but still have to figure out how to install it.  Caleb and I are still renting so whatever we did, it had to be reversible.  Luckily Home Depot has an awesome recessed can light conversion kit by Westinghouse and our apartment has a can light directly above our dining room table.  The kit was really easy to install thanks to a handy step-by-step video.  

Source: Home Depot

Source: Home Depot

This is where it gets a little hairy to explain.  Not everyone will have the unique problems that I encountered  in my non-standard chandelier install, so for your sake, I'll spare you the details.  But you can always email me for more troubleshooting deets if you are somehow in a similar pickle.

Even with all my planning and sketching, I didn't have a solid plan for the mounting plate.  Luckily I don't often throw things away and I still have the leftovers from the original foyer lantern that started this whole thing.  Inside the lantern was a round plate with four holes for each arm and one in the center.  

I only needed the hole in the center to thread the wires through the chandelier loop at the other end of the chain.  But the extra holes did end up coming in handy. They allowed me to screw the mounting plate onto to the brace assembly from the can converter kit,  After it was secure and I could pull my screwdriver out, I capped the four extra holes with some threaded nipples, a few nuts, and four brass finishing caps,

Ok.  Enough tech talk.  Let's get to the juicy reveal already!!!

In all my mad-sciencing, I didn't think to account for the balance of the varied brass arms.  

But I don't even mind that he doesn't hang straight - it gives him an angular mid-mod playful vibe.  And hey - Frankenstein's monster wasn't perfect either.  He could only say yaaaaaaaaaaaaaaaaaaaaaarp after all.

Alright Igor - flip ze switch!

DSC_0254-001.JPG
IMG_5130.JPG
IMG_5131.JPG

So all in all this project was a monster to gather, a monster to build, and a downright monster to install!  But when it was all said and done, I still only spent a little over $100 on this project.  Although that's a little higher than I like to spend for pieces in our own home, this was still a winner in my book compared to buying new.

Stay safe trick -or-treating out there tonight friends!  And if you need something to binge read while you're raiding your candy haul, catch up on the other completed furniture flip bucket list items: